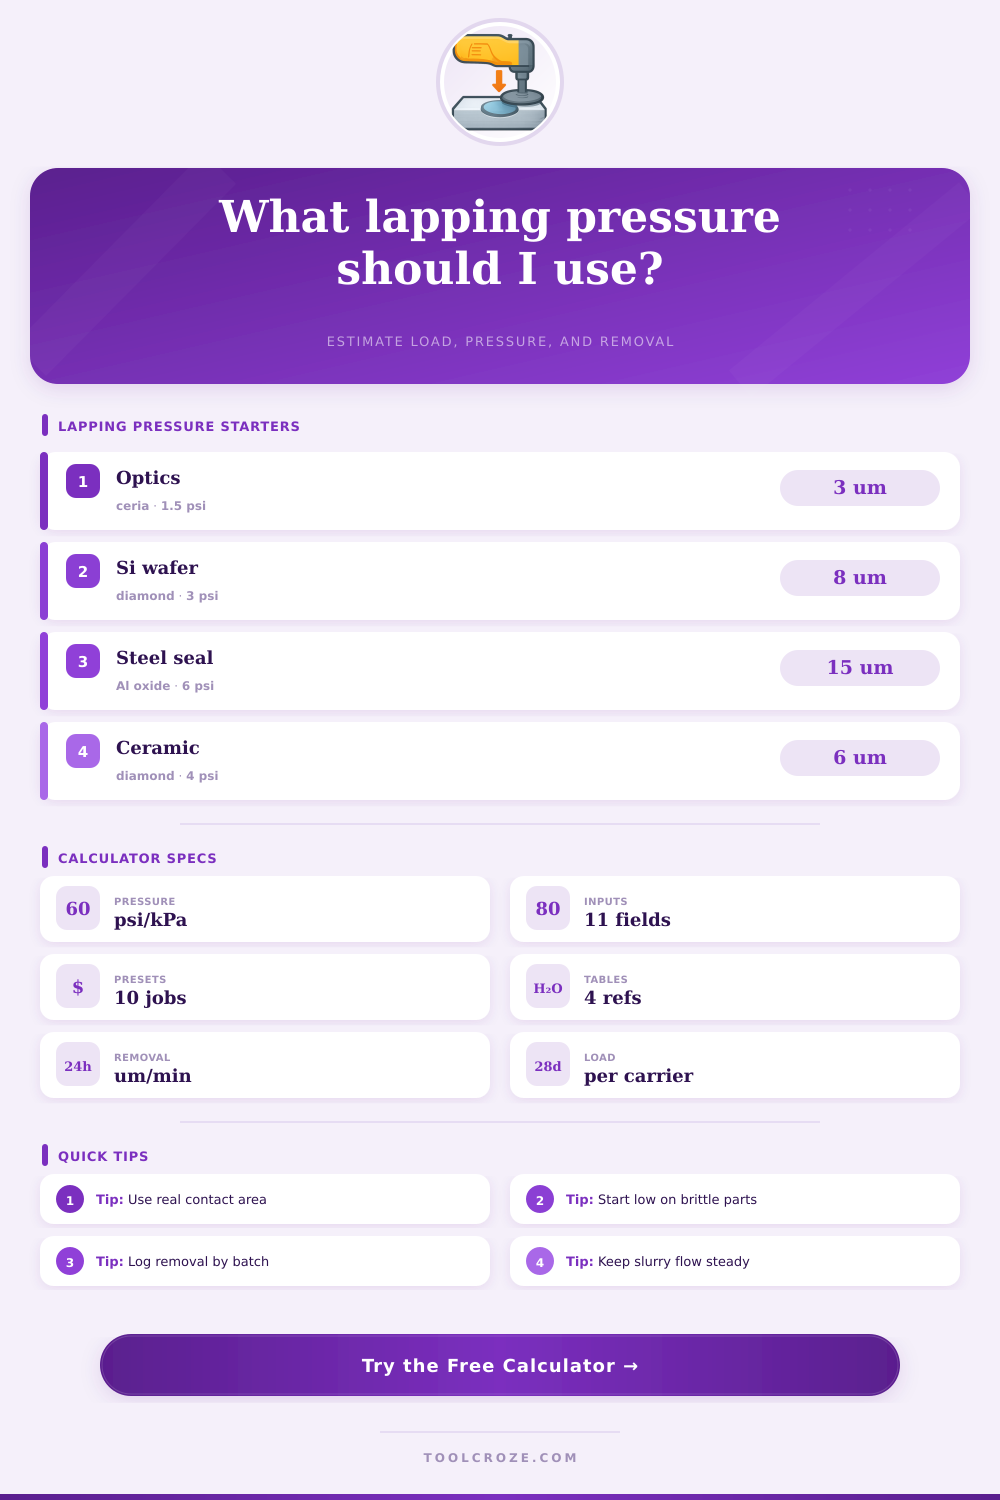
Lapping Pressure Calculator
Estimate lap pressure, load per carrier, dwell removal, and passes needed from part contact area, abrasive, material hardness, plate speed, and stock allowance.
★Real lapping presets
Choose a named starting point, then adjust the values to match your fixture, carrier layout, slurry, and inspection data.
⚖Lapping setup inputs
Lapping pressure results
Full calculation breakdown
▦Material and setup grid
📋Pressure reference table
| Operation | Typical pressure | Use case | Adjustment cue |
|---|---|---|---|
| Final optical polish | 0.5 to 2 psi / 3 to 14 kPa | Glass, quartz, soft polish pads | Reduce load if edge roll appears |
| Fine flat lapping | 2 to 5 psi / 14 to 34 kPa | Seals, shims, wafers, plates | Use stable slurry before raising load |
| General stock removal | 5 to 10 psi / 34 to 69 kPa | Steel, brass, cast iron, ceramics | Watch heat, bow, and carrier drag |
| Hard material lapping | 3 to 8 psi / 21 to 55 kPa | Carbide, sapphire, alumina | Use diamond or boron carbide data |
⚙Abrasive removal planning table
| Abrasive | Planning index | Best material match | Finish note |
|---|---|---|---|
| Aluminum oxide slurry | 0.55 um/min base | Steel, stainless, brass | Balanced removal and finish |
| Silicon carbide slurry | 0.75 um/min base | Cast iron, ceramics, hard alloys | Fast cut, inspect scratches |
| 3 micron diamond | 0.90 um/min base | Carbide, sapphire, ceramics | Controlled hard-part finishing |
| 9 micron diamond | 1.25 um/min base | Hard stock removal | Higher removal, rougher finish |
| Cerium oxide polish | 0.35 um/min base | Glass, quartz, optics | Low pressure chemical polish |
| Colloidal silica finish | 0.18 um/min base | Silicon, sapphire, final polish | Slow, flat, fine surface finish |
🔧Material specification table
| Material | Hardness index | Typical pressure | Common abrasive |
|---|---|---|---|
| Optical glass | 45 | 0.5 to 2 psi | Cerium oxide, tin oxide |
| Silicon wafer | 70 | 1 to 4 psi | Diamond, colloidal silica |
| Alumina ceramic | 82 | 3 to 7 psi | Diamond, boron carbide |
| Hardened steel | 60 | 4 to 9 psi | Aluminum oxide, diamond |
| Tungsten carbide | 88 | 3 to 8 psi | Diamond |
| Brass | 25 | 2 to 6 psi | Aluminum oxide |
⏱Named setup reference table
| Setup | Load and area | Plate speed | Expected stock |
|---|---|---|---|
| Optical glass ceria polish | 45 lbf over 30 in² | 40 RPM | 2 to 4 microns |
| Silicon wafer diamond lap | 90 lbf over 28 in² | 55 RPM | 6 to 10 microns |
| Hardened steel valve plate | 180 lbf over 30 in² | 65 RPM | 12 to 22 microns |
| Carbide gauge block finish | 70 lbf over 18 in² | 45 RPM | 3 to 7 microns |
ℹPractical notes
It also calculates lapping pressure, which is amount of pressure applied to a load, cycle count, carrier loading, and dwell removal. It’s all designed to help an operator compare setups before trial runs and measurement checks.
From the outside, lapping sounds easy enough. Throw some parts in carriers, smear some slurry on a rotating plate. Add some weight and just watch it go. But there’s one thing you can’t see, how hard the abrasive is pressing against your workpiece, that makes all the difference between a perfect run and a scrapped batch. Pressing too hard risks heating up the parts or even rolling over edge. Pressing not quite hard enough means wasting hours, this type of subsurface damage can never be hidden with any kind of polish.
How to Use the Lapping Calculator
This is when real control starts. It’s all about load. Everything downstream depend on the load applied. How quickly does the material exit the surface? That’s directly proportional to the load applied. And what happens with the abrasive grains? How do they cut? Under light load, they roll/tumble, creating a gentle cutting action perfect for optics. But raise that load, and those same grains dig in. They goes from polishing to aggressive stock removal.
You just need to understand what goes where. Feed the calculator all your details: the material specifics, plate speed, dwell time, the true contact area between parts, and total load applied. Then, the calculator will do the math.
The other thing that many shops mess up on is real contact area. A lot of guys will take OD of the carrier and say they’re good. They fail to recognize that not everything bears equally across a square inch. There are relief pockets, holes, and more. All of this can make your real contact area vary by as much as 30-40%. In this instance, what was “safe” at six pounds turns into a cracked ceramic waiting to happen. Staying with the true bearing surface limits the chance of surprises.
The other quieter-but-just-as-important factor is material hardness. A soft brass shim responds eagerly to modest pressure while sapphire laughs at the same setting. The tool includes a hardness number in removal estimate to let you know if your desired dwell will meet the target stock or fall short. That said, they’re still estimates. Nothing can replace measuring that first part out of the machine and tuning it for higher efficiency until the estimate matches reality.
Another factor is the choice of abrasive. Diamond will cut hard material fast, but with too much pressure in the last pass, you may get micro scratches. Cerium oxide on glass is partly chemical, so it’s happy with lower loads and longer contact time. And that’s why experienced hands have a notebook. A log of how their abrasives removed material at 4 vs. It was 7 psi. Slowly narrow the window to where they predictably control the process, batch after batch.
Don’t overlook plate speed. More abrasive grains passes over your work per minute when rotating at a higher speed, but it creates heat too. That heat can cause small stress cracks long before you notice any chipping, especially on brittle parts. Sometimes increasing pressure and slowing the plate yields a better flatness result different than just trying to go faster as might be naturaly expected. You can play with those tradeoffs on screen using the calculator before ever touching the machine.
Most errors stem from haste when setting it up. We just drop the weight where it’s “right” by feel, crank the plate on and move along. When we check later, either the slurry’s caked at the edges or one carrier is more worn than the other. You need to think of pressure as an ever-changing number, not a fixed control dial. Begin with a light setting on any new material, monitor drag and chatter, and gently increase until removal rate levels off. At that point, you’ll know your numbers are locked in.
Few people realize how important carriers and fixtures is. Does your retaining ring warp? How does it affect the distribution of load on the plate? That’s a gradient, not even pressure. Worn out gears lead to hesitation in carrier movement. It is the same deal. All these mechanical nuances are beyond anyone’s math equation but make or break if you’re ever going to see the predicted removal rate come to fruition.
Ultimately, however, lapping has always been half science and half craft. The numbers provide a reliable place to start, but the rest of the story is written by your eyes, micrometer, and increasing familiarity with how it all works together. That’s what it means when the predicted pressure aligns with what you’re observing out there on the plate. That’s when it no longer fights you and repeats itself like clockwork.