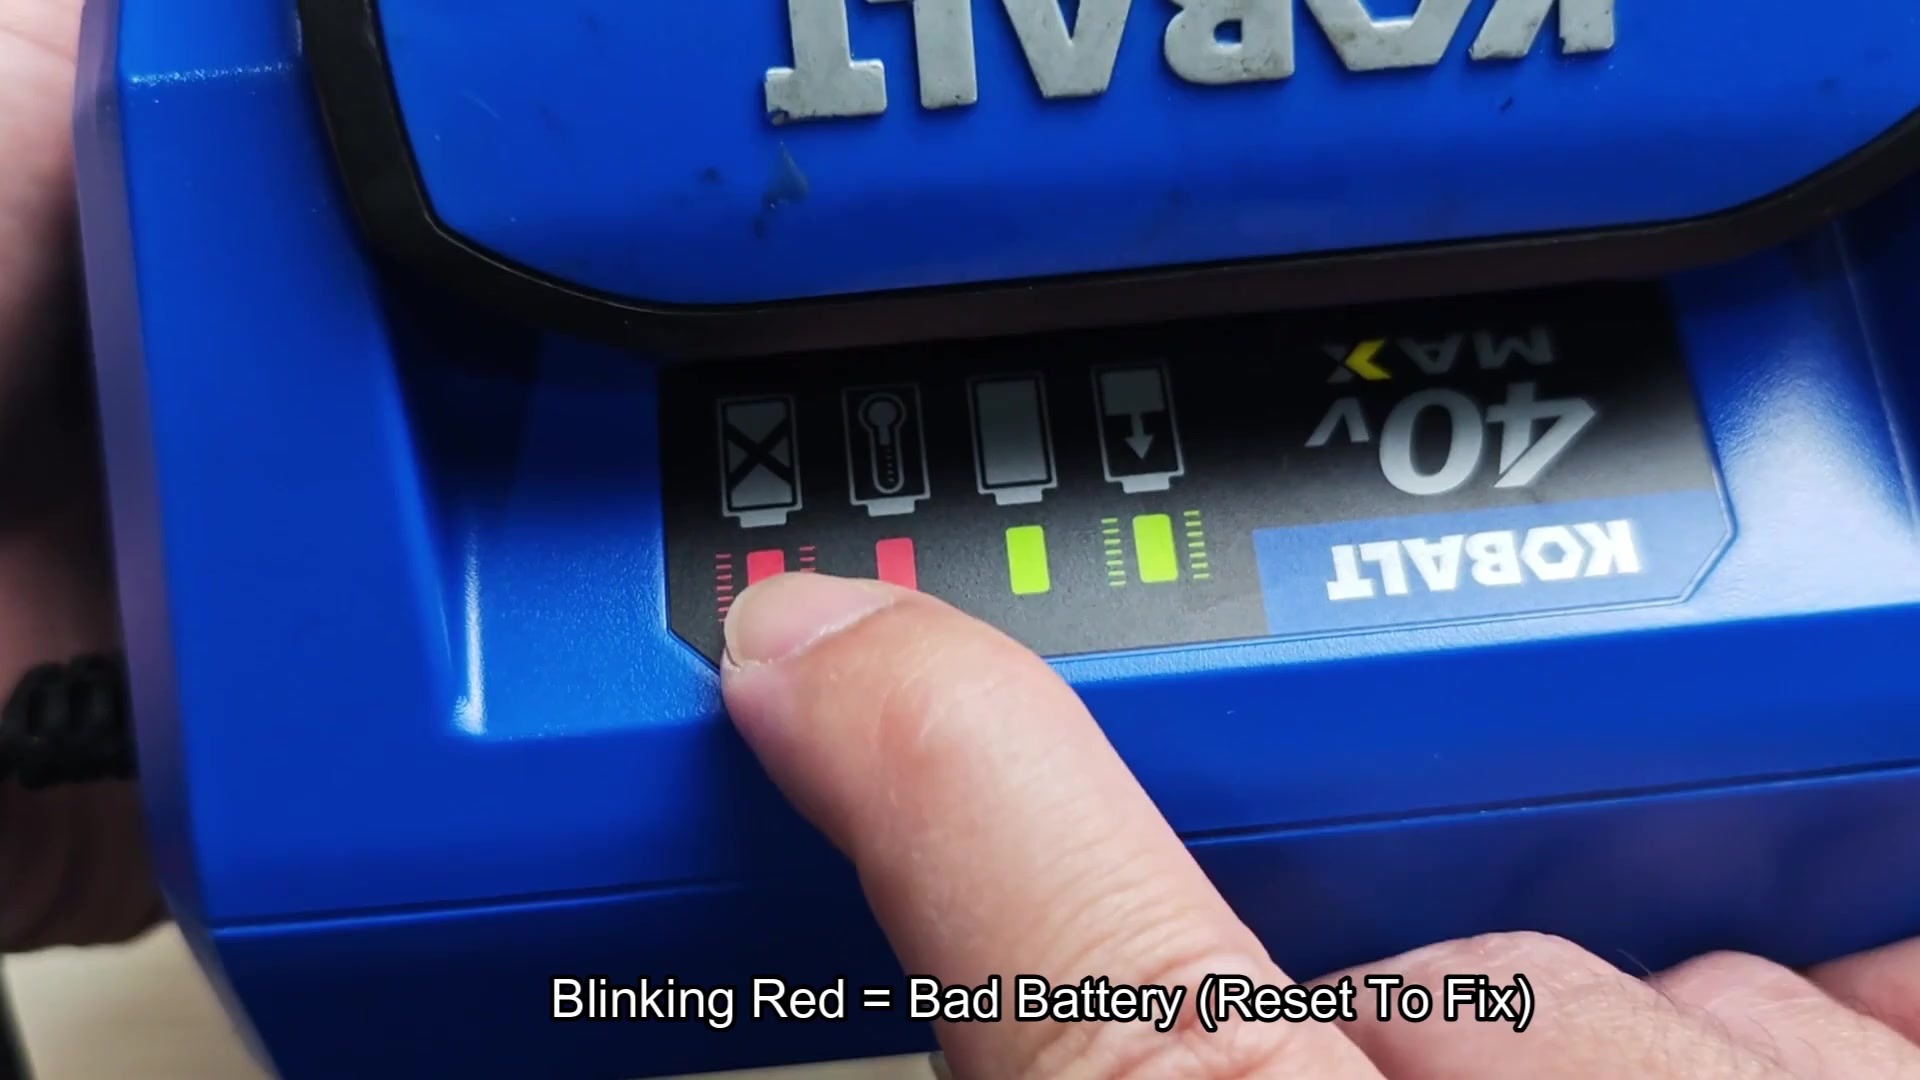
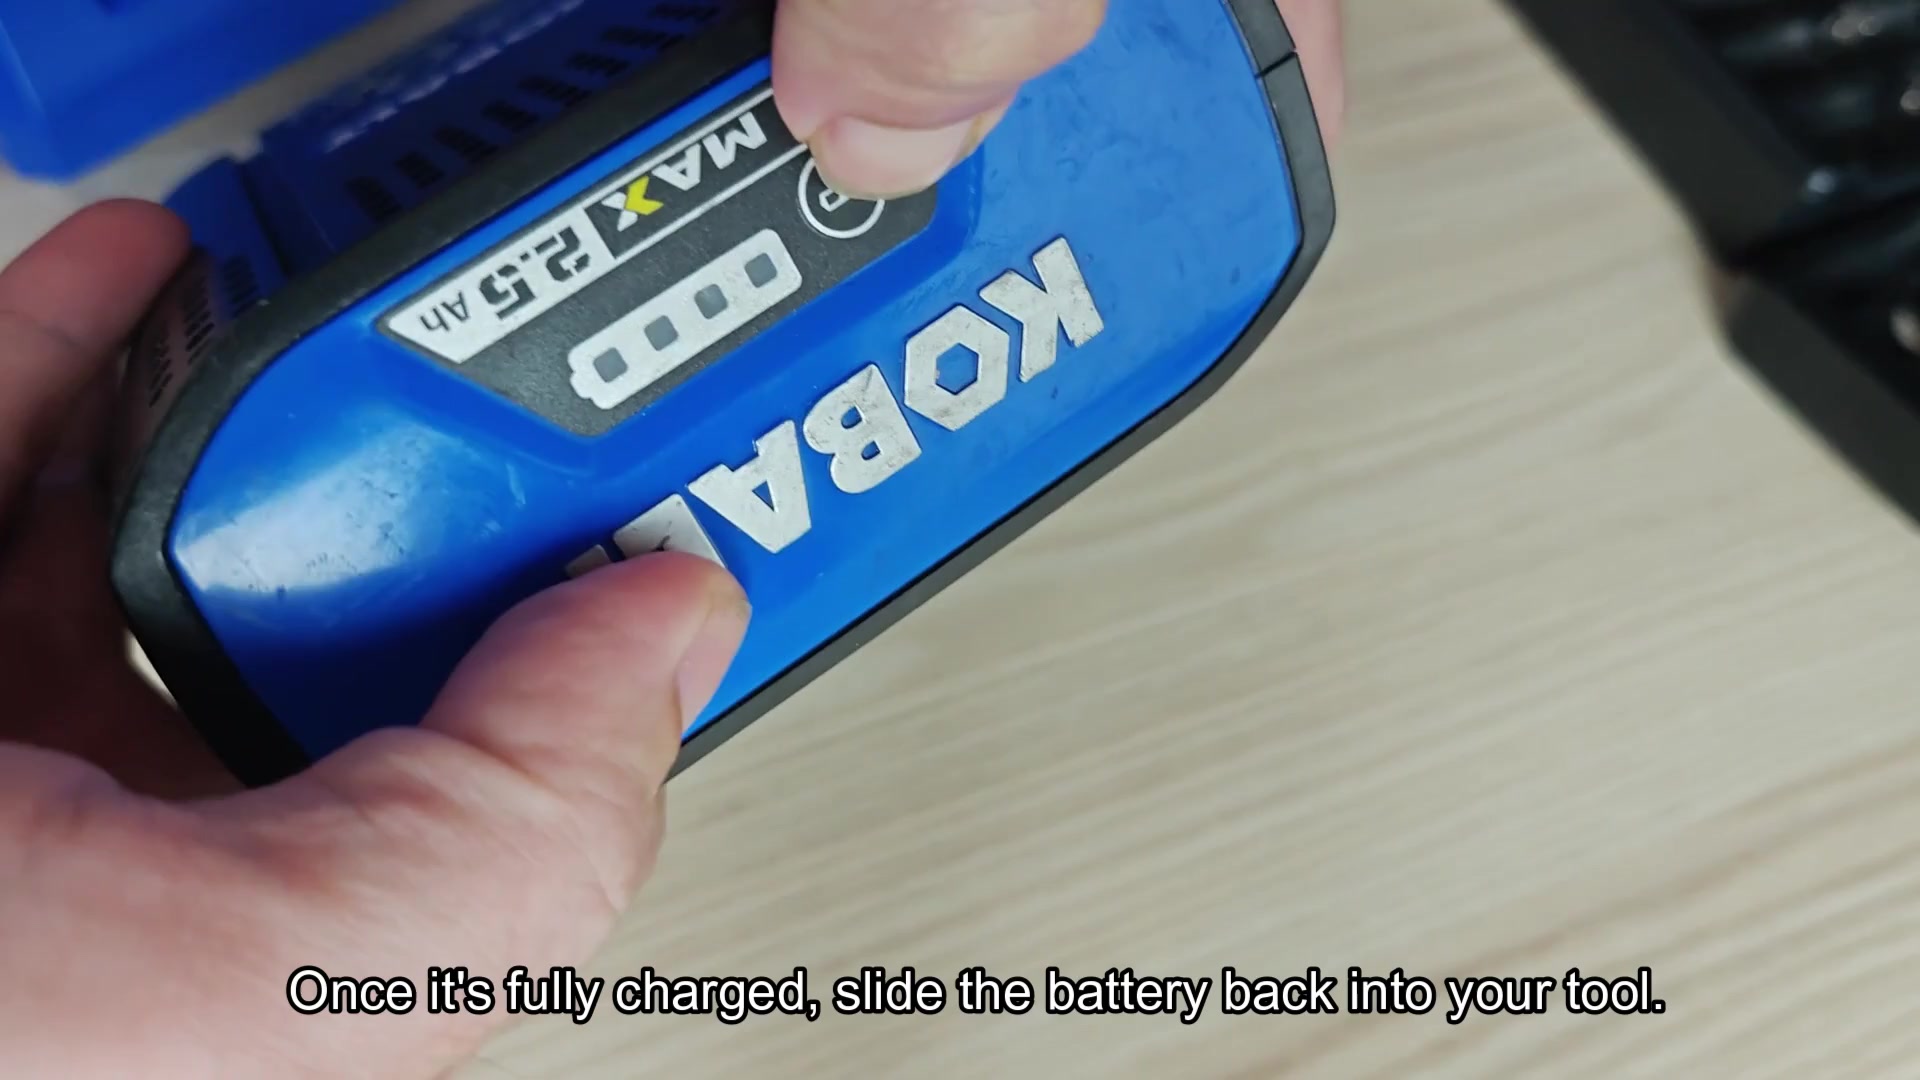
To start charging, simply pull the battery pack off the tool. To see how much juice is left in your pack, push button and look at gauge. It’s up to you whether or not to charge it all the way back up. With that gauge as a guide, you’ll know when.
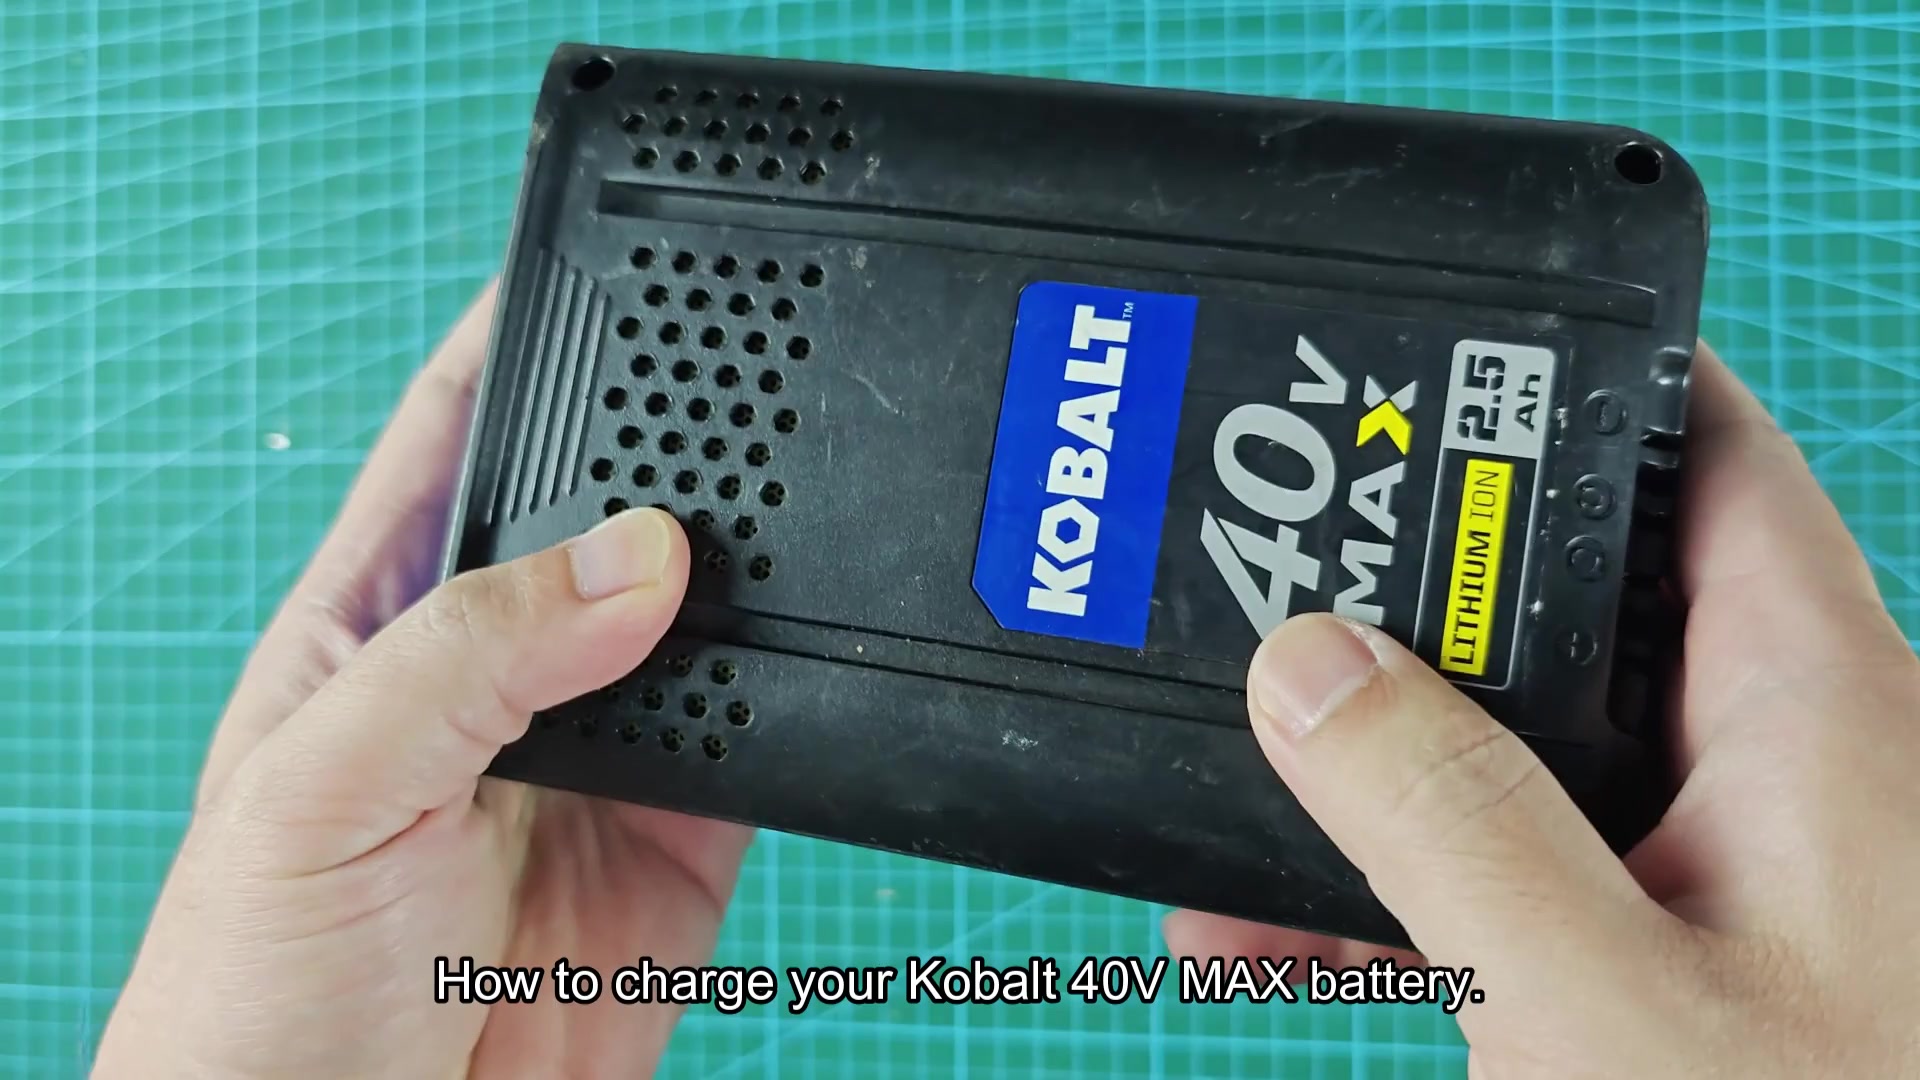
The indicator bars also let you visually know where it’s at. While not always exactly right, it give you a good starting point.
Understanding Charging Times
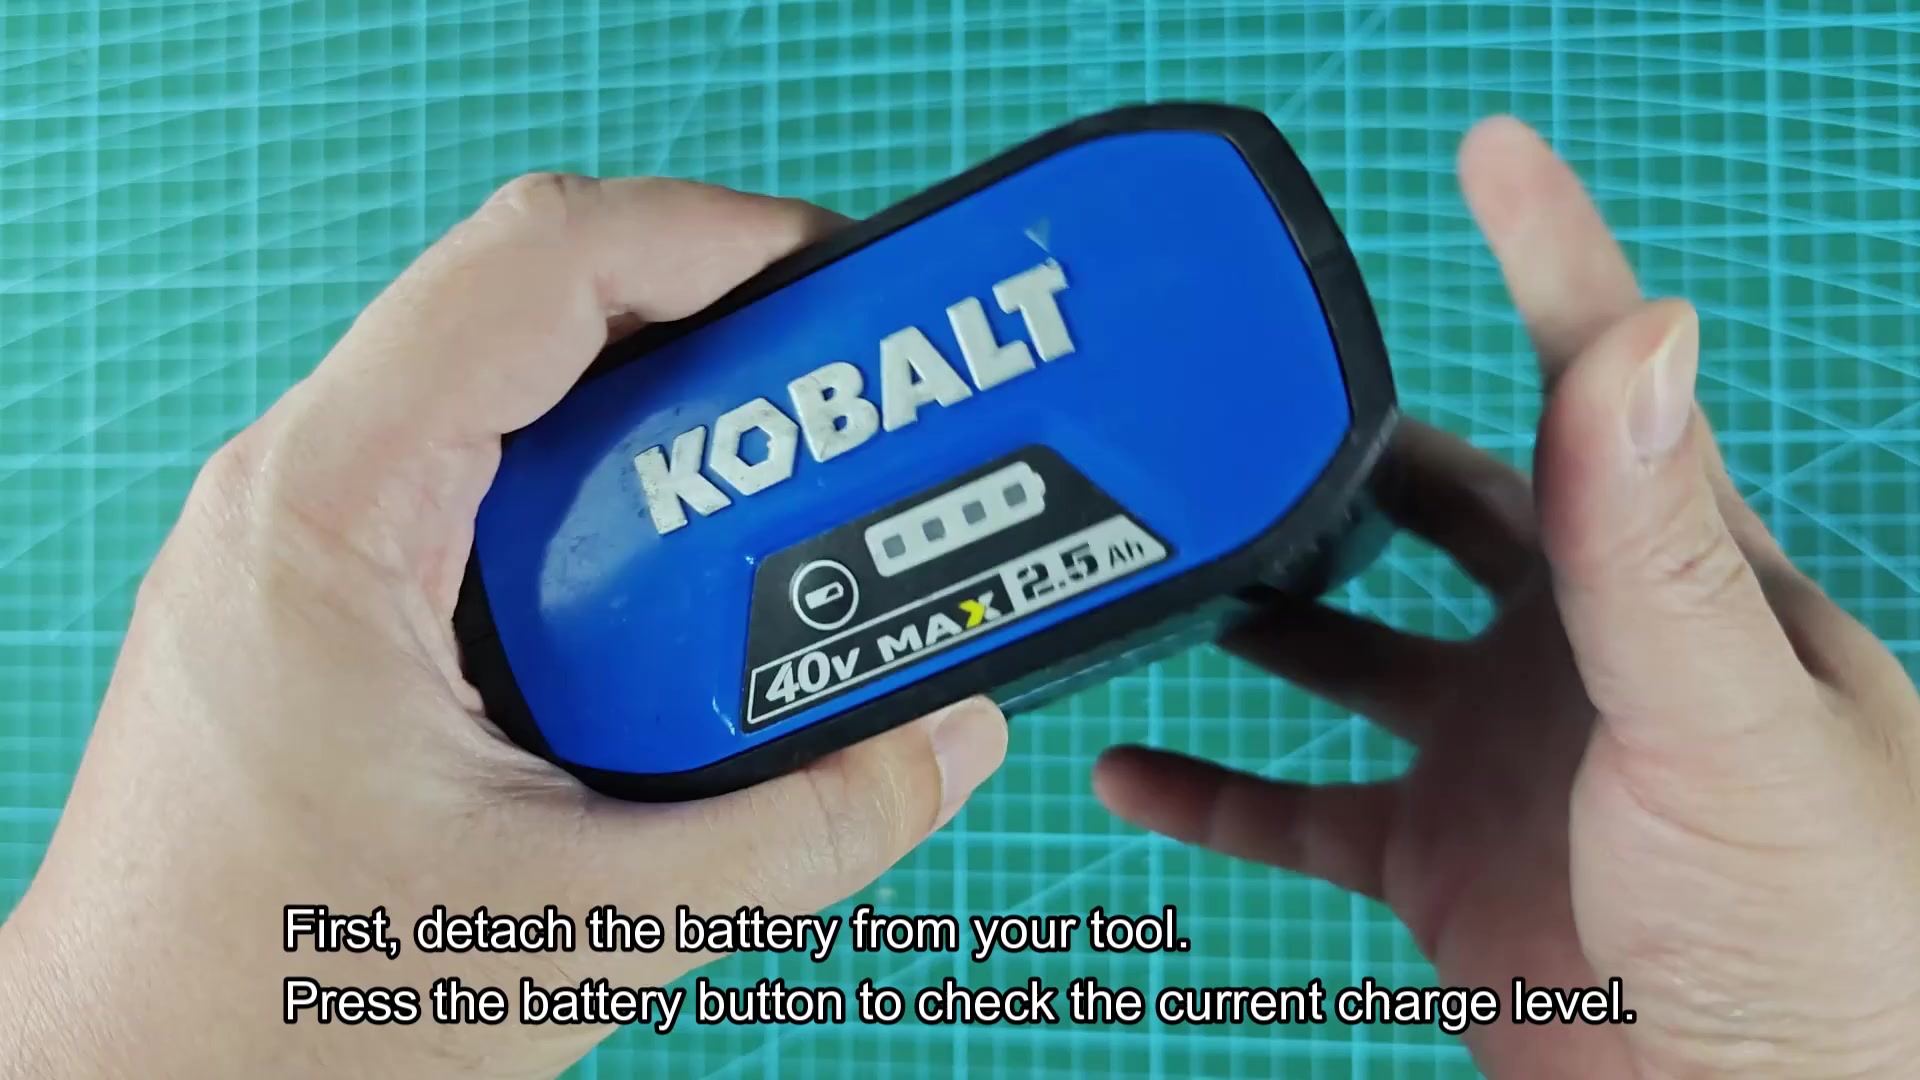
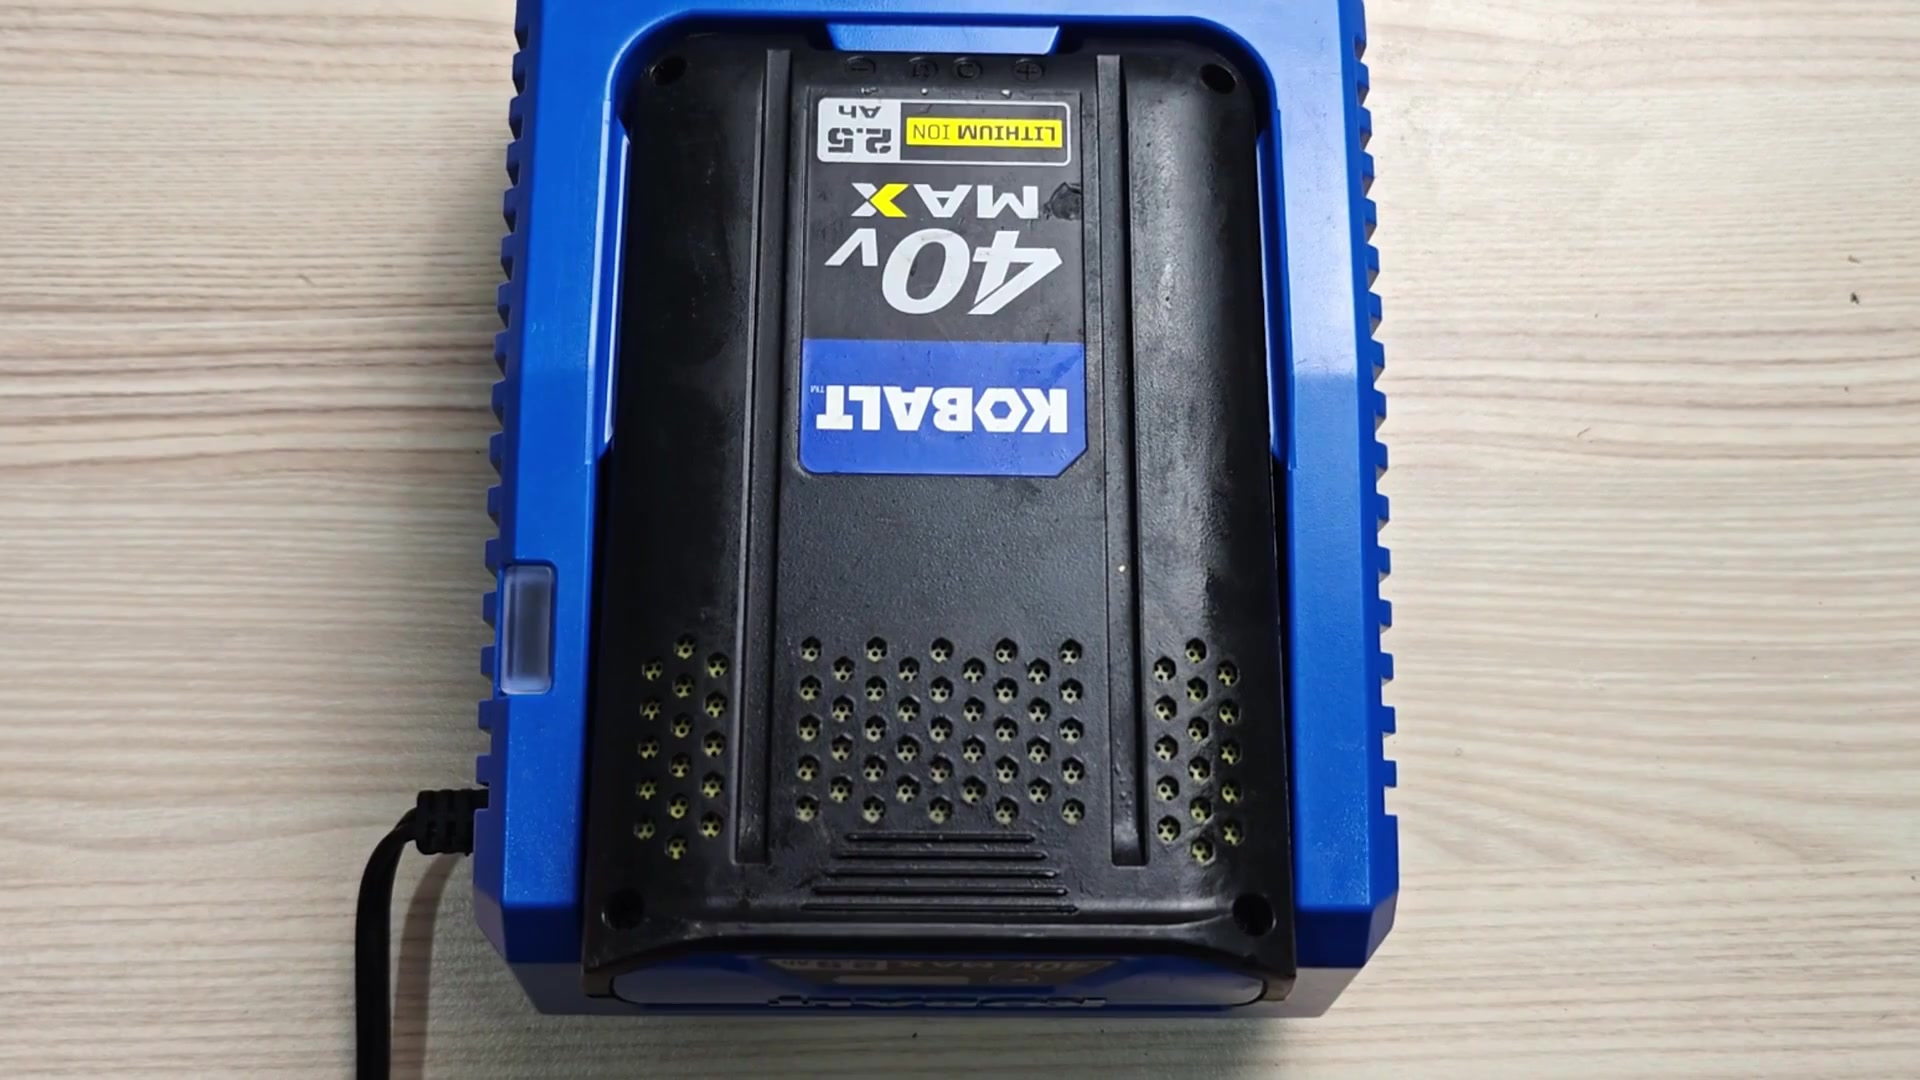
Slide battery gently onto charger base. Make sure the pack lines up with the contacts for the charger to connect. When it’s aligned properly, there will be a solid click showing battery has been positioned correctly. If you don’t, the charger won’t work.
For the charge current to enter the cells, it must have a good connection. As soon as you insert the battery, the charger begin working. Keep an eye on indicator lights to monitor progress.
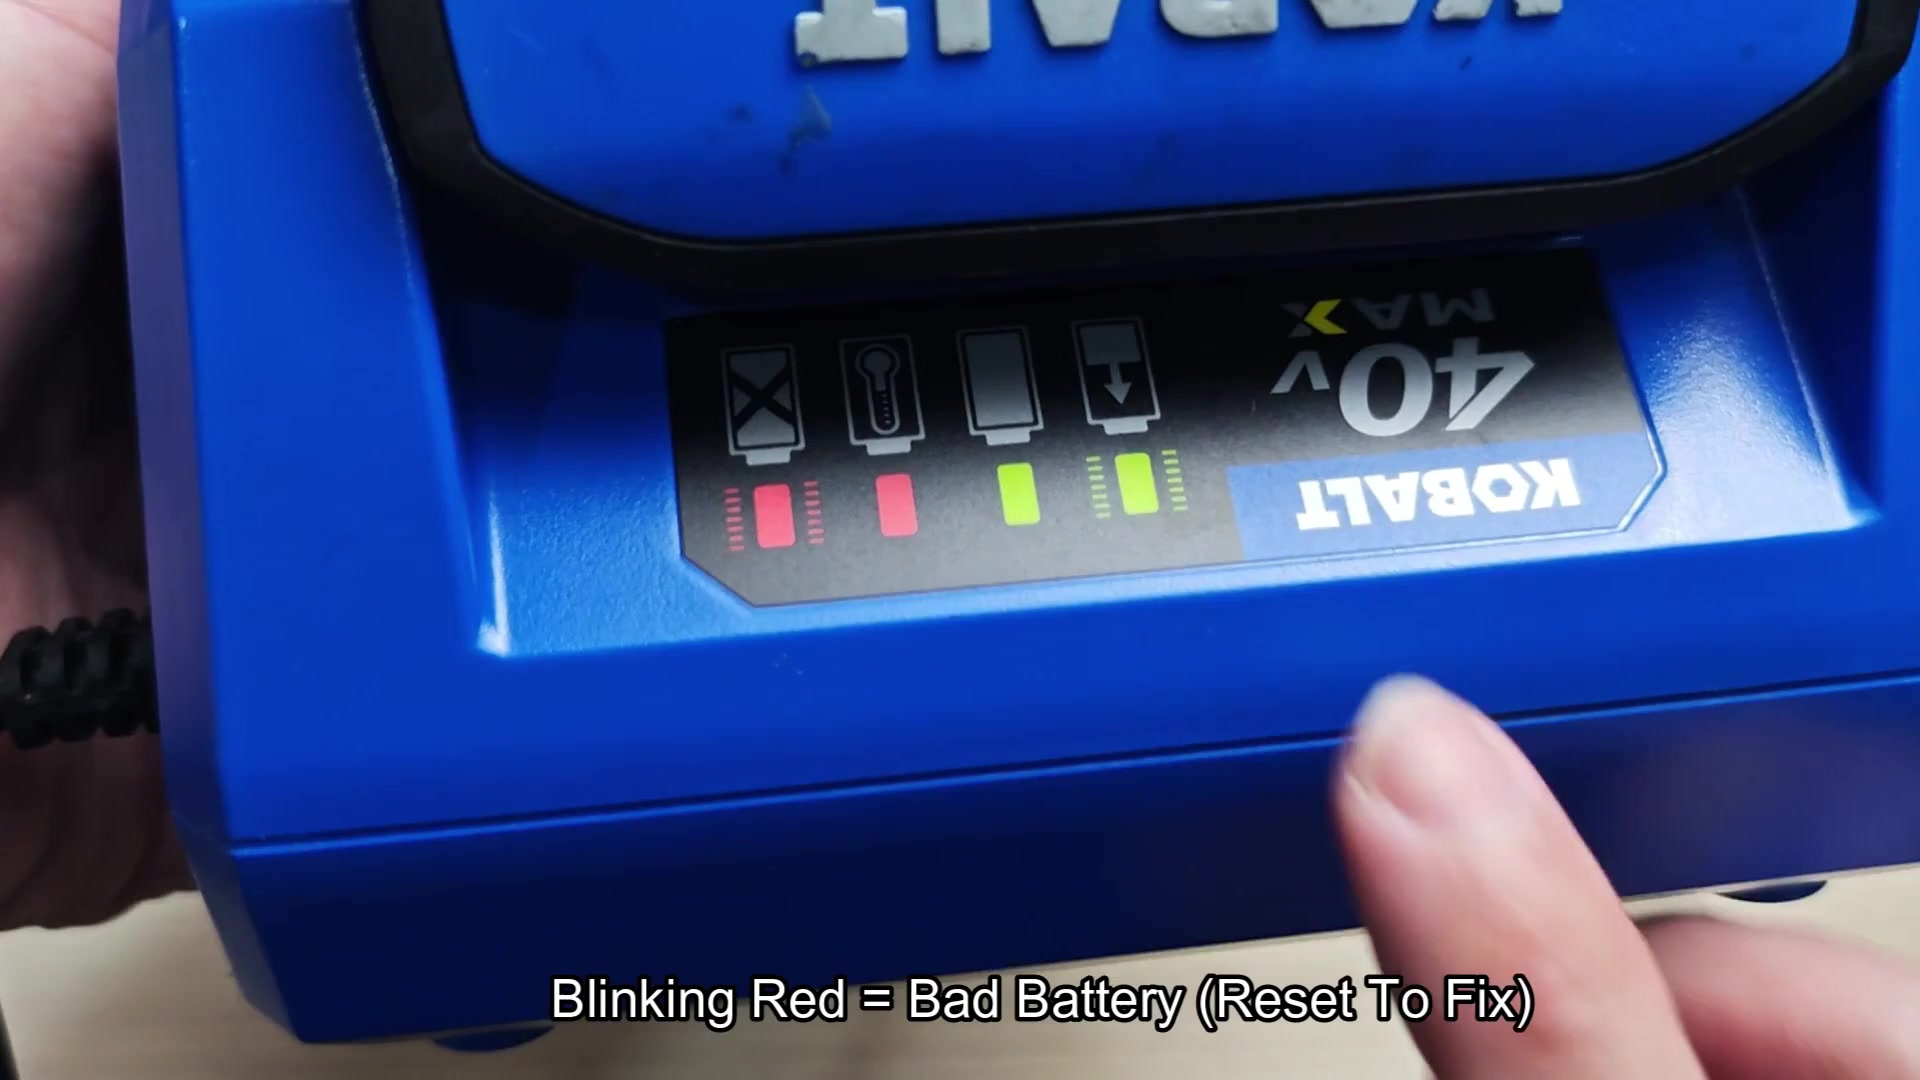
If the charger is currently working, the indicator will be green and flashing. It’s normal, and that indicates charge current flowing into the battery. During this step, you simply walk away from the pack and let it do its thing until light changes.
How long does it take? The amount of power you get from your battery pack determine how long it takes to charge fully.
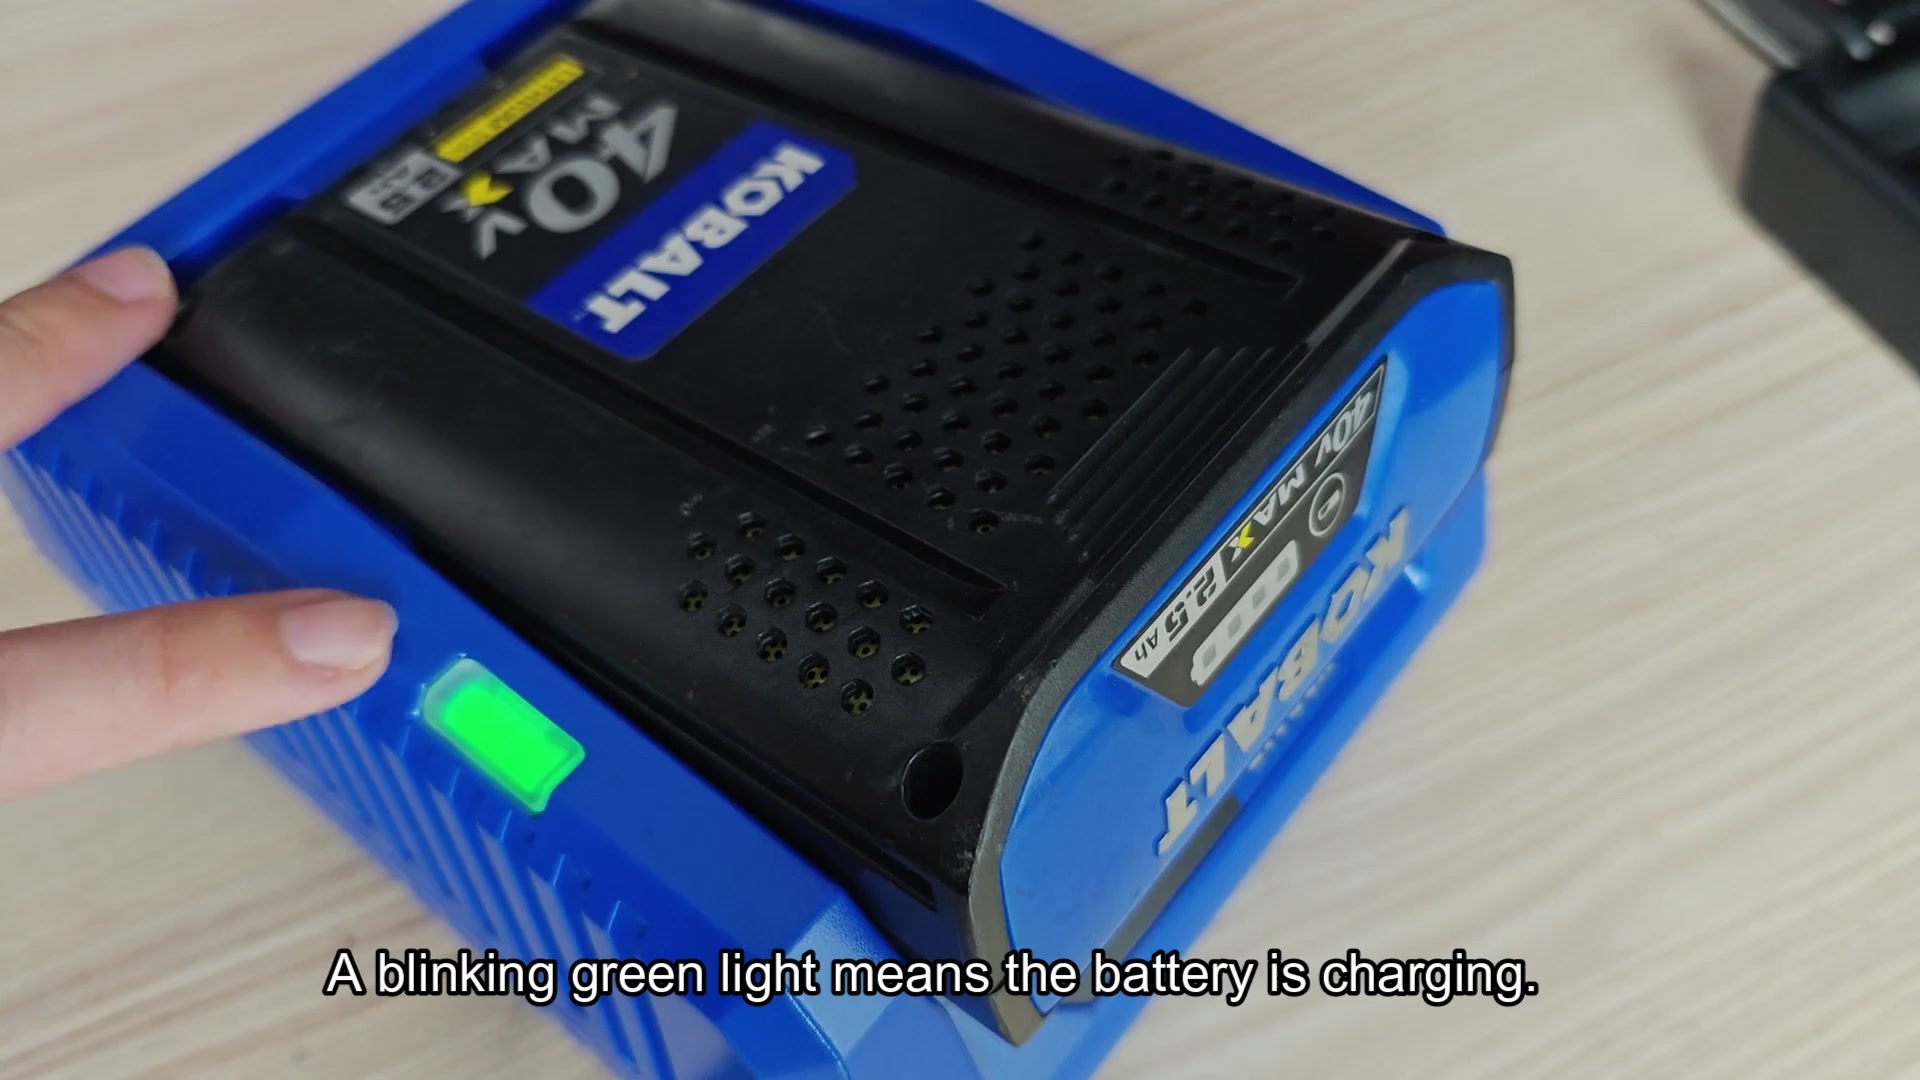
For instance, if you have the smallest pack (a 2.5 Ah) it only takes about an hour to be fully charged. This is great if you are using the battery for shorter tasks and don’t need it to last more long.
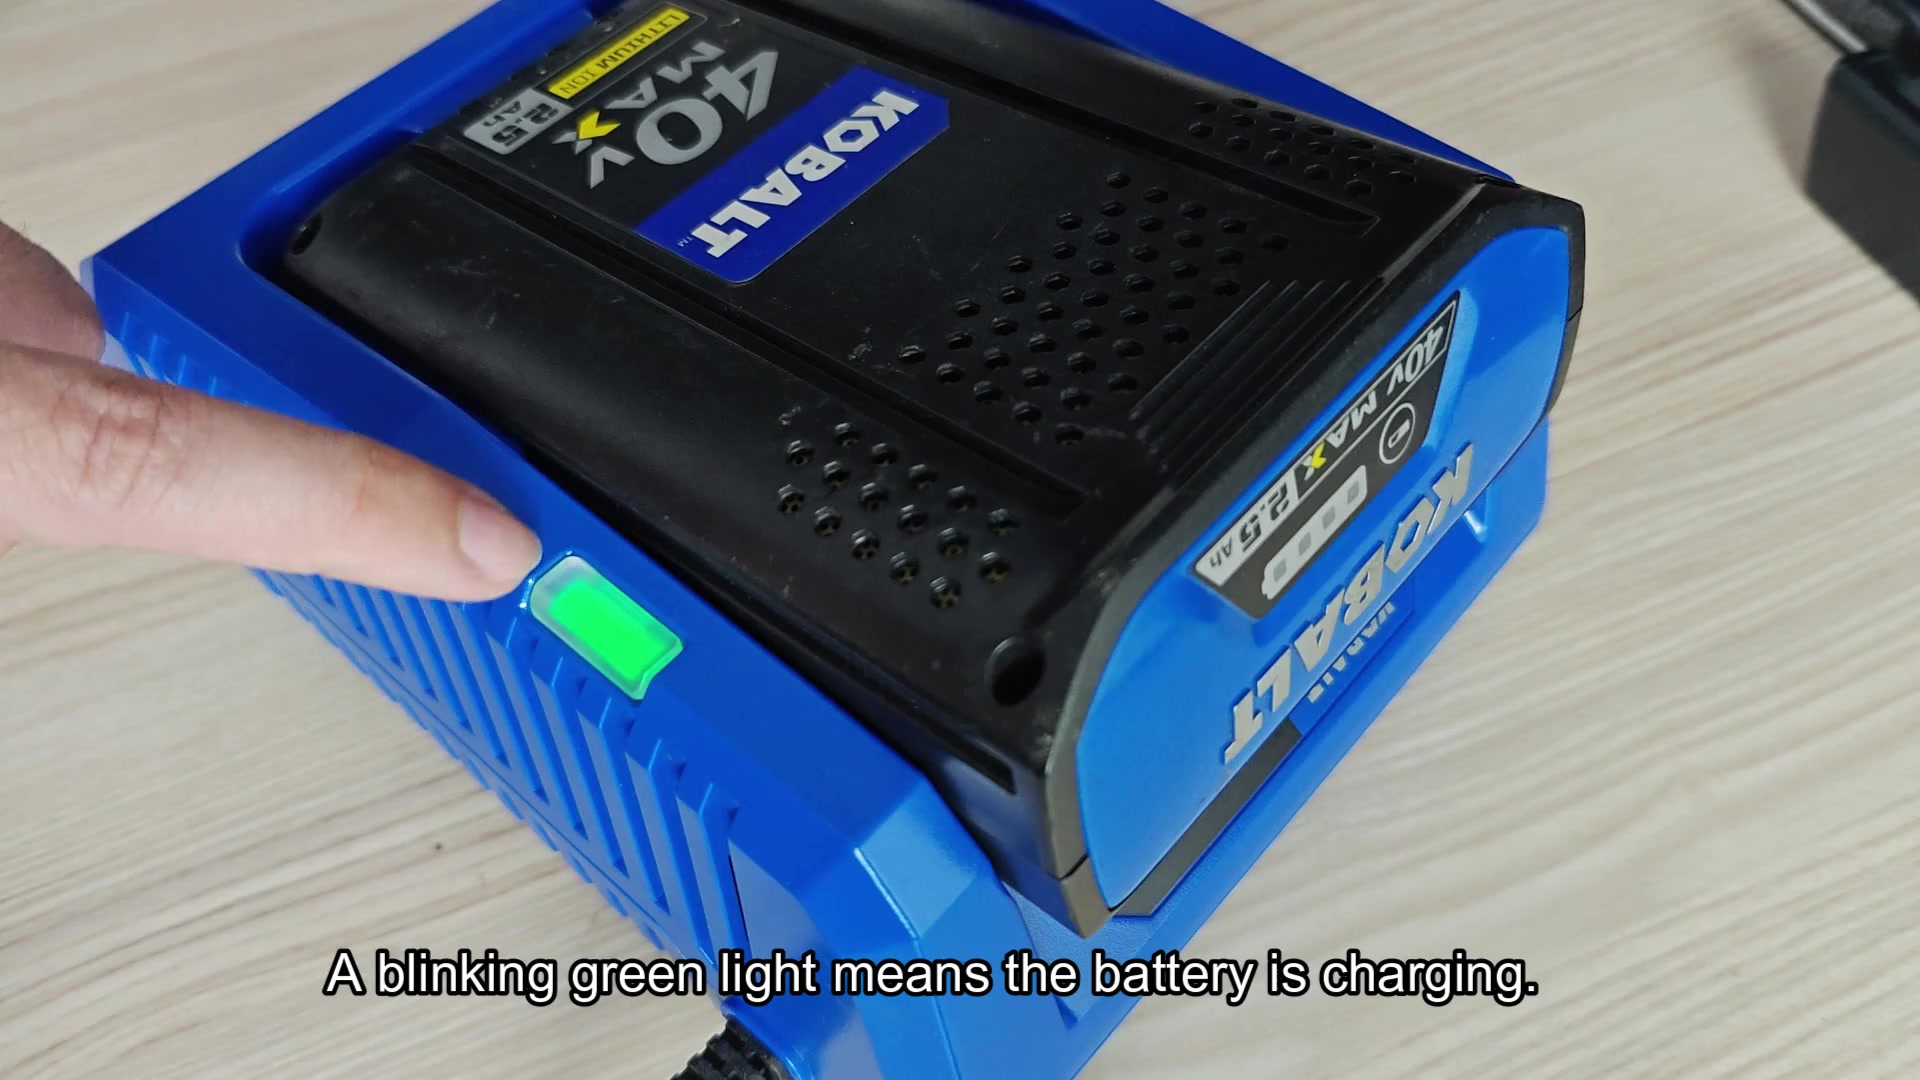
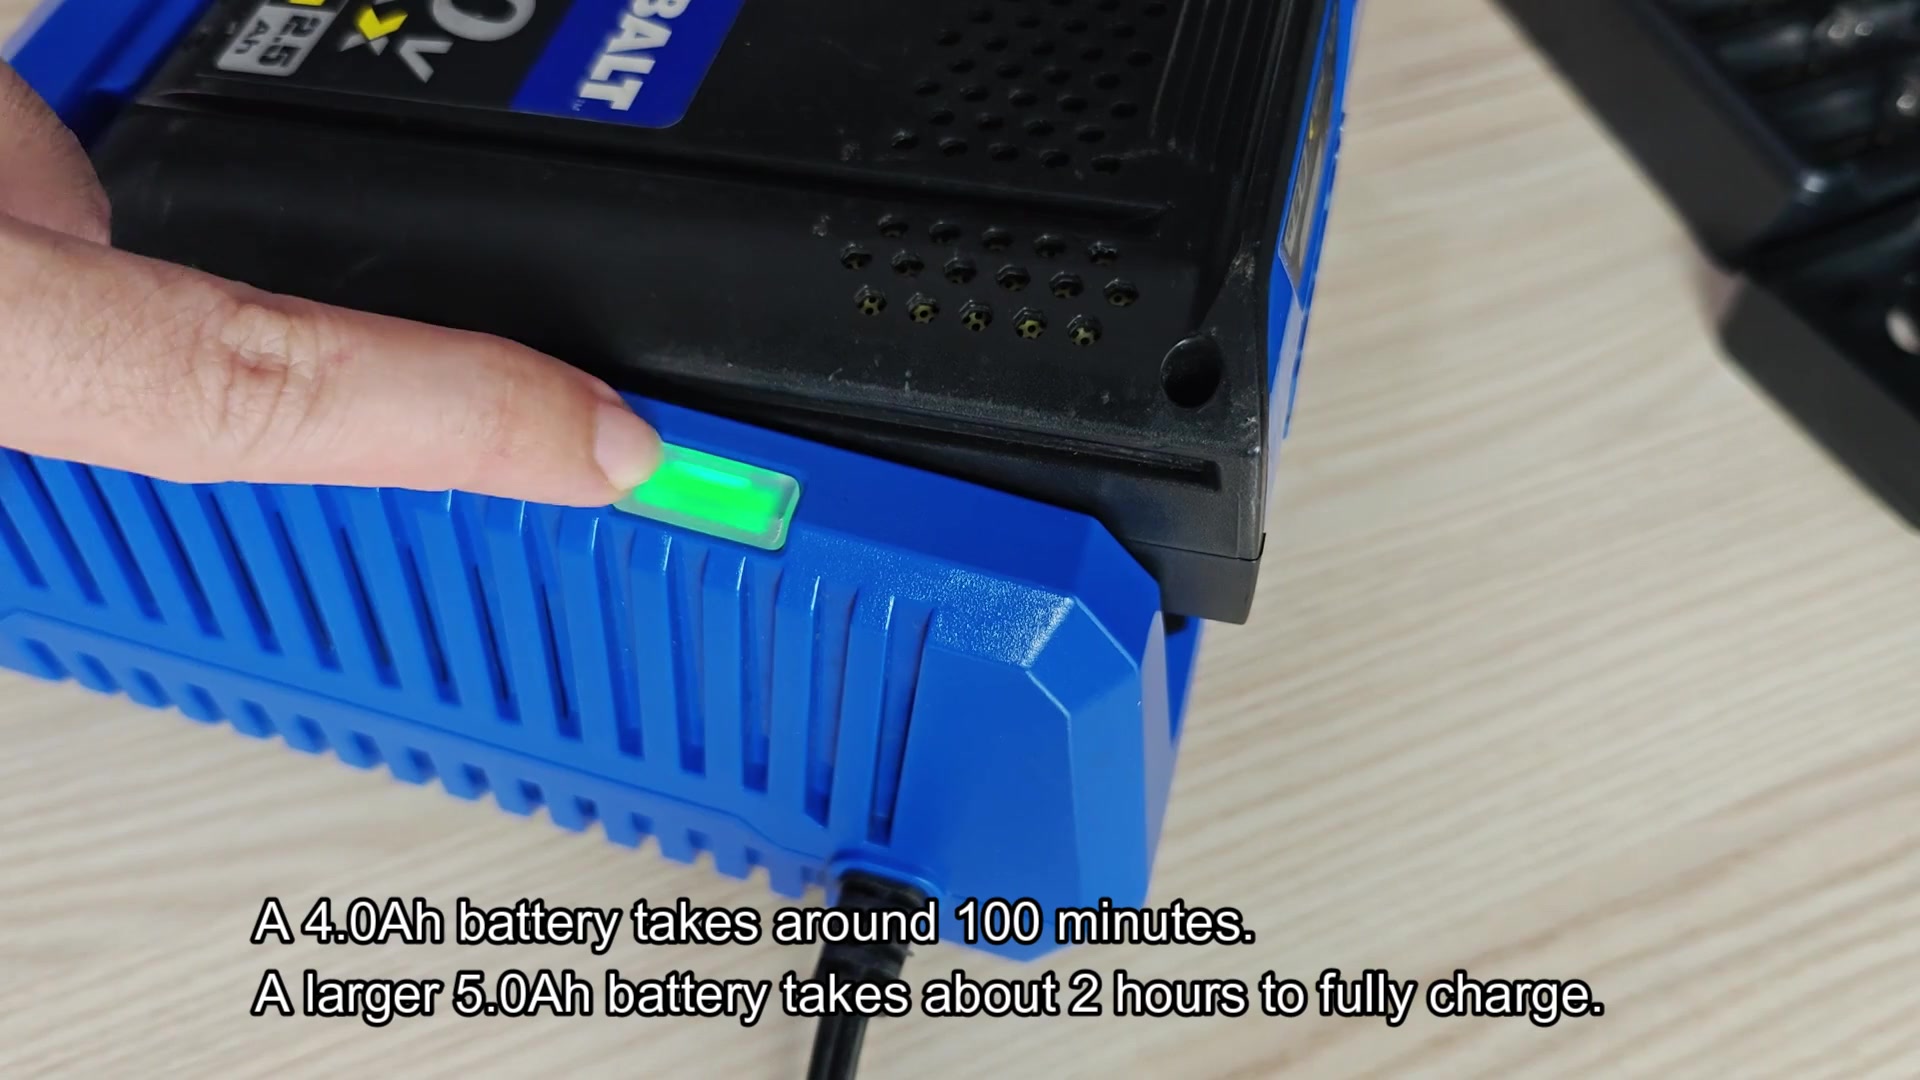
The next size up is a little more substantial. It takes approximately 100 minutes to fully charge a 4.0 Ah battery. Because this battery holds more than double, you can easily schedule a break with this one.
The largest ones take the longest. It actualy takes almost exactly two hours to fully charge a 5.0 Ah battery. Save those big batteries for longer lasting jobs.
It’s also a good idea to know when to quit charging. Status change indicators are lights on the charger. Once the battery is full and charging stops, the light will become solid green. Solid green means done. Take your battery off charger as soon as you see solid green light. There is no benefit to leaving it on the charger any longer.
These are safety indicators.
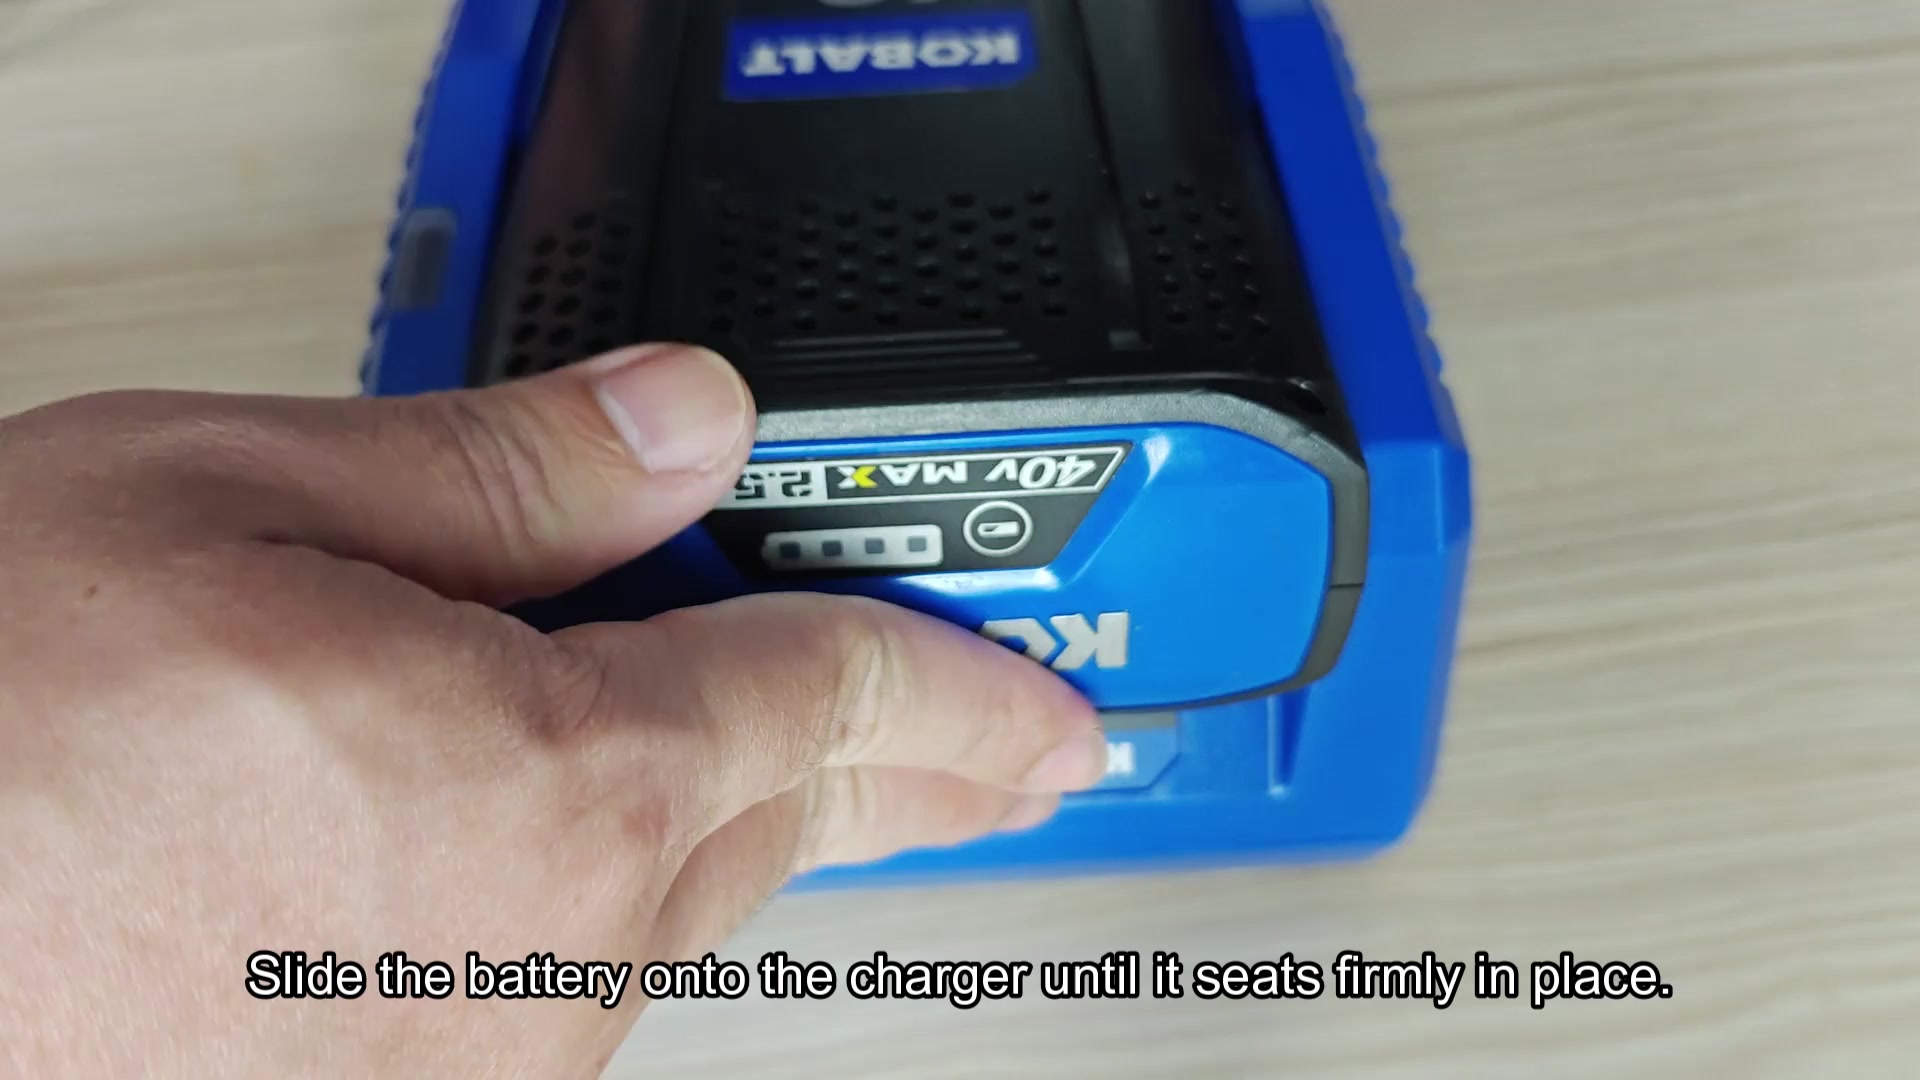
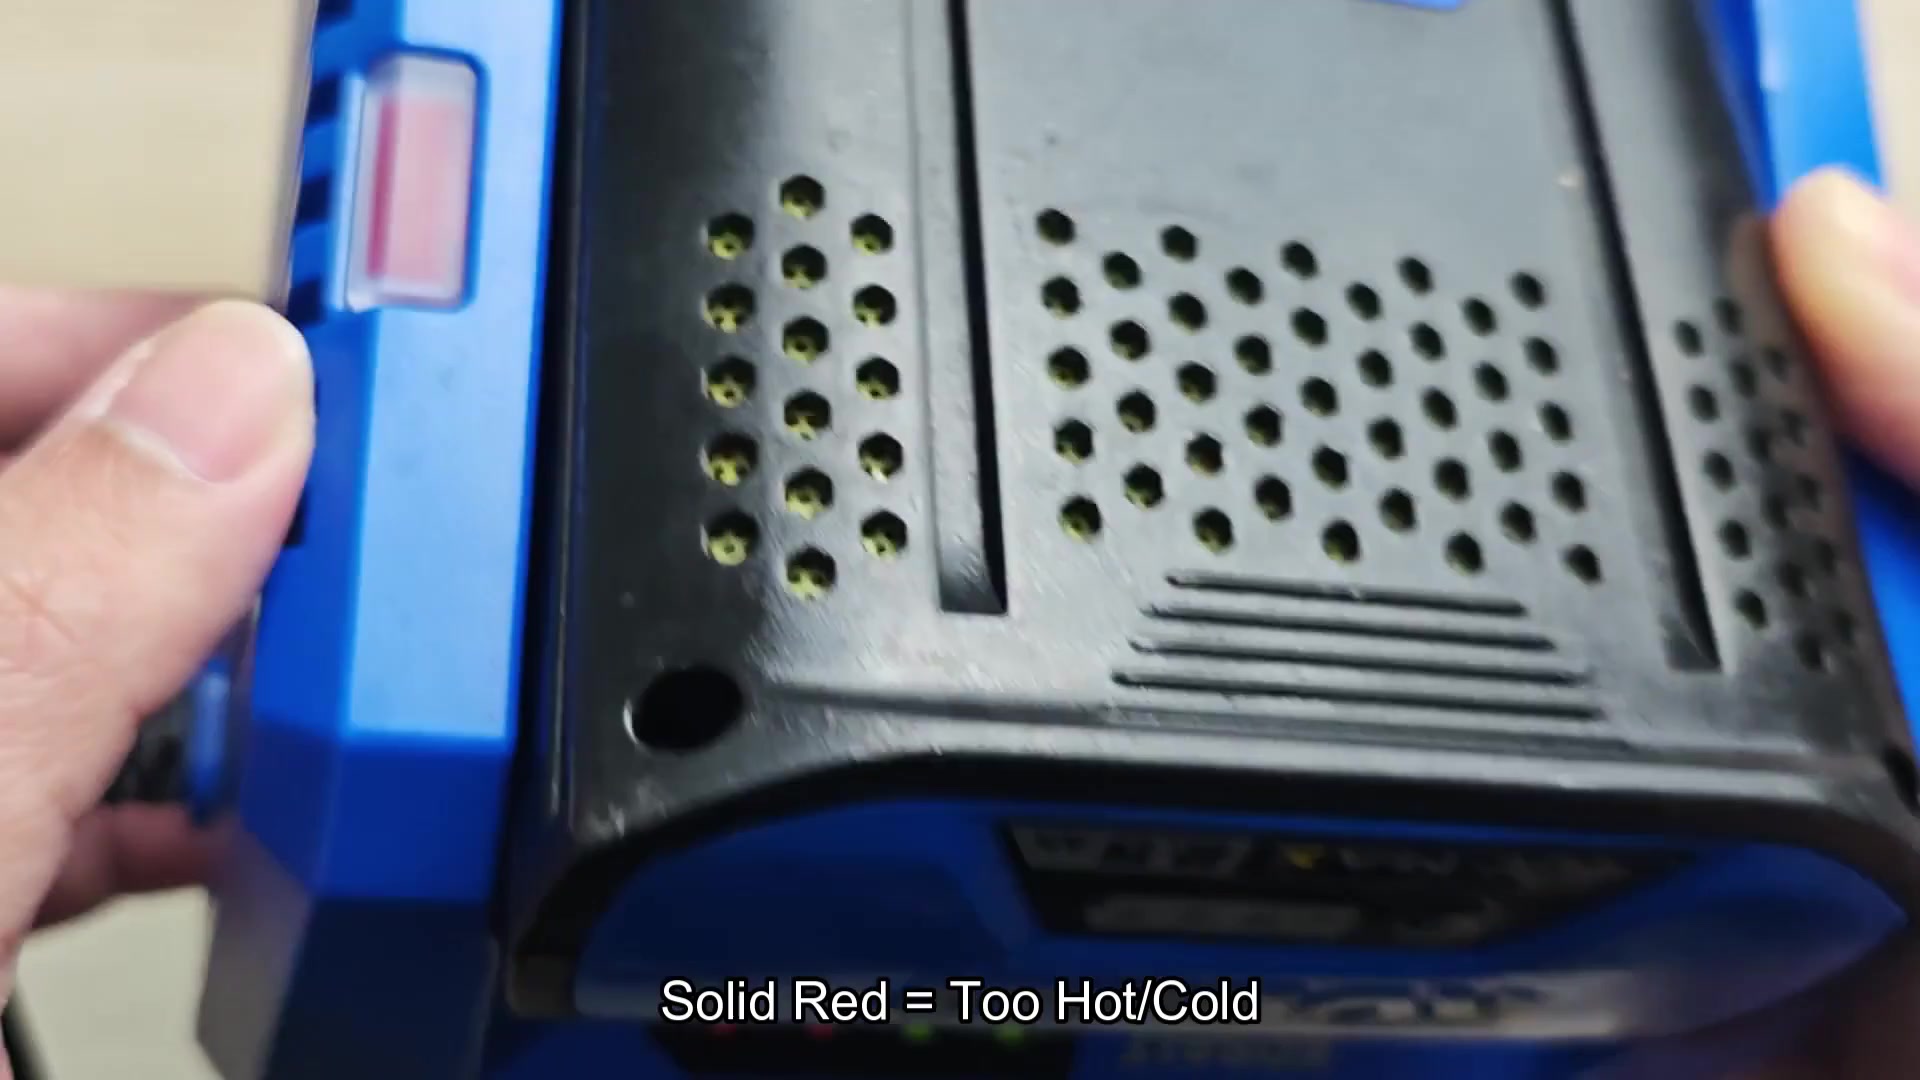
To warn of any issues, the charger has built-in safety indicators. When it’s too hot or too cold for safe charging, a solid red light will turn on indicating extreme temperatures. To prevent cell damage, system automatically cuts off power.
Without this, you risk damaging batteries while attempting to charge them in such conditions. Lithium-ion packs are sensitive to temperature. It gives this warning when it gets too hot or cold. Until battery returns to normal temperature, it won’t accept a charge. There is no way around this safety feature… Just wait for the temperature to stabilize.
Damaged or old batteries can cause other problems too. If your battery has a blinking red light, then the battery is in poor condition. Typically, it’s because one or more cells is stuck or just plain failing. Often you’ll run into this on an abused pack.
If a battery is in bad condition, the charger won’t continue to charge. Sometimes though, the error will reset by taking the pack off and letting it sit for a minute. If it was temporary, the blinking red light turn off. Before you toss the pack give this a shot. It isn’t always game over when you recieve a blinking red light.
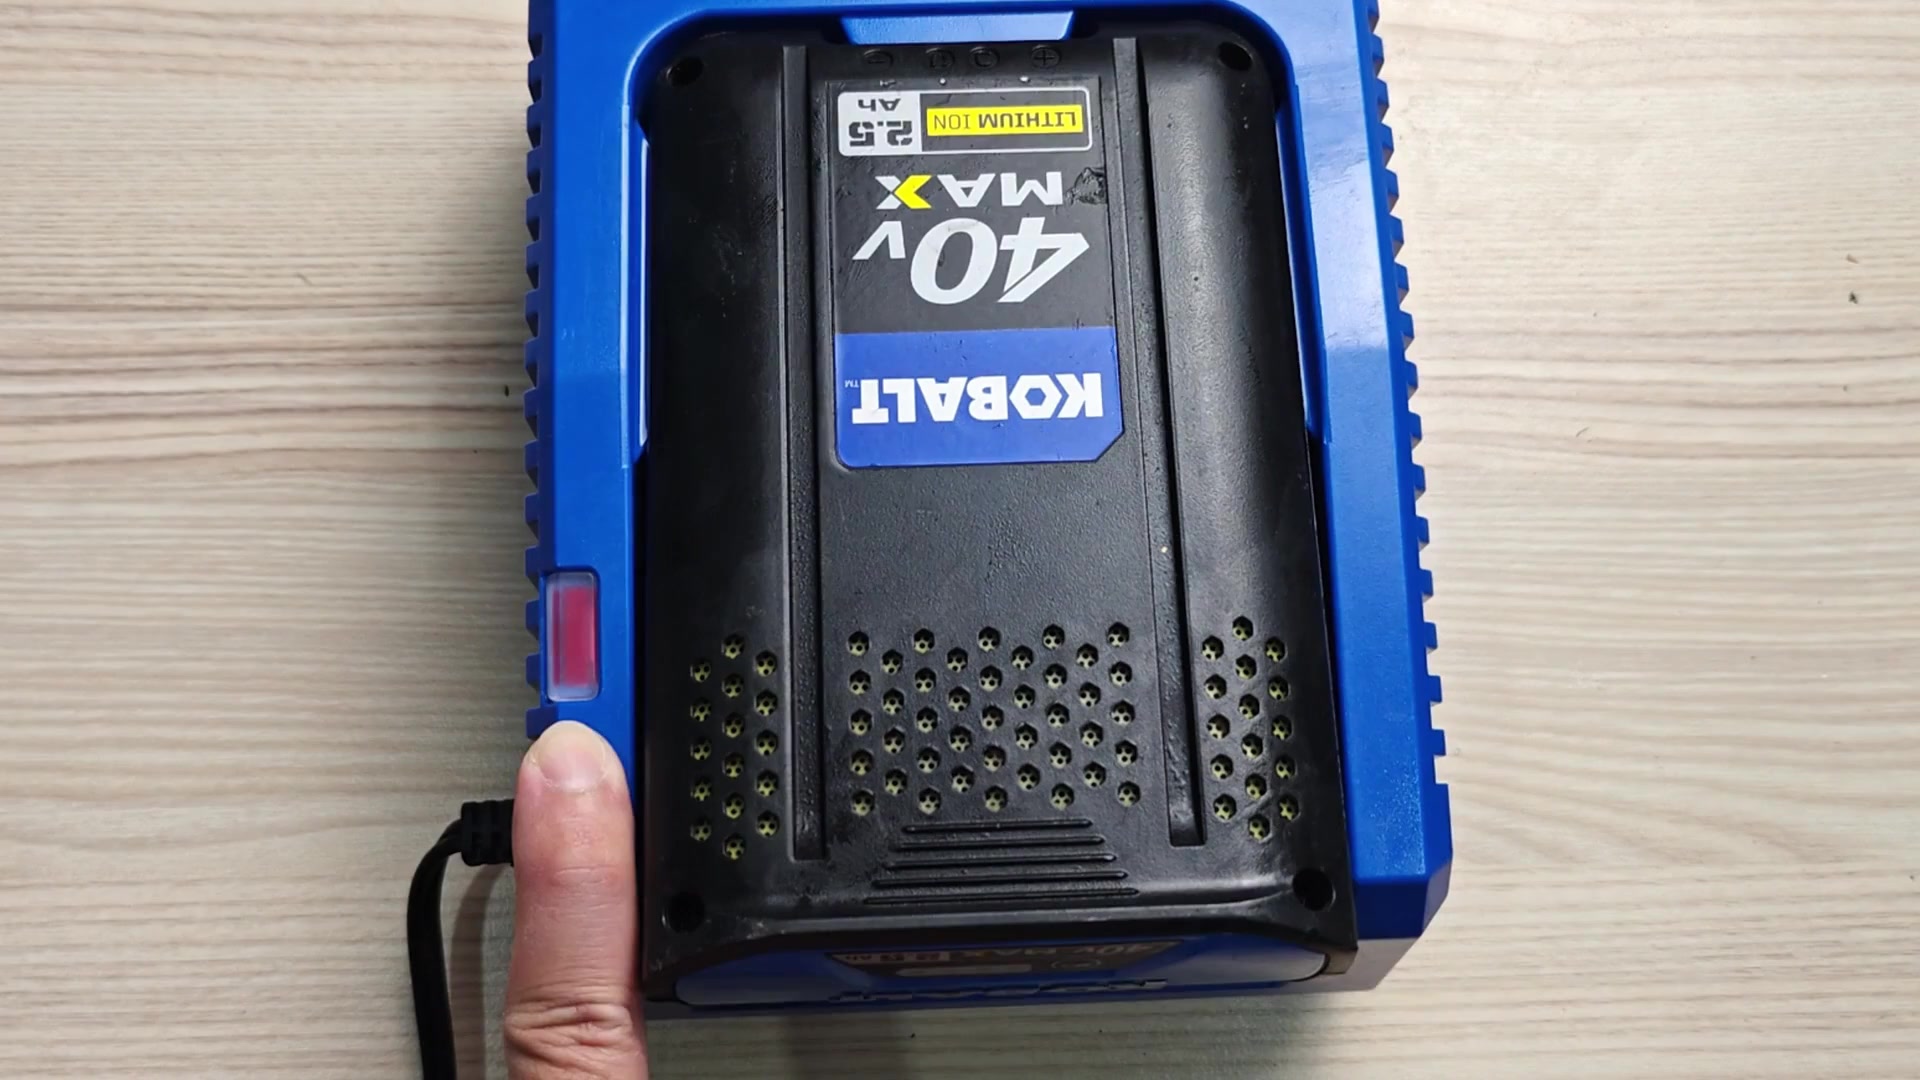
Sometimes, however, if the reset doesn’t work, maybe the battery just died. So you try it again and the red continues to blink. Well…maybe it’s time for a new pack. Maybe it won’t take a charge any longer at all.
But how do you know when something is failing and when it’s just glitching? This saves you from replacing things that don’t require replacement. You should of checked this first.