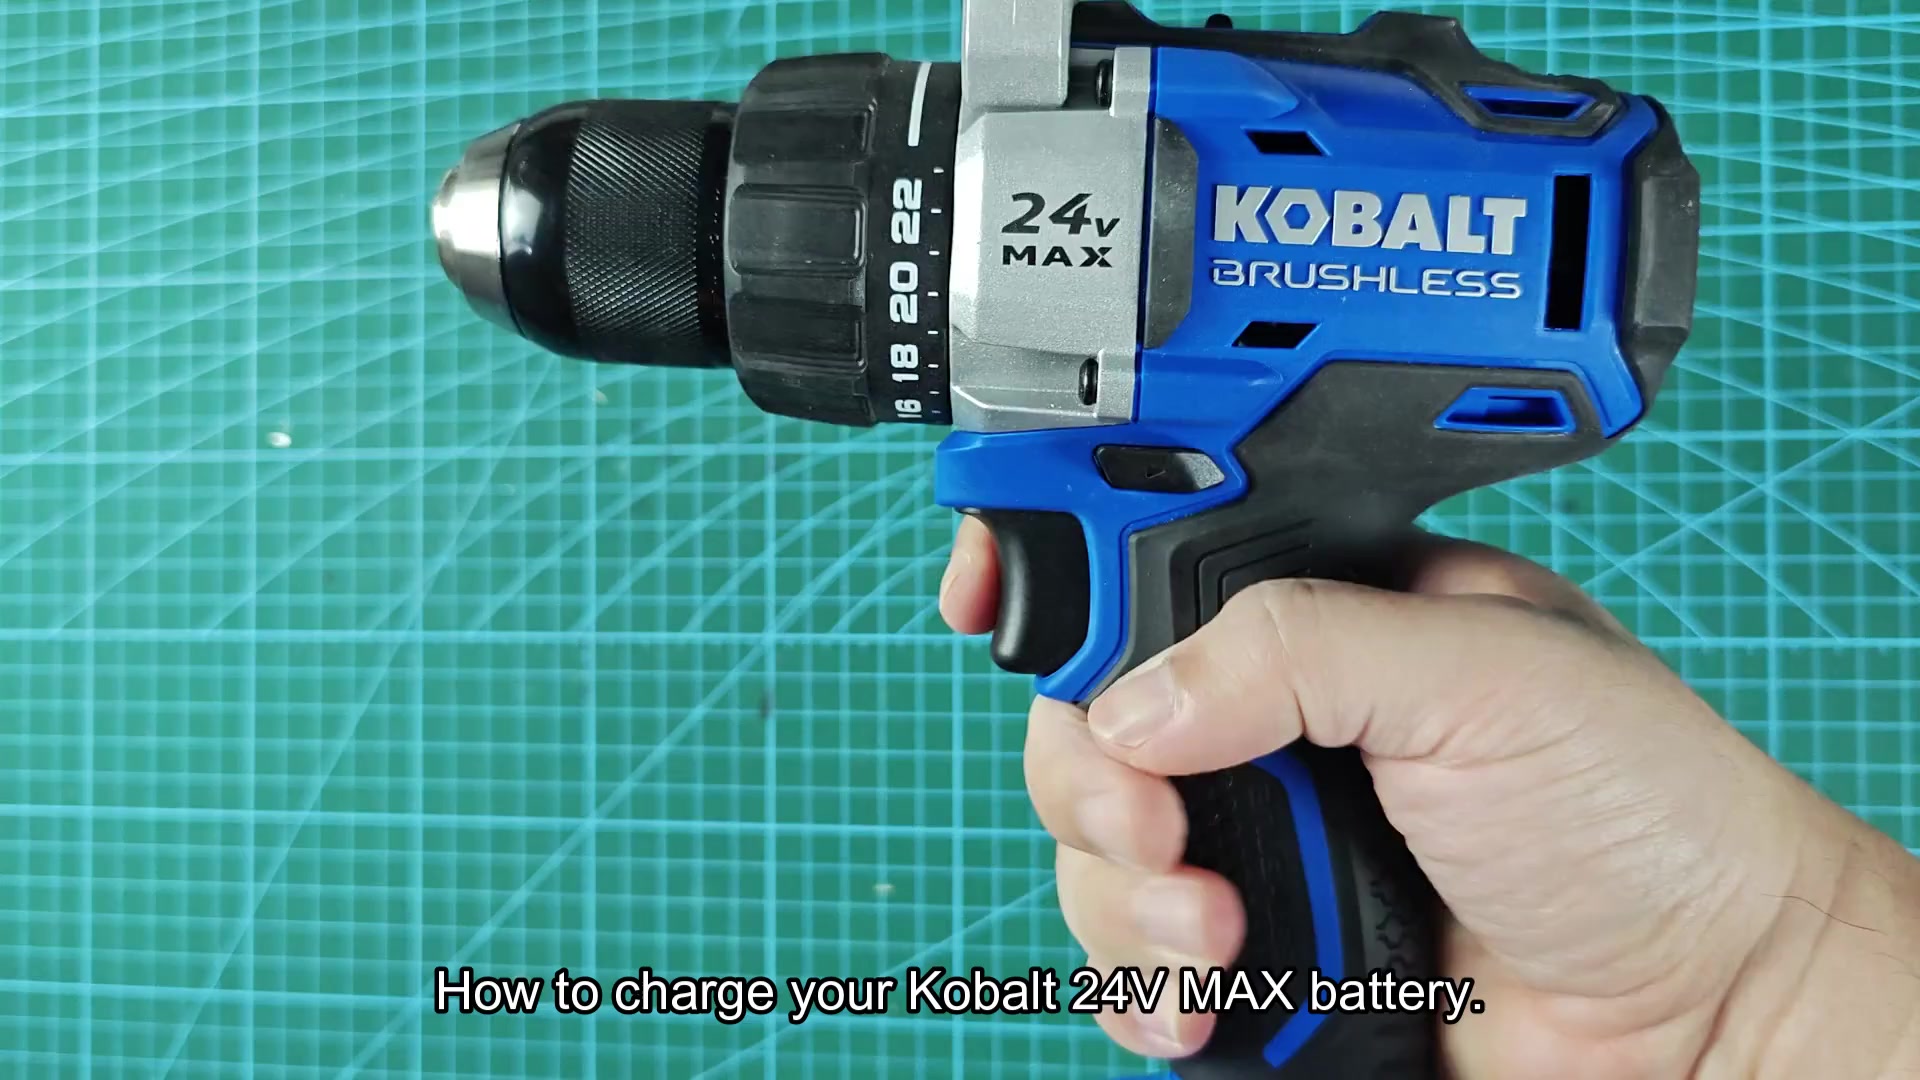
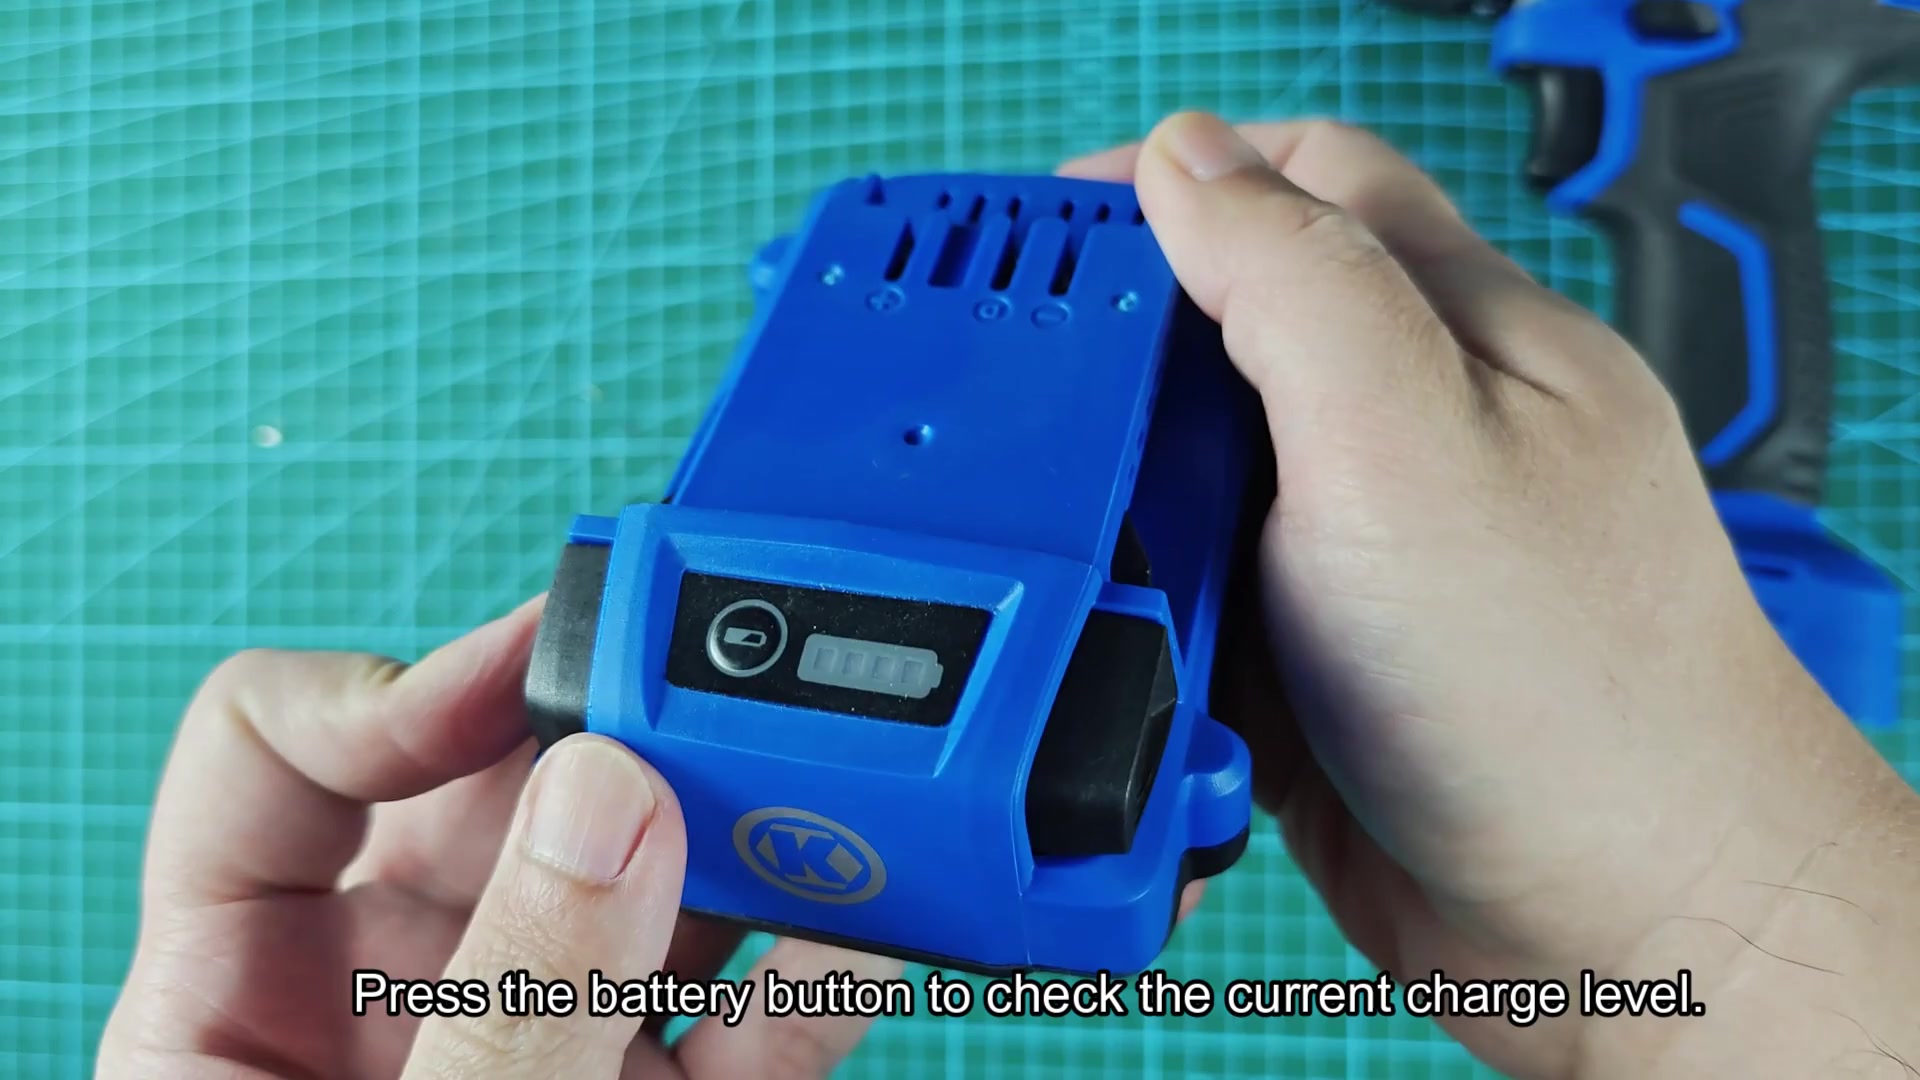
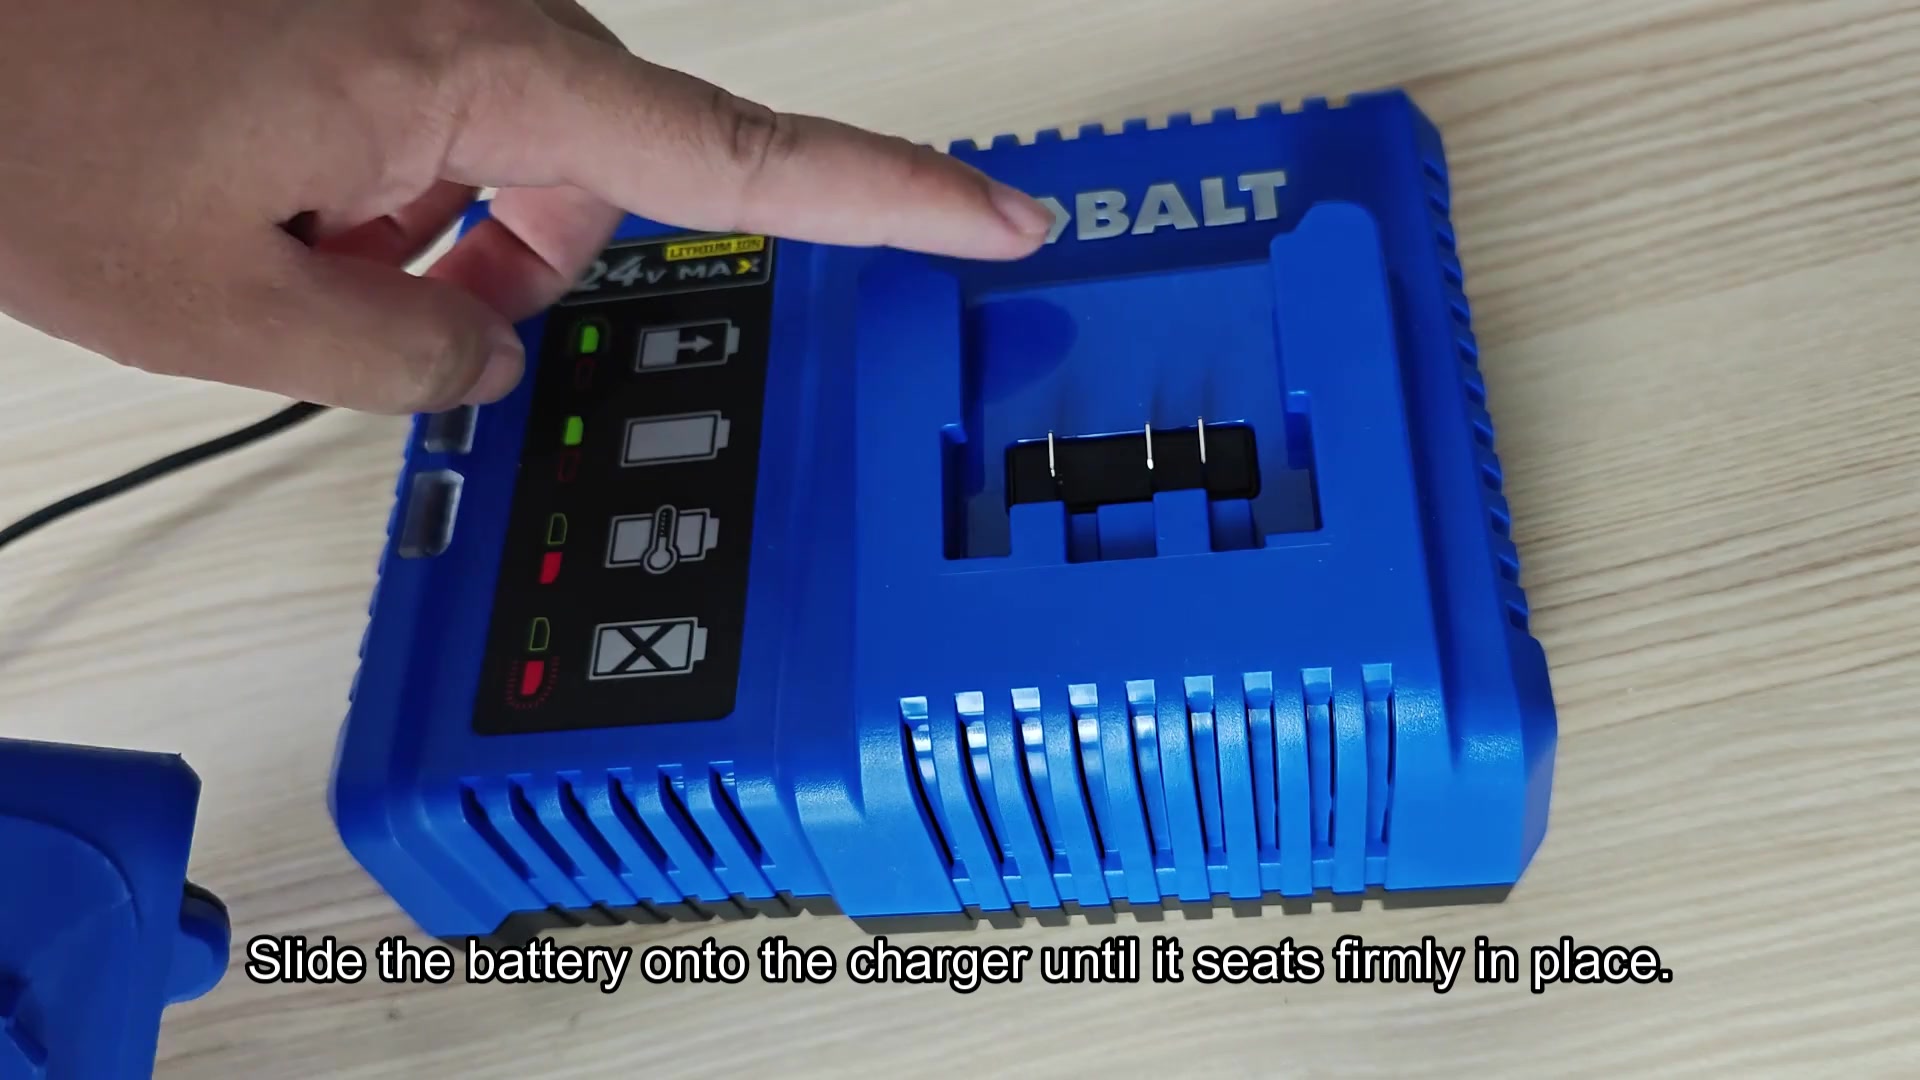
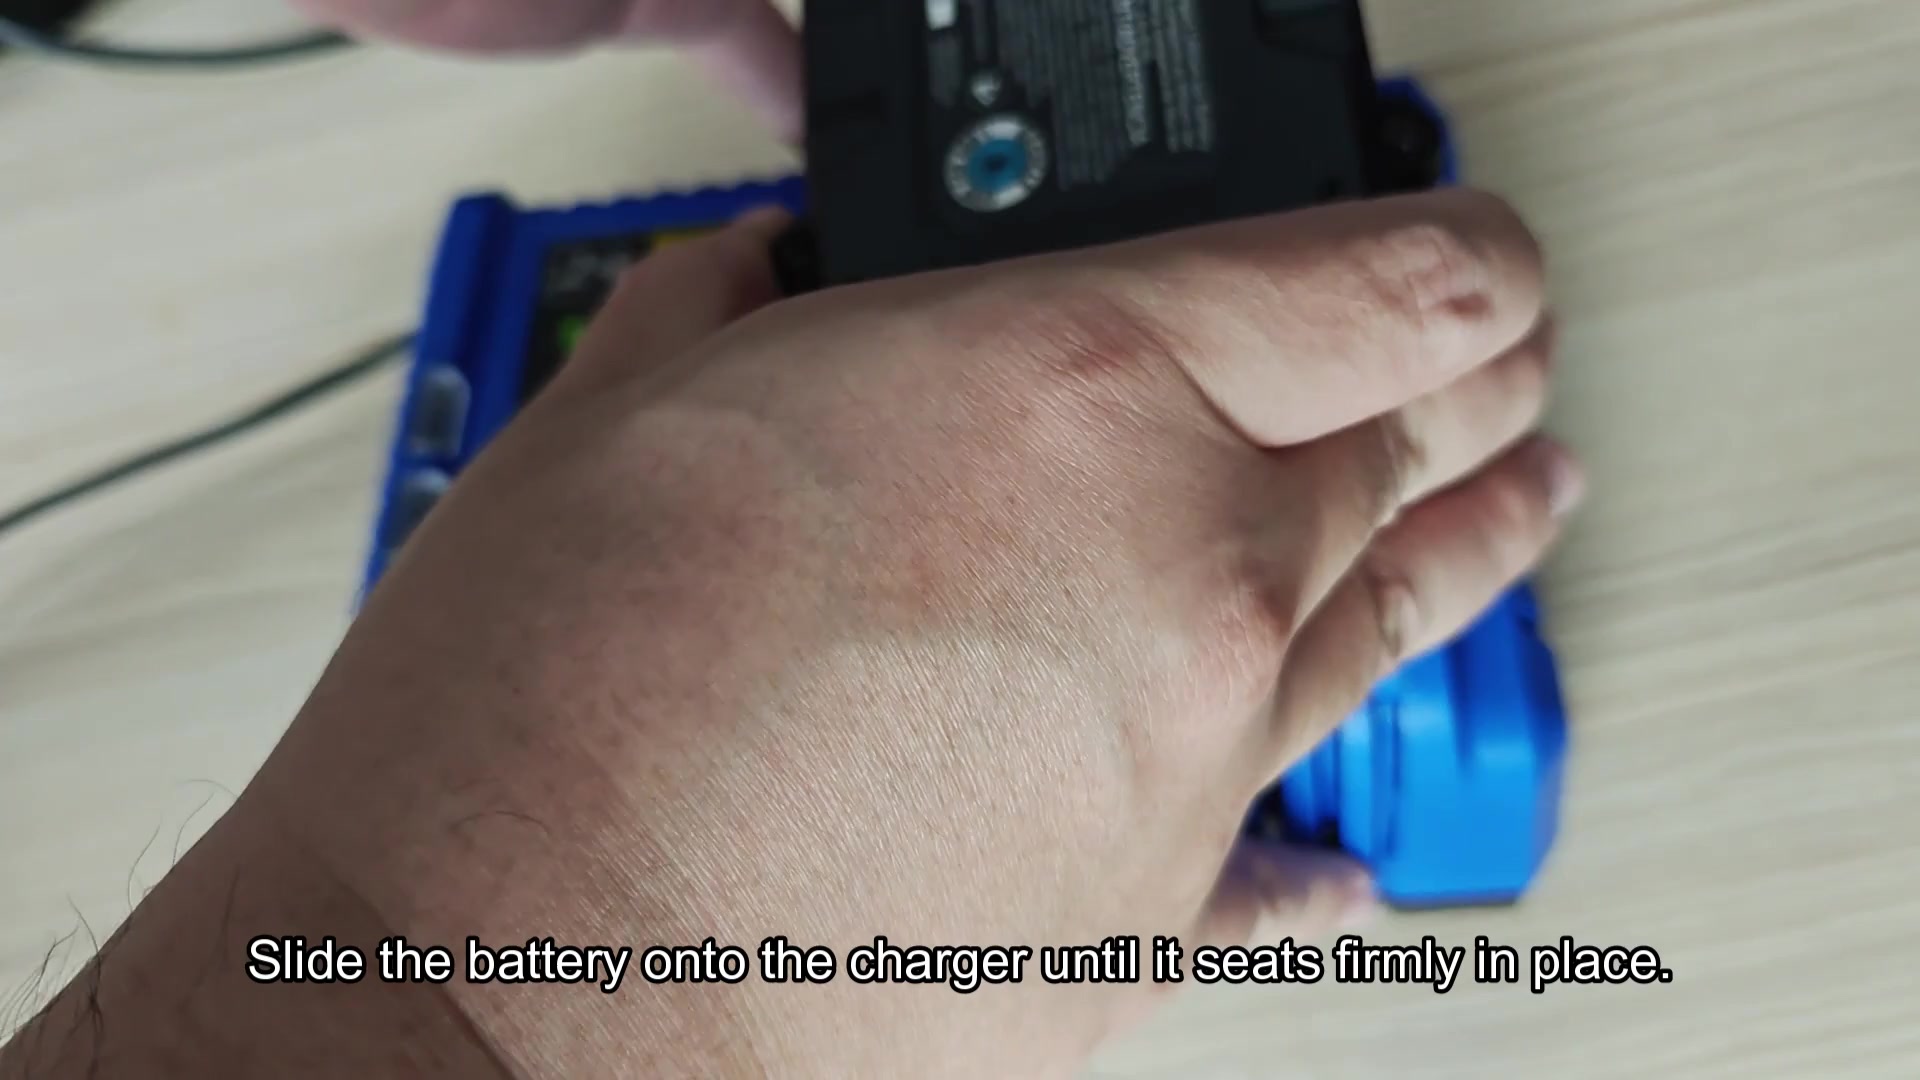
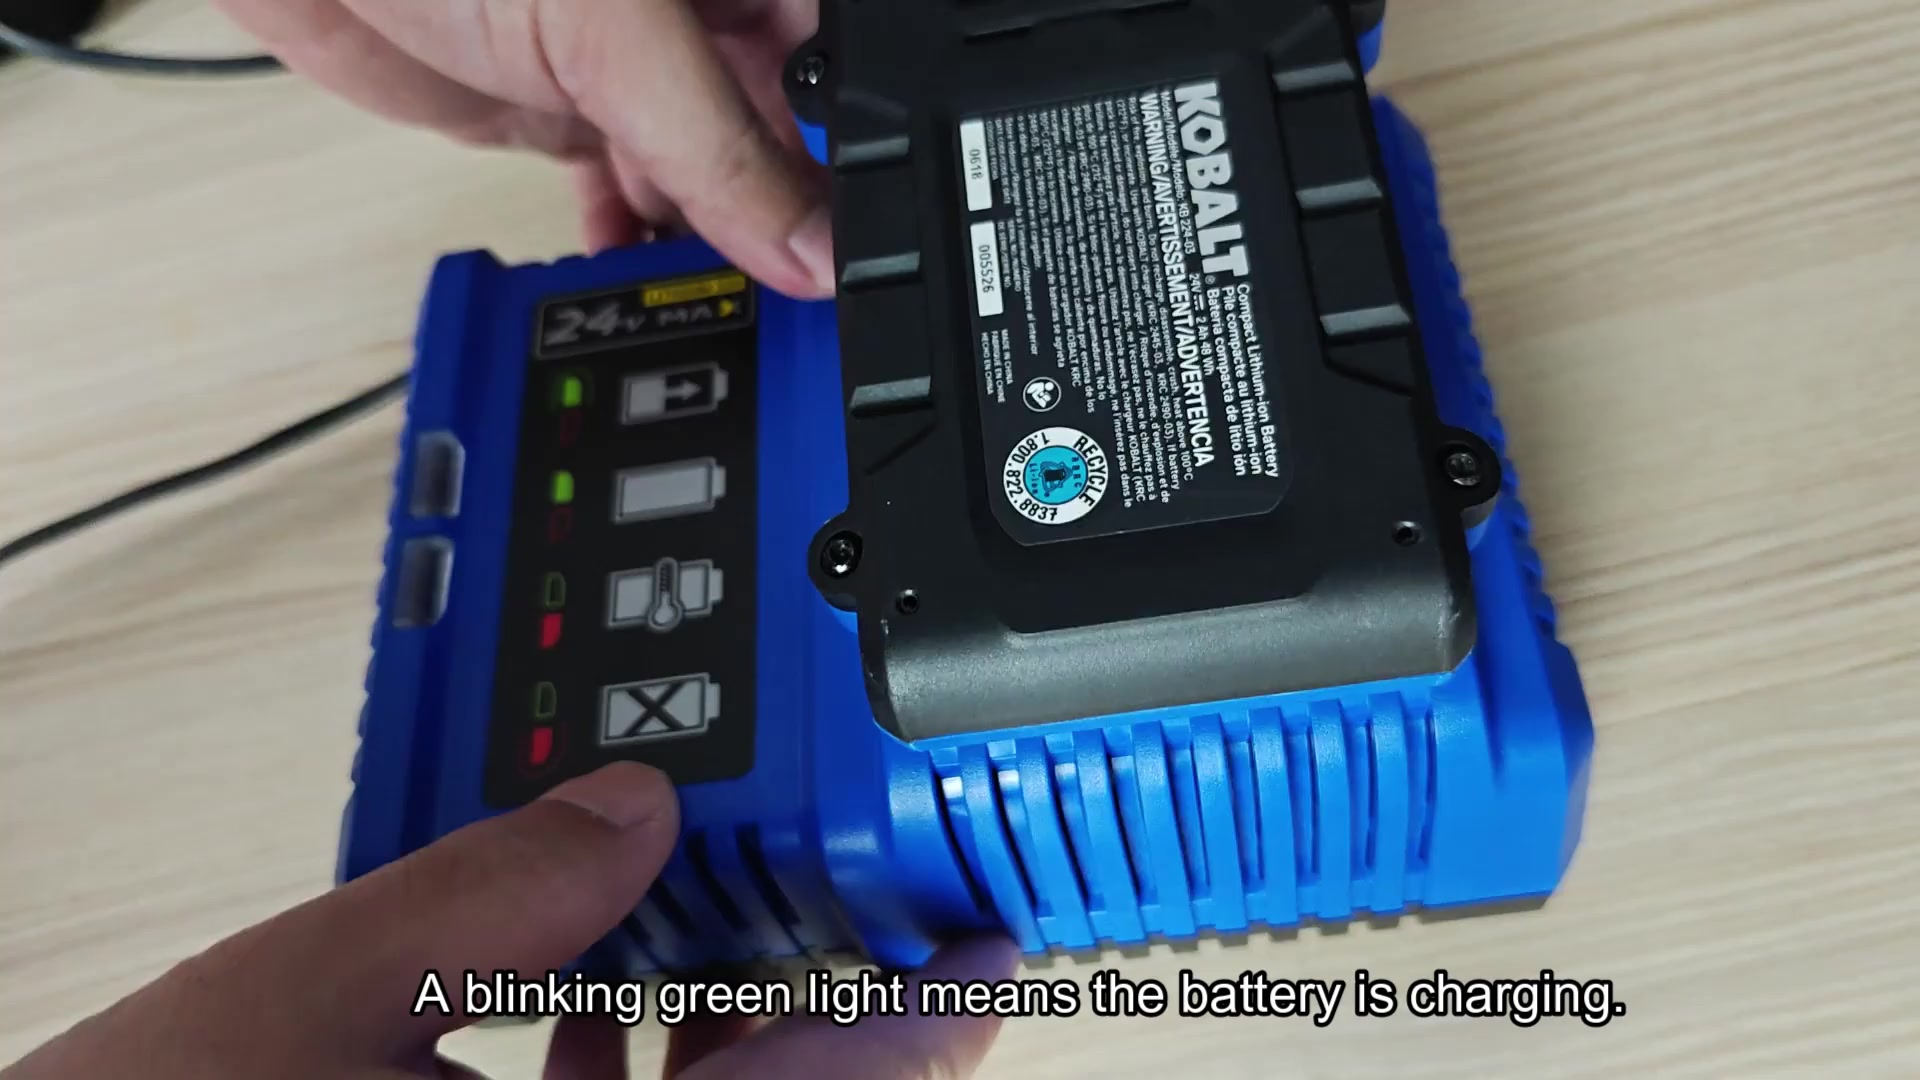
Before doing anything else, check the battery gauge. To do this just press the button located directly on the battery pack. If your pack needs power you’ll see one green light. All bars will be lit if it’s a full battery. It’s quick and easy to check the meter and can save time down the road by knowing where you’re starting from. Set charger on a flat surface such as your workbench, then plug it into the wall outlet. Position battery pack to align with slots on top of charger. Press firmly down until you hear it click. That means battery pack is locked into place.
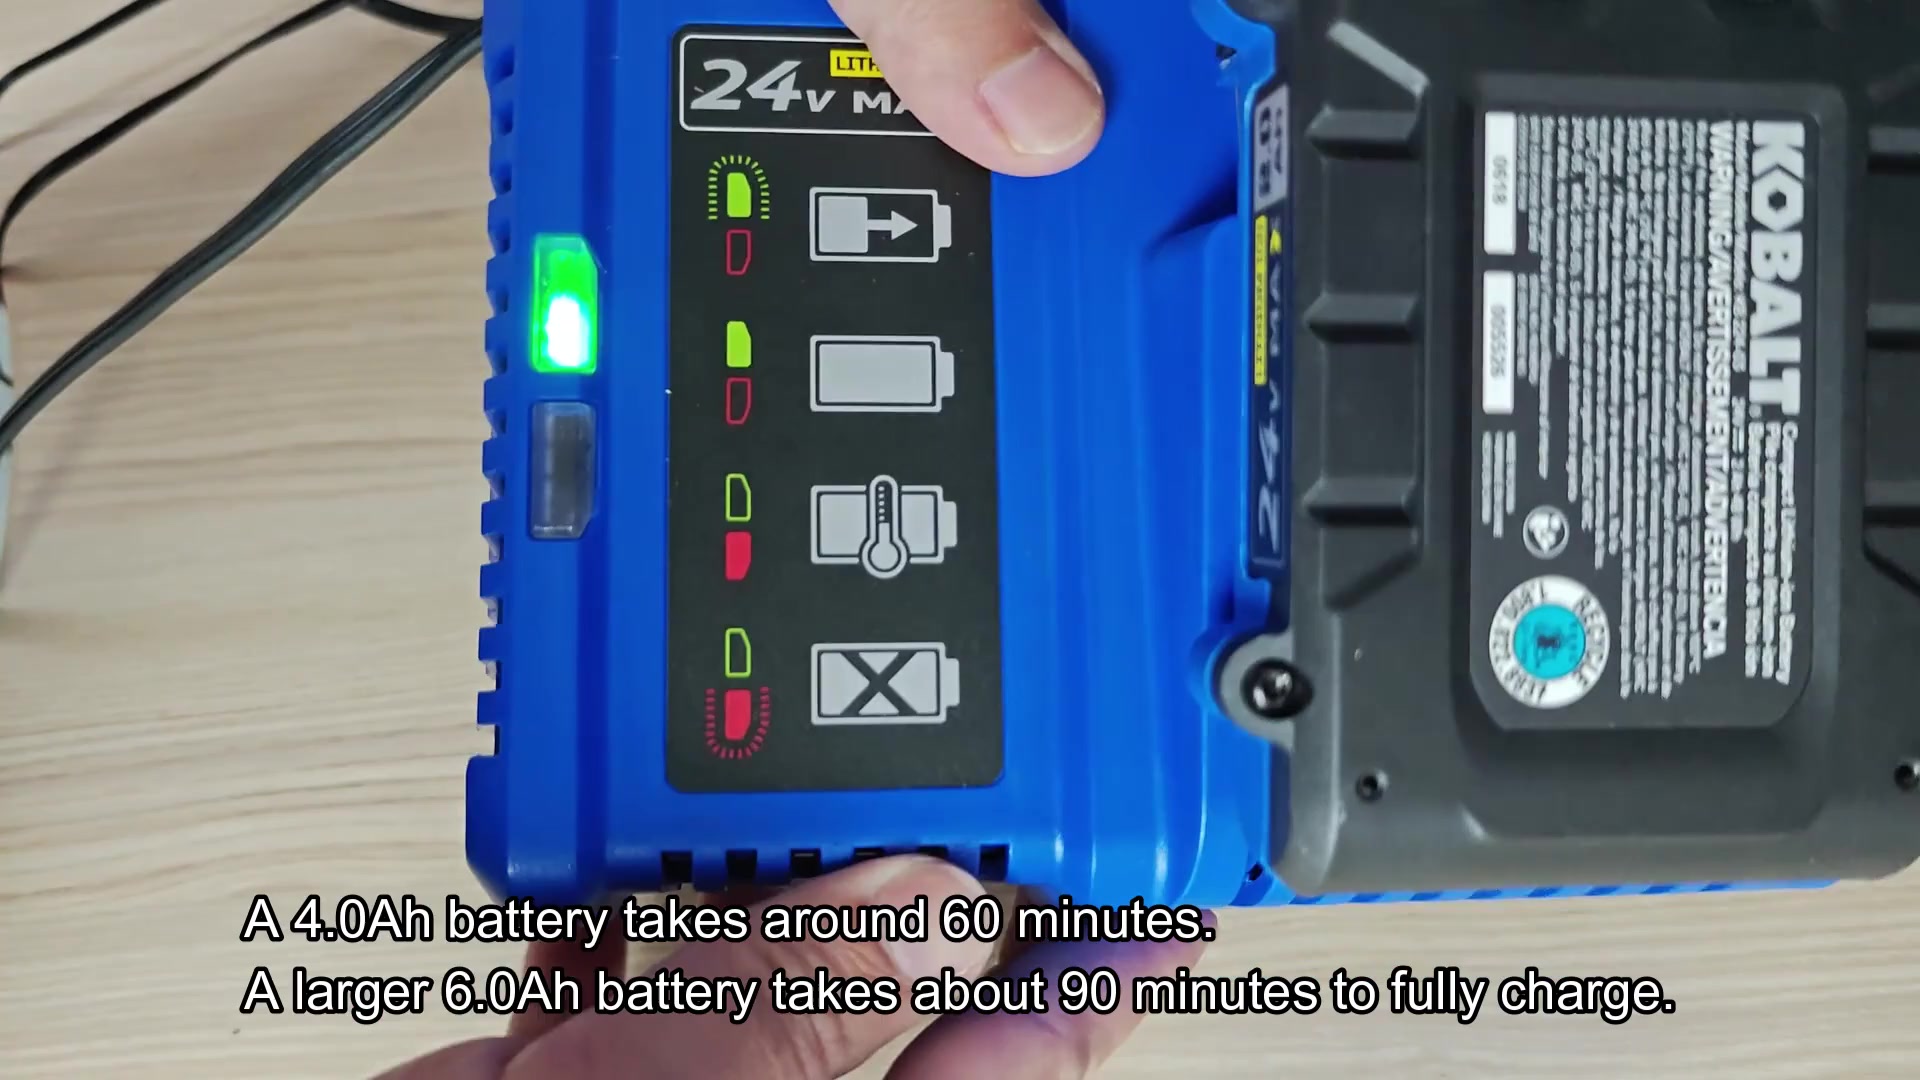
If it’s not snug and has loose contact, it will not charge at all. Here the physical fit are important and if it does not lock then it’s misaligned. First, plug the charger into the wall outlet. Once it is plugged in, a green LED on the charger will begin blinking. That indicates there is energy being moved into the pack.
Understanding Charging Indicators
Don’t touch it yet, it’s actively filling up. Sit back and let the system do the rest of the work for you. This portion is simple enough, just let it run its course. How long does it take? How fast depends on how large of a battery that you’re using. We found that our 2.0 Ah cell topped off in around 40 minutes. That’s actualy a bit quicker than I thought it would be.
Next up was our 4.0 Ah pack and that one took around an hour to fully recharge. As you’d expect, larger batteries charges slower as they contain more juice. Our largest battery (6.0 Ah) takes close to 90 minutes for a full cycle.
If you know what battery you have, then you’ll also know how long to expect them to take so you can manage your day accordingly.
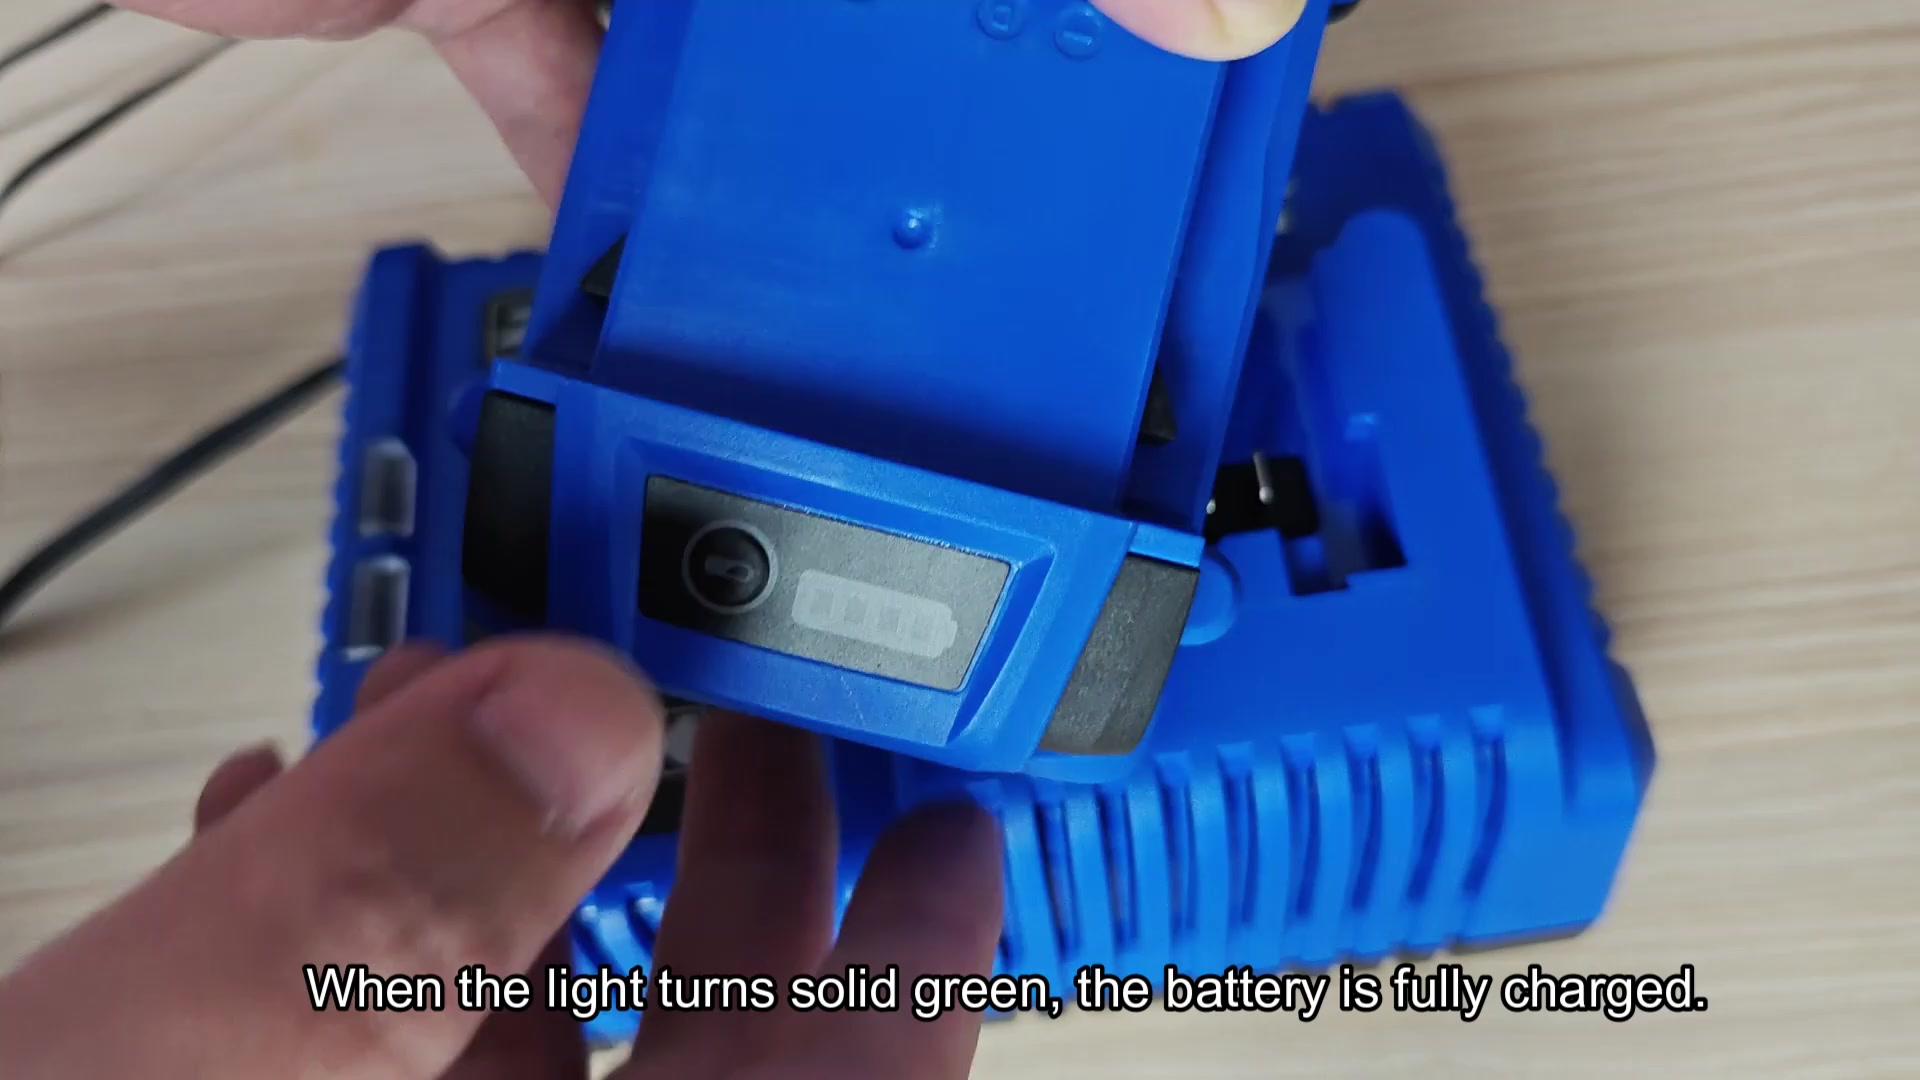
Once the task is done, the light will remain solid and the blinking will cease. It will then display a solid green light indicating that your pack is fully charged and go to work.
Go ahead and check the battery gauge. Is it done? If so all of the bars should be lit up. Don’t leave it plugged in because it’s looking pretty. When it’s holding steady, unplug it. This keeps everything working well.
Things get tricky if the environment is not right for charging. You may notice some weird flashing patterns on the display at times. The charger has specific warnings built into its system to help you. These are not errors that you can ignore because they tell you something about temperature or condition. Pay attention to these signals closely, as ignoring them leads to problems later. It may not make sense at first why it stopped working, but the light explains it.
However, when the conditions aren’t good for charging then things start to get a little dicey. Sometimes the display might show some crazy blinking stuff.
Don’t worry, the charger has those warning signals in the system for this reason. They’re not error messages that you can just blow off; they’re telling you something is wrong with the charge or the temperature. If you don’t pay close attention to these indicators and blow them off now, there will be a problem down the road. And it won’t necessarily make any sense why it’s not working. But the light tells you. If something is wrong with the temperature, the light goes solid red rather than green. That’s typically an indicator that the battery has reached either extreme end of the temperature range: hot or cold.
Extreme temperatures are no bueno for lithium ion cells. If you leave your pack outside in the cold garage, the red light comes on right away. It won’t even try to charge anything then. Get it inside and let it get warm. Temperature control is important here. With the red light on, look at the panel and you will have some explanation as to what’s wrong. There are icons beside the lights that can help you know.
A thermometer means a temperature warning. That is your issue. It’s no mechanical problem yet. It is just an environmental issue that is easily solved. Once you notice this pattern, you’ll see why it stopped and can control the room temperature to fix it. Makes sense.
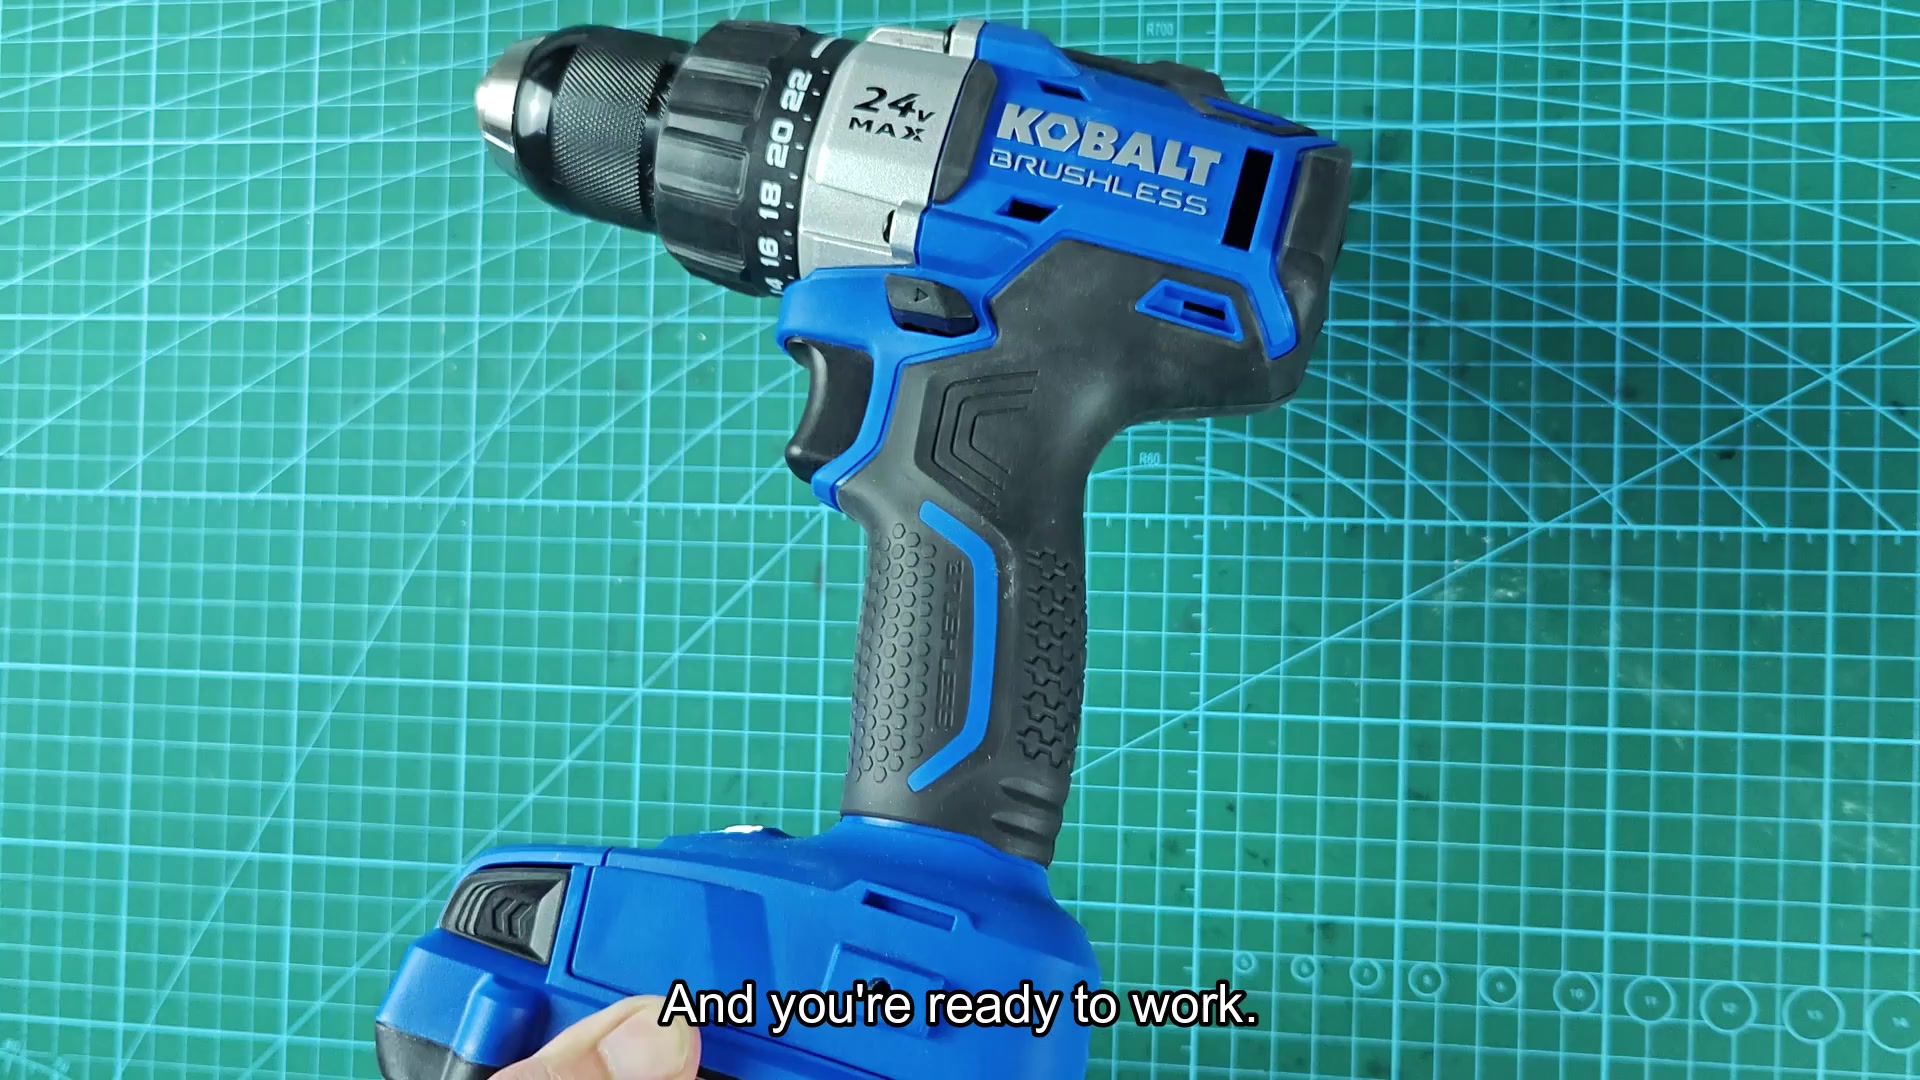
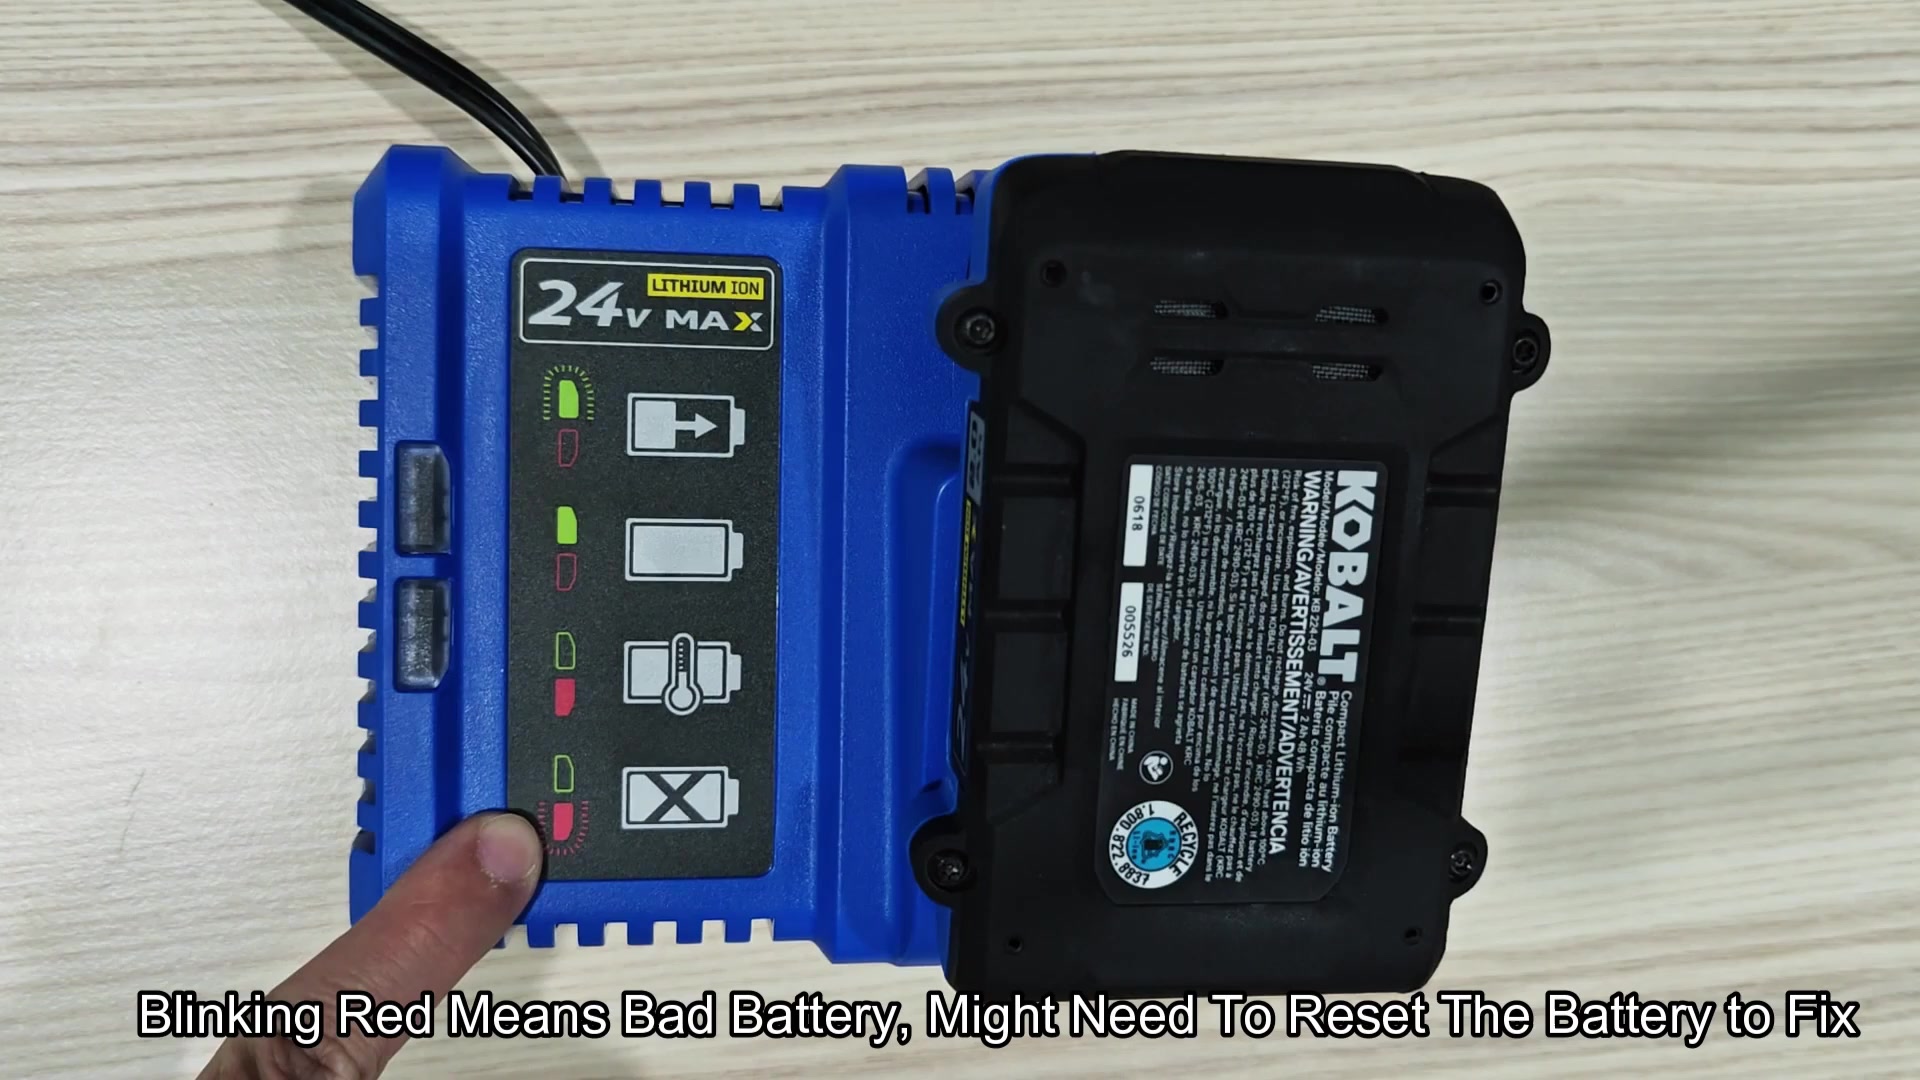
A blinking red light is different than a solid one because it indicates a battery issue.
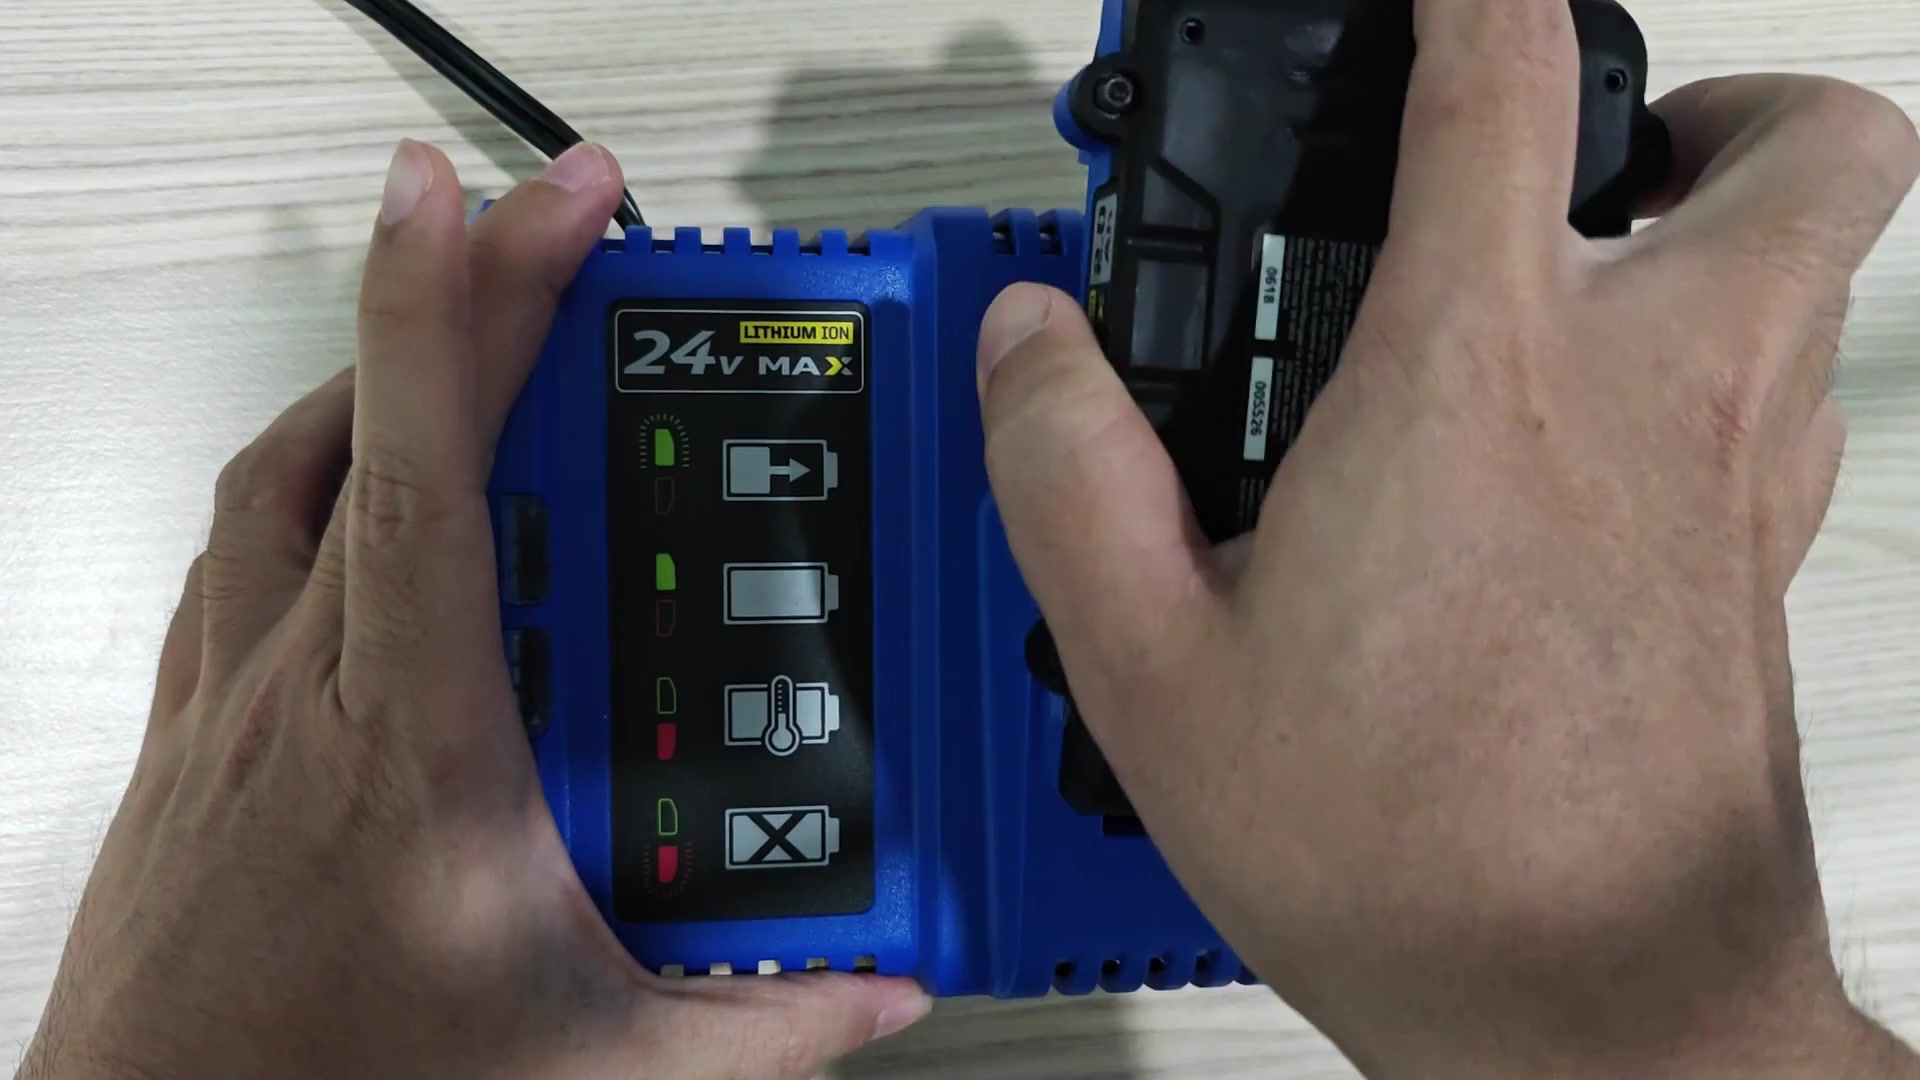
However, if you have a blinking red light instead of a solid red one, that indicates a battery issue. It is more than likely something wrong with the pack itself rather than where you are using it.
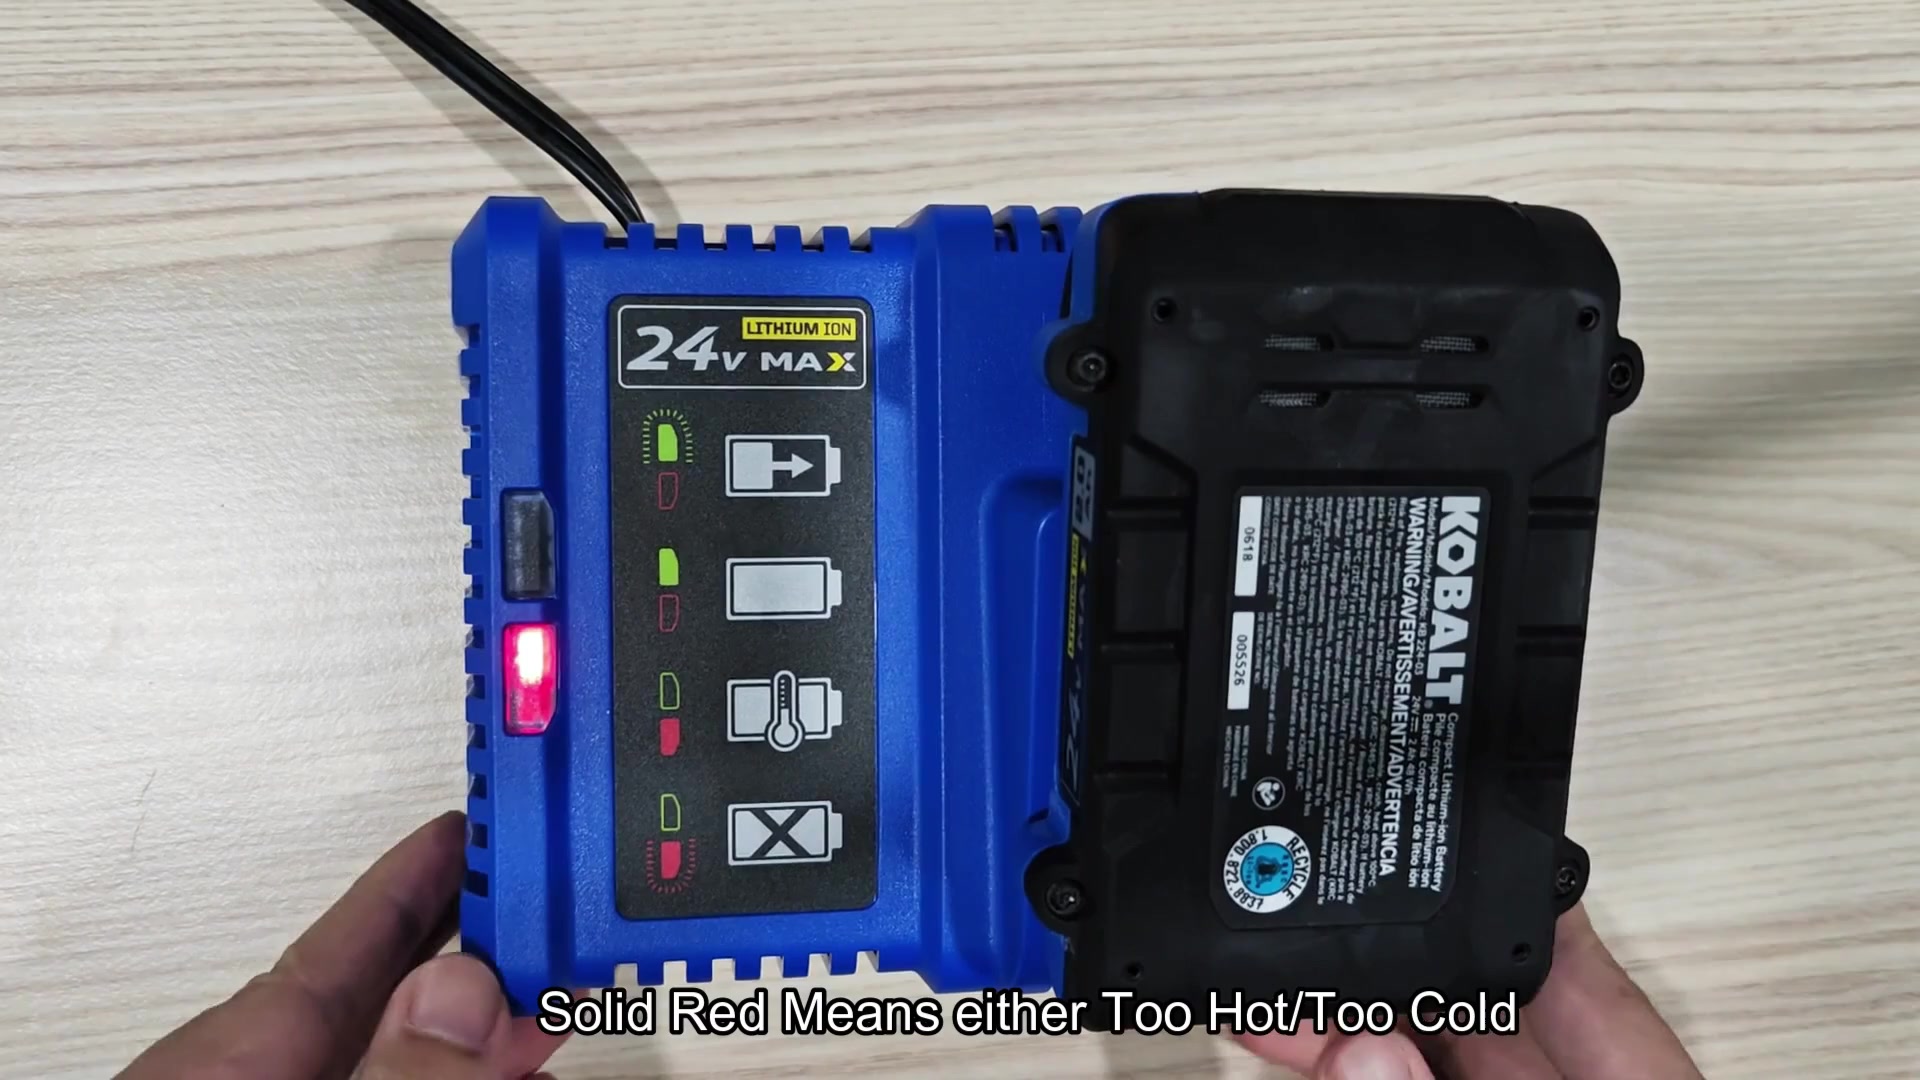
After a lot of use, the inside sometimes malfunctions and becomes confused or stuck. That’s when a pack just needs to be reset so it can work properly. Don’t toss it out quite yet. However, it’s usually fixable. First make sure you try to reset the connection which will bring it back to livig many times. You should of checked this earlier.
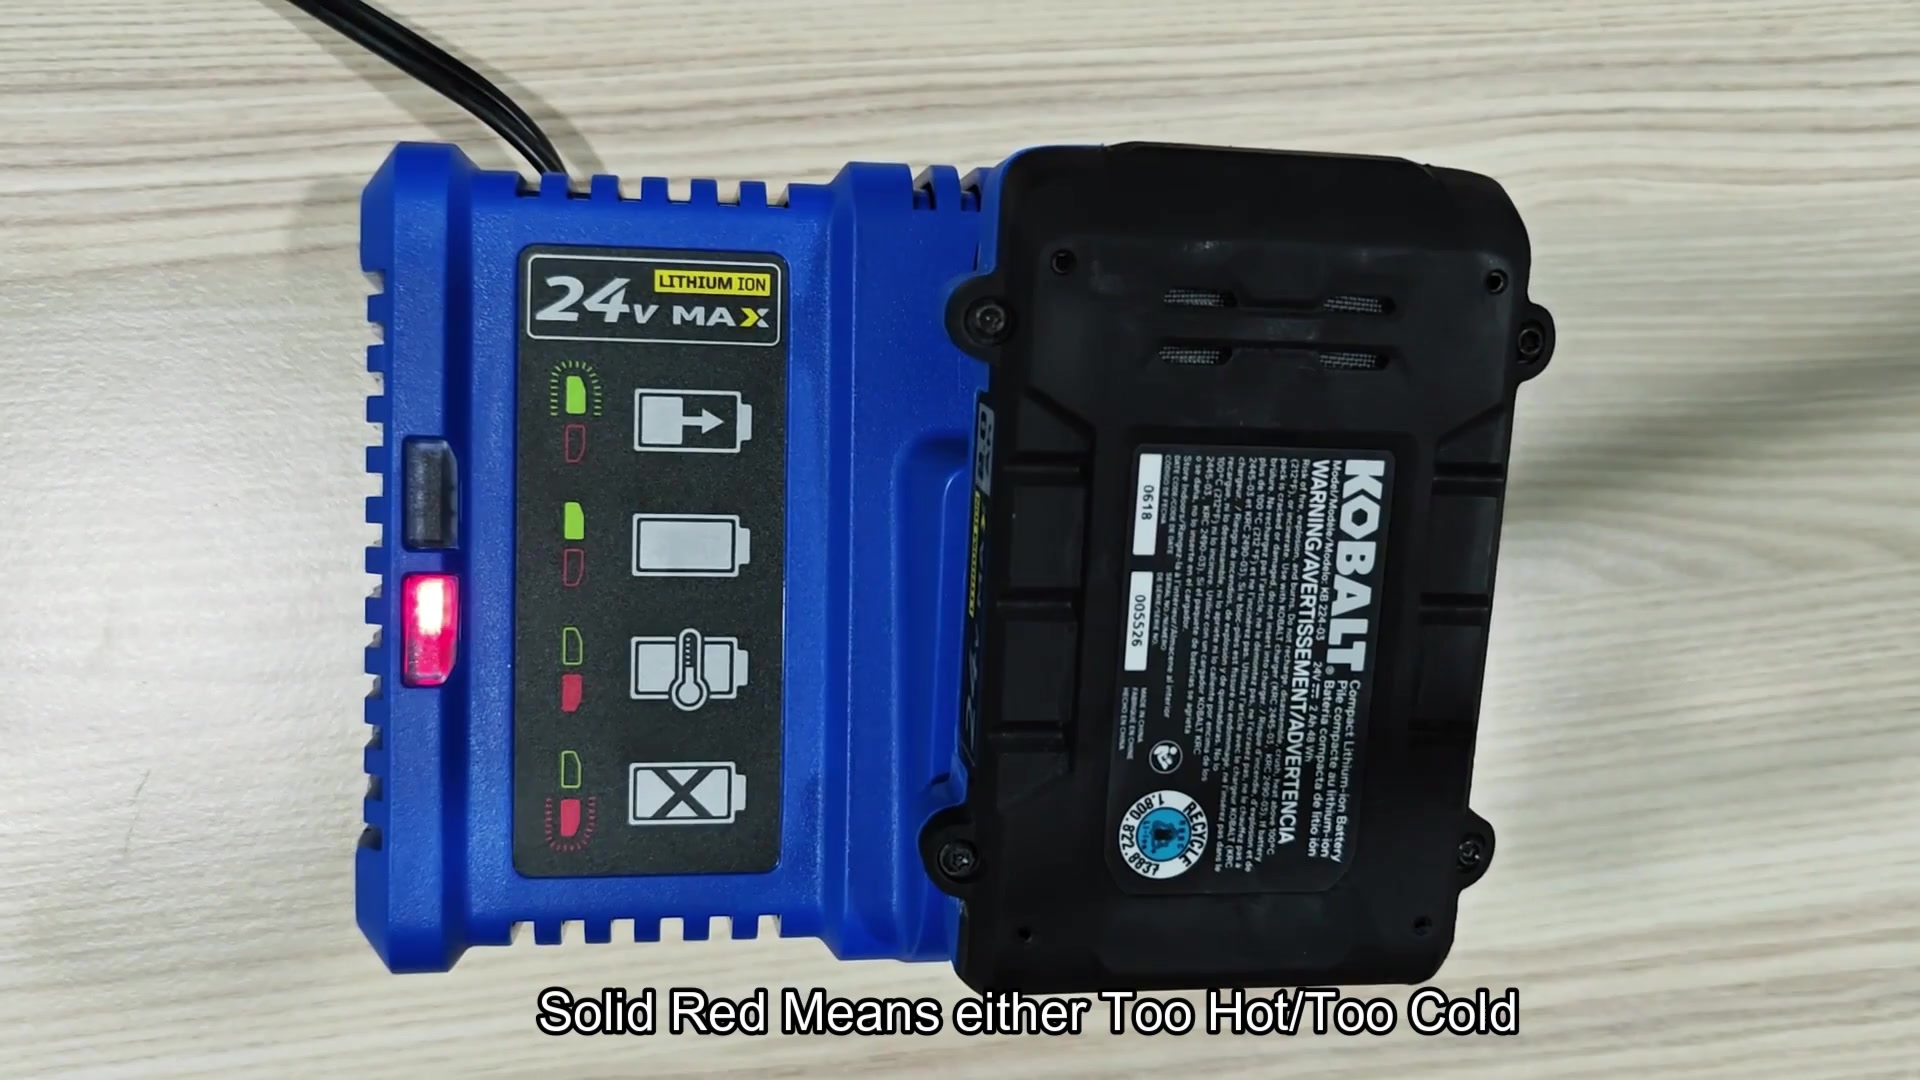
A blinking red light is different than a solid one because it indicates a battery issue.