
You notice that the indicator light signals a bad battery connection right away and the charger throws up an error code immediately. What does this mean?
Typically, there isn’t enough voltage in the pack to meet what your Kärcher unit needs. Your unit just says no thank you. If you have to use that tool on the job, this is frustratingly.
The battery looks good physically, but the electronics don’t say anything. It’s just a deep discharge issue, you figure. What can you do? You’ve got nothing to lose with these fixes.
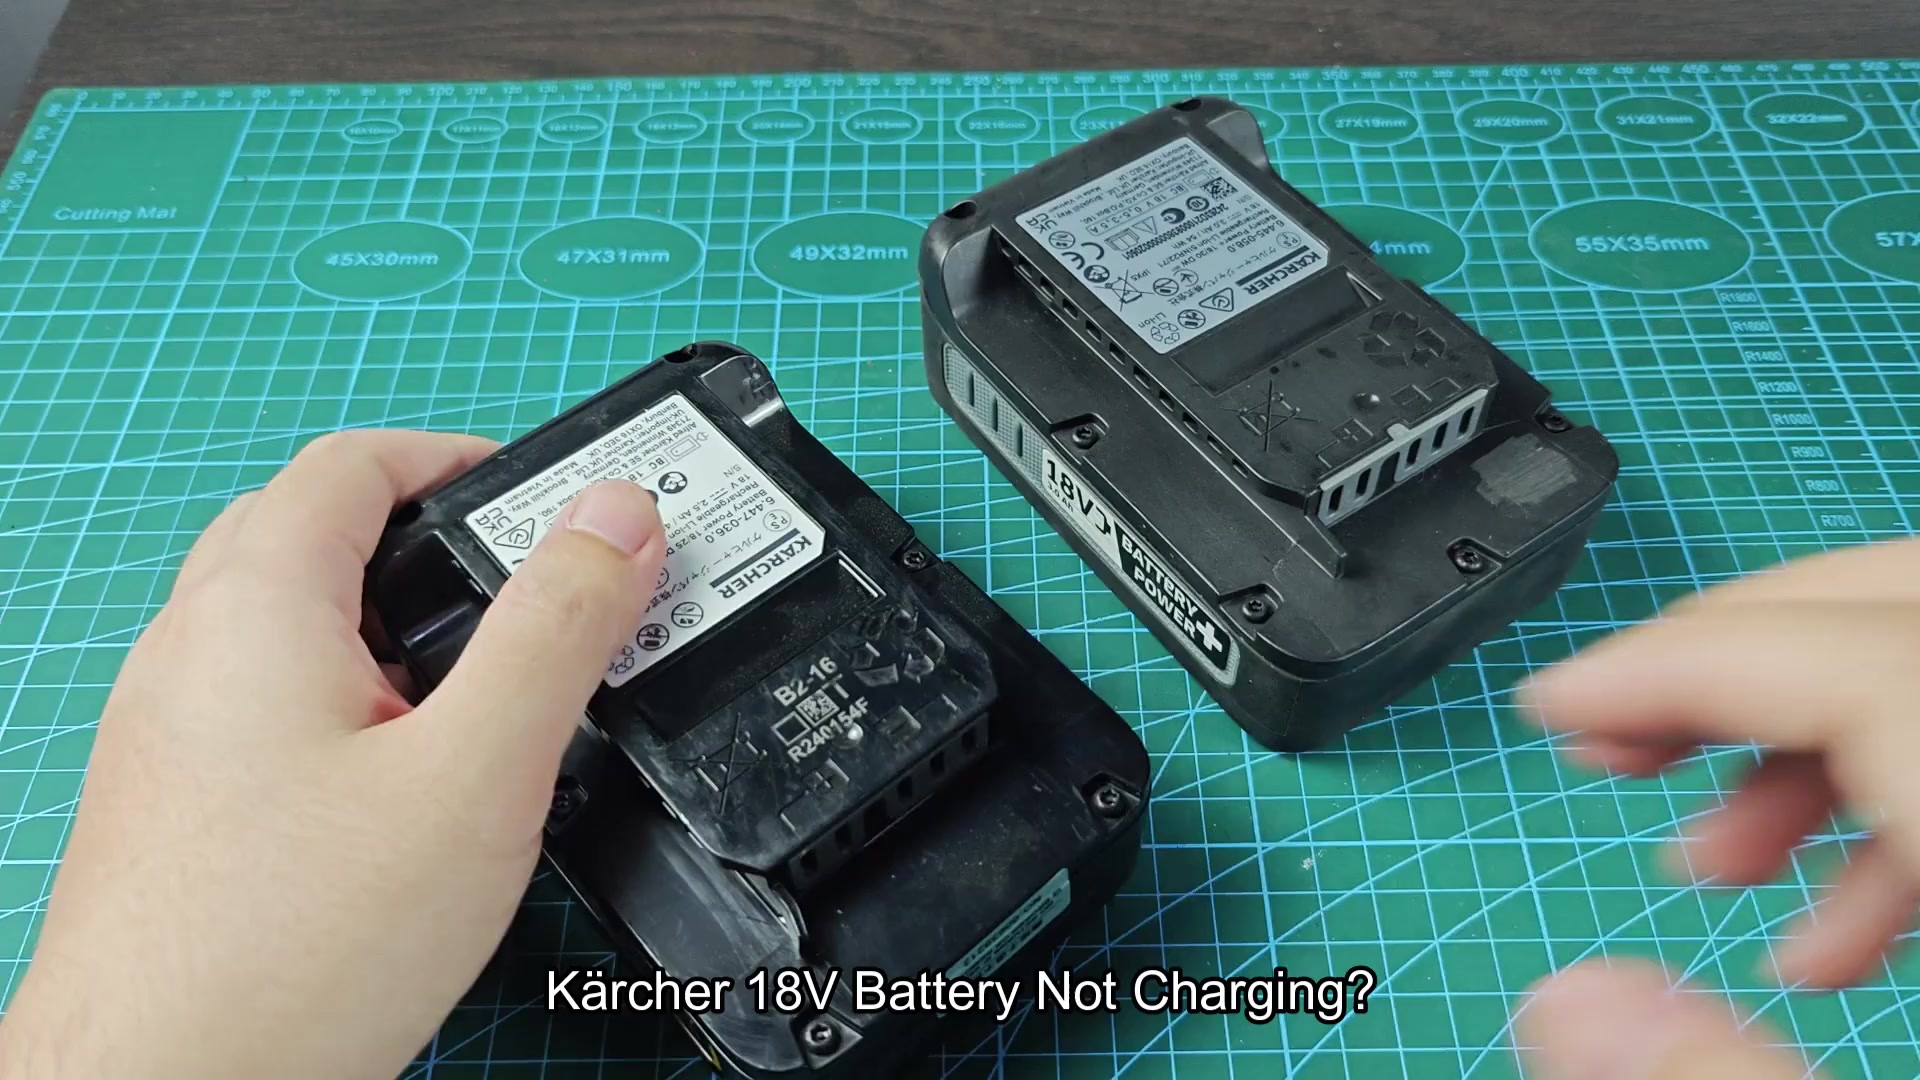
If that’s the case, why does the display at the battery end indicate eighteen percent remaining? Well, it said there was still eighteen percent of its capacity. That didn’t add up if it realy was dead.
The charger began blinking red and the number remained constant. The system decided that the cell was shot. You don’t throw out a perfectly good pack.
Three common methods exist for reviving it without purchasing new equipment. One is a jump-start from another Kärcher 18V battery.

Head over to your shelf and pick up another Kärcher battery. It is a full one ready for you to use. Lay it next to your struggling 2.5Ah unit and a fresh 3.0Ah pack.
Put the pair of batteries on a green cutting mat so you have a decent comparison: One is new (a 3.0Ah), the other is tired (a 2.5Ah). These two packs look identical except that one has more Ah than the other; time to top off with a little juice. How? Easy, it’s just a matter of connecting them in parallel.
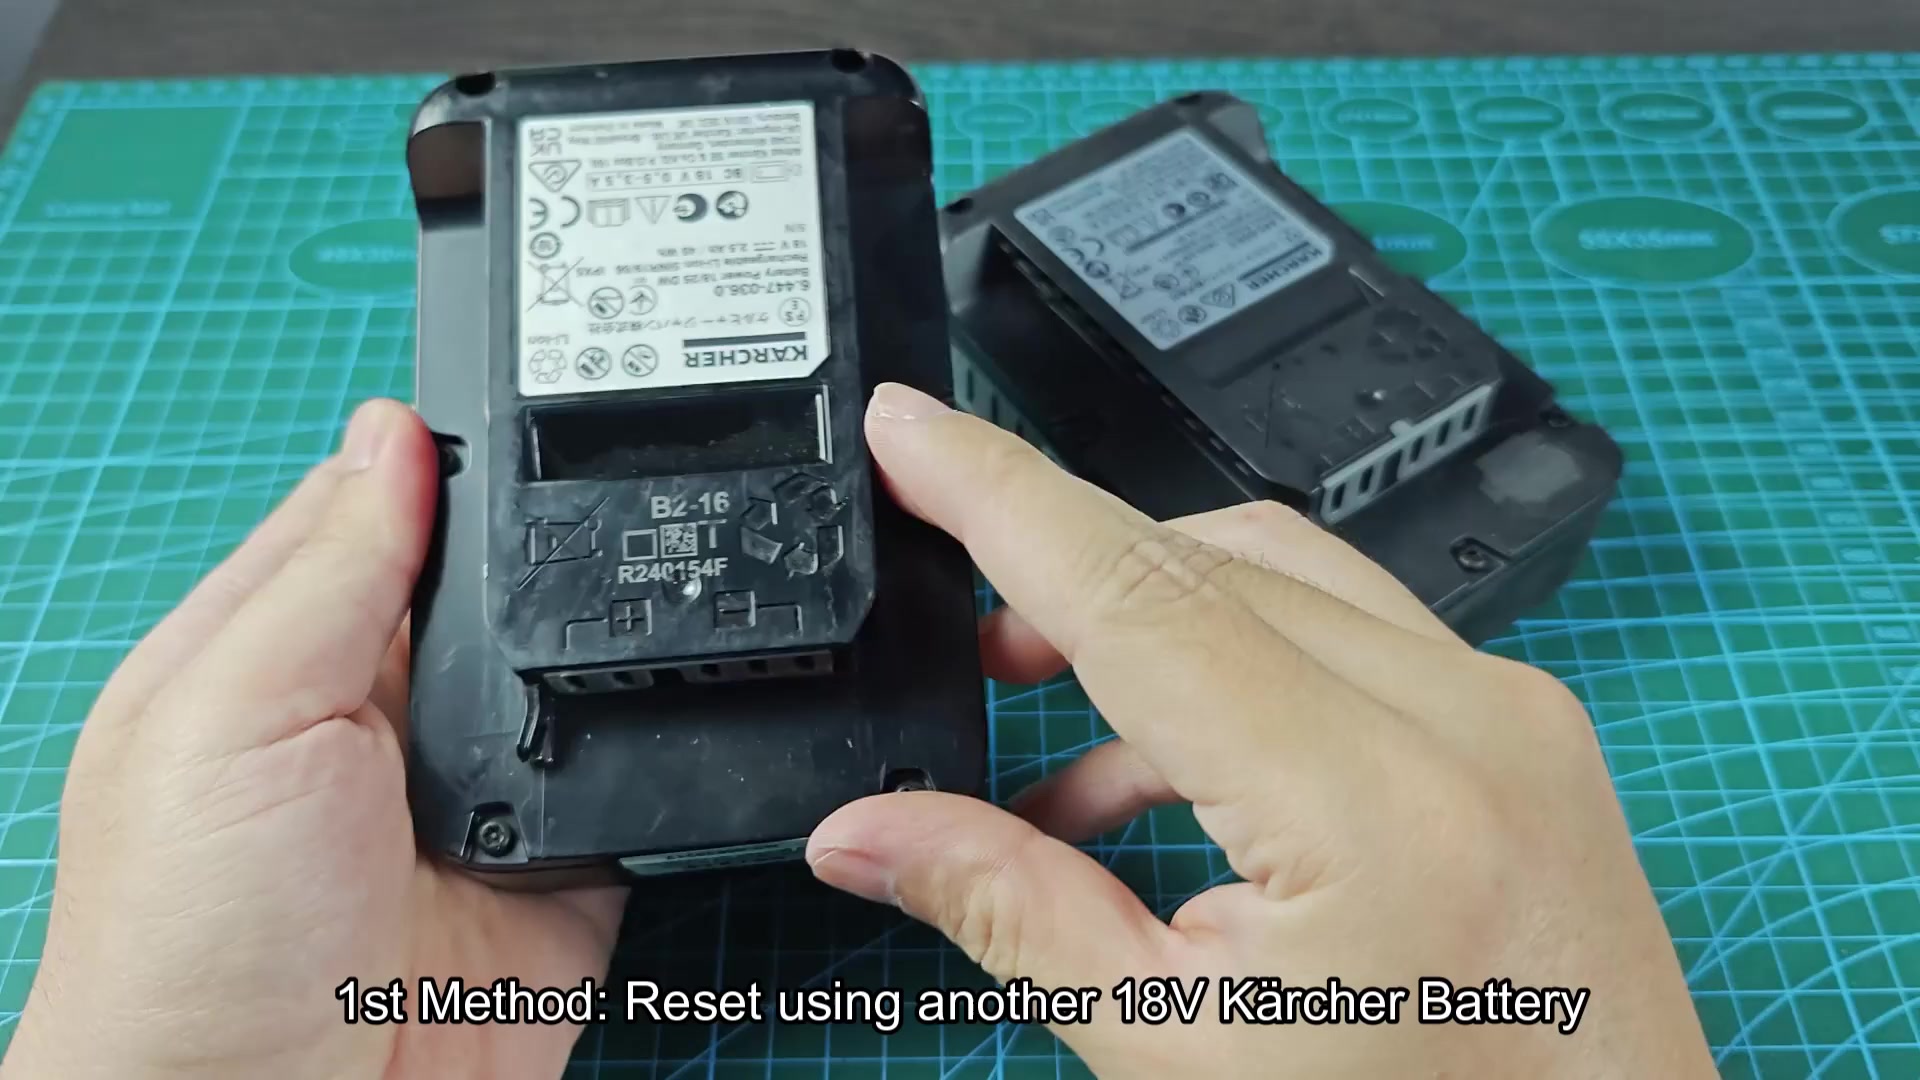
Now you need to locate the terminals. It requires some attention. Examine each unit’s bottom set of contacts. Typically they’re marked as positive/negative.
Simply clip alligator clips from one battery to the other. Connect red to positive and black to negative. One battery will jump-start the other to provide a temporary power source for the depleted battery. Be careful here. Keep an eye out when connecting these two wires.

Leaving them plugged in for roughly 15 seconds is sufficient. It’s just long enough to gently increase the voltage. This allows the charger to have something valid to read.

There are warning signs such as melting wire. That is the point where you should stop. You do not want to short circuit the terminals under any circumstances.
And then after that short period of time, you remove the clips. Now the dead battery was ever so slightly warmer. This had jumpstarted the internal protection board.

So let’s grab both of those batteries and see what they look like. See, there was something visually different about them. One has a full charge, and the other has nothing.
Plug that same battery back in the charger now. Nope, it wasn’t recognizing it yet. The voltage was not high enough to work with this process. Okay, onto plan B of the options. Sometimes using a different brand will be easier.

Pull out the yellow DeWALT battery instead. It’s a twenty-volt. Kärcher has an eighteen volt; it works well enough. For this demo, the video used a 20V DeWALT pack. In a pinch, you’ll find that other brands do about the same thing. Each manufacturer may have a slightly different terminal layout. Be careful with polarity each time you hook up.

The DeWALT unit had positive and negative marked clearly on the bottom. Find B- and B+ on the contact plate. This is important. You don’t want to fry either pack. The QR code label was next to the contacts.
Again, connect your black and red wires here. Same deal, we’re increasing the voltage. No need to choose one brand or another with this trick.

Another test
It was set up about like the previous one. Every brand uses black on negative and red on positive. Keep it connected for those familiar 15 seconds.
If it smells funny, disconnect ASAP. If smoke happens, you did something wrong. If it’s hot, you did something wrong. The cross-brand version of this technique saved your pack once before. And it got around the original safety lockout just fine.

That doesn’t seem to do it so next up, we go to plan three. Plan number three is a DC power supply which provides accurate control.

Method Three: DC Power Supply
Out comes a Wanptek DPS-3010B unit off of the workbench. This manual voltage output device can output steady voltage. This lets you connect directly to the cells with no other battery involved here. Plug it in, dial in your parameters and go.

Okay so you turn the dials on the front of the power supply. Eighteen volts. That’s what they got. One ampere max current limit. Don’t give it too much juice and don’t fry itself. It started at 30.00V and dialed down. Precision counts when dealing with lithium cells. Gently upping voltage levels.

Eighteen point zero zero volts was displayed on the screen. The current limit setting was one ampere. And the CV light came on indicating it’s regulated. This means the supply maintains the voltage. It mimics what a charger should do initially.
Plug in those leads to the contact points on your Kärcher battery. Again red to plus, black to minus.

Keep an eye out on your power supply numbers. The current draw begins at zero point zero three seven amps. That tells you the cells are taking the charge slow. At first the power read two point six watts.
Again, you let it go for about fifteen seconds again. Repeat the same warning about wires melting or smoking. Don’t leave it alone for too long.

Voltage settled down and the drop was nothing. That was enough of an initial kick in the pants for the battery. This manual override woke the BMS from sleep mode and reset it.
What this does is trick the charger into thinking you have a valid pack. The manual override tricks the charger. You disconnect the leads carefully after the wait. Wait awhile.

One last time you grab the battery. The label still read the same and something inside had switched on. You insert it back in the original Kärcher charger.
Now the red error light turned to a green charging light. That should do it. You give your battery a little jump start by hand. And success! Your tool is alive again.
Holding the revived pack felt satisfying again. There were no more blinking error codes or dead weight. You tested it in your drill afterwards just to be sure. Power returned immediately when you squeezed the trigger. It was worth the effort of trying all three methods. Simple fixes often solve complex electronic failures. Done.
Now I was holding a resurrected pack. No more dead weight and blinking error codes. Just to make sure, you take it out and test it in your drill. When you squeeze the trigger, it has power right away.
And it was worth going through all that trouble with all three methods. Sometimes simple solutions fix complicated electronic problems. Done.
