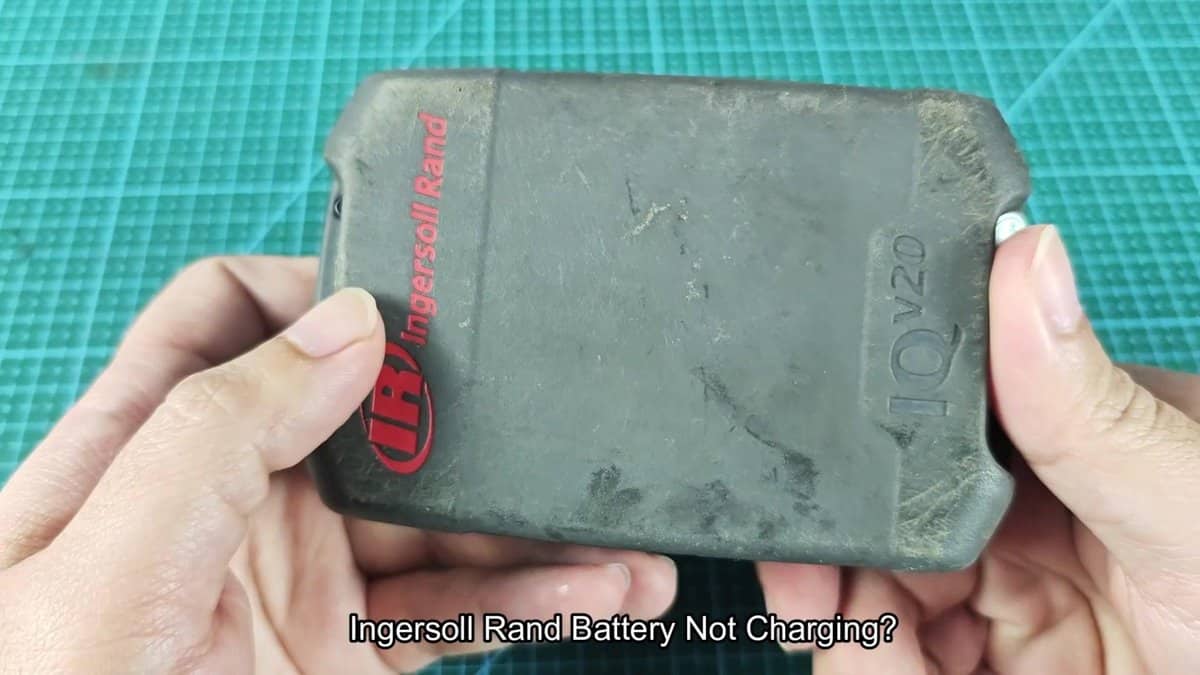
I grabbed my Ingersoll Rand BL2012 lithium-ion battery that simply refused to charge despite everything what I tried. The charger showed different error codes through various LED patterns, and none of the resets helped. When such thing happens many folks think that the battery is dead and start to search new, but there is a way to revive those batteries from death using another working battery pack.
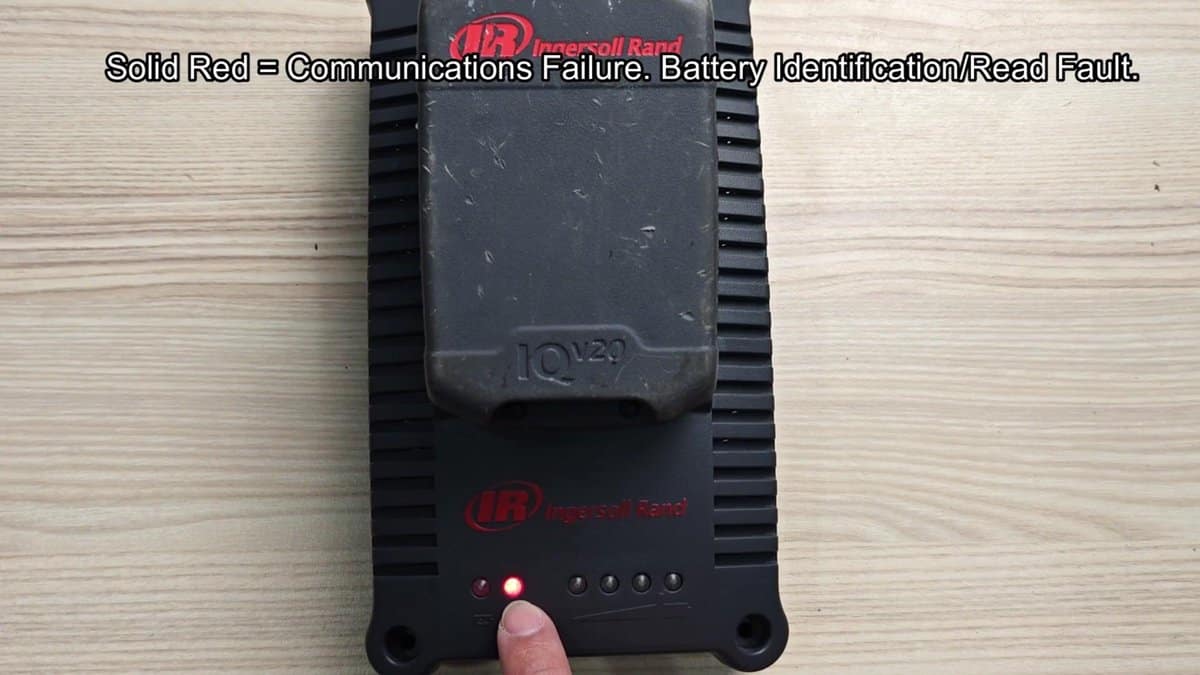
According to Ingersoll Rand, permanent red light on the left-hand display of the charger points to a communication problem or the battery not being identified correctly. Sometimes the charger flashes red five times, what shows too high voltage level in the battery. Either way the charger cannot recognize the battery pack according to the display.
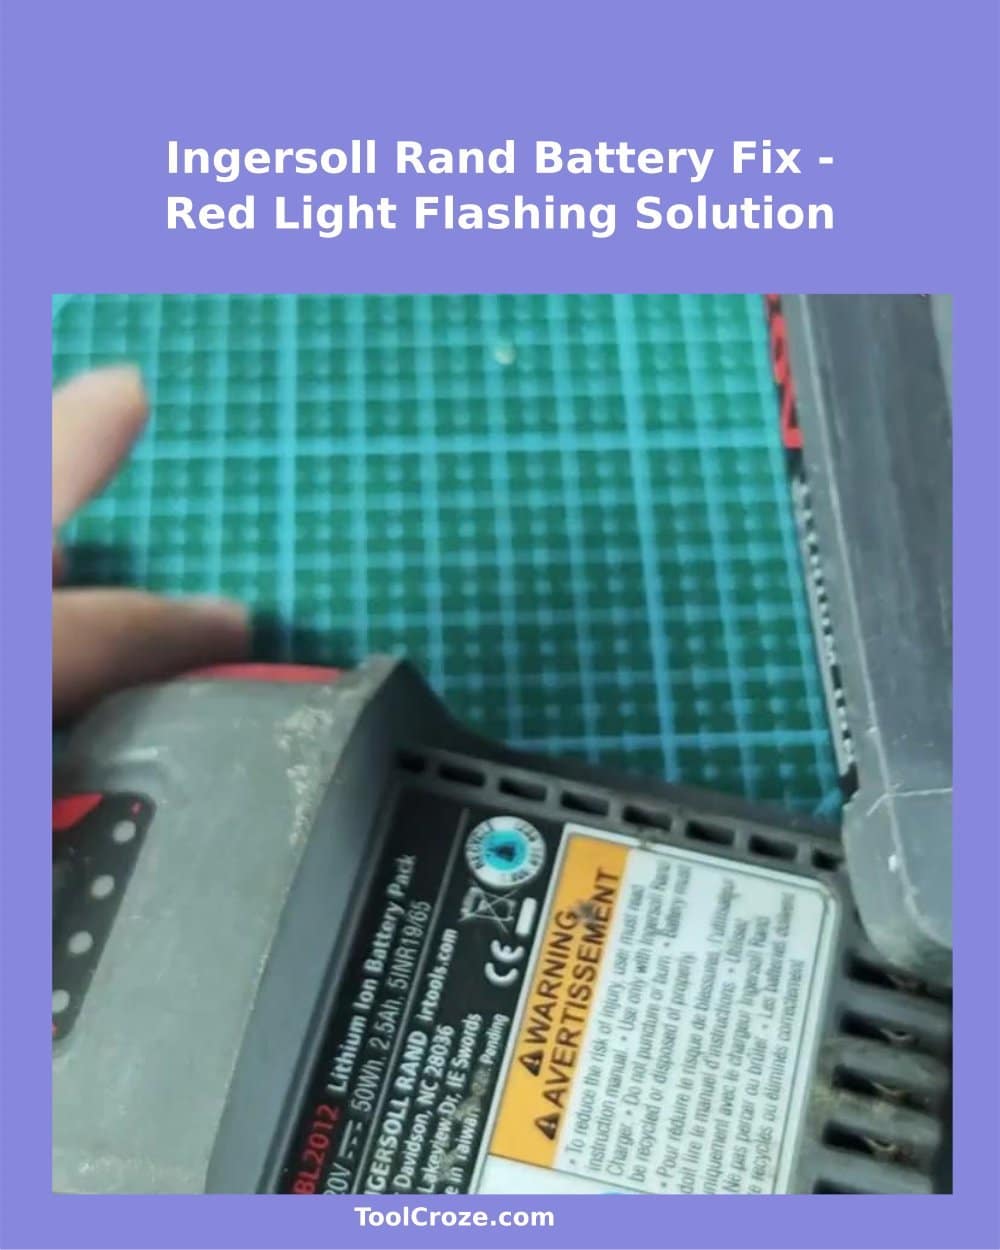
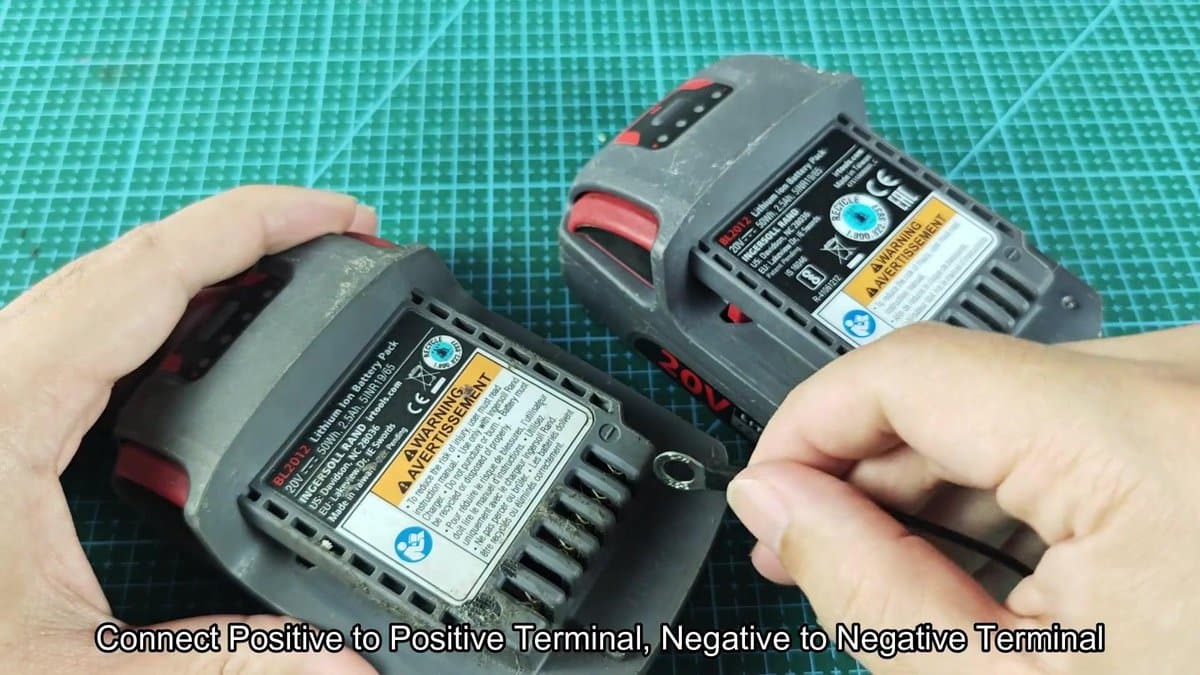
I checked the label of the battery to confirm what I work with, model BL2012, rated at 20V with 2.5Ah capacity and 50Wh total energy. The serial number was R17965, if that matters.
Fixing Flashing Red Light: Jump‑Start an Ingersoll Rand BL2012 Battery
In the store I found a second working Ingersoll Rand battery for the reset, and it was a BL2012 model with same specs. I laid both outside on the working mat, to clearly see the terminals and signs that show positive or negative.
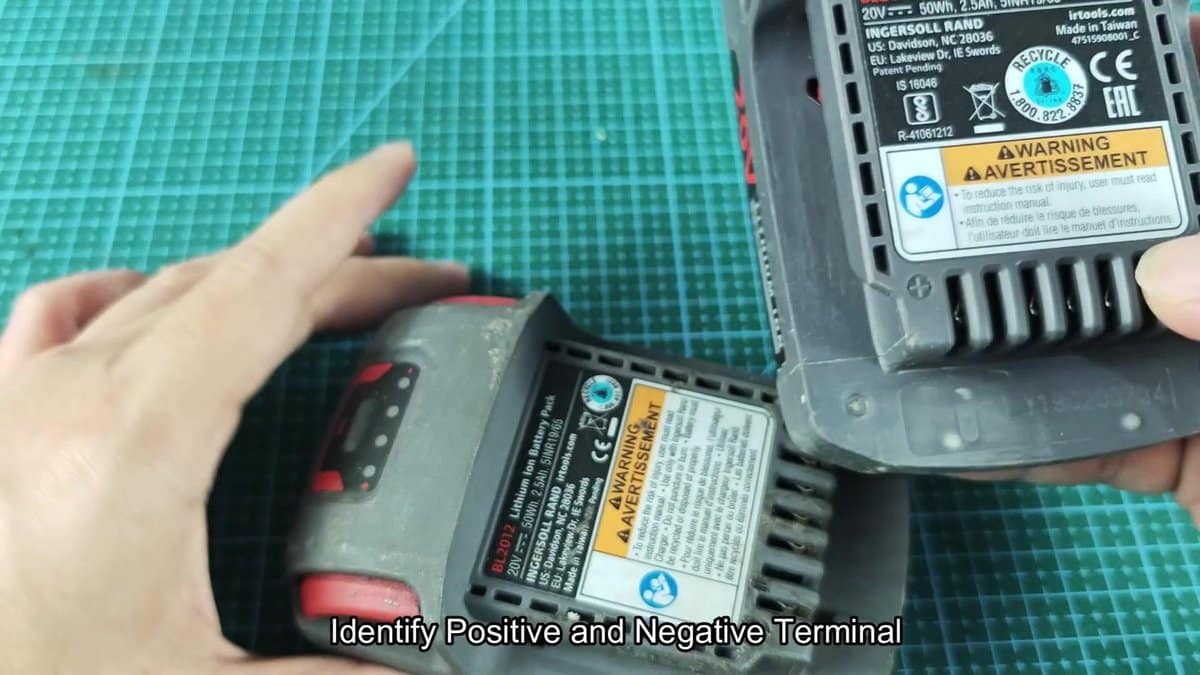
First finding the dead set was importnat, because connecting wrong, positive to negative, could cause big damage. I used wire with ring terminals for the connection. The wire does not need to be thick, but need to handle the current.
The wire connections first went into the dead battery. The working battery would give the voltage needed to wake the control system of the dead pack. I carefully placed the ring terminal on the contact of the second battery, ensuring that the first connection stays closed.
This part required a bit of patience, so that both wires seat well without slipping away.
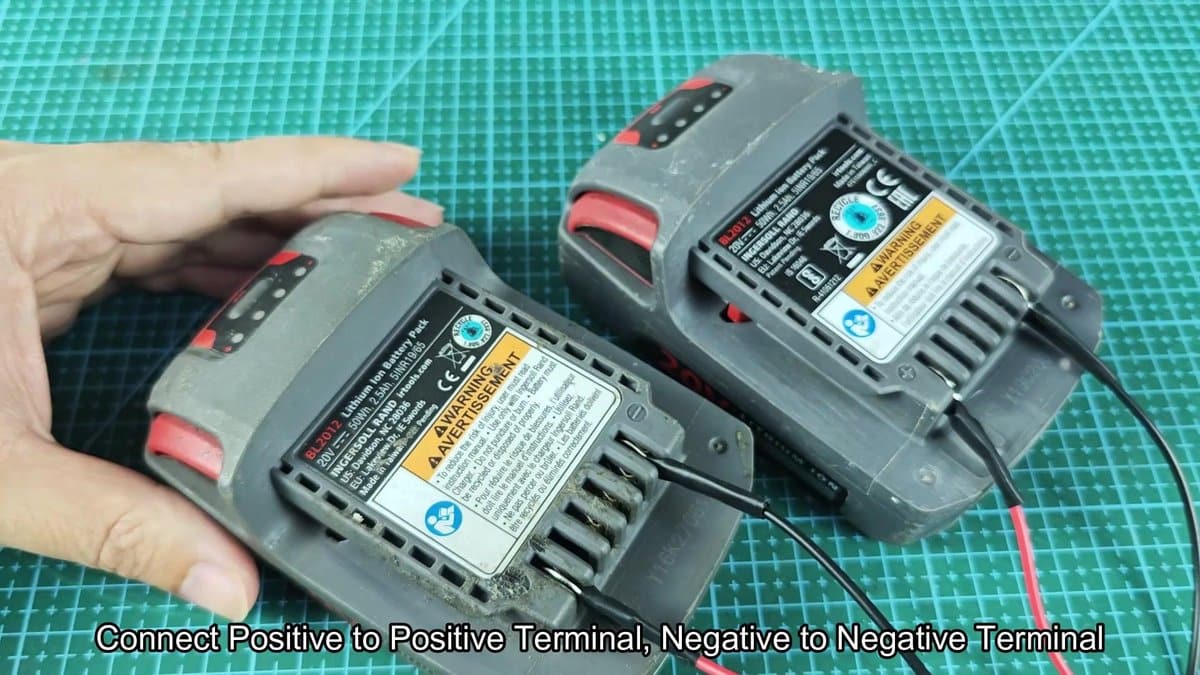
When both batteries were connected by wires between same terminals, the waiting started. They must stay around 15 seconds, to allow voltage transfer. Do not short circuit between the batteries, it leads to fast failure.
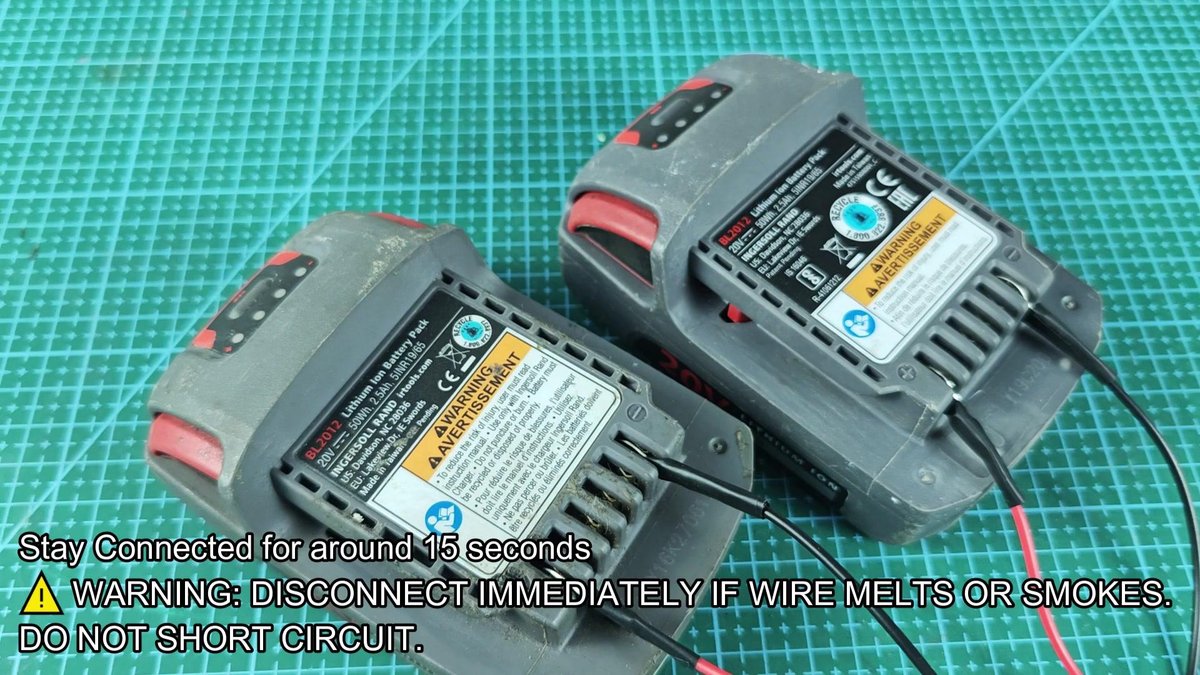
After the waiting time, there was no burning or smoke. Everything seemed good. When the time ended, I carefully removed the wire connections from both packs and laid them aside.
I took the dead battery and check its battery indicator. Pressed the button, and one green LED flashed up, more than before. Time to check again, if the charger recognizes it.
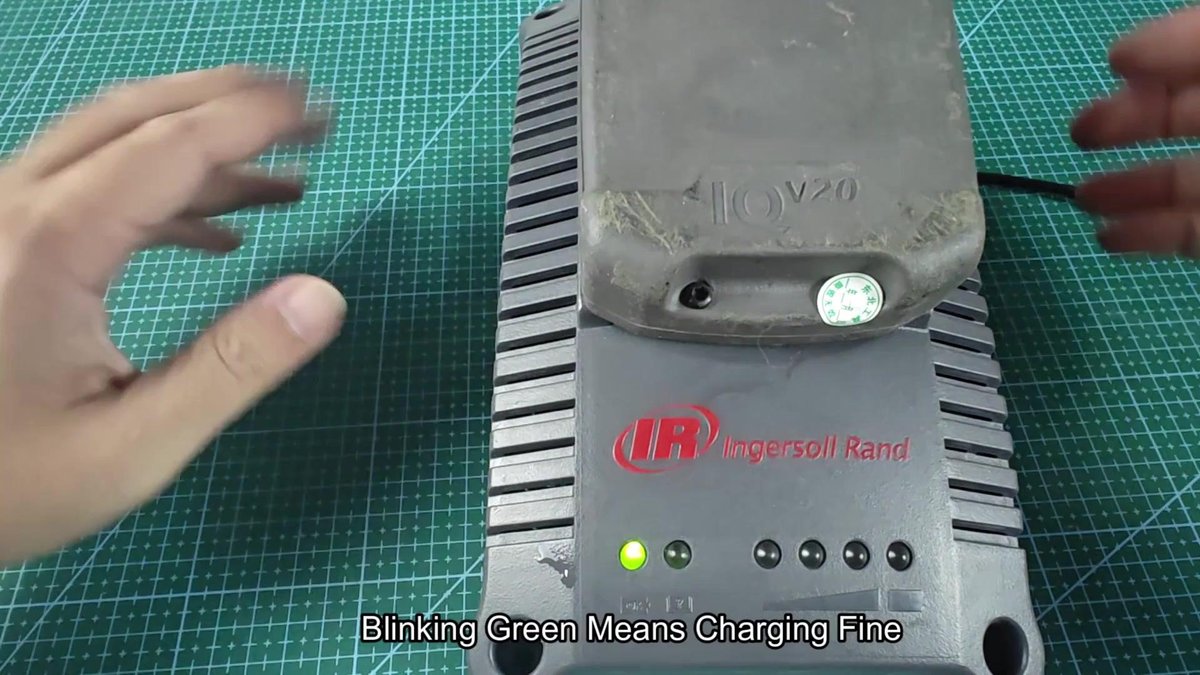
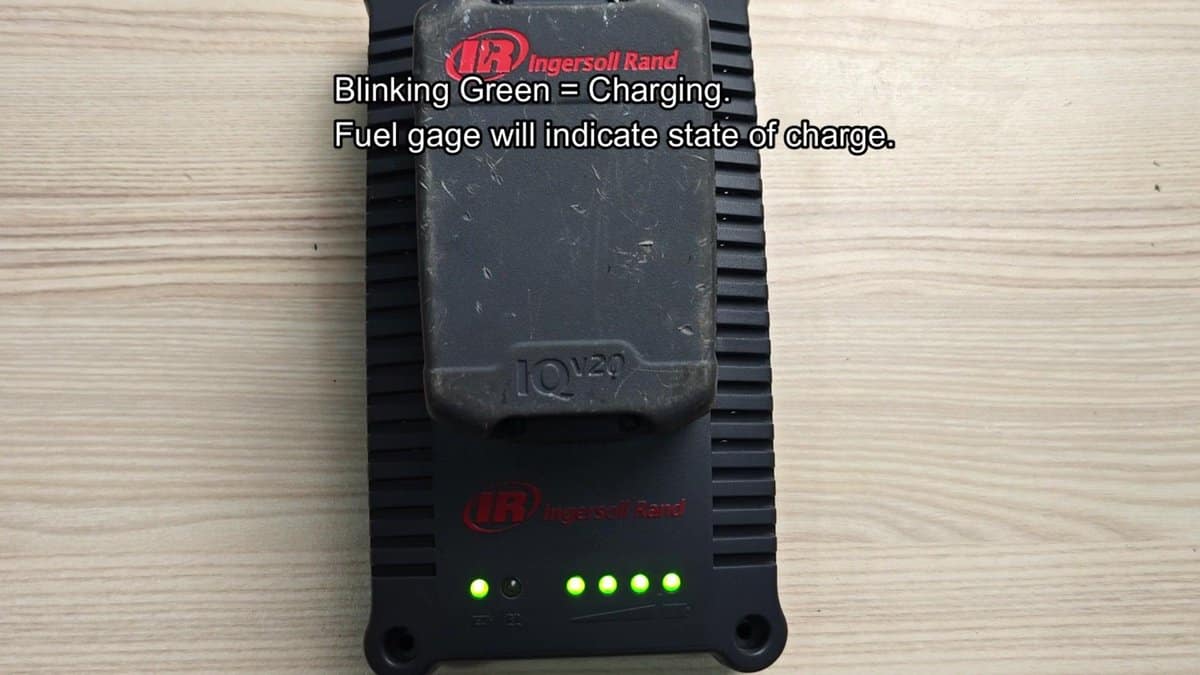
I inserted the battery in the Ingersoll Rand charger and watched the indicator lights. Instead of the permanent red or flashing red pattern like before, the charger showed several green LEDs flashing. The charger indicated that charging was happening normally.
The problem was solved.
The voltage of the good battery basically gave a jump-start to the cells of the dead one, allowing it to again communicate with the charger.
