The first time I tried to load a string trimmer myself I did it all wrong. I would take my thread, wrap it manually around my Milwaukee M18 string trimmer, and then tie a knot. Of course, this was not the right way to load and wind a string trimmer.
Being unable to load my trimmer meant that I could not carry out the trimming tasks I wanted to do, like tidying up some areas of my home compound.
By the way, before you continue reading this article you can also watch the short video I’ve about this topic. You can watch it below.
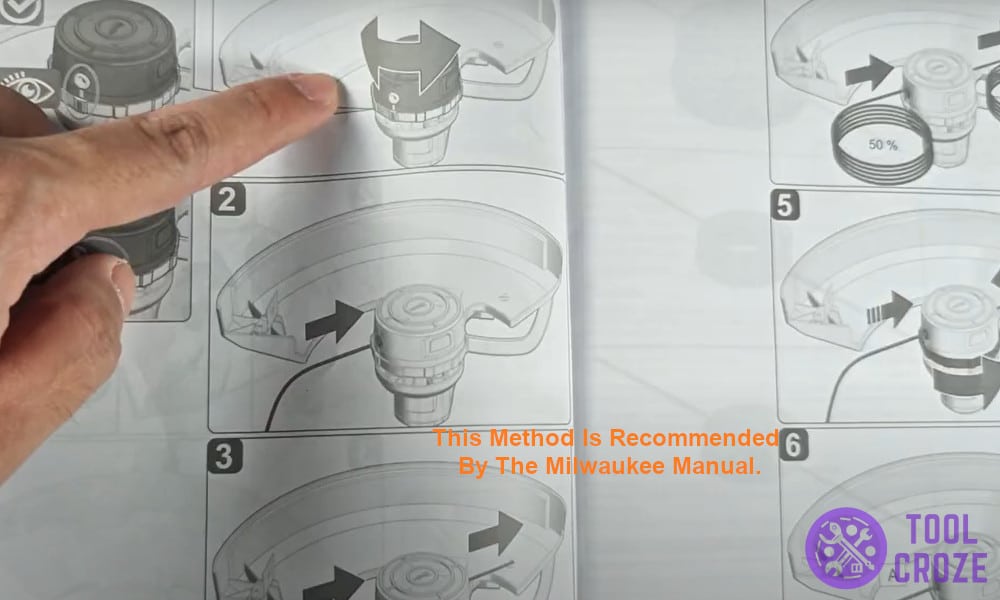
On the video, I demonstrated the correct way of loading and winding the Milwaukee M18 string trimmer as recommended by the Milwaukee manual. The steps shown in my video are very easy to follow.
Read: 3 Milwaukee String Trimmer Common Problems Troubleshoot
How to Load and Wind Milwaukee M18 String Trimmer as Shown in the Milwaukee Manual
My Milwaukee trimmer is very handy because it’s the one I use to trim grass, weeds, and vegetation, from areas where my lawn mower cannot reach.
It was frustrating when I couldn’t load my string trimmer, but that motivated me to learn. I can now get my Milwaukee M18 string trimmer ready for work. I’ve since learnt how to load and wind it correctly.
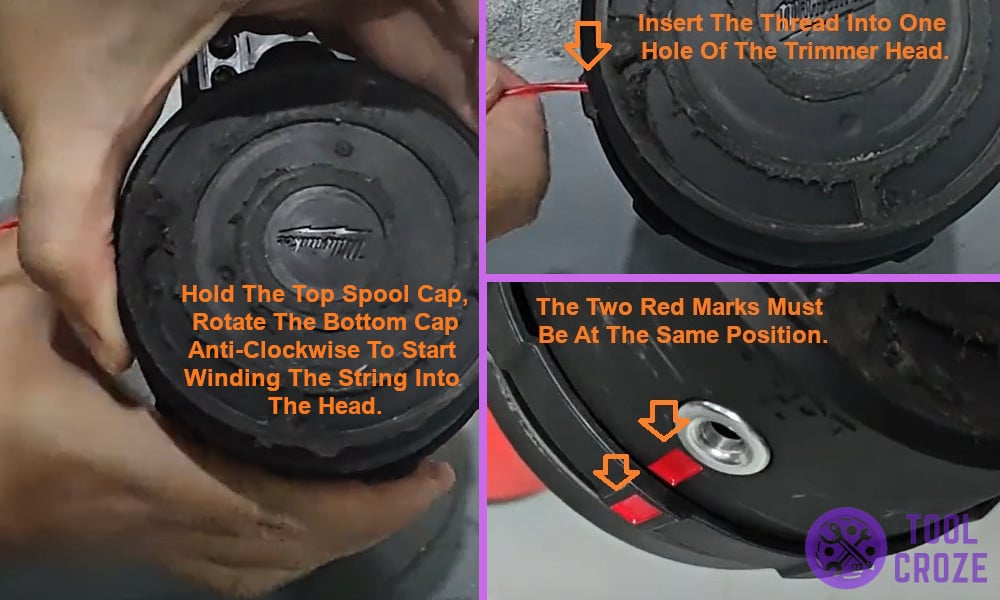
I always start off by rotating the spool cap, which is the cover that sits on the trimmer head. I do this to make sure that a particular mark on the trimmer head is positioned where there’s a red mark on the spool. Let me give you the right picture.
The trimmer has what is called a ‘spool’, and it is the part where the strings are stored before they are needed for cutting. Now, this part of the trimmer has a red mark. On the other hand, there is a red mark on the trimmer head.
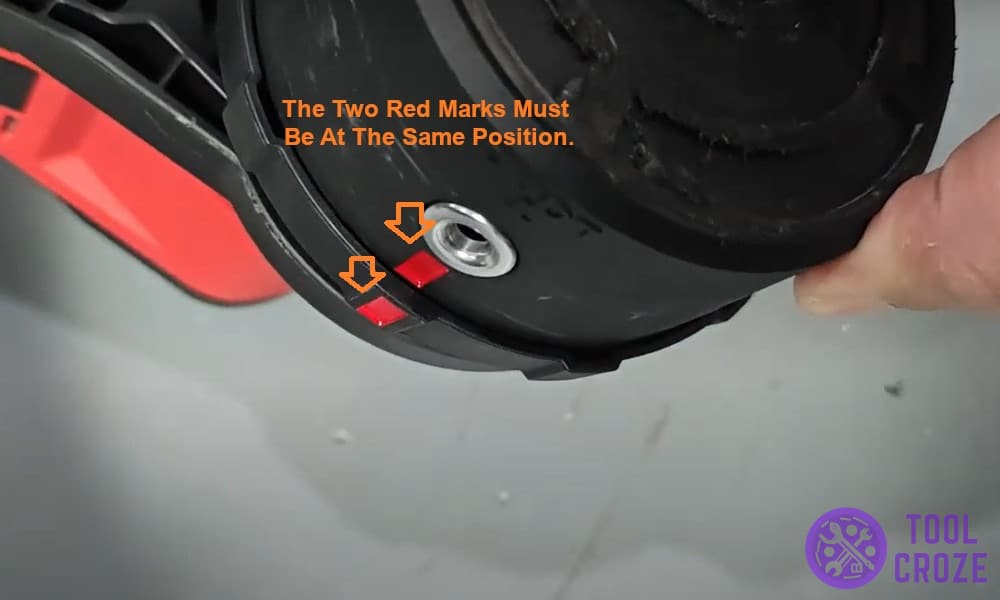
These are the two marks that I have to align for the trimmer to work as it should. The two red marks must be at the same position, though on opposite sides.
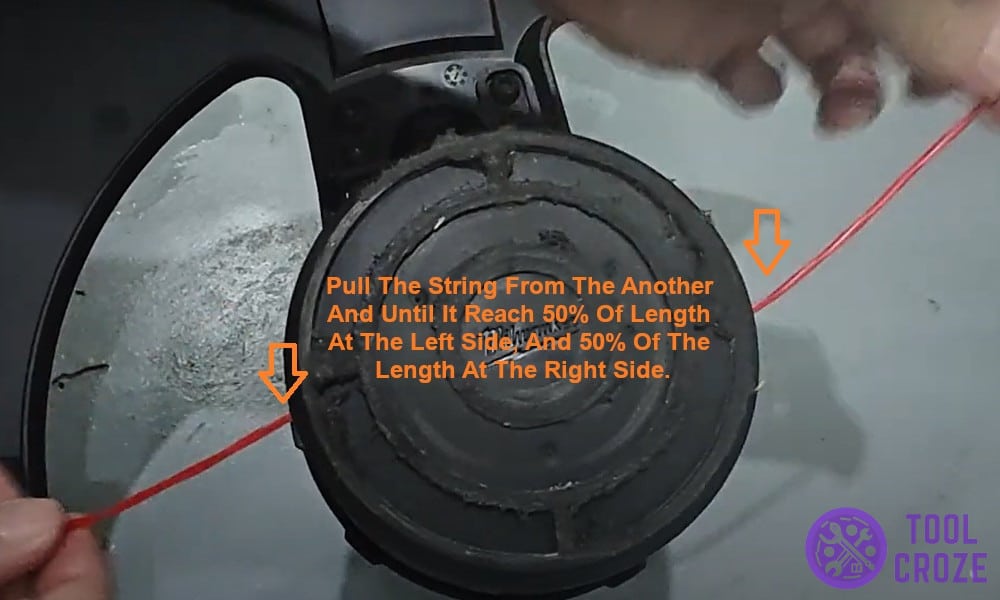
The next thing I do is to insert the thread into one hole of the trimmer head, and push it until it comes out through the hole on the opposite side. Before I can say I’ve loaded the string well, I must ensure that the pieces of thread on either side of the trimmer head are of the same length.
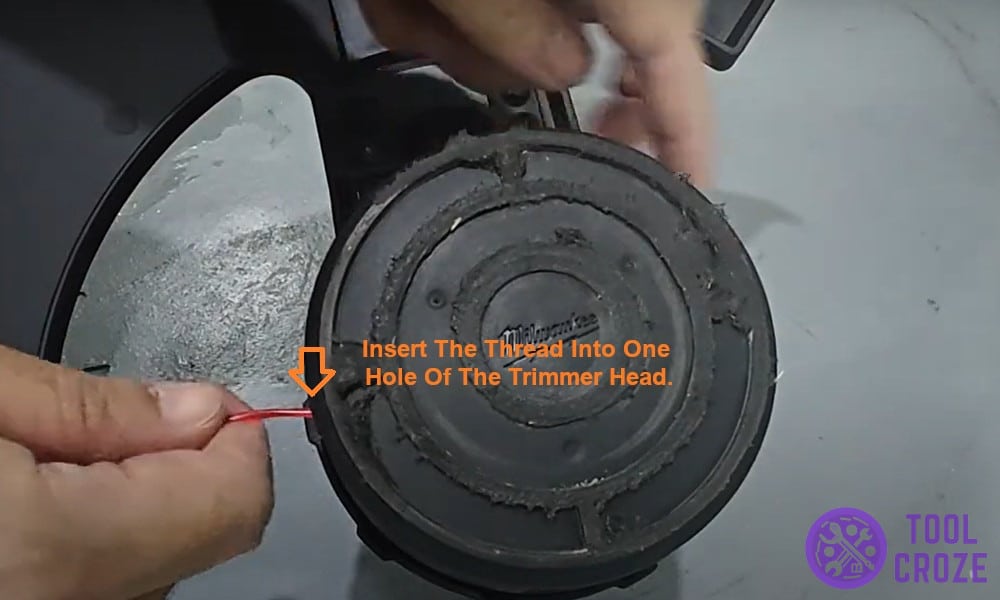
Note that when considering the half of the thread on one side, you should consider that it begins at the center of the trimmer head.
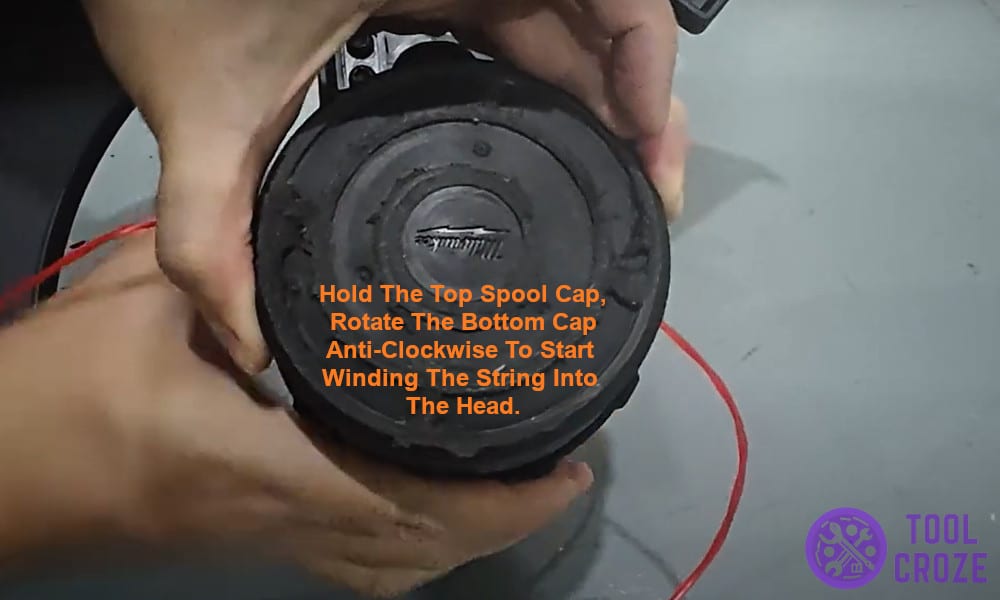
Once I have finished fitting in the thread, I hold the cap at the top of the trimmer head, as I rotate the cap at the bottom in an anti-clockwise direction.
What is happening as I rotate the bottom cap is that the thread I put inside the trimmer head is being wound around it.
I’m now ready to start working. I begin my trimming task by switching on the string trimmer. Immediately the trimmer starts running, more strings are produced, and these are the ones that end up cutting off whatever I want – overgrown grass and anything else of the sort.
Note that the trimmer has the capacity to automatically chop off any unwanted thread that is produced.
Since I learnt how to load my Milwaukee M18 string trimmer, all I do is replace the thread when it runs out.
