Half Lap Joint Calculator
Calculate half lap depth, shoulder spacing, router passes, saw kerf cuts, fit clearance, glue area, and waste for repeatable woodworking joints.
01 Joinery Presets
Choose a common shop scenario, then tune the board size, overlap, tool mode, clearance, and material for your actual stock.
02 Half Lap Inputs
Calculation Breakdown
03 Joint and Material Grid
04 Joinery Preset Table
| Preset | Typical Stock | Overlap | Mode | Use Case |
|---|---|---|---|---|
| Picture frame rails | 1.5 in x 0.75 in maple | 1.5 in | Router | Decorative rail crossovers where clean shoulders matter more than speed. |
| Garden trellis grid | 1.5 in x 0.75 in cedar | 1.5 in | Single blade | Light outdoor lattice where small fit gaps are acceptable. |
| Workbench cross brace | 3.5 in x 1.5 in fir | 3.5 in | Dado stack | Structural frame crossover with broad glue faces. |
| Drawer divider grid | 2.0 in x 0.5 in MDF | 2.0 in | CNC pocket | Repeatable box divider slots that need consistent pocket depth. |
05 Material Reference
| Material | Density | Hardness | Suggested Pass Depth | Shop Note |
|---|---|---|---|---|
| Pine / SPF softwood | 28 lb/ft3 | 420 Janka | 0.250 in router pass | Easy cutting; compresses slightly, so test fit before widening the lap. |
| Cedar | 23 lb/ft3 | 350 Janka | 0.220 in router pass | Soft fibers can fuzz; score shoulders and use a light cleanup pass. |
| Poplar | 29 lb/ft3 | 540 Janka | 0.200 in router pass | Stable and friendly for painted frame parts and face-frame laps. |
| Hard maple | 44 lb/ft3 | 1450 Janka | 0.125 in router pass | Hard and burn-prone; use sharper cutters and avoid slow rubbing passes. |
| White oak | 47 lb/ft3 | 1360 Janka | 0.140 in router pass | Strong joinery stock; leave a few thousandths for final paring. |
| Cabinet plywood | 34 lb/ft3 | Layered | 0.180 in router pass | Veneer faces chip easily, so mark with a knife before routing or sawing. |
| MDF | 48 lb/ft3 | Uniform | 0.160 in router pass | Consistent pockets but dusty; use extraction and avoid loose fits. |
| Ash | 42 lb/ft3 | 1320 Janka | 0.150 in router pass | Tough long grain; take conservative passes and support exits. |
06 Tool Mode Reference
| Mode | Cutter Input | Pass Logic | Cleanup Allowance | Best Use |
|---|---|---|---|---|
| Table saw dado stack | Stack width | Overlap divided by stack width | 1 shoulder skim | Fast repeat joints with a fence stop and consistent stock thickness. |
| Single saw blade nibble | Blade kerf | Many kerf-width cuts across the lap | 2 cleanup cuts | Occasional joints when no dado stack is installed. |
| Router straight bit | Bit diameter | Width passes times depth layers | 1 finish pass | Clean-bottomed laps with a template, edge guide, or router table. |
| CNC router pocket | Tool diameter | Stepover passes times depth layers | Contour finish pass | Batch grids, repeat pockets, and controlled clearance offsets. |
| Handsaw and chisel | Kerf estimate | Two shoulders plus waste relief cuts | Chisel paring | One-off furniture work or quiet layout-first joinery. |
07 Formula and Layout Table
| Output | Formula | Why It Matters | Shop Check |
|---|---|---|---|
| Target depth | Board thickness x lap ratio | Two mating boards should finish close to flush when both are cut from the same reference face. | Set depth on a scrap offcut from the same board. |
| Shoulder opening | Overlap length + fit clearance | Small clearance prevents glue hydraulic lock and gives room for final seating. | Test with the actual mating board, not a nominal dimension. |
| Material removed | Width x opening x depth x joint count | Shows pocket volume and helps compare router dust load versus saw waste. | Use dust collection and make multiple shallow passes in hard woods. |
| Glue face area | Width x overlap x 2 faces x joint count | Broad lapped faces add racking resistance in frames and grids. | Dry clamp once before applying glue to repeated joints. |
08 Fit Tips
A half lap joint is best used on applications like frame and grids due to the fact that half lap joints is fast to lay out and strong. Half lap joints work by cutting half of the thickness of each of the mating board so that their cut edge will be flush with each other. The depth at which you choose to cut the half lap joint will determine the strength of the joint.
If the depth is too shallowly, the pieces will not be flush with each other. Too deep of a cut, however, will result in losing the glue surface necessary to create a strong joint, or the joint may weaken the piece of wood that remain. A calculator can assist with cutting half lap joints by removing the guesswork from the process; it can calculate the necessary measurements based off the width of the board, the thickness of the board, the depth of the joint, and the type of cutting tool that you will use.
How to Make a Strong Half Lap Joint
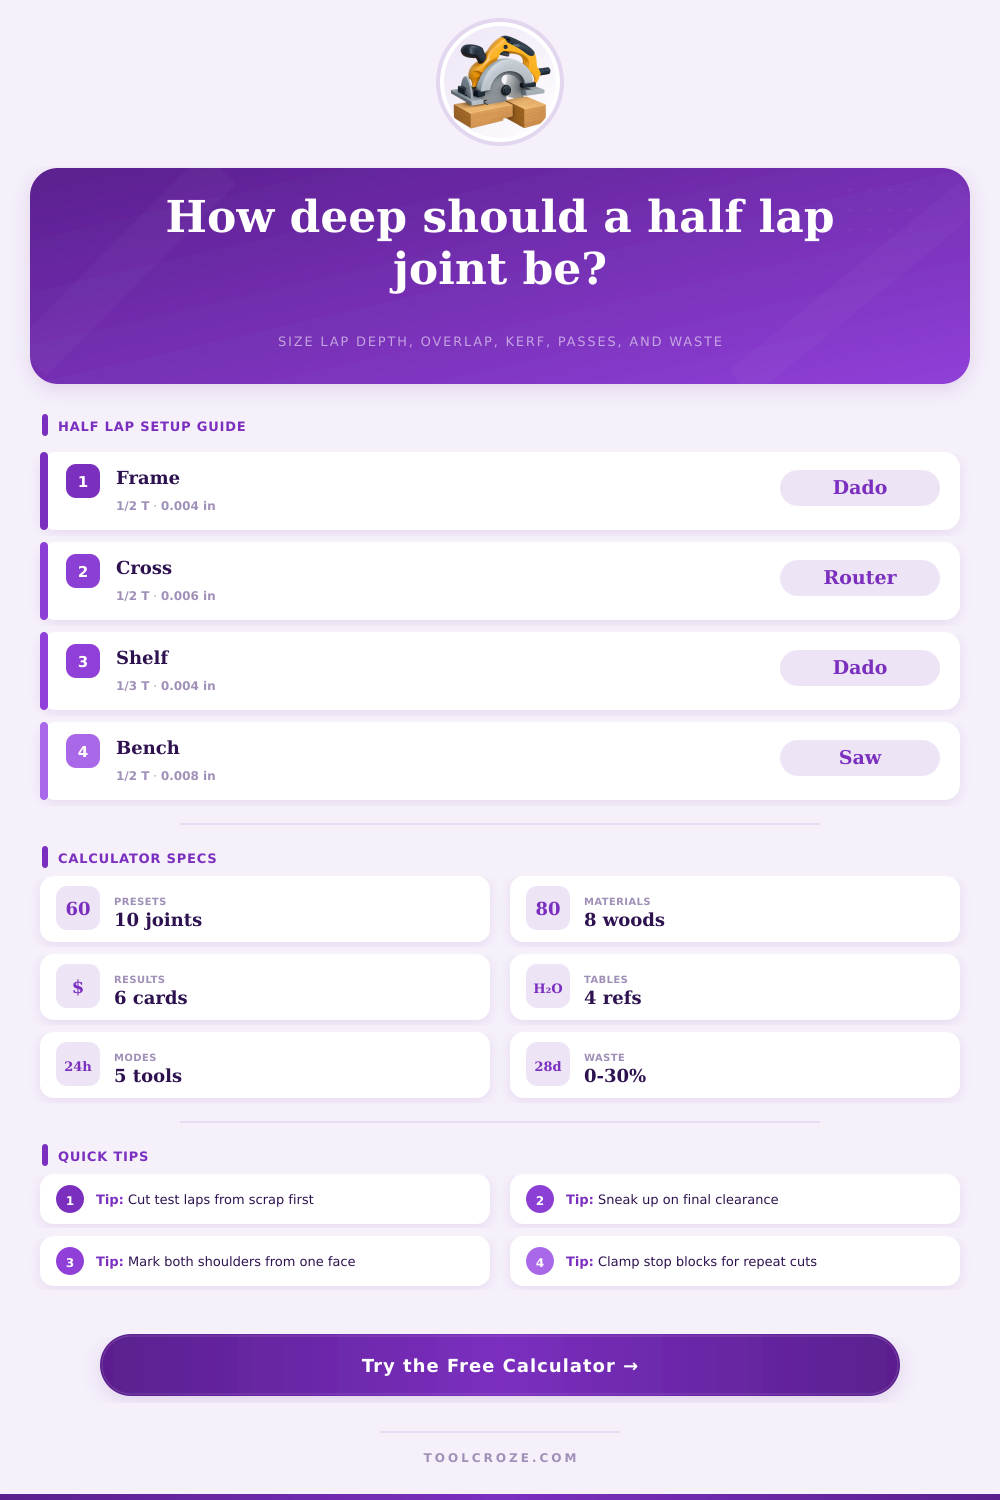
The depth ratio is one of the most important settings that can be selected with a half lap joint calculator. A depth ratio of half the thickness of the board is a common setting for many woodworkers. This setting provides enough strength to the joint while maintaining a flush joint between the two mating boards.
Other depths, however, can be selected based upon the project that is being created. For instance, thin shelf supports may use a depth ratio of one-third the thickness of the board to ensure that there is an even thickness of wood on the back face of the shelf. In another example, deep cuts may be used for heavy bench skids to increase the glue area of the joint.
A depth ratio calculator allow for the toggling between these different depths to test the effect that each depth will have upon the thickness of the remaining boards and the number of pass that will be necessary to cut the joint. Clearance is another important measurement that must be considered when laying out a half lap joint. It is necessary to leave a few thousandths of an inch of clearance between the shoulder of the cut pieces and the mating face.
The amount of clearance that is required changes according to the type of wood that is being used. For instance, soft woods like pine will compress slightly when the glue is applied, allowing for a smaller clearance between the cut pieces. Hard woods like maple and oak will not compress; thus, there must be extra clearance between the cut pieces of wood.
These setting are incorporated into the calculator so that it can add the amount of clearance to the length of the overlap, recalculating the number of passes and the amount of material that the router machine will remove to determine the amount of dust that will be created during the cutting process. The tool mode that you use will impact the calculations that the calculator makes. For instance, if you use a dado stack, the router will remove a wide strip of wood in a single pass.
Dado stacks are fast when cutting many identical joint. A single blade router will take more passes over the joint than a dado stack tool. The same can be said for a router bit.
The calculator adjust for these tools modes so that it can provide an estimation as to the number of passes that the tool will require to cut the half lap joint. The type of material that is being used will impact the depth of the passes that the router bit will make. Hard woods may require shallower passes with the router bit than soft woods like cedar because the hardwoods may burn with deeper passes.
The waste allowance for the project allows for wood waste to be provided for test pieces so that the woodworker will not cut into the workpiece being worked on. The reference tables provide information that the woodworker needs to make a decision about the project. The tables show how each type of wood will respond to the cutter.
Additionally, the tables provide information about the feed rate of the cutting tool to ensure that the edge of the wood remains clean. The best test of the settings for the half lap joint can be made by cutting a joint out of an offcut of the same thickness as the parts that are to be cut. By cutting this joint, the woodworker can adjust the cutter height if the shoulder of the joint is either too high or too low.
The shoulders should be marked from the same reference face of the boards so that the thickness of each board does not impact the joint. Once the proper shoulder spacing has been determined, stop block can be placed to ensure that the remaining joints can be quickly completed. When the joint is complete, each of the parts will sit flush with each other.
The resulting joint will feel solid when touched. Using the calculator to determine the depth, opening, and passes that will be necessary to create the joint will ensure that the joint is repeatable; testing the joint on scrap wood will ensure that the result will be accurate.