Garden Wall Block Calculator
Estimate wall blocks, buried courses, cap blocks, base gravel, drainage stone, setback batter, geogrid layers, pipe length, and waste for garden and retaining wall takeoffs.
⚙Unit System
📌Garden Wall Presets
📐Wall Layout Inputs
Garden Wall Block Takeoff
🧱Wall Block Spec Grid
📋Common Garden Wall Block Sizes
| Block Type | Typical Face | Typical Depth | Best Takeoff Use |
|---|---|---|---|
| Small garden block | 4 x 12 in | 7 to 8 in | Edging, rings, and short beds |
| Standard wall block | 6 x 16 in | 10 to 12 in | Planters and low retaining walls |
| Segmental retaining block | 8 x 16 in | 12 in | Gravity walls with batter setback |
| Large retaining block | 8 x 18 in | 12 to 18 in | Taller garden walls and terraces |
| Cap block | 3 x 18 in top face | 10 to 13 in | Top course coverage and overhang |
📏Base and Drainage Reference
| Wall Height | Buried Course | Base Gravel | Drainage Stone Behind Wall |
|---|---|---|---|
| Under 12 in garden edging | 0 to 1 course | 3 to 4 in compacted | Optional unless soil holds water |
| 12 to 24 in planter wall | 1 course typical | 4 to 6 in compacted | 6 to 12 in wide to wall height |
| 24 to 36 in retaining wall | 1 to 2 courses | 6 in compacted minimum | 12 in wide with drain pipe |
| 36 to 48 in retaining wall | 2 courses typical | 6 to 8 in compacted | 12 in wide plus daylight outlet |
| Over 48 in or surcharge loads | Engineering required | Use project design | Use project drainage design |
🔗Geogrid Layer Guide
| Exposed Height | Typical Layer Count | Grid Length Behind Wall | Planning Note |
|---|---|---|---|
| Under 24 in | 0 layers for gravity walls | Not usually required | Still follow block system limits |
| 24 to 36 in | 1 layer | 3 to 4 ft or design length | Place near mid height or per spec |
| 36 to 48 in | 2 layers | 4 to 6 ft or design length | Use compacted backfill between layers |
| 48 to 60 in | 3 layers | 5 to 7 ft or design length | Check permit and engineering rules |
| 60 to 72 in | 4 layers | Use engineered layout | Do not rely on a generic estimate |
🌳Preset Takeoff Scenarios
| Preset | Typical Size | Block Face | Takeoff Emphasis |
|---|---|---|---|
| Low garden edging | 24 ft x 8 in high | 4 x 12 in | Short blocks with low waste |
| Raised flower bed | 28 ft x 16 in high | 6 x 16 in | One buried course and caps |
| Curved tree ring | 22 ft x 12 in high | 4 x 12 in | Extra cuts for radius layout |
| Sloped yard retainer | 40 ft x 36 in high | 8 x 16 in | Drain stone and geogrid layers |
| Four foot retaining wall | 52 ft x 48 in high | 8 x 18 in | Embedment, grid, and drainage |
💡Calculator Tips
A lot of times, it seems like you have this great idea for a weekend project. It’s a simple line of blocks making flower bed edge or keeping a hillside held back. And then you’re out there in the soil with your tape measure trying to figger it all out. How many blocks along the arc? What kind of gravel do I need under there?
If you forget about what no one ever sees, those little details can make all the difference when estimating a job, either at home or at work. The block calculator will takes into account everything from a corner cutout to a cap stone or two on top of it. It handles the guesswork on hidden layer and waste coefficients for you. And it even counts the starter course that lives under sod.
How to Calculate Your Block Wall Needs
A single 6 x 16 inch block looks simple enough. Add another row around bottom just for good measure and no one can tell where it went except in the end result. That’s why it uses a calculator that do all the math for you if you enter the numbers. You will no longer have to guess at waste and unseen layer.
Think of it: Before thinking about the face, you’ve got to think about foundation. A solid base is needed for retaining walls and heavy garden bed. Dig out six inches of gravel. Skip that step and expect settling the first rainy season.
Base gravel and drainage stone each has their job; use the wrong one or don’t separate them with the tool. One bear the weight of what’s on top. The other handles water pressure against the back side of wall. Water damages masonry. Give it no place to go, and it will push against the weakest block.
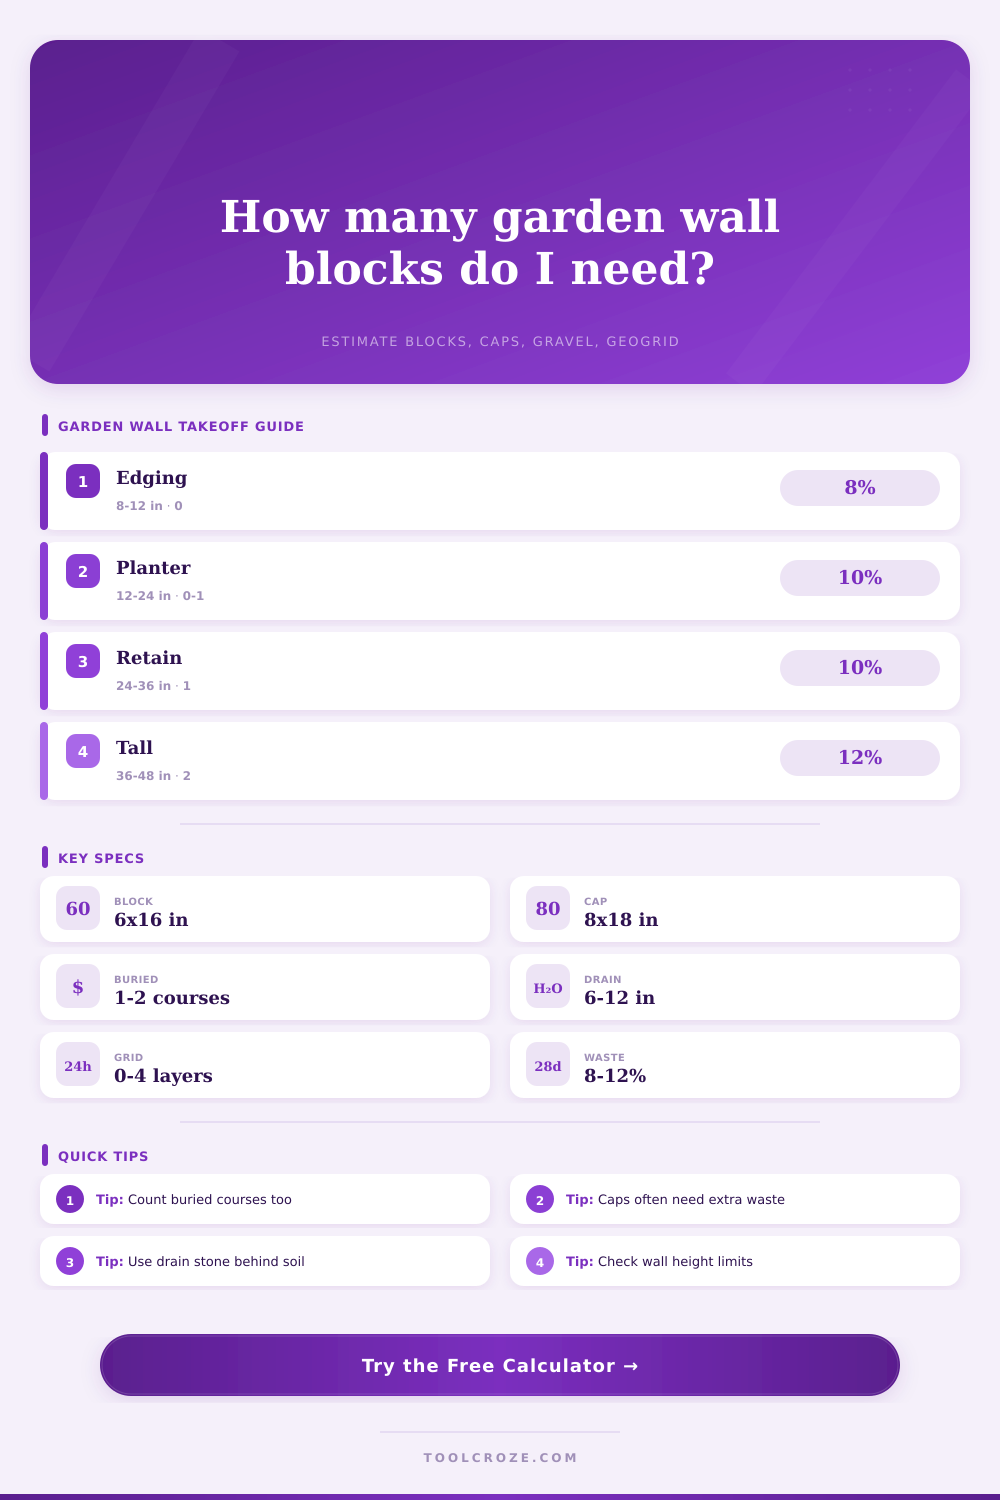
The build depend on height. For example, a two foot high planter wall needs just good footing and drainage. A 4-foot or higher wall, however, requires structure. That’s why geogrid comes into play. Geogrid is a heavy duty fiberglass mesh that secure the wall to the soil behind it. You can see how many layers are required for each height in this reference table. This ensures the wall will not lean if the soil pressure is more than the block weight.
Curves look good, but they cause waste. Straight rectangles don’t make a neat circle, there’s going to be scrap. That’s what the waste allowance is for. Add five percent more for breakage on straight walls. Add twelve to fifteen percent if it have curves or stepped wall. Many blocks gets trimmed to match the radius. If you don’t account for that then you’ll run short at the end of your last course and lay something you weren’t expecting to lay.
Size of block is more important than looks. Larger blocks means faster installation because you use fewer courses. The larger, the quicker but each one costs more per unit (and weighs more). Standard six inch block heights are common because they match rhythm of most construction layouts. That fits into the pattern of typical construction layout.
Add cap blocks for that finished look (but remember to count them separately). These are wider than regular blocks so there’s an overhang. They aren’t as easy to visualize.
Without an engineering design, there are sometimes restrictions on height of walls based off local codes. In many places it’s limited to four feet. More than that and you need a stamped design. And it’s not just bureaucratic. Why? Because when frost hits the ground or the heavens open up in a downpour, you want it to hold.
Before you dig: Call! Utility lines don’t give a hoot about your landscaping ambitions. Best of all: The wall that lasts through its first winter is the best wall. You should of get the figures correct before you put shovel to dirt; the estimate buys time so you can concentrate on the construction.