Gable Siding Calculator
Estimate triangular gable area, rectangular wall area, net siding coverage, boards or panels, courses, rake trim, and fasteners from real gable dimensions.
⚒Project presets
📏Gable and siding inputs
Gable siding takeoff
🧱Material/spec grid
📊Roof pitch rise reference
| Pitch | Rise on 20 ft width | Rise on 24 ft width | Rake factor per half-run |
|---|---|---|---|
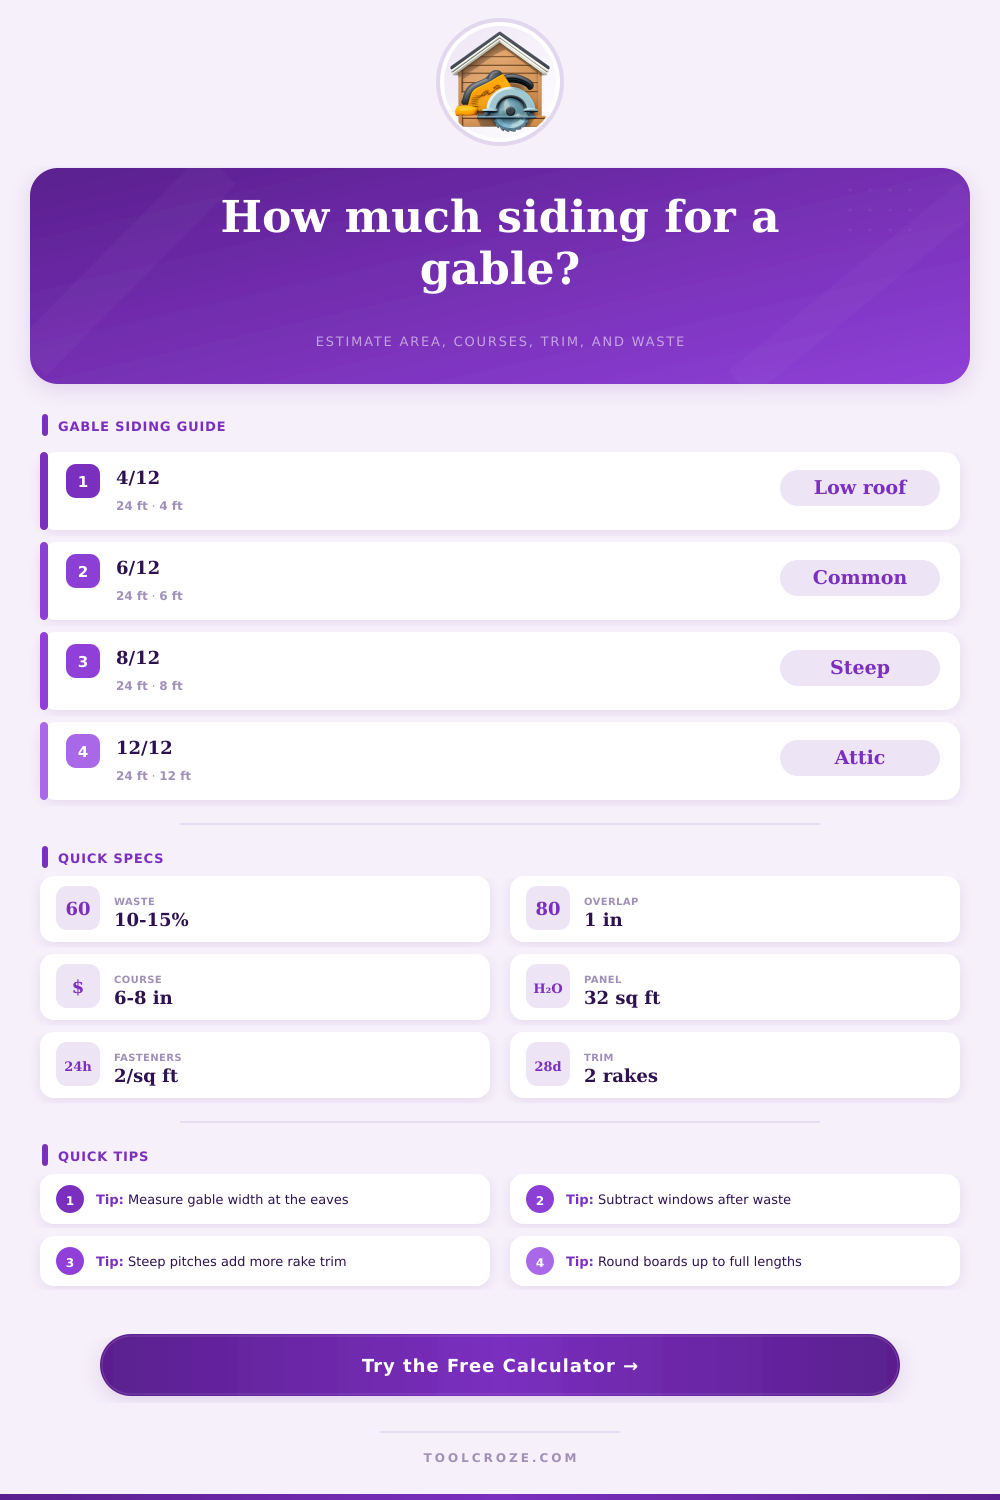
| 4/12 | 3.3 ft | 4.0 ft | 1.054 |
| 6/12 | 5.0 ft | 6.0 ft | 1.118 |
| 8/12 | 6.7 ft | 8.0 ft | 1.202 |
| 10/12 | 8.3 ft | 10.0 ft | 1.302 |
| 12/12 | 10.0 ft | 12.0 ft | 1.414 |
📋Siding profile coverage reference
| Profile | Common exposure | Piece coverage | Takeoff note |
|---|---|---|---|
| Vinyl lap | 8 in | 8-9 ft² | Use actual panel face |
| Fiber cement lap | 6.25-7 in | 6-7 ft² | Allow butt-joint cuts |
| Cedar clapboard | 4-6 in | 4-6 ft² | Sort for clear ends |
| Shingles or shakes | 5-7 in | Bundle rating | Use extra at rakes |
| T1-11 panel | 48 in | 32 ft² | Round to whole panels |
| Board and batten | Nominal width | Board face area | Add batten coverage |
🔧Fastener and trim reference
| Material | Fastener rate | Rake trim | Waste guide |
|---|---|---|---|
| Vinyl lap | 1.5-2.0 per ft² | J-channel or trim | 8-12% |
| Fiber cement | 2.0-2.5 per ft² | Composite trim | 10-15% |
| Cedar lap | 2.0-3.0 per ft² | Wood rake board | 12-18% |
| Shakes | 3.0-4.0 per ft² | Woven or trimmed rake | 15-20% |
| Panel siding | 1.2-1.8 per ft² | Z-flashing plus trim | 5-12% |
| Metal panel | 1.0-1.5 per ft² | Rake closure trim | 8-12% |
🏠Common gable size table
| Project | Typical width | Pitch | Peak-only area |
|---|---|---|---|
| Storage shed | 10-12 ft | 4/12-6/12 | 17-36 ft² |
| Single garage | 20-24 ft | 5/12-8/12 | 83-192 ft² |
| Cape end wall | 28-34 ft | 8/12-12/12 | 261-578 ft² |
| Dormer face | 6-12 ft | 6/12-12/12 | 9-72 ft² |
| Barn gable | 30-40 ft | 8/12-12/12 | 300-800 ft² |
💡Takeoff tips
When you get to the triangle-shaped area where a roof connects to siding (the gable end), normal rectangle-based math doesn’t work. It’s an angle, not a square which means certain allowances must be made for waste when you cut out those triangles from full sheets or planks of lumber. That’s where a gable siding calculator comes in. It crunches all that math for you, letting you concentrate on deciding what style best fits your house instead of trying to guess the number of scrap pieces that’ll result once everything gets installed.
Before you start taking measurements, it’s important that you know what shape your house has. This will determine whether you want to calculate only the triangular portion of a roof (the part on top of the eaves). You might also want to include the rectangle underneath (also known as the wall). Why? Different techniques is used to install each region, which may require different types of siding. For example, in our case we’re putting up T1-11 on the triangle above and regular lap siding on the wall below. By breaking out those regions, you’ll be sure to get pieces that match the shapes.
How to Use a Gable Siding Calculator
The length of the rake edges and height of the triangle are determined by the roof pitch. If you have a steep roof, the diagonal sides will be longer. The overall height of the triangle will also be taller. This means more trim will be needed along its edge. At common pitches such as eight-over-twelve or six-over-twelve, the wider the rake, the greater the rise (see reference table). Knowing this allows you to measure the rake correctly to avoid cutting short on corner boards when installing them.
It’s hard to cut lap siding so that all the pieces line up exacty horizontal on a gable end, which means you end up wasting a lot of siding in odd cuts at the top and bottom courses. Siding boards near the peak will have to be cut down to follow the pitch, and those scraps are often not long enough for anywhere else in the wall. To account for this fact, the calculator adds an allowance based off the length of the boards. Ten percent is a good starting place for average jobs. However, if you’re using high-end material such as cedar shakes or dealing with a complicated layout, factor that into your estimate. Losing fifteen percent of your siding to cut-offs is cheaper than running out midway through a prominent wall face.
The other thing is that the measure are different depending on what material you choose. For example, if you choose vinyl or fiber cement, they typically sell these as single boards. Since you buy them one board at a time, the exposure width determines the number of courses. If you’re buying panels (plywood, metal etc.), typically they’ll sell by the square foot coverage per sheet. The calculator will adjust accordingly if you pick panel or boards. Instead of just giving you some sort of abstract number for the area, it lets you know how many pieces you need. That means you won’t order the wrong thing and have to wait weeks for more to arrive. This prevents delays in your project.
What if I told you this tool could show you the EXACT number of boards you need to buy? Siding fastener costs may sound minor, but they can really add up when covering a broad area such as a large garage addition or wide-spanning barn. Depending upon what’s being used (nails vs. Depending on what is being used (nails vs. Screws), there must be enough fasteners to hold each row securely. The tool will estimate this amount so you don’t have to return to the supply house halfway through your install. It factors in trim work that may go with the siding (such as rake sections) as well.
To begin with, measure from the ground. Get your eave width measured correctly before you climb up there. Any small mistake in the width will be multiplied later in your calculations (rise and rake length). If you’re not sure what the pitch of your roof is, is it a shallow four-over-twelve, or a steep one like a ten-over-twelve? The difference means a few feet more/less to the peak height. A couple feet makes all the difference which means getting this right requires exact measurements for an accurate material count.
So there’s your numbers, now print ’em off and bring ’em in confidently to the supplier. Grab the amount of trim you need off the shelf knowing how far down each course you’ll go on your gable. That way it’s not an estimate anymore, but something you CAN do. Now when you look at that triangle, it won’t feel like a gap in your budget; it will feel like a puzzle you already finished.