Floor Sanding Calculator
Estimate room area, grit sequence passes, overlap coverage, drum or belt sanding time, edging time, abrasive count, and dust load before you start the floor.
Choose a real floor condition to load typical grit, overlap, edge area, sanding rate, and dust/load assumptions.
This changes the stock removal, rate factor, and caution flag.
Coverage multiplier is based on effective width after overlap.
Use lower rates for rental drums, diagonal cuts, and uneven boards.
Floor sanding estimate
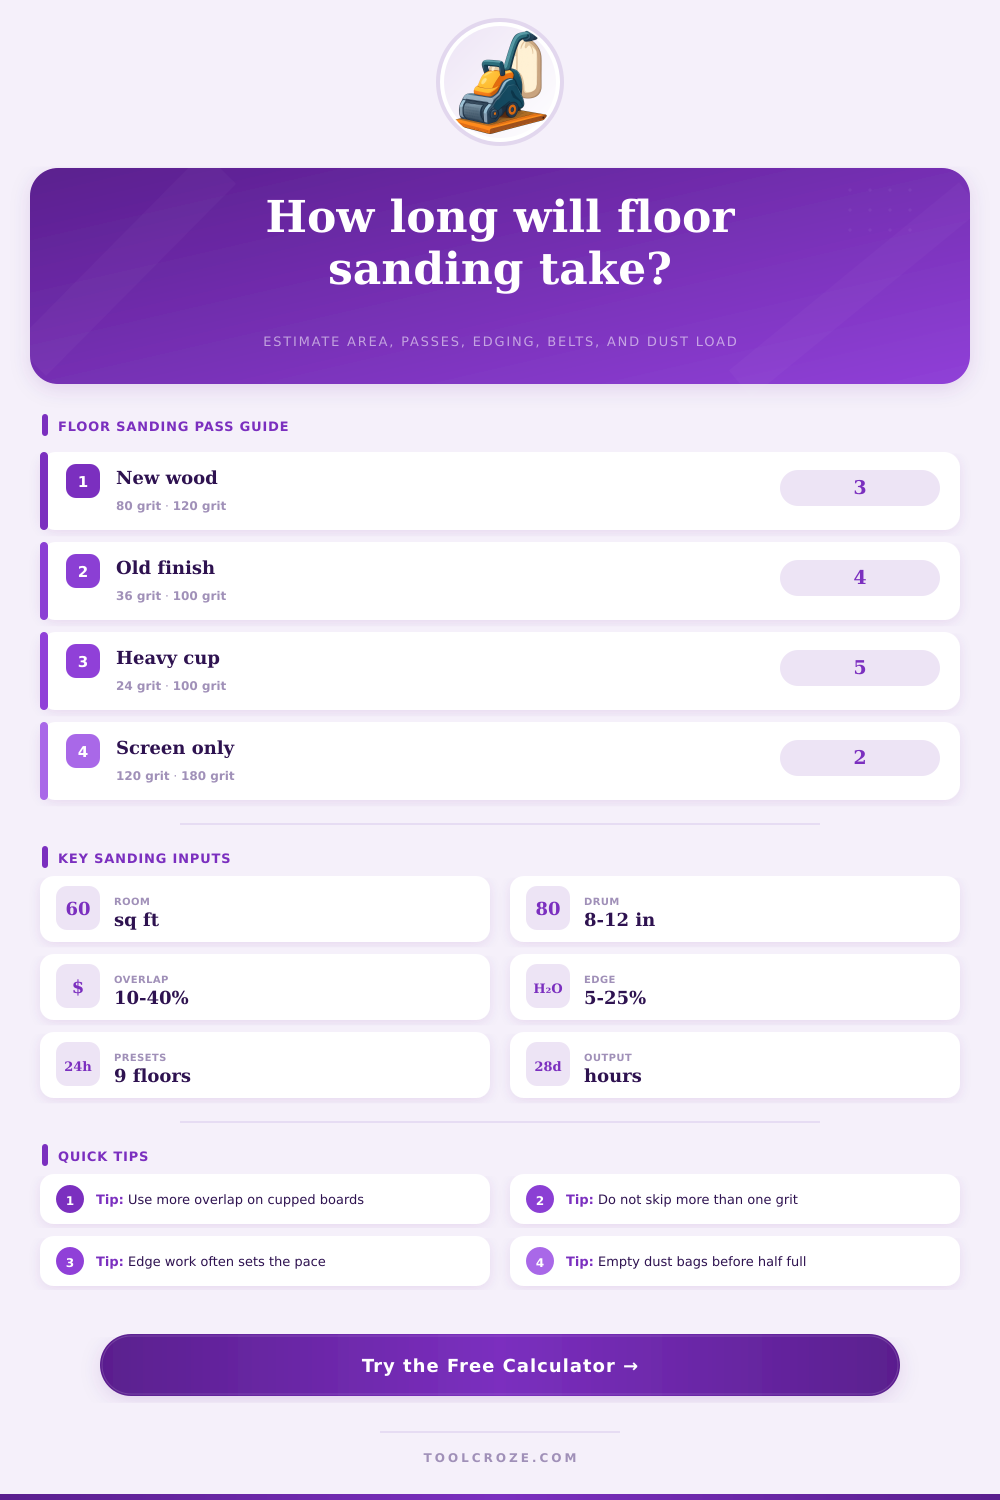
| Floor condition | Typical sequence | Pass count | Use when |
|---|---|---|---|
| Screen and recoat | 100 / 120 / 180 | 2 to 3 | Finish is sound and boards are flat |
| New hardwood | 80 / 100 / 120 | 3 | Fresh install with light lippage |
| Standard refinish | 60 / 80 / 100 | 3 | Worn finish without deep cupping |
| Old varnish removal | 36 / 60 / 80 / 100 | 4 | Thick finish, stains, or uneven sheen |
| Heavy flattening | 24 / 36 / 60 / 80 / 100 | 5 | Cupped boards or high ridges |
| Machine setup | Typical width | Open rate | Best fit |
|---|---|---|---|
| 8 inch rental drum | 8 in | 120 to 180 sq ft/hr | Bedrooms and small rooms |
| 10 inch professional drum | 10 in | 180 to 280 sq ft/hr | Open living areas |
| 12 inch belt sander | 12 in | 260 to 420 sq ft/hr | Large flat floors |
| Edger with 7 inch disc | 7 in | 35 to 80 sq ft/hr | Walls, closets, stairs |
| Buffer screen | 15 to 17 in | 300 to 600 sq ft/hr | Screen and recoat prep |
| Planning item | Typical allowance | Calculator input | Workshop note |
|---|---|---|---|
| Pass overlap | 15% to 35% | Overlap percent | Higher overlap gives a flatter blend |
| Edge area | 8% to 20% | Edge area percent | Small rooms and closets need more edging |
| Abrasive life | 180 to 260 sq ft/pass | Dust/load factor | Finish buildup shortens belt life |
| Dust checks | Every 45 to 60 minutes | Project time | Empty before the bag reaches half full |
| Buffer time | 5% to 20% | Setup buffer | Includes turning, cleanup, and inspection |
Floor sanding require preparation and patience. Many people finds that floor sanding requires preparation and patience because the process take longer then they expect. For example, they may rent a sanding machine and think that they can complete the project over a weekend.
However, they may find that the project isnt complete because they did not account for area of the floor that they had to sand. The total amount of work that a floor sanding project has to be completed with is based off the area of the floor that is to be sanded. The area of the floor that is to be sanded is not always the same as the square footage of the room that is to be sanded.
How Long Floor Sanding Will Take
Every grit that is used in the sanding process create a pass over the floorboards. Thus, the more grit that is used, the more passes will have to be completed. For example, if a person decides to use three grits of sandpaper to sand a floor that is 200 sq.
Ft., then the person will have to sand 600 sq. Ft.
The floor sander calculator accounts for this equation in that it ask for the number of grits that are to be used for the sanding project. The total amount of work that is calculated for the project takes into account the area of the floor to be sanded times the number of grits that is to be used.
The calculator asks for the percentage of overlap between the passes of the sanding machine over the floorboards. The reason for this question is because if the sanding machine do not overlap the passes with the previous pass of the sanding machine, then there will be a visible line on the floorboard. To avoid this issue, many floor sanders use a 25% overlap between passes.
However, the percentage of overlap may have to be increased if the boards are cupped or if a coarse grit is to be used. The higher the percentage of overlap for the sanding machine, the more area of the floor that must be sanded. Thus, the percentage of overlap has an impact upon the total amount of time that will be required to complete the sanding project.
An additional area of work for floor sanding is the edge of the floor. The area in the middle of the floor dont have as much work to complete as areas near the edges of the floor. For example, areas near closets, radiators, and doorways requires a separate pass from the edging sander so that the edges can be properly completed.
In addition, the finish of the edges of the floorboards collect more of the abrasive wood sandpaper than the rest of the boards. Thus, the abrasive wears more fast in these edge zones of the floor. The calculator also takes into account the width of the sanding machine and the rate at which the sanding machine sands the floor.
The wider the sanding machine and the faster that it sands the floor, the less time that it will take to complete the sanding project. The edging allowance on the calculator is used to determine how much time will be required to sand the edges of the floorboards. For instance, if the allowance for edging is set to 20% or higher, then an additional amount of time will be required to sand those edges in addition to the time required for sanding the main floor area.
The floor sander calculator also takes into account the area of the sanding machine’s drum and the rate at which it sands the floorboards. Both of these variables will have an impact upon the total amount of time required to complete the sanding project of the floorboards. Variables such as the amount of dust that will be created during the sanding process will affect how often the sanding process will have to be paused.
For instance, if the floorboards contain old varnish, filler, or paint, there will be a high load of dust that will be created. This type of dust can readily clog the sanding belts that are used in sanding the floor. Thus, the setting for the dust load in the calculator will help to ensure that the time required for the sanding projects accounts for the abrasive life of the sanding belts and the frequency with which the sanding machine’s dust bag will have to be emptied.
The grits that are used for the sanding project will impact the smoothness of the sanded floor. If the grits are skipped in the sanding process, then there may be visible scratches on the sanded floorboards. If the sander uses every grit in the sequence that is selected, the sanded floor will be smooth, but there will be more time that will be required for sanding.
The calculator takes into account the grit sequence that is to be used for the sanding project. The total amount of work for the sanded floor is calculated as the area of the floor times the grit sequence of sandpaper grits. If the boards have been cupped during the building of the floorboards, then the sanding machine will have to account for that cupping of the boards.
For instance, when sanding the boards, the sander may need to remove some of the wood from the first pass of the sanding machine in order to even out the board. However, removing too much wood from the first pass can cause the boards to heat up during the sanding process and cause marks on the floorboards. The calculator takes into account that sanding cupped boards will require more time than sanding a floor whose boards are not cupped.
The final two variables that are considered in creating the estimate of the time required to complete a floor sanding project are the type of floor that is to be sanded. For instance, if the floor to be sanded has a parquet or another type of pattern in its floorboards, then the sanding process will have to be performed differently than if the sander is performing the sanding on a floor whose boards are not patterned. When sanding a patterned floor, the grain of the floorboards changes direction more than once during the sanding project.
If only one direction is sanded with sandpaper, it is possible that the sanded floor will have cross scratches on its surface that are created by the floor’s different grain directions. To even out the sanded floor with different grain directions, many floor sanders will perform an extra light pass with the final grit of sandpaper. Thus, the time that is required to complete sanded floor with a pattern will be accounted for in the calculator in that the total coverage for the project will include the area of the final pass.
Buffer time includes all of the time that is required to complete tasks other than sanding the floor. Such tasks may include turning on the sander, emptying the dust bags from the sander, checking for nails in the floorboards, and walking from the sander to the floor or from the floor to the sander to change the grit of the sandpaper. A buffer time of 10% or 15% of the time that is calculated for the sander to sand the floor is often recommended in order to account for these tasks.
The realistic estimate is one that takes into account all of the factors that were just discussed for determining the time that is required to sand a floor. The realistic estimate will provide a number to the floor sander and project estimator that can be used to create a schedule for completing the sanding project. Thus, if the sander incorporates this realistic estimate into their planning for the sanding project, they will know how long the sanding project will take.
Therefore, they will not have to guess at the length of time of the sanded floor project.