Floor Joist Span Calculator UK
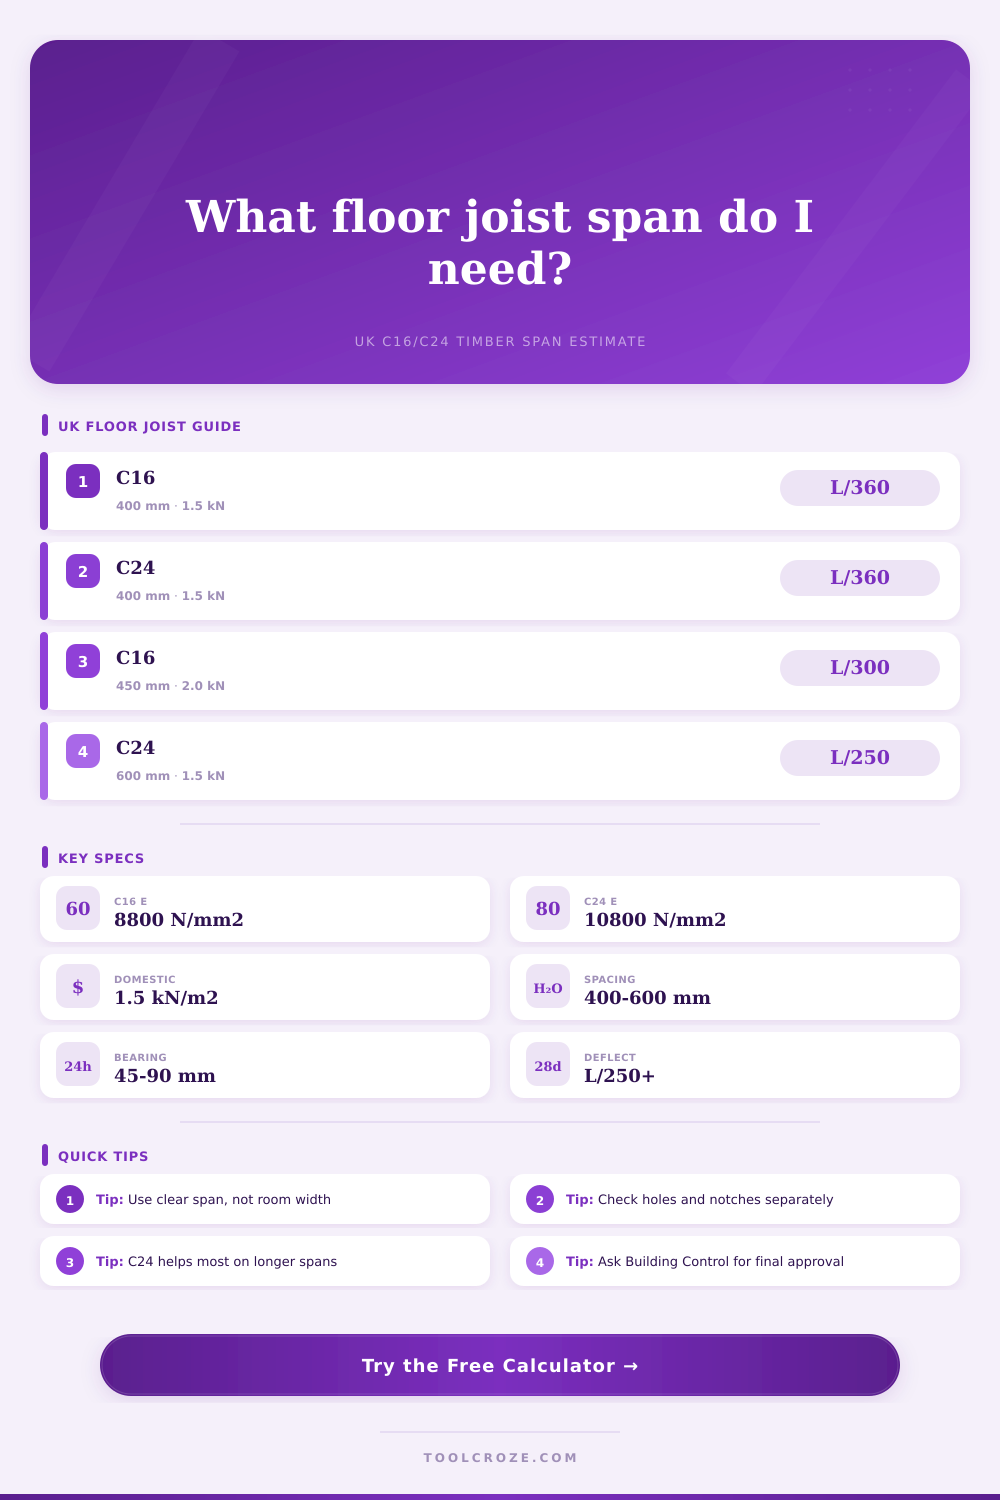
Estimate clear span capacity for UK C16 and C24 solid timber floor joists using metric section size, spacing, imposed load, dead load, service class, bearing length, deflection limit, and strutting rows.
📌UK Floor Presets
⚙Metric Joist Inputs
UK Floor Joist Span Estimate
Full Breakdown
📊C16/C24 Spec Grid
📏Common Domestic Span Reference
| Joist Section | C16 at 400 mm | C24 at 400 mm | Typical Use |
|---|---|---|---|
| 47×120 mm | about 2.45 to 2.60 m | about 2.75 to 2.95 m | Small landings, trimmed zones, and short spans |
| 47×145 mm | about 3.00 to 3.15 m | about 3.35 to 3.55 m | Bedrooms and light domestic rooms |
| 47×170 mm | about 3.55 to 3.70 m | about 3.95 to 4.15 m | General floors with plasterboard ceiling |
| 47×195 mm | about 4.00 to 4.25 m | about 4.55 to 4.80 m | Longer bedrooms, lounges, and first floors |
| 47×220 mm | about 4.45 to 4.75 m | about 5.05 to 5.35 m | Long domestic rooms where depth is available |
| 72×220 mm | about 5.15 to 5.45 m | about 5.90 to 6.20 m | Higher capacity floors and heavier finishes |
⚖Load and Deflection Guide
| Floor Condition | Imposed Load | Dead Load Allowance | Deflection Target |
|---|---|---|---|
| Typical UK domestic room | 1.50 kN/m² | 0.25 to 0.50 kN/m² | L/250 to L/360 depending on finish |
| Hall, landing, or route with movement | 1.50 to 2.00 kN/m² | 0.50 to 0.75 kN/m² | L/300 for a firmer feel |
| Tile, stone, or brittle floor finish | 1.50 kN/m² | 0.75 to 1.00 kN/m² | L/360 or tighter finish guidance |
| Boarded loft storage | 0.75 to 1.50 kN/m² | 0.25 to 0.50 kN/m² | Check ceiling joist suitability separately |
| Flat separating floor with acoustic build-up | 1.50 to 2.00 kN/m² | 0.75 to 1.25 kN/m² | Often governed by depth and vibration |
🧱Bearing and Strutting Reference
| Check Item | Common UK Rule of Thumb | Calculator Use | Important Limit |
|---|---|---|---|
| Masonry bearing | Often 90 mm minimum bearing is expected | Flags bearing below 90 mm on masonry supports | Pockets, padstones, and wall condition still matter |
| Timber support bearing | 45 mm is a common practical minimum | Flags bearing below 45 mm on timber support | Check crushing, fixings, and load path |
| Joist hanger bearing | Use the hanger maker rating and nailing pattern | Uses 45 mm as a first-pass input check | Do not mix hanger specs or missing nails |
| Strutting or noggins | Rows are commonly added on deeper, longer joists | Suggests rows from span and depth ratio | Strutting improves stability, not basic span rating |
🏗UK Floor Preset Details
| Preset | Typical Section | Spacing and Load | Why It Matters |
|---|---|---|---|
| Terrace bedroom | 47×145 mm C16 | 400 mm, 1.50 kN/m² | Older houses often have shallow joists and tighter spans |
| Boarded loft | 47×170 mm C16 | 400 mm, 0.75 to 1.50 kN/m² | Ceiling joists are not automatically floor joists |
| New build bedroom | 47×195 mm C24 | 400 mm, 1.50 kN/m² | C24 and extra depth help stiffness across common room widths |
| Bathroom tile floor | 47×195 mm C24 | 400 mm, heavier dead load | Tile finishes can be controlled by deflection before strength |
| Flat acoustic floor | 72×220 mm C24 | 400 mm, 1.00 kN/m² dead load | Acoustic layers add weight and depth requirements |
💡Floor Joist Span Tips
We naturaly tend to measure a room wall-to-wall, and think that’s our floor joist span. And sure, it’s a natural mistake, but also the most common cause of cracking plaster and bouncy floors.
The true span of the floor is the actual distance between supporting walls, minus any timber sitting on them. In other words, if you don’t account for bearing width, then you’re essentially asking a smaller piece of wood to perform the function of a larger one. This is why plugging in your own numbers into the calculator above does all the work for you, so you don’t have to try to mentally convert room widths into clear spans.
How to Calculate Your Floor Joist Span
So: what about your timber? What will you use for spans? Your options boils down to two grades of softwood (C16 and C24) in the UK. C16 is good, but not great; it’s the sort of stuff you’ll find in budget renovations or older Victorian terraces. It’ll do; until it doesn’t. For greater stiffness and strength, look at C24. You won’t need to add depth to your joists, and you can go that bit further too. On paper, the gap might be small but it adds up to millimetres of deflection over time. And if you’re tiling then millimetres are difference between a smooth tiled floor, and one riddled with cracks radiating out from under the bath. That table of references on the page explains all this briefly, and demonstrates just how much more span you can achieve from a modest step-up in grade.
Depth matter more than width when it comes to stiffness. Stiffness is related to the cube of depth, which means that a joist that is twice as deep is not just twice as strong; it is exponentially stiffer. That’s why builders prefer a narrow but deep section over a wide but shallow one because it provides more stiffness for every amount of wood used. The tool allows you to switch from standard sections such as 47 by 145 mm and 47 by 195 mm, so that you can see at a glance how much additional strength the extra depth provide. It is a little thing, but it counts.
Most floor failures in homes are not due to the wood snapping, but rather to sagging sufficiently to bother inhabitants. Then again you need to consider what’s going on top of it. A carpeted bedroom is no problem. Consider a tiled bathroom with heavy ceramic tiles and stone bath. Another thing entirely. Everything that gets fixed to the floor is part of dead load, such as insulation, screed etc. Everything that moves around (pets, people, furnitures) is what is called the imposed load. Increasing the dead load increases overall weight. The joists needs to bear this weight all the time. And all this constant stress adds up. These inputs change the calculations that the calculator makes and flags red if you go beyond the safe bending capacity of wood. It doesn’t just guess but actualy calculates the usage ratio so you’ll know exactly how near you are to your limit.
The thing that trips up most DIYers is deflection limits. You’ll be familiar with terms like L/250, which is the standard amount of bounce allowed for most floors. Stiffen it up to L/360 and this becomes acceptable when you’ve got a brittle finish. What does all that mean? That ratio looks abstract until we show it to you in action. You may pass at L/250 but not at L/360. In other words, it won’t break but it will be visually saggin. With the tool, you choose how strict you want to be: liveable or just getting by. You are not just building it but living in it.
Lastly, check your strutting and bearings. For example, timber supports can sometimes be strutted less, while masonry walls typically require a 90mm bearing. Rows of strutting prevents twisting of tall joists when loaded. These small details provide stability. And the calculator checks for this so you know the design will work in real world, not only on the spreadsheet.
When building a floor, it’s less about raw strength and more about managing movement. A floor is made of wood. It settles and moves and breathes. Build in your plan based off this fact. Plan with clear spans, good grades, reasonable deflection limits, and your floor will be quiet and flat. Don’t let the walls control the span. Control the span with the structure and finish what the structure allow.