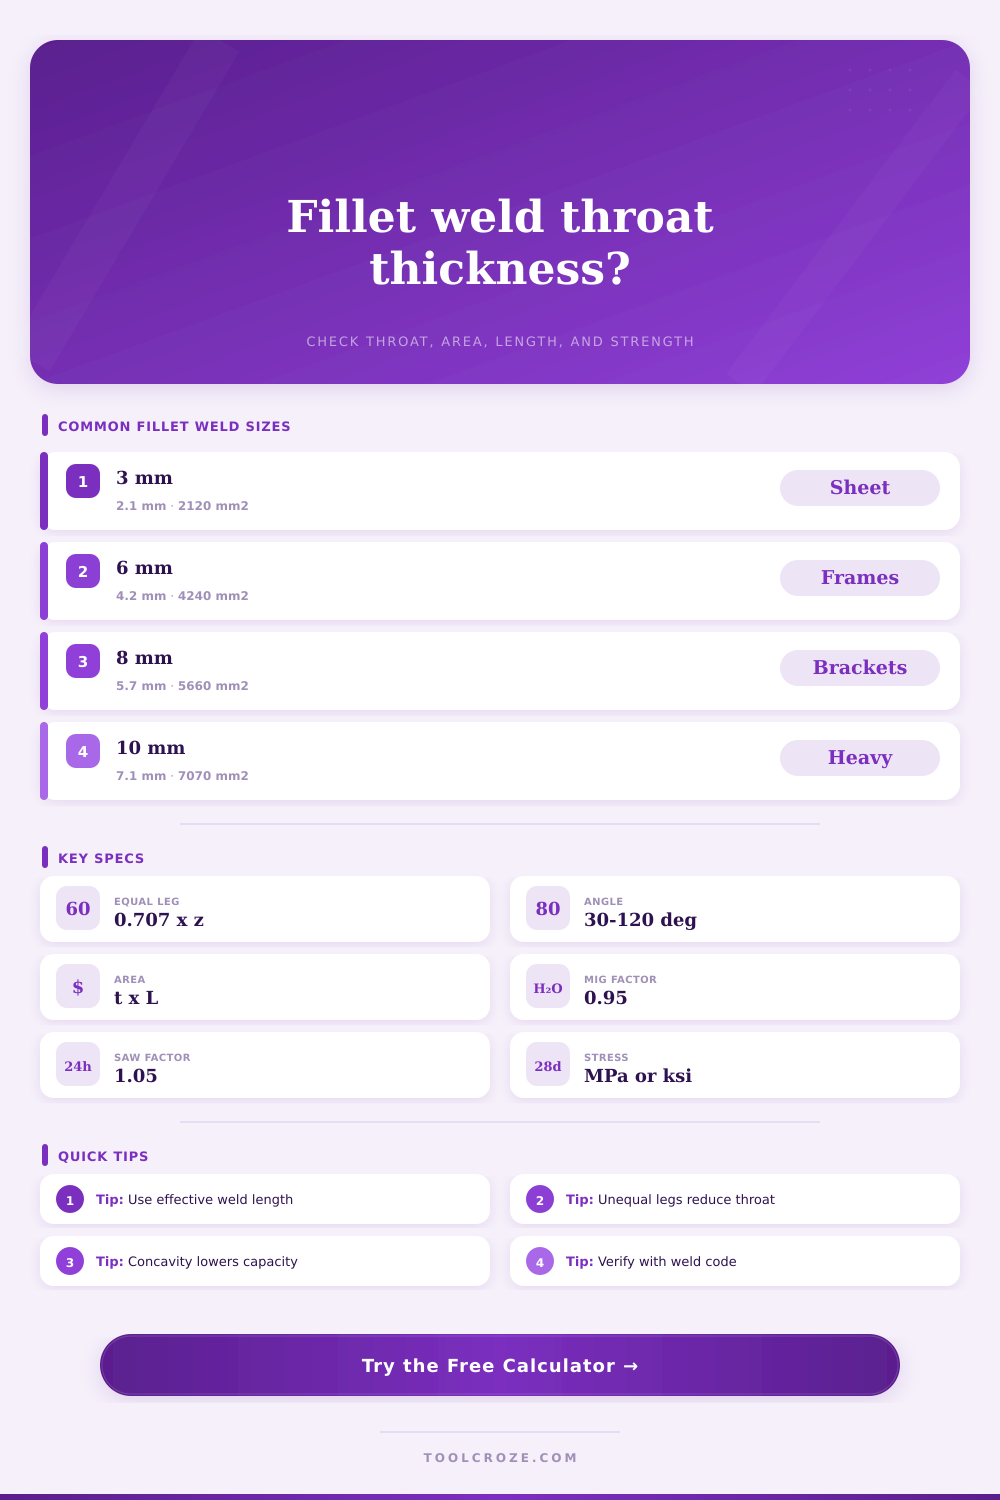
Throat Thickness of Fillet Weld Calculator
Calculate theoretical throat, effective throat, weld area, allowable strength, and load margin for equal-leg or unequal-leg fillet welds.
⚙Fillet Weld Presets
📐Weld Inputs
Fillet Weld Results
▣Weld Size Grid
📊Equal-Leg Fillet Reference
| Leg size | 90° throat | Area per 100 mm | Typical use |
|---|---|---|---|
| 3 mm | 2.12 mm | 212 mm² | Thin sheet tabs |
| 4 mm | 2.83 mm | 283 mm² | Light angles |
| 5 mm | 3.54 mm | 354 mm² | Small brackets |
| 6 mm | 4.24 mm | 424 mm² | Frames and clips |
| 8 mm | 5.66 mm | 566 mm² | Stiffeners |
| 10 mm | 7.07 mm | 707 mm² | Heavy plate |
∠Included Angle Effect
| Included angle | Equal-leg throat factor | 6 mm throat | Design note |
|---|---|---|---|
| 60° | 0.866z | 5.20 mm | Acute joint geometry |
| 75° | 0.793z | 4.76 mm | Moderate skew condition |
| 90° | 0.707z | 4.24 mm | Standard right angle fillet |
| 105° | 0.609z | 3.65 mm | Obtuse joint geometry |
| 120° | 0.500z | 3.00 mm | Confirm weld access and profile |
🔧Process and Profile Factors
| Condition | Suggested factor | What it affects | When to use |
|---|---|---|---|
| SMAW field weld | 0.90 | Allowable strength | Manual outdoor fit-up |
| GMAW / FCAW shop | 0.95 | Allowable strength | Routine shop fabrication |
| Qualified procedure | 1.00 | Allowable strength | Baseline design check |
| SAW controlled run | 1.05 | Allowable strength | Long repeat welds |
| Concave weld face | Negative allowance | Effective throat | Undersized or hollow face |
📝Preset Design Cases
| Preset | Legs | Length | Focus |
|---|---|---|---|
| 6 mm Frame Corner | 6 x 6 mm | 300 mm | Standard equal-leg throat |
| Unequal Stiffener Toe | 8 x 6 mm | 450 mm | Unequal leg geometry |
| Concave Repair Check | 6 x 6 mm | 250 mm | Negative profile allowance |
| Intermittent Rail Lug | 5 x 5 mm | 600 mm | Continuity factor |
| Heavy 10 mm Fillet | 10 x 10 mm | 500 mm | High area and strength |
💡Calculation Tips
So you see a shiny new fillet weld and think: nice big leg = good strength. This is where danger of structural steel begins. That big leg are only surface level of shape. When looking at your welds, what actualy carries the load is the throat. It is the difference between tearout and holding.
Don’t get me wrong, there is no reason to be an engineer to know this. But realize that the leg is a substitute, never the answer. And that’s where the weld calculator come in. It takes those geometric inputs from you and runs some math, and converts them to real numbers, the effective area and strength. It removes all of guesswork that comes with relying on visual inspections only.
Why the Throat Is More Important Than the Leg
A leg size on most shop drawings is easy to measure with a tape measure or a fillet gauge. No matter who see it, a six millimeter leg is a six millimeter leg. But throat is shortest distance between the face of the weld and the root of the joint. That throat is about seventy percent of the leg size if it’s a standard ninety degree joint.
That sounds like a small reduction but area scales with the throat and strength scales with area. So ignoring the angle between the two plates will give you an overestimate of what you can do. Acute angles make the throat deeper good. Obtuse angles crush it, which is not good. The tool figure all this out so you don’t design to a perfect world that doesn’t exist in the shop.
The way it’s welded also counts. More metal gets deposited by a smooth, controlled submerged arc weld than an erratic manual stick weld in the field. This fact is included as factor in the calculator. It is not just about how much metal is there. How reliable is the deposition of that metal?
The quality control decrease if you’re welding out on the rainy day with a portable generator. In that case, the effective throat goes down. Conversely, if you’re operating a submerged arc machine automatically in a climate controlled facility, then the efficiency increases. That factor change the gap between drawing board and muddy job site. It makes what was once a theoretical calculation turn into a practical estimate.
Another secret danger is profile. If the weld is convex, it will look beefy with lots of reinforcement and thus be bigger. Codes typically don’t account for all that added metal because it concentrates stress at the toe. On the other hand, if the weld is concave, its face dips down below the line of the legs, so it’ll seem puny. However, it may actualy spread stress more effectively. Using the calculator, you can give more value to convex welds and less value to concave welds; whatever your design demands are.
Most designers play it safe and treat that convex reinforcement as though it doesn’t exist. That’s the conservative choice. It simplifies the math and reduces liability. Who wants to go back and forth over a millimeter of bulge? Should it count as part of their safety margin?
That’s when the continuity factor of intermittent welds comes into play. So now instead of being able to treat entire length, you can’t use the entire length when figuring out your area. So if you weld for half of the length, you effectively have only half of the length to work with. Simple math, but boy oh boy does it make people take short cuts. They’ll figure out how much area they need to cover with a continuous run, then cut corners by welding intermittently to speed things up. That right there will be difference between success and failure. With this tool though, you’re forced to put in what percentage is going to be continuous, which makes it difficult to forget. Small input field with a huge effect on the outcome.
Sanity check: Reference tables in the interface show you what to expect for a given weld size. For example, if you’re making a heavy bracket you’ll want more throat than you would for a sheet metal tab. The reference tables lay out typical sizes and their resulting areas. This allows you to quickly identify an error before it turns into an expensive mistake. A heavy duty frame should not have an area matching that of your light duty clip. Something’s off, either you’ve inputted the wrong leg size or picked the wrong joint type. These rapid checks will save you hours of rework time and will make your raw data easy to understand.
Finally, make no mistake, we are not out there trying to make biggest weld possible. We are making a weld that matches the load. Under welding is dangerous. Over welding is ugly and expensive. The truth teller is the throat. It is not about how big your weld is, but how deep the throat is. It is about how much the weld can actualy do. It’s not about how much work the weld looks like it can handle.
When you get focused on the throat, then the rest just falls into place. You stop guessing and start calculating. Then you feel confident. It’s not in how big the leg is but how deep the throat is.