
And there you were one morning with Fein 18V battery dead. You plug it in to charge and sit there waiting for green light. Instead, a solid red warning icon is displayed on the screen of charger as it won’t recognize the pack. And immediately, there’s that dreaded bad battery indicator that appear. It is frustrating if you’re trying to get your tools up and running quick.
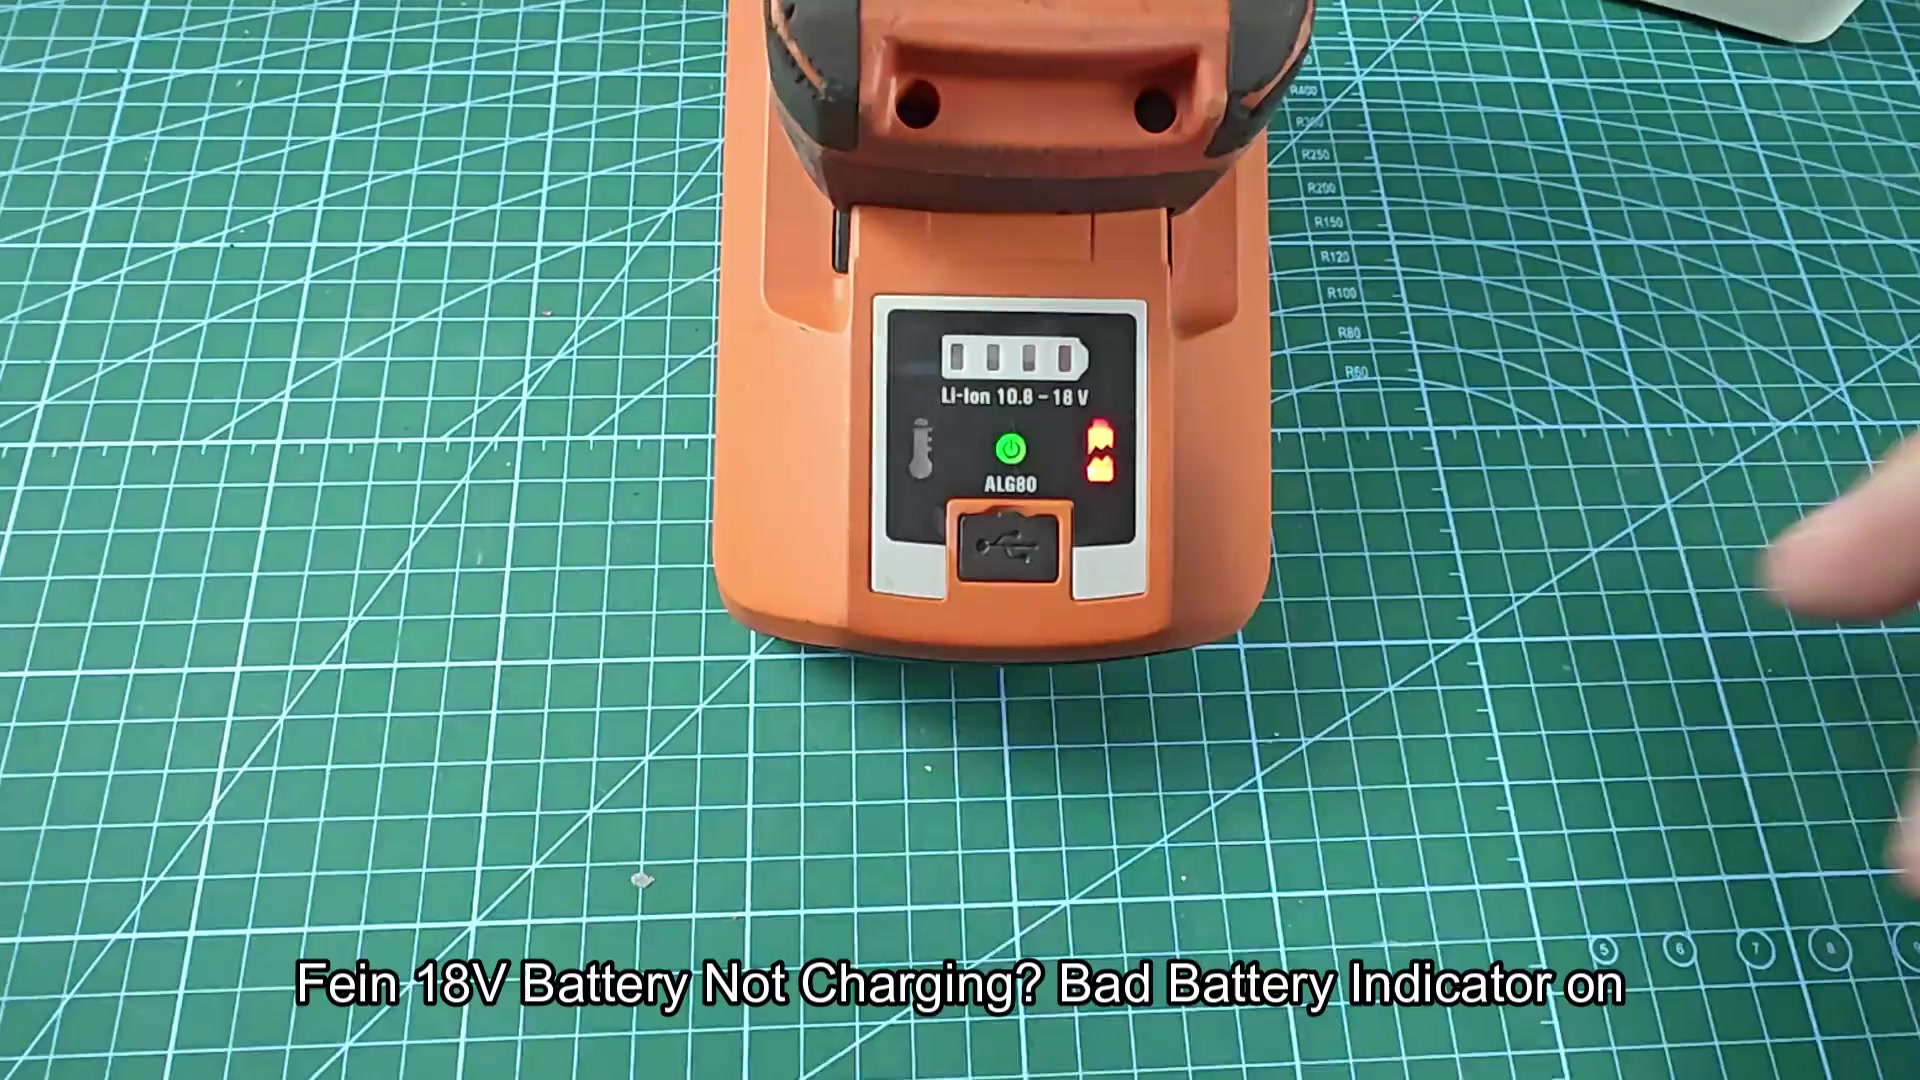
If the pack is unresponsive then the charger can’t see it at all and believe there’s a problem with cells, which causes that red light to flash each time. However, it doesn’t mean the battery is dead. It means sometimes the batteries is getting stuck in low voltage ranges where they sleep too deep. The charger will give up on trying to charge them without waking pack up first.
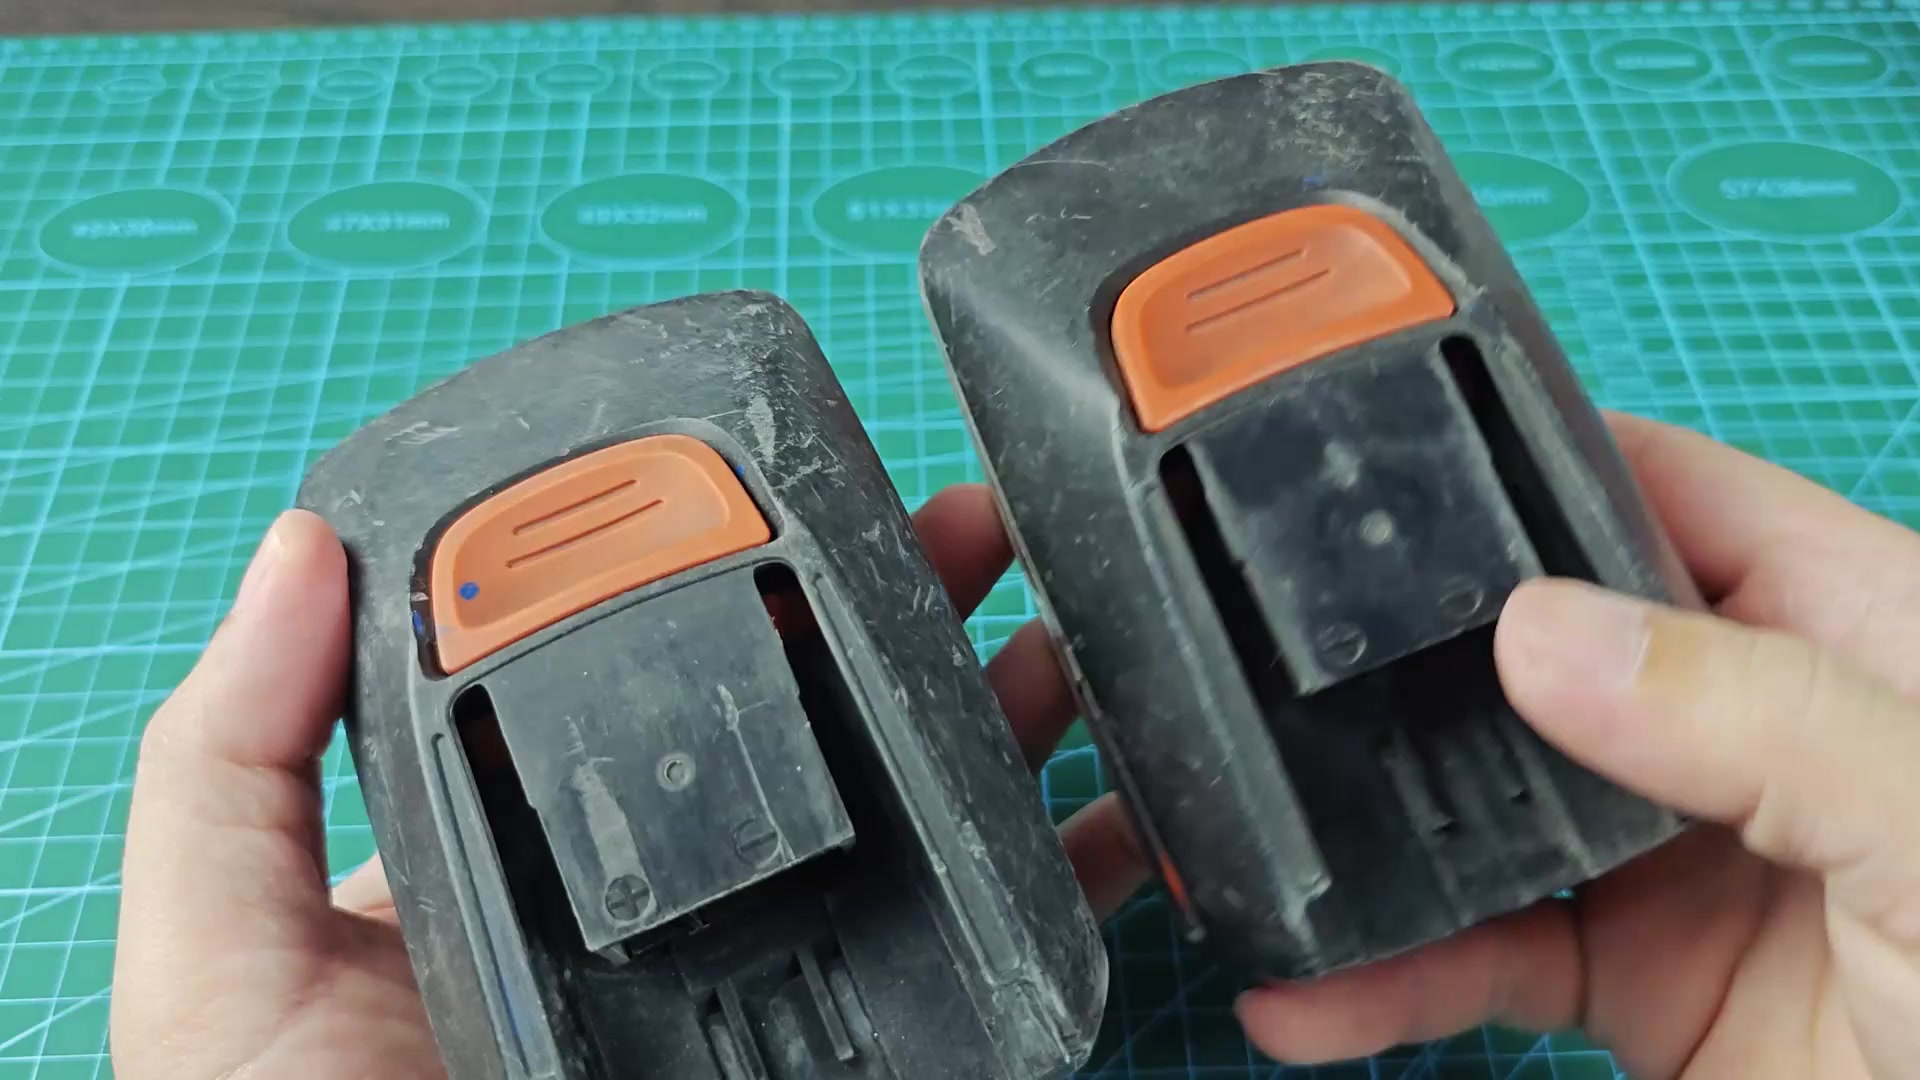
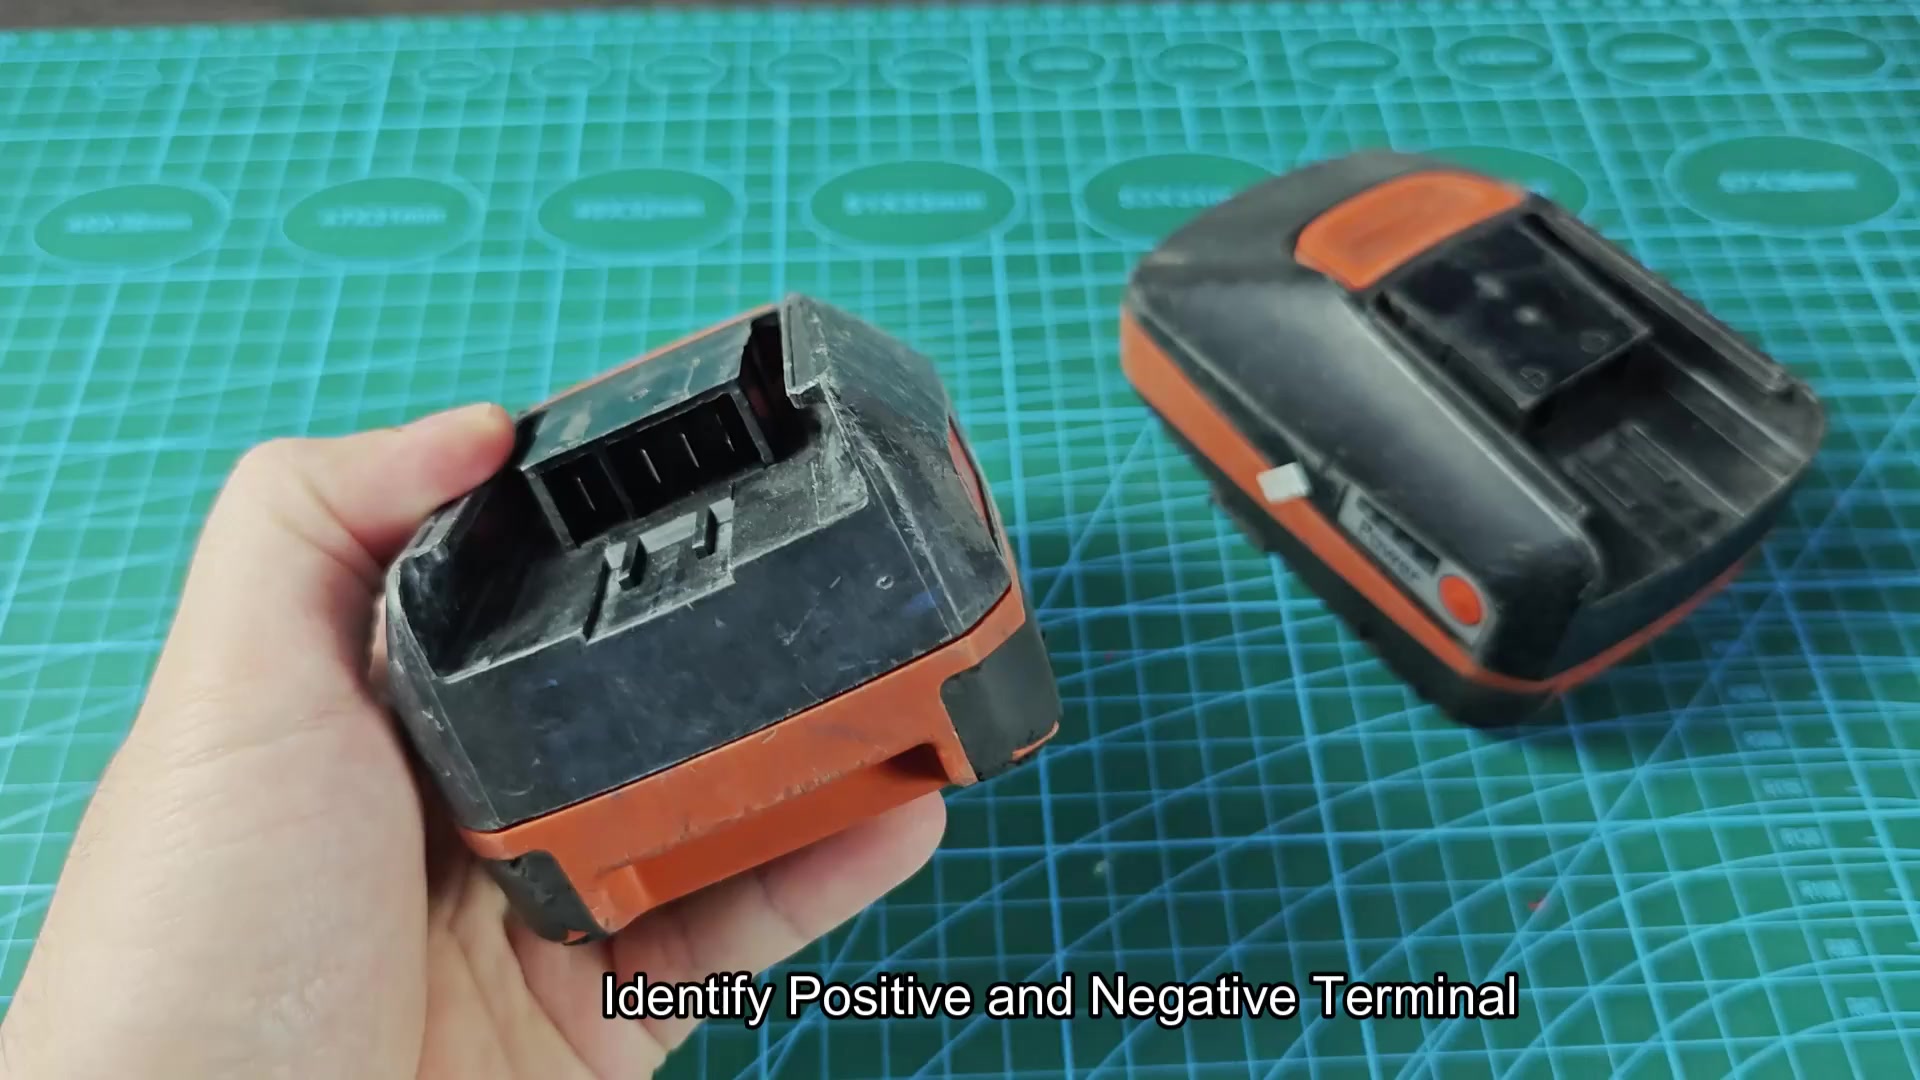
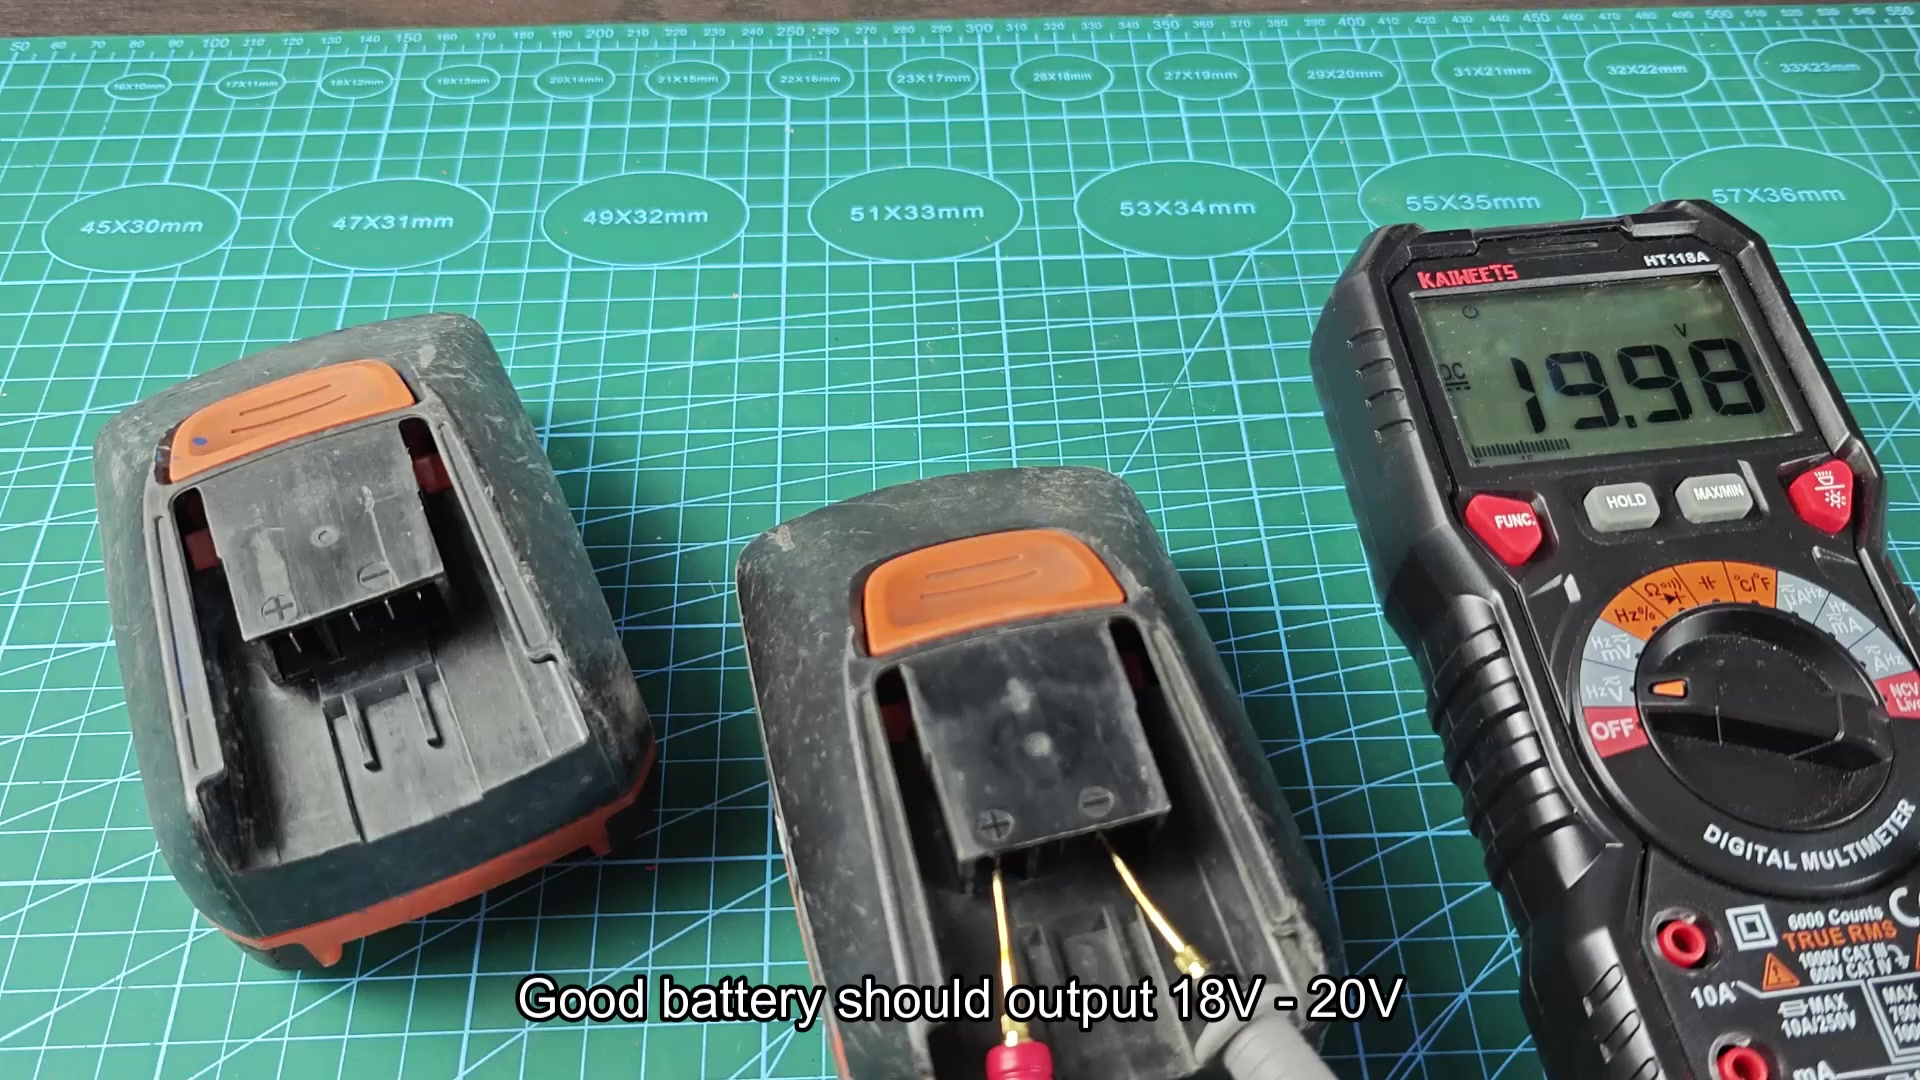
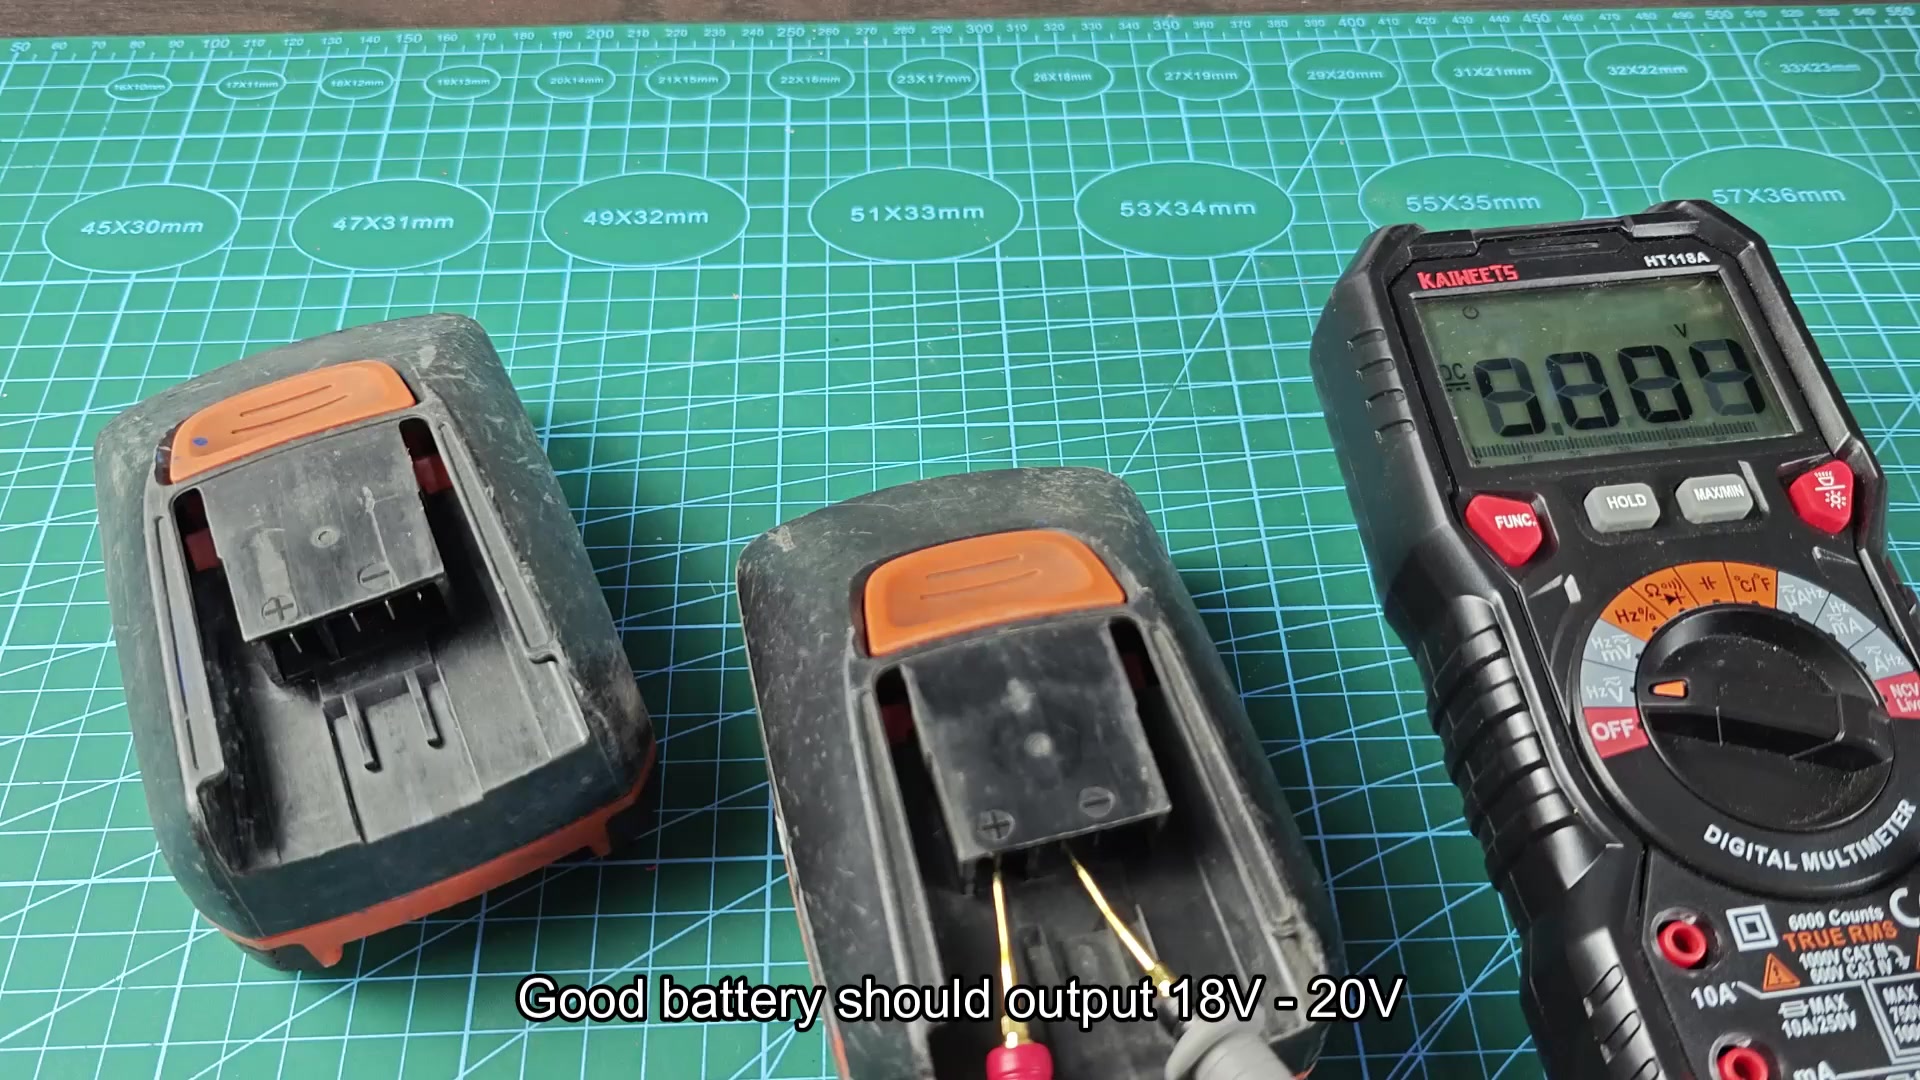
Pull out your digital multimeter and see what’s going on over there. Use a digital multimeter to identify positive and negative terminals on side. We used our meter to check the terminals and found it was reading nearly zero volts. This isn’t right, since you’d expect a healthy battery to be putting out anywhere from 18V to 20V.
The dead one read close to nothing while my other pack easily measured 19.96 volts. Clearly this was stuck in its low state. I sat them next to each other to compare them, one would work just fine on high voltage but the other was totally dead.
Again, go back through and look at terminals and see if anything appear physically damaged. It sounds like your zero read shows internal protection circuit kicked in and shut it down to avoid over draining (a good safety feature).
How to Revive Your Dead Battery
One trick is to use a revival maneuver where you hook up your known-good battery (the “donor” battery) to the dead one. They shares their voltage with each other, hoping to get the dead cells in the second battery to wake up again. You do this by laying the two batteries side-by-side on a workbench first. I used my green cutting mat which seemed like a good, safe place for this. Safety always counts around lithium ions.
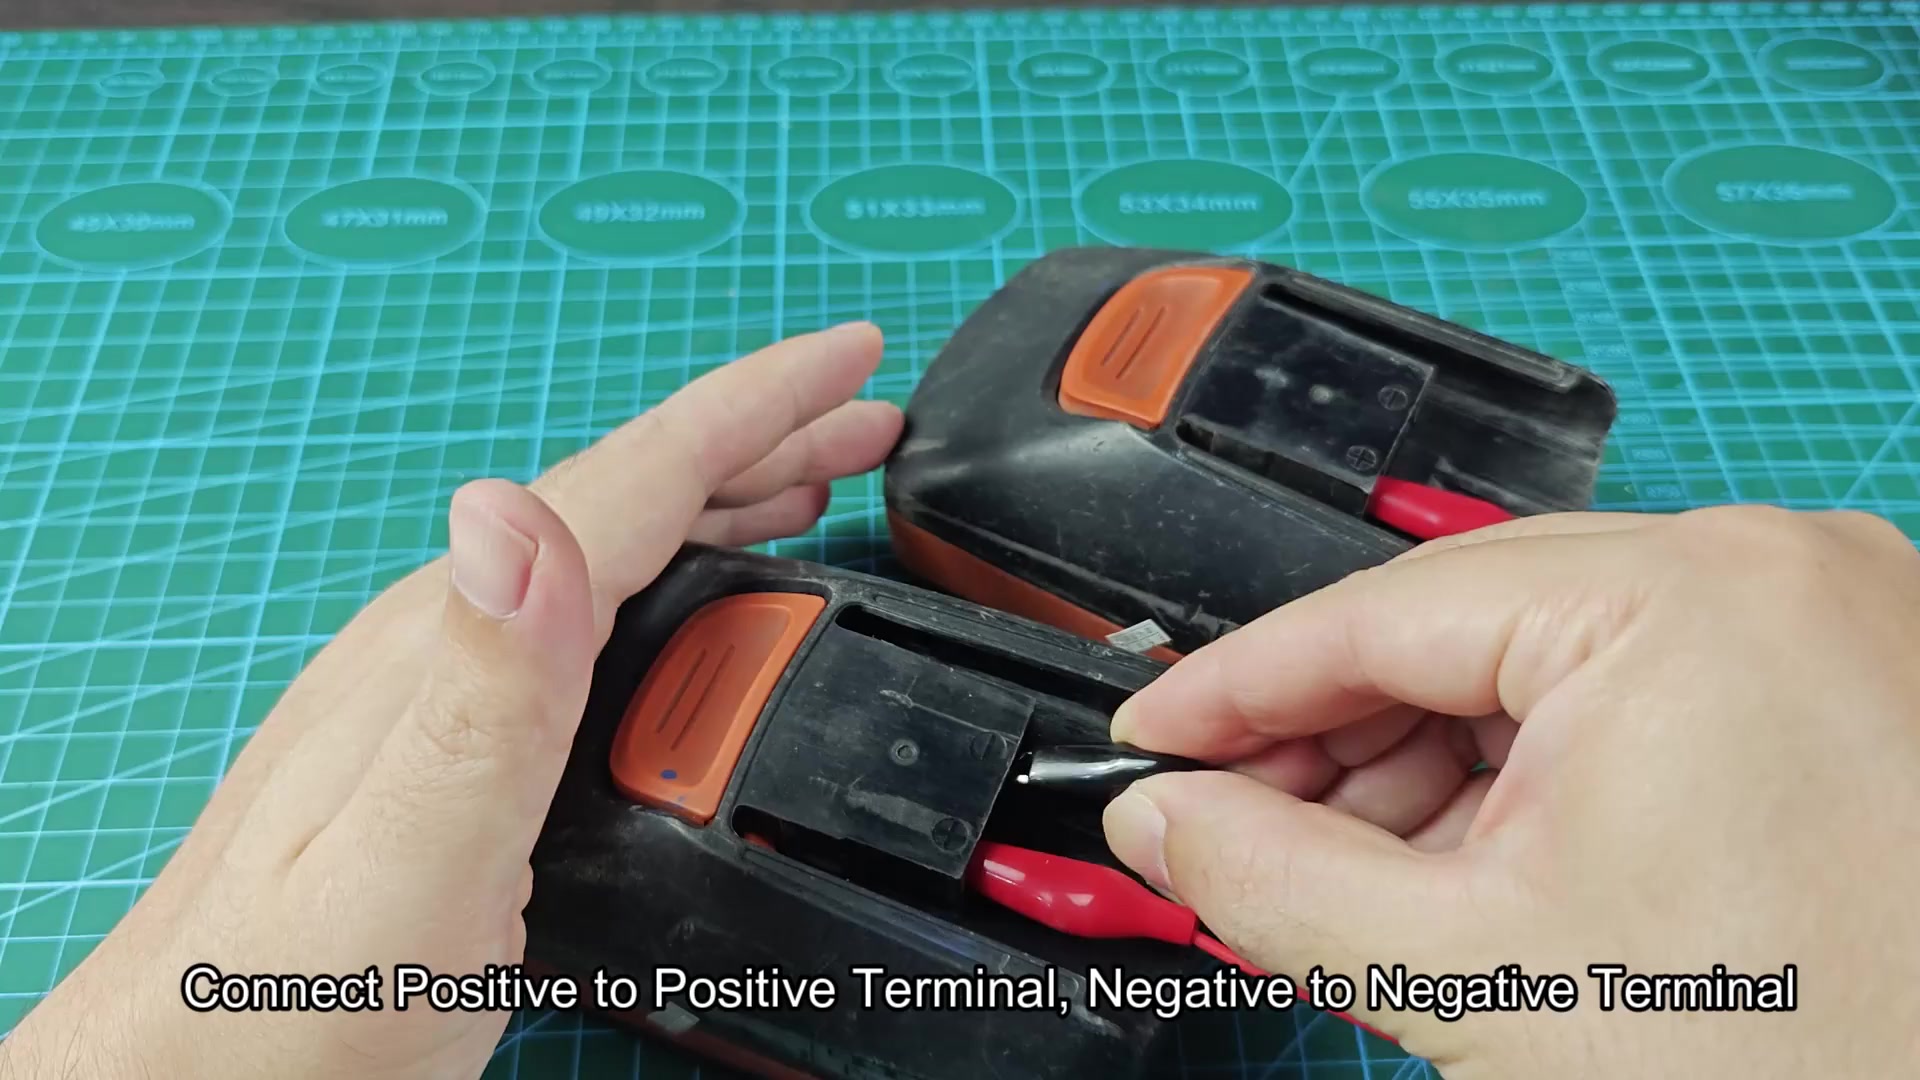
It’s important to be careful when connecting test leads making sure that positive is connected to positive and negative is connected to negative (to avoid damaging anything or sparking). Check each end again, making sure positive and negative match before letting the alligator clips grip the terminal securely. Setup was uneventful with no short circuits. The entire assembly felt snug beneath probes. You were good to go with the transfer.
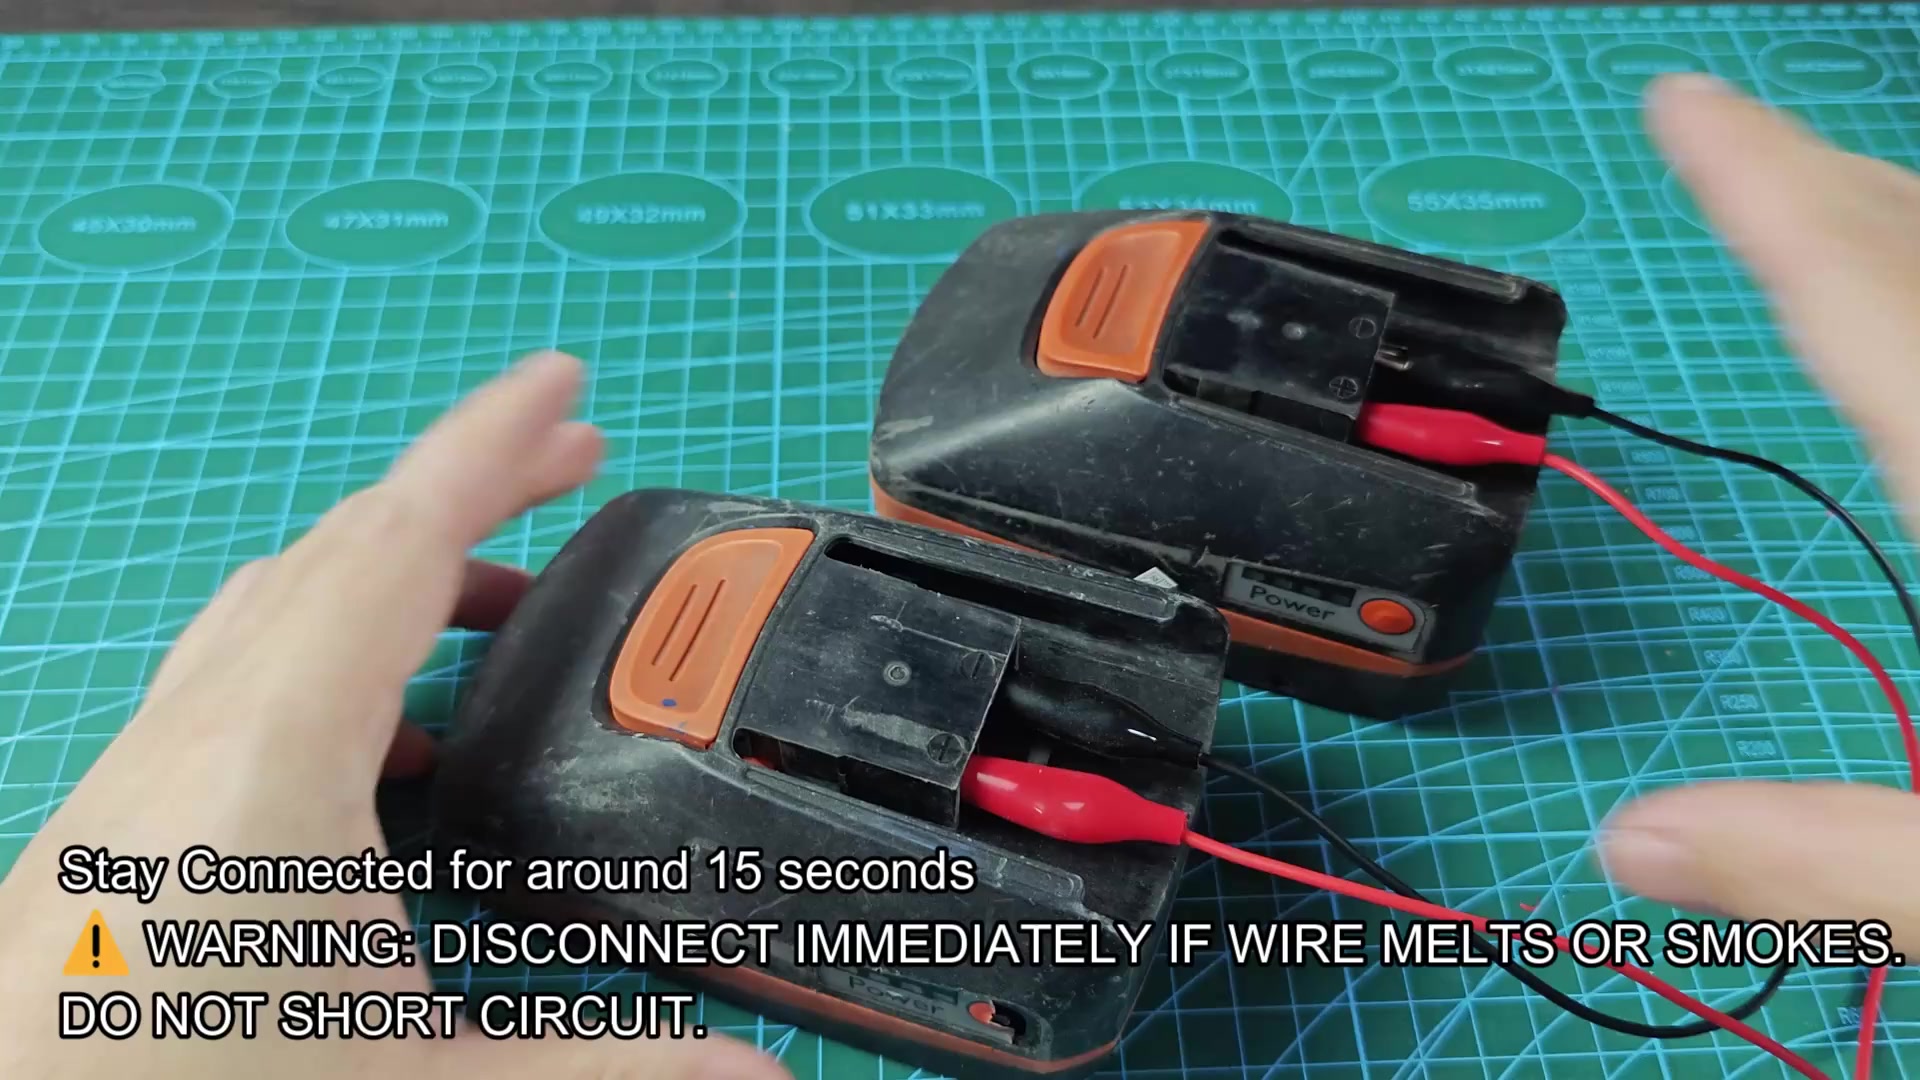
I let them sit together for roughly 15 seconds as that’s all time needed for current to transfer between packs. As soon as I did that, dead battery started sapping power from the good battery. Monitor it carefully in case anything starts smoking or melting, though. No such luck with this little trick; no smoke, no melty stuff, just a few cool wires and nothing out of the ordinary.
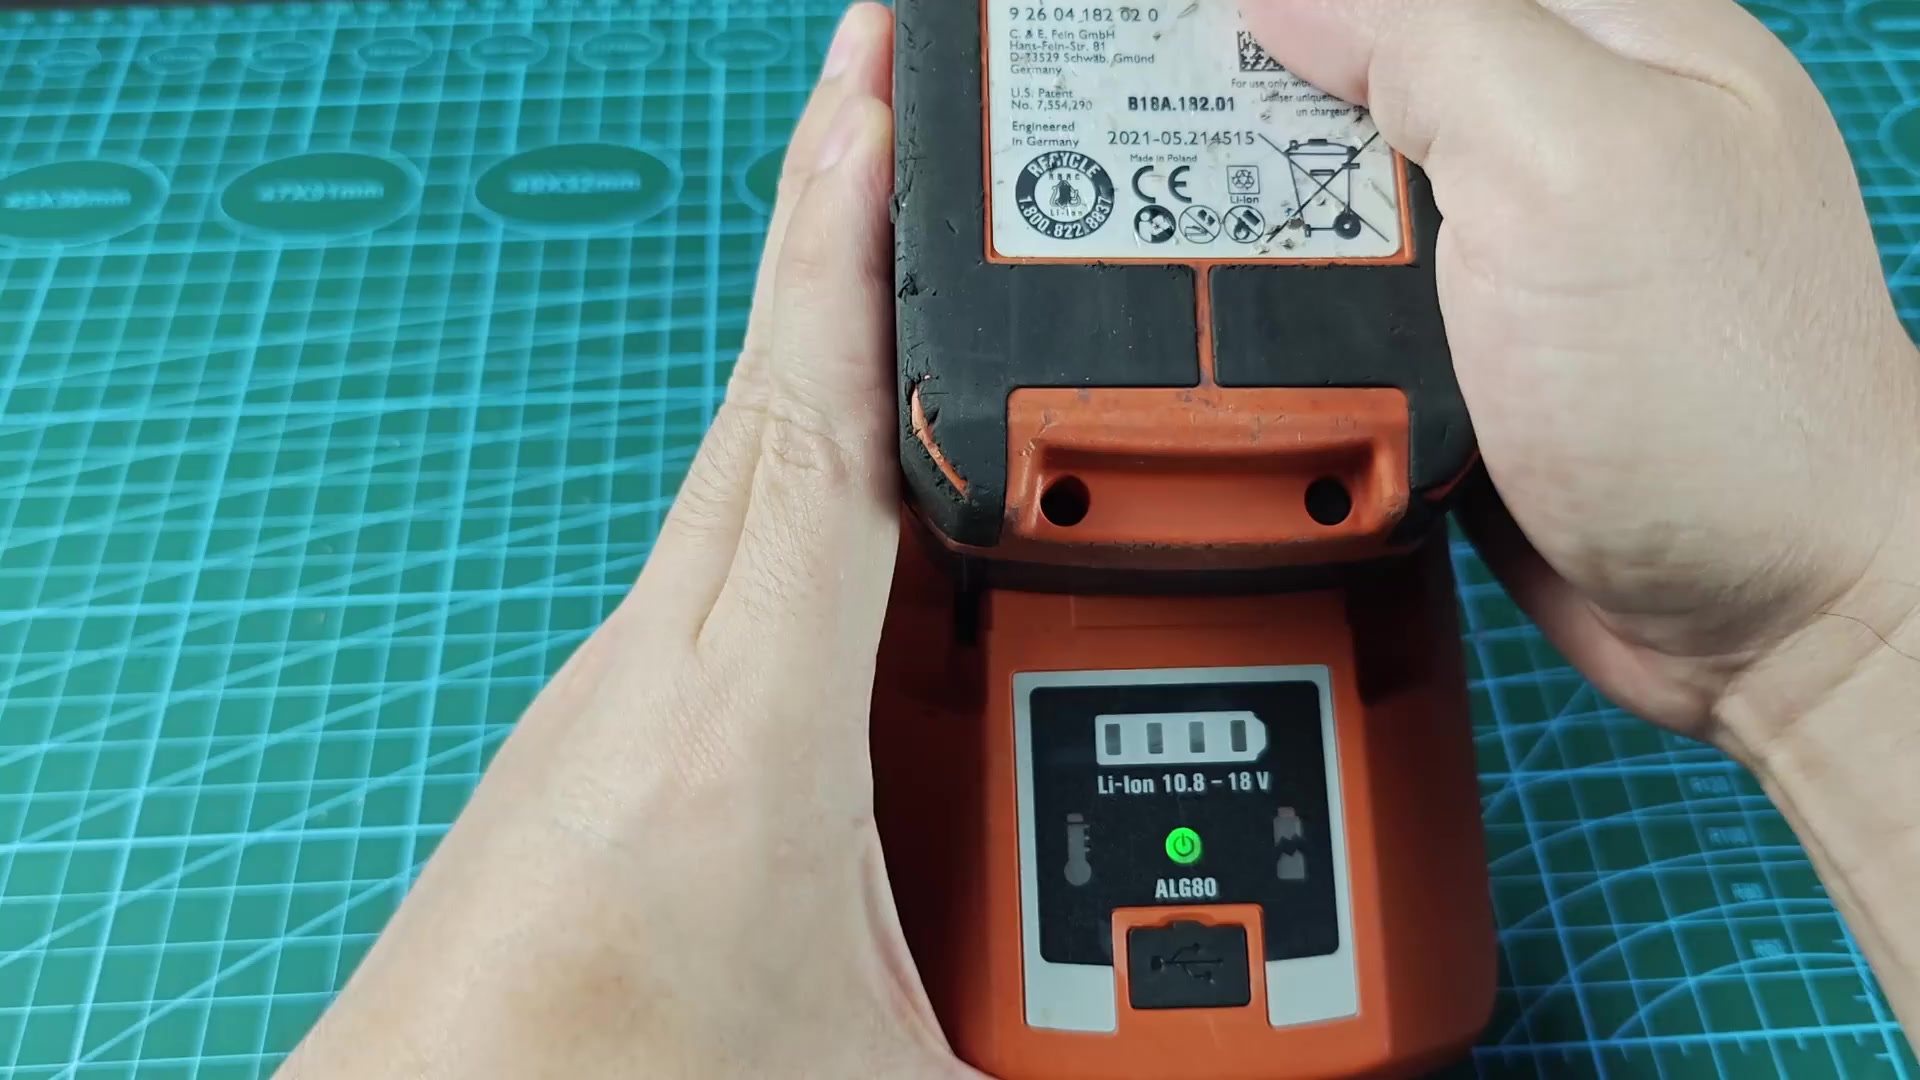
Place the revived pack on charger and hold your breath for a second while you wait. The red warning icon had fully vanished and was replaced with green LED that flashes as it should when charging is normal. After all, the charger did recognize it correctly this time. It took its input without any error message.
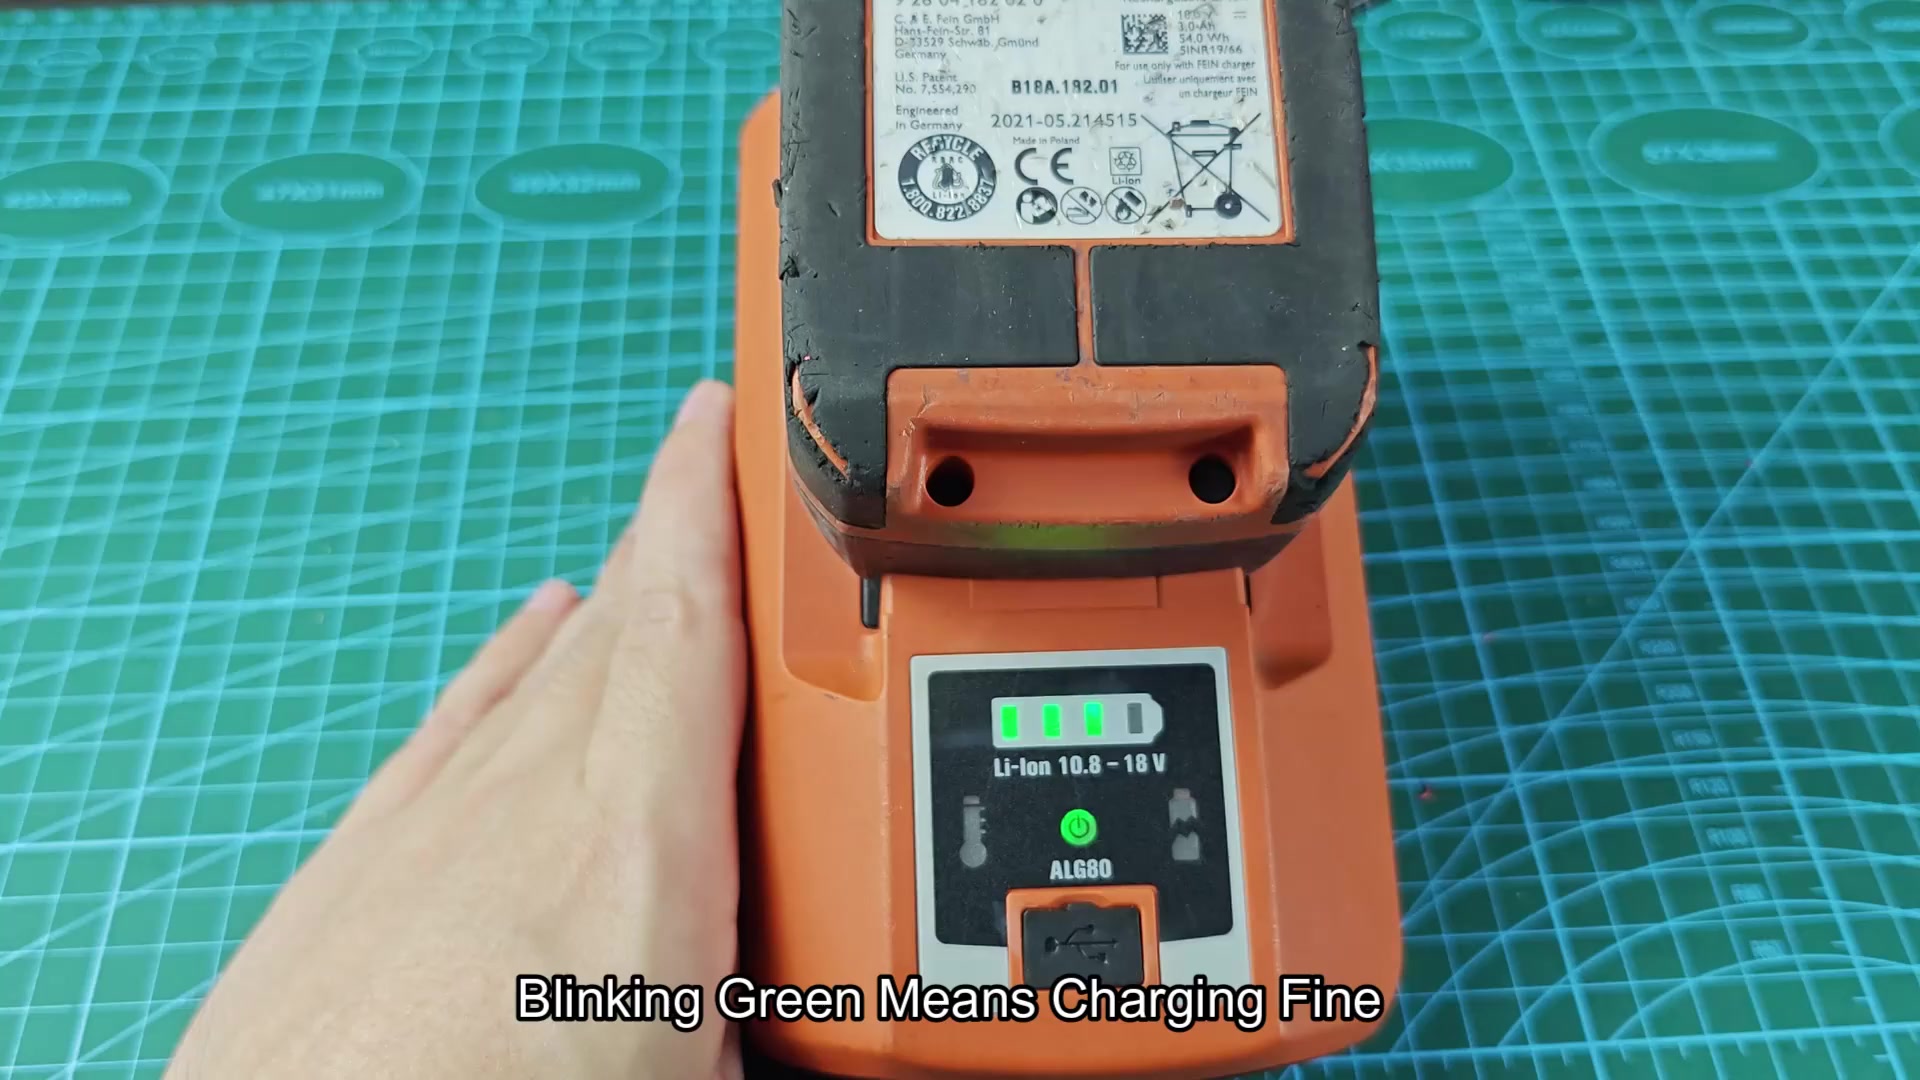
The system is alive once more; the blinking light tells you it’s all good, blinking green. It only took one attempt and your battery is alive and well again. You didn’t need to purchase another unit. Time and money saved on that one! The revival process worked wonders and those seemingly dead cells came back to life.
Many resetting tricks rely heavily off the waking technique, particularly when dealing with the tricky low-voltage situation. Perhaps you would of bought a new one if you didn’t get any luck out of it, but a simple solution fixed it right up. Quick problem solved and your tools are good as new.
