Epoxy Anchor Calculator
Estimate annular adhesive volume, practical fill depth, embedment ratio, nozzle purge, waste allowance, and cartridge count for threaded rod and reinforcing bar anchors.
⚙Anchor Presets
📏Anchor Inputs
🧪Epoxy Anchor Estimate
📊Current Setup Snapshot
🔧Common Rod and Hole Reference
| Anchor | Nominal diameter | Common hole diameter | Typical embedment | Planning note |
|---|---|---|---|---|
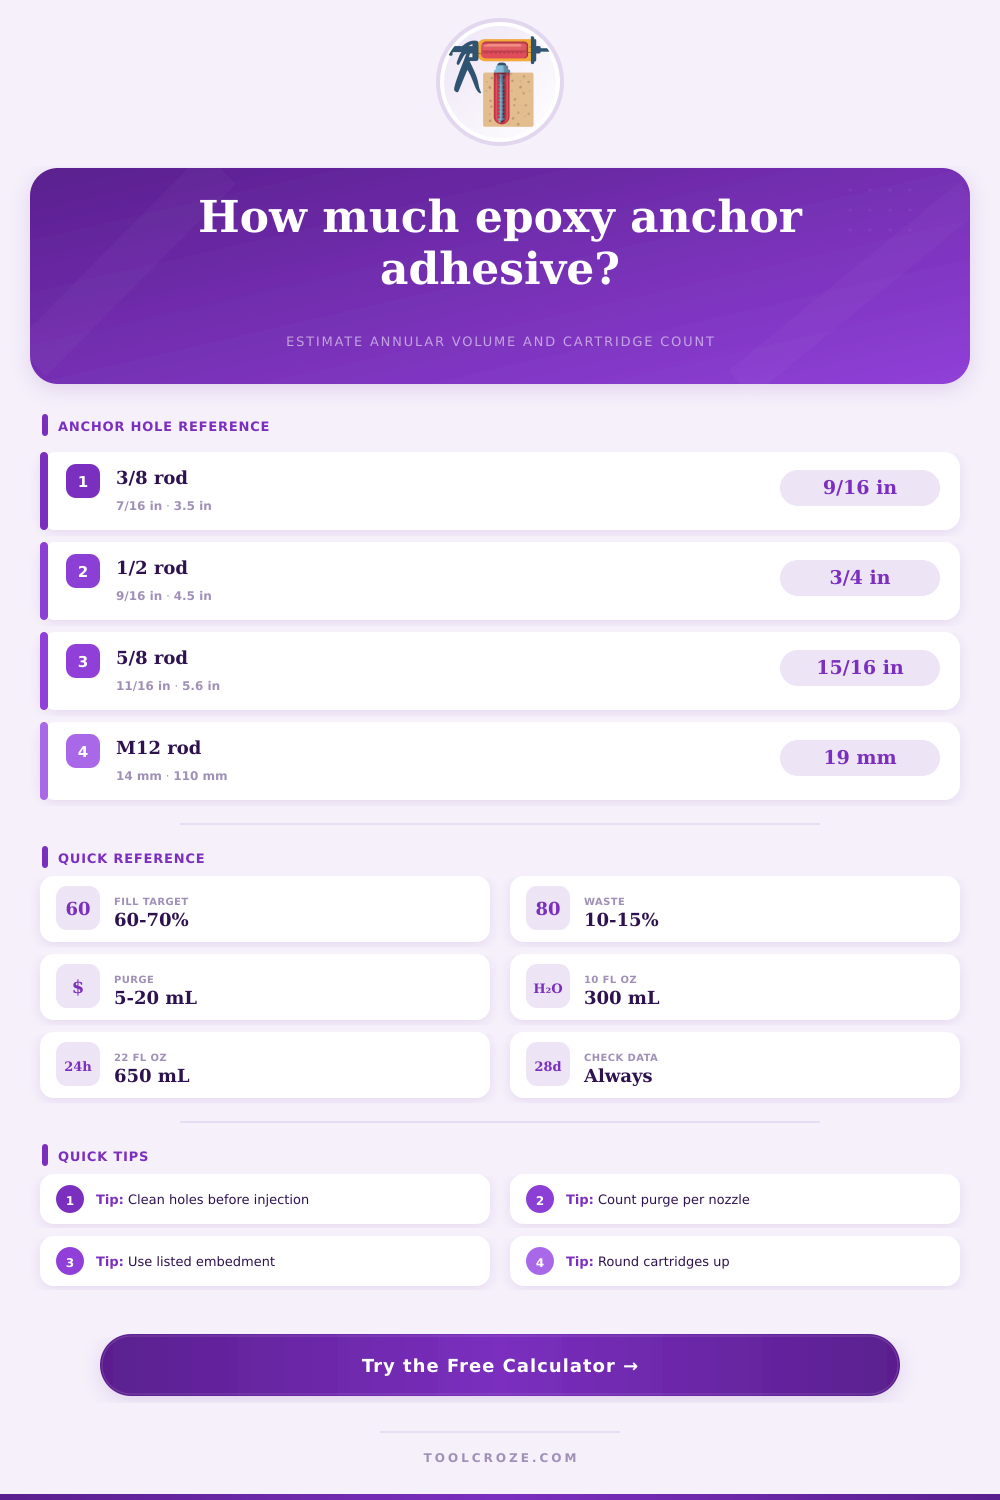
| 3/8 in threaded rod | 0.375 in | 7/16 in | 3-1/2 in | Light fixtures and brackets |
| 1/2 in threaded rod | 0.500 in | 9/16 in | 4-1/2 in | Ledgers and base plates |
| 5/8 in threaded rod | 0.625 in | 11/16 in | 5-5/8 in | Medium structural anchoring |
| 3/4 in threaded rod | 0.750 in | 7/8 in | 6-3/4 in | Heavy brackets or columns |
| M12 threaded rod | 12 mm | 14 mm | 110 mm | Metric base plate work |
| #4 reinforcing bar | 1/2 in | 5/8 in | 6 in | Concrete doweling |
🧱Base Material Planning Factors
| Base material | Starting fill | Hole condition | Cartridge allowance | Installer cue |
|---|---|---|---|---|
| Uncracked concrete | 60-65% | Clean round hole | 5-10% | Brush and blow per adhesive data |
| Cracked concrete | 65-70% | Normal hammer-drilled | 10-15% | Use approved cracked-concrete system |
| Solid masonry | 60-70% | Variable density | 10-15% | Check brick or block strength |
| Hollow masonry | 80-100% | Screen tube | 15-20% | Use screen sleeves sized to hole |
| Natural stone | 60-70% | Variable voids | 12-20% | Test drill and avoid fractured zones |
📦Cartridge and Purge Reference
| Cartridge | Nominal volume | Usable at 95% | Typical purge | Good fit |
|---|---|---|---|---|
| Small coaxial | 150 mL | 143 mL | 5-10 mL | Few small anchors |
| Standard tube | 300 mL | 285 mL | 10-20 mL | Common threaded rod jobs |
| Large cartridge | 410 mL | 390 mL | 10-25 mL | Medium anchor groups |
| Dual bulk | 585 mL | 556 mL | 15-30 mL | Base plates and dowels |
| High volume | 650 mL | 618 mL | 15-30 mL | Large rods or rebar dowels |
ℹAnchor Calculation Tips
When you install threaded rods into hole using epoxy, you have to calculate amount of epoxy that you need to complete the installation. Many people doesnt account for the fact that epoxy does not fill the hole. The epoxy only fills the space between the threaded rod and the hole.
This area is referred to as an annular volume. The annular volume is the only measurement of the hole that will determine how much epoxy you need. If you pour epoxy into the hole before you install the threaded rod, the threaded rod will displace the epoxy that poured into the hole.
How Much Epoxy You Need for Threaded Rods
To avoid having the epoxy overflow out of the hole, only partial fill the hole with epoxy. Aim to only fill the hole to the point of 2/3 of total volume of the hole. This will allow the threaded rod to push the epoxy to the hole’s opening without overflow or wasting any of the epoxy.
The type of base material into which you are installing the threaded rod can play a major role in amount of epoxy that you need for installation. The material can alter the shape and the consistency of the hole. For example, if you use uncracked concrete, you can calculate the volume of the hole based off the assumption that the hole will be of a standard cylindrical shape.
However, if the base material is cracked concrete or natural stone, the hole will have jagged wall and voids in the base material that will absorb some of the epoxy. In this situation, you must calculate a void factor in the calculation of the volume of epoxy. The void factor will ensure that there is enough epoxy to fills the voids in the base material.
If the base material is hollow masonry such as cinder block, pouring epoxy into the hole will cause the epoxy to fall into the hollow cell of the masonry. In this situation, you will need to use screen tubes to contain the epoxy. Because you will also fill the screen tubes with epoxy, you will need to use significantly more epoxy than if you were installing threaded rods into solid material.
Another consideration in calculating the amount of epoxy needed for threaded rods is the nozzle purge. Each time you attach a new static mixing nozzle to an epoxy cartridge, you must purge the nozzle. The first amount of epoxy that comes out of the nozzle isnt proper mixed.
Thus, you waste the first amount of epoxy because it cannot be used in the threaded rod installation holes. If you use many different nozzles during installation, you will waste a significant amount of epoxy. This wasted epoxy can make you need to purchase more epoxy cartridge to complete your project.
Embedment depth is another factor to consider when installing threaded rods. Embedment depth is the distance that the threaded rod go into the base material. You must ensure that the embedment depth is deep enough relative to the diameter of the threaded rod.
You calculate the embedment ratio by dividing the embedment depth by the diameter of the threaded rod. This ratio will inform you of whether the embedment depth for the threaded rod is sufficient for the amount of load that the rod will take. Finally, you need to account for human error in the installation process.
You need to allow for waste in the installation of epoxy. Waste due to human error include drill bits that wander when drilling the holes for the threaded rods. This can produce oversized hole.
You can also waste epoxy because of how deep the hole are drilled. How much epoxy remains in the epoxy cartridges and extension tubes after the installation process creates additional waste. Allow for 10 or 15% extra epoxy to account for this waste.
With the annular volume, base material voids, nozzle purge, and waste accounted for, you will be able to calculate the amount of epoxy that you will need for your project.