
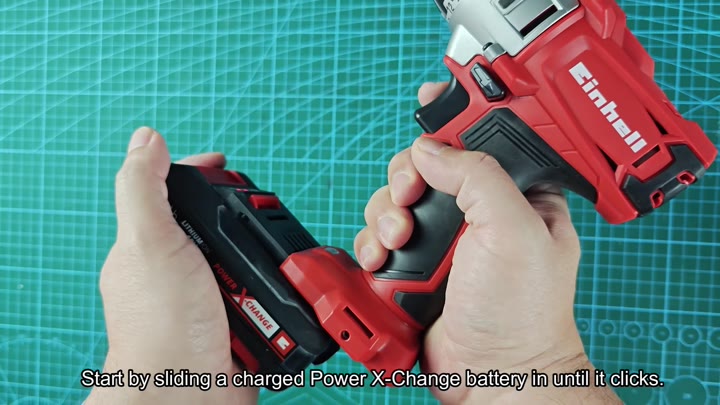
Powering up is easy, too. Slide your charged Power X-Change battery in until it locks into position. A quick look at the charge indicator lets you know how much power remains.
Good thing they did, because if not for that I might never of known.
Testing Versatility and Performance
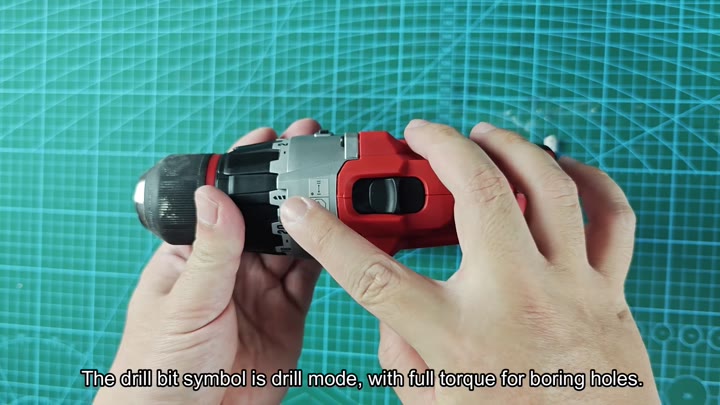
Next you get to the controls. Two separate controls handles performance of the drill. One is the torque selector ring. It extends from 1-20 and gives you exact power delivery on the driving side of the tool. Then you have a three position mode knob which turns the drill from standard driving, to drilling and hammer-drilling modes.
They all have their place.
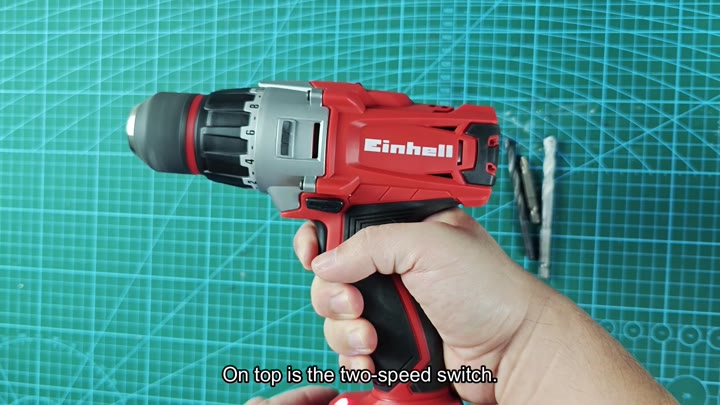
The positioning of these controls is important, too. The two-speed switch, located at the top of the drill’s body is directly beneath your thumb if you’re gripping the tool in its normal position. That means you can easily toggle back-and-forth from low to high speed without breaking your grip.
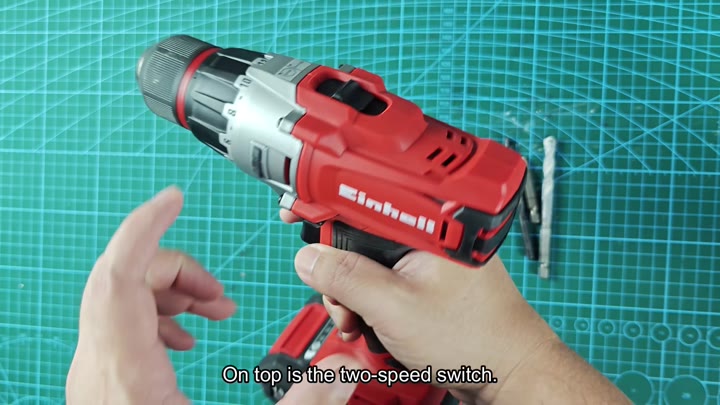
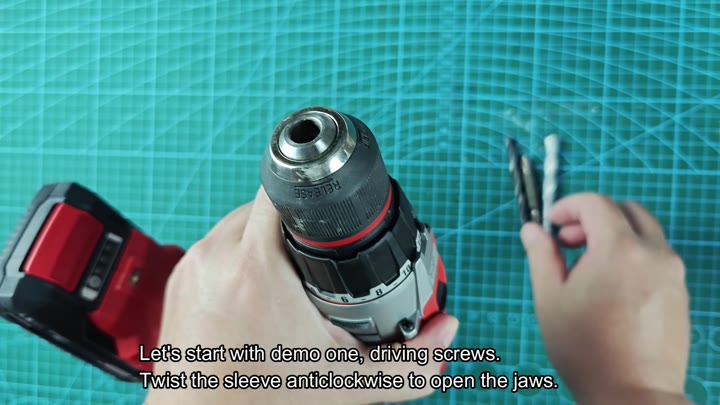
Within easy reach are the forward/reverse switch, too. Before you set up for the initial test run, you need to change the bit. To do this, simply rotate the chuck sleeve in an anti-clockwise direction until the jaws is open enough to insert the desired bit. The mechanism is simple and takes very little effort.
You select a screw bit that matches the head of the screws you intend to drive.
Pick out a screw bit with the same head size as the screws you want to drive.
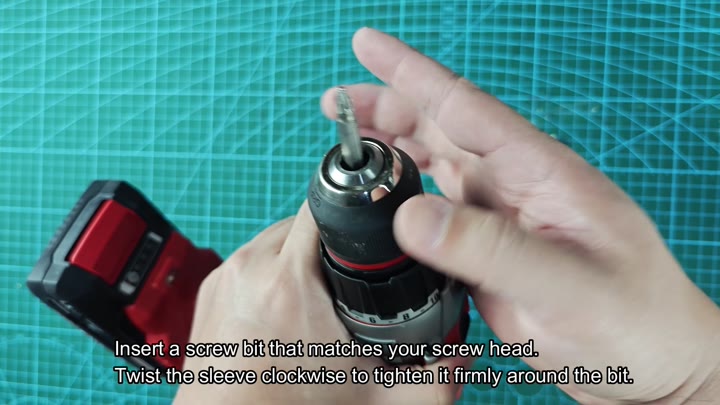
Adding the bit is easy. Simply slide the shank up through the exposed jaws and turn the sleeve clockwise until it grips tightly on the bit. Just be certain your bit is nice and snug, since a loose bit will be a disaster.
Once that’s done it’s time to start putting screws in. Set the direction switch down to forward and place your drill up against the mechanical assembly. From there, adjust the torque so the screw will turn into place without stripping the screw head.
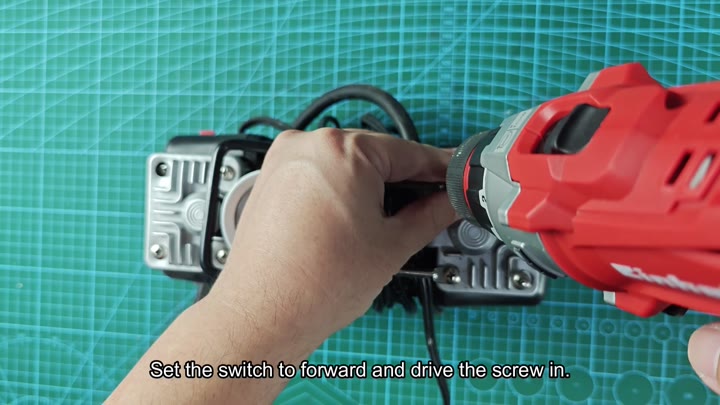
The tool responds well to the input. Then you go through that again with a different part of the assembly. And the thing about it, it just keeps its drive. It does not stutter or lose power. The drive is impressively consistent.
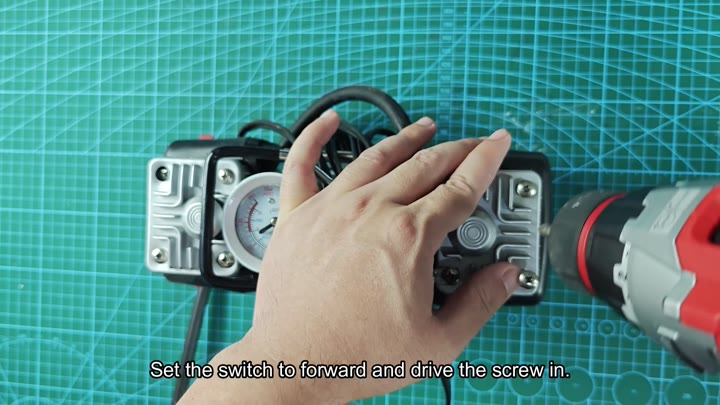
That’s a big selling point when you’re doing something over and over again.
Then it’s time for drilling into timber. Turn the mode knob to drill (it has a drill symbol). It will give you maximum torque specifically for drilling. Line up your bit on the piece of wood and depress the trigger. The drill cuts right through it easy and cleanly.
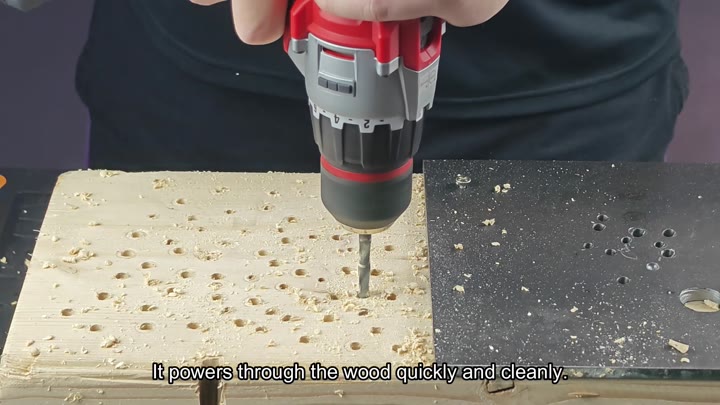
It comes through smooth without much splintering either. You can see how well it works on the clean cut in the wood. It’s no problem for the timber. The results are straightforward and clean.
Now it’s time for the last test, drilling into concrete. Flip the mode selector over to the hammer symbol. This will engage the hammer-drill function used when working on masonry. Adjust the speed to a suitable setting and start drilling. The combination of rotation and hammer action tears its way through the hard surface.
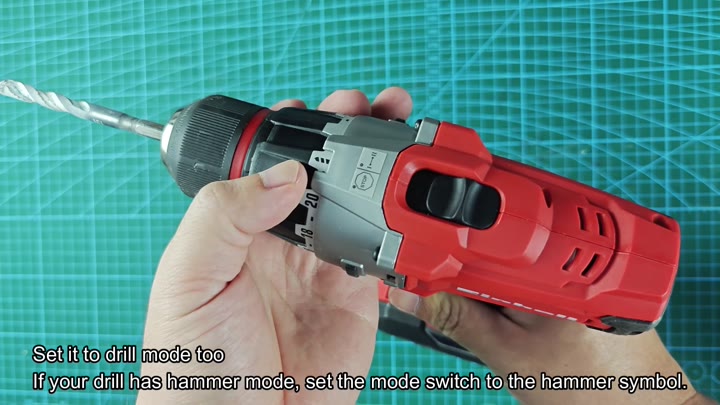
Transitioning between modes couldn’t be easier. A twist of the knob and you’re on concrete. On wood. The tests highlight just how versatile this combi drill is.
It does several types of jobs without having to reach for a different tool. This is a big plus if your garage is filled with such tasks. As an all-rounder, the Einhell TE-CD 18/2 doesn’t disappoint. It drills through concrete, drives screws, everything competently. Controls are well-placed and intuitive. Battery system is easy-to-use and reliable.
It is like being able to switch functions with ease. You don’t have to remember button combinations. Twist the knob and you’re good to go. Add in the torque control. This provides even more precision. This allows you to avoid stripping out screws or ripping through sensitive materials.
All-in-all, I like how versatile this drill is as promised. It hits all the bases when it comes to your basic DIY projects. It can do everything from hanging pictures to installing shelves. This drill will get it done.
If you need something to handle all those typical household repairs, this drill’s a great option. Everything about it screams usability. Everything has a practical application. It’s free from gimmicky features and needless complexity. Just a straight-up good tool. And that’s ultimately what really counts.
You’ll find yourself reaching for this drill again and again. It is for whatever project pops up next. It’s earned its space in your collection. So far it performed equally well on every material tested. We didn’t run into any glaring weak points.
It’s a well-balanced performer. Learning to use it won’t be complicated. It is very easy to learn. You can grab it and get to work right away. This saves you some serious hassle and time. Time is money when you’re working on repairs.
The Power X-Change system gives you some options here. Being able to have one battery power several tools makes things easier on you. You don’t have to bring along an armful of chargers. One battery does ‘em all.
This is a good all-rounder. Most DIYers will find it does what they need. Having both hammer and drill functions combined can come in handy. Torque control adds some needed accuracy. All in all, it is a welcome addition to your workshop.
