
If you have a dead or nearly dead EGO 56V battery pack that won’t take a charge, don’t give up on it. It has lost its power. It will show a flashing red light on the charger, meaning the charger doesn’t see it and doesn’t want to fry it. If your lithium batteries is old and haven’t been used for a while, this happens.
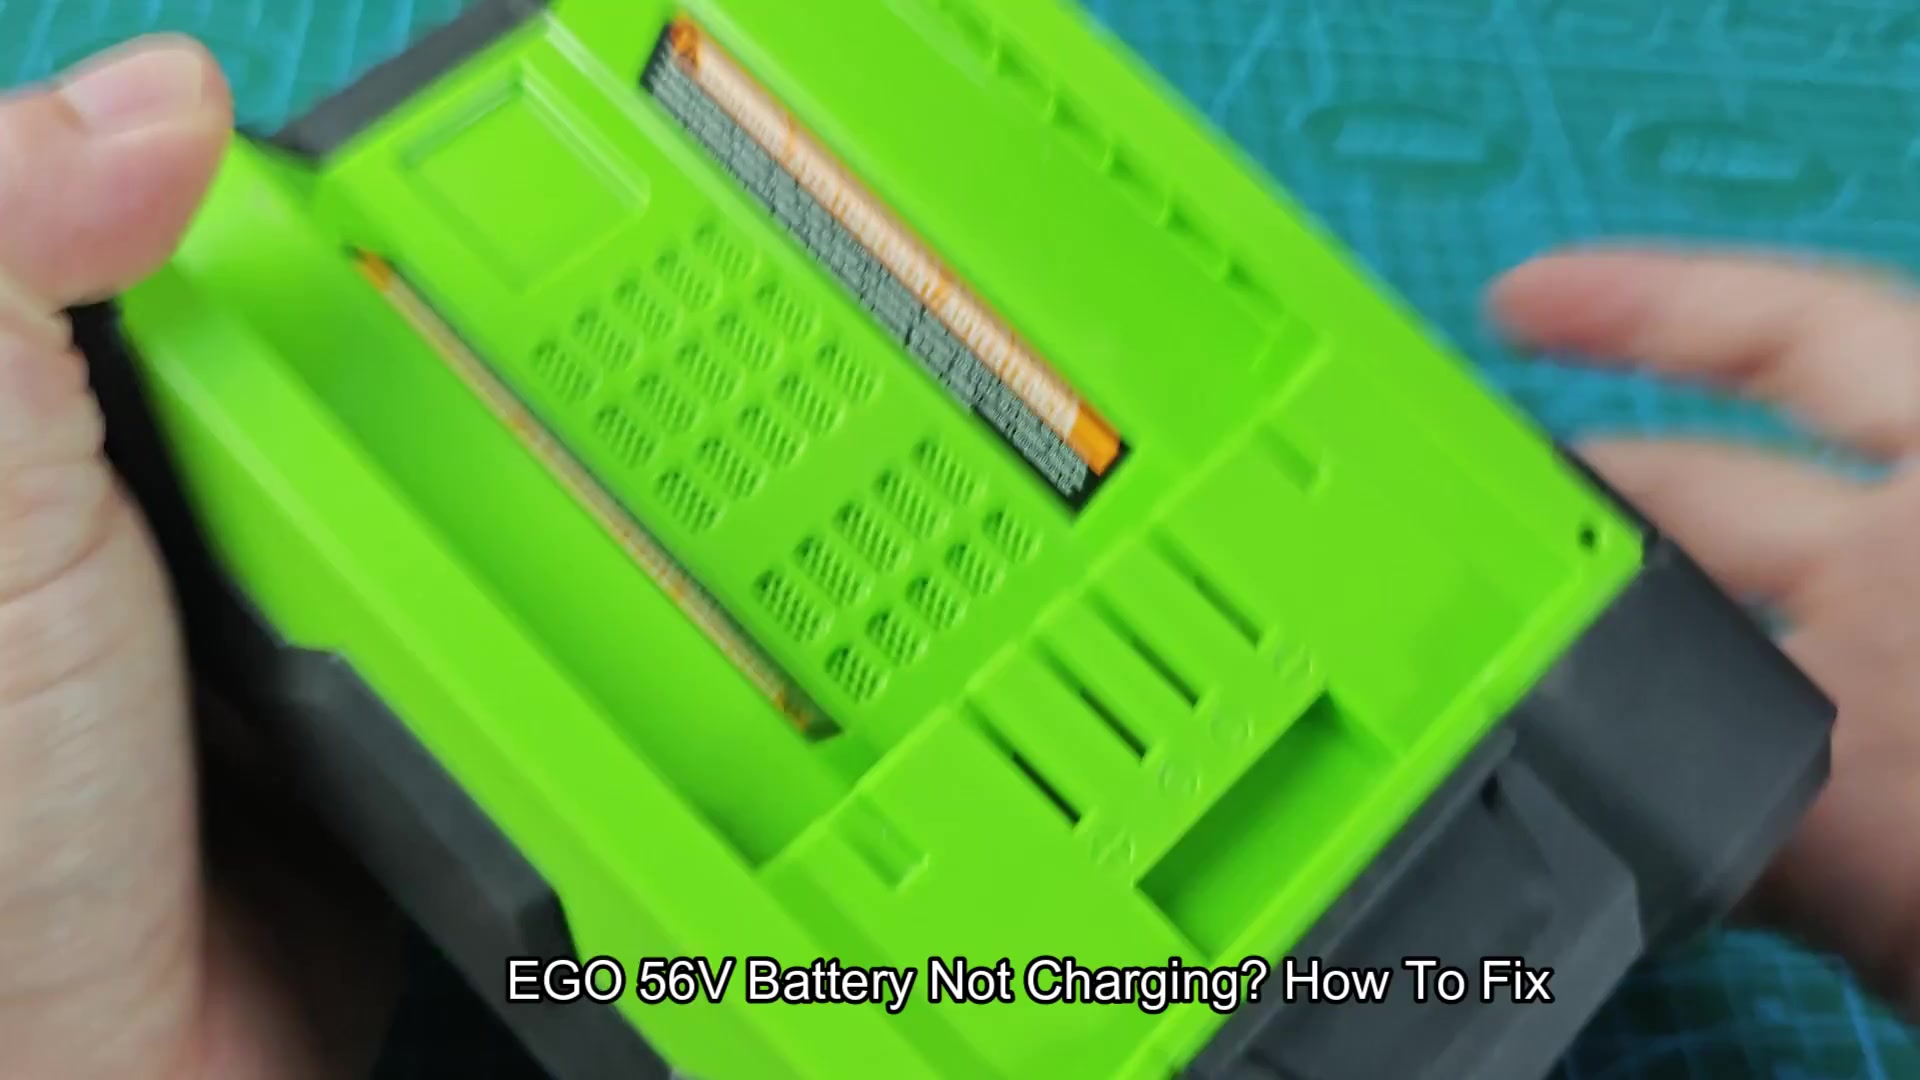
The fix is to not replace battery or individual battery cells. What we did was use another fully charged battery from one of our other pack. These batteries is good donors.
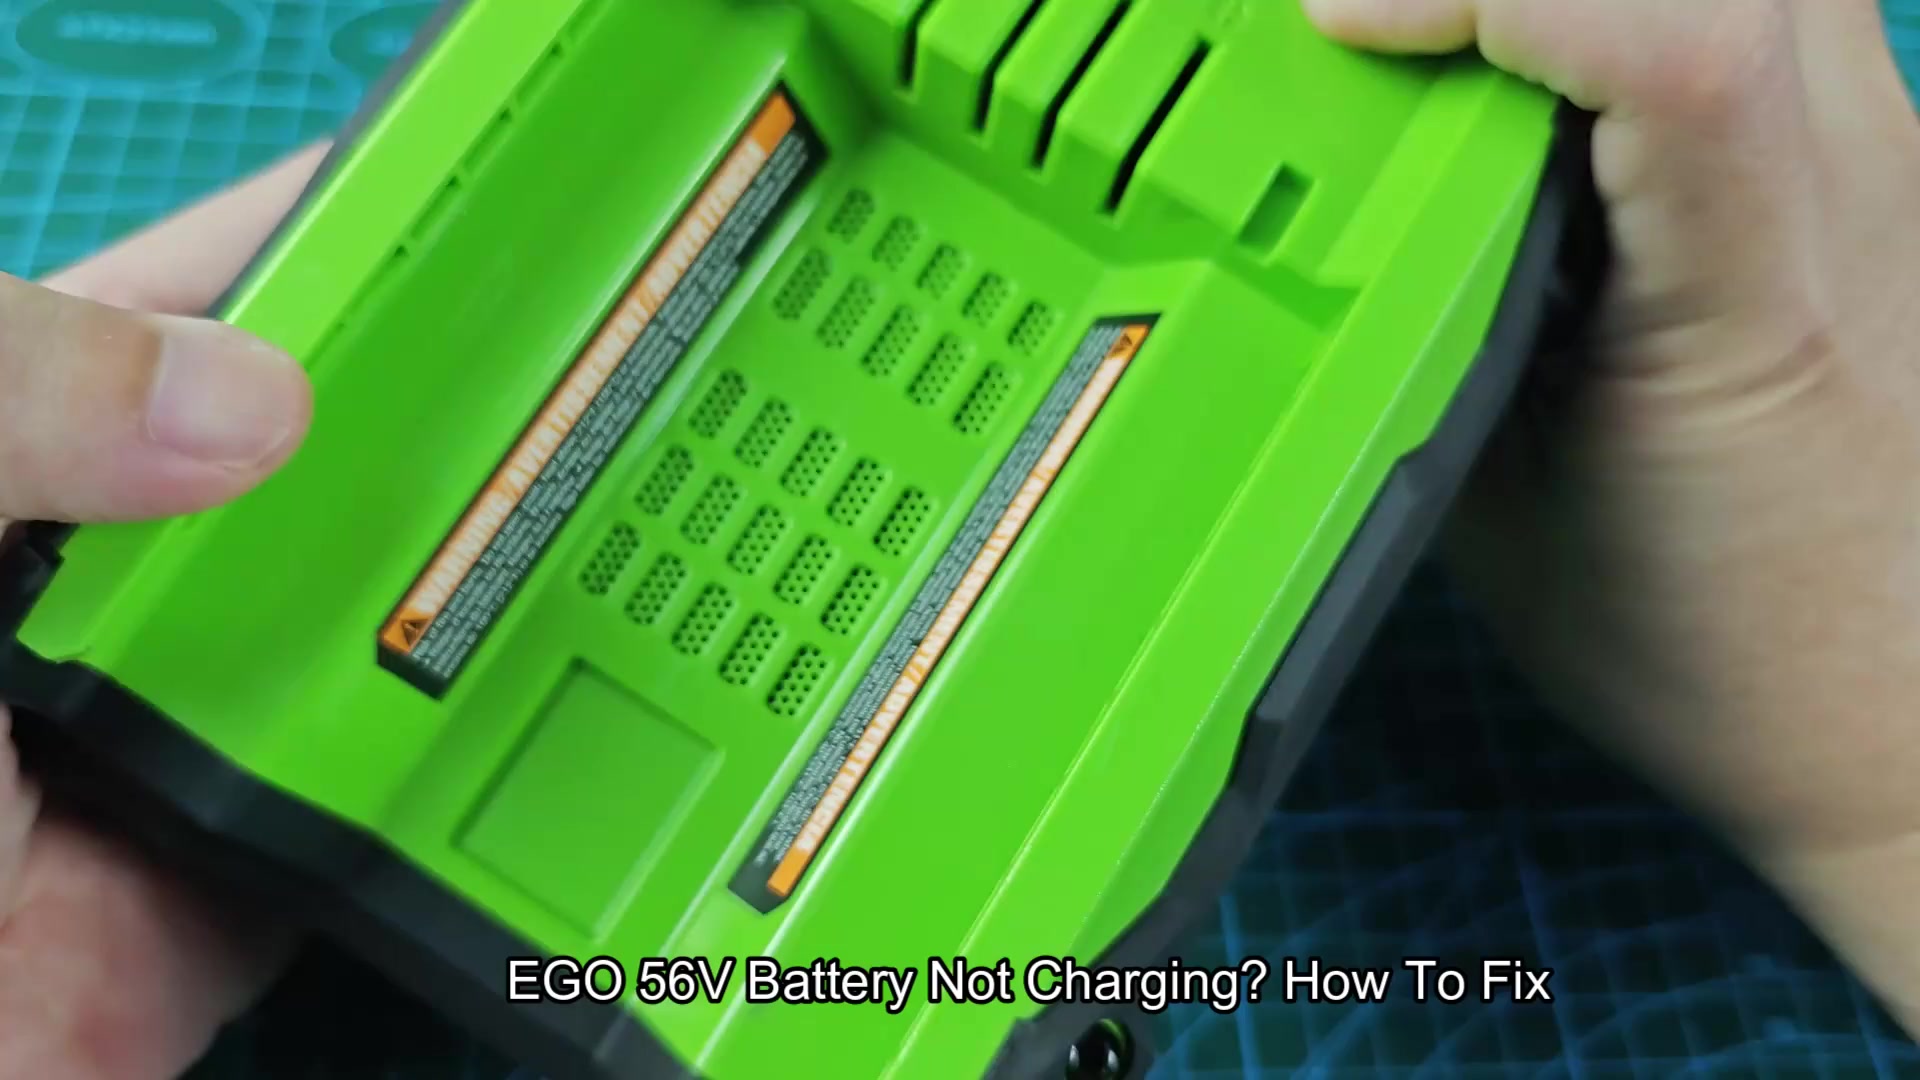
Basically, the other battery raises voltage just enough to fool electronics and make them think “OK, I’ll charge this thing.” And they start charging it.
Pushing the battery housing’s status button verifies issue. If it’s critically low inside, the indicator light blinks red (confirming its locked out). The charger also displays that warning symbol, as no one want to begin charging in those situations.
Unplugging and plugging back in several times doesn’t work, typicaly. It’s still in protective shutdown mode. You would of wanted a manual override for that lockout.
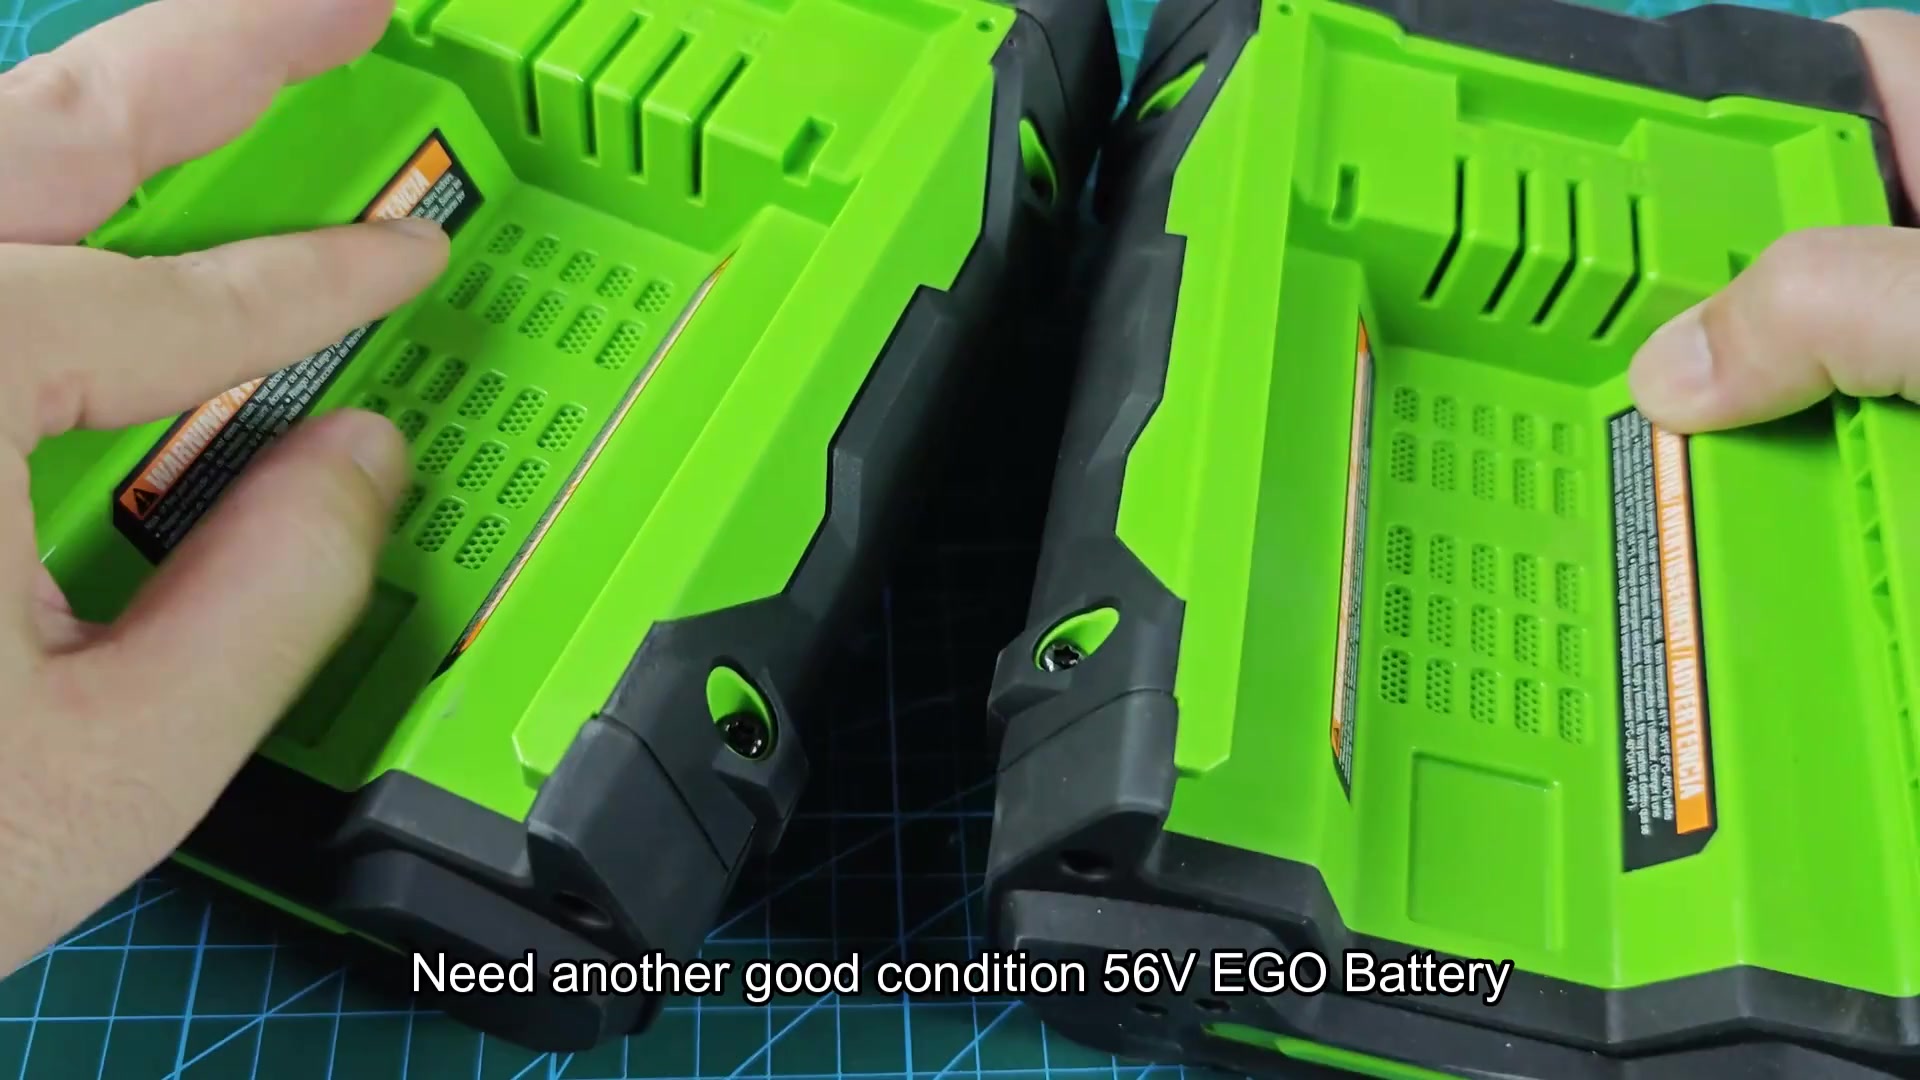
Get your hands on a good 56V EGO battery that’s already charged. Maybe a co-worker has one they let you borrow? This will be our donor pack during the jump-start.
Executing The Jump Start Process
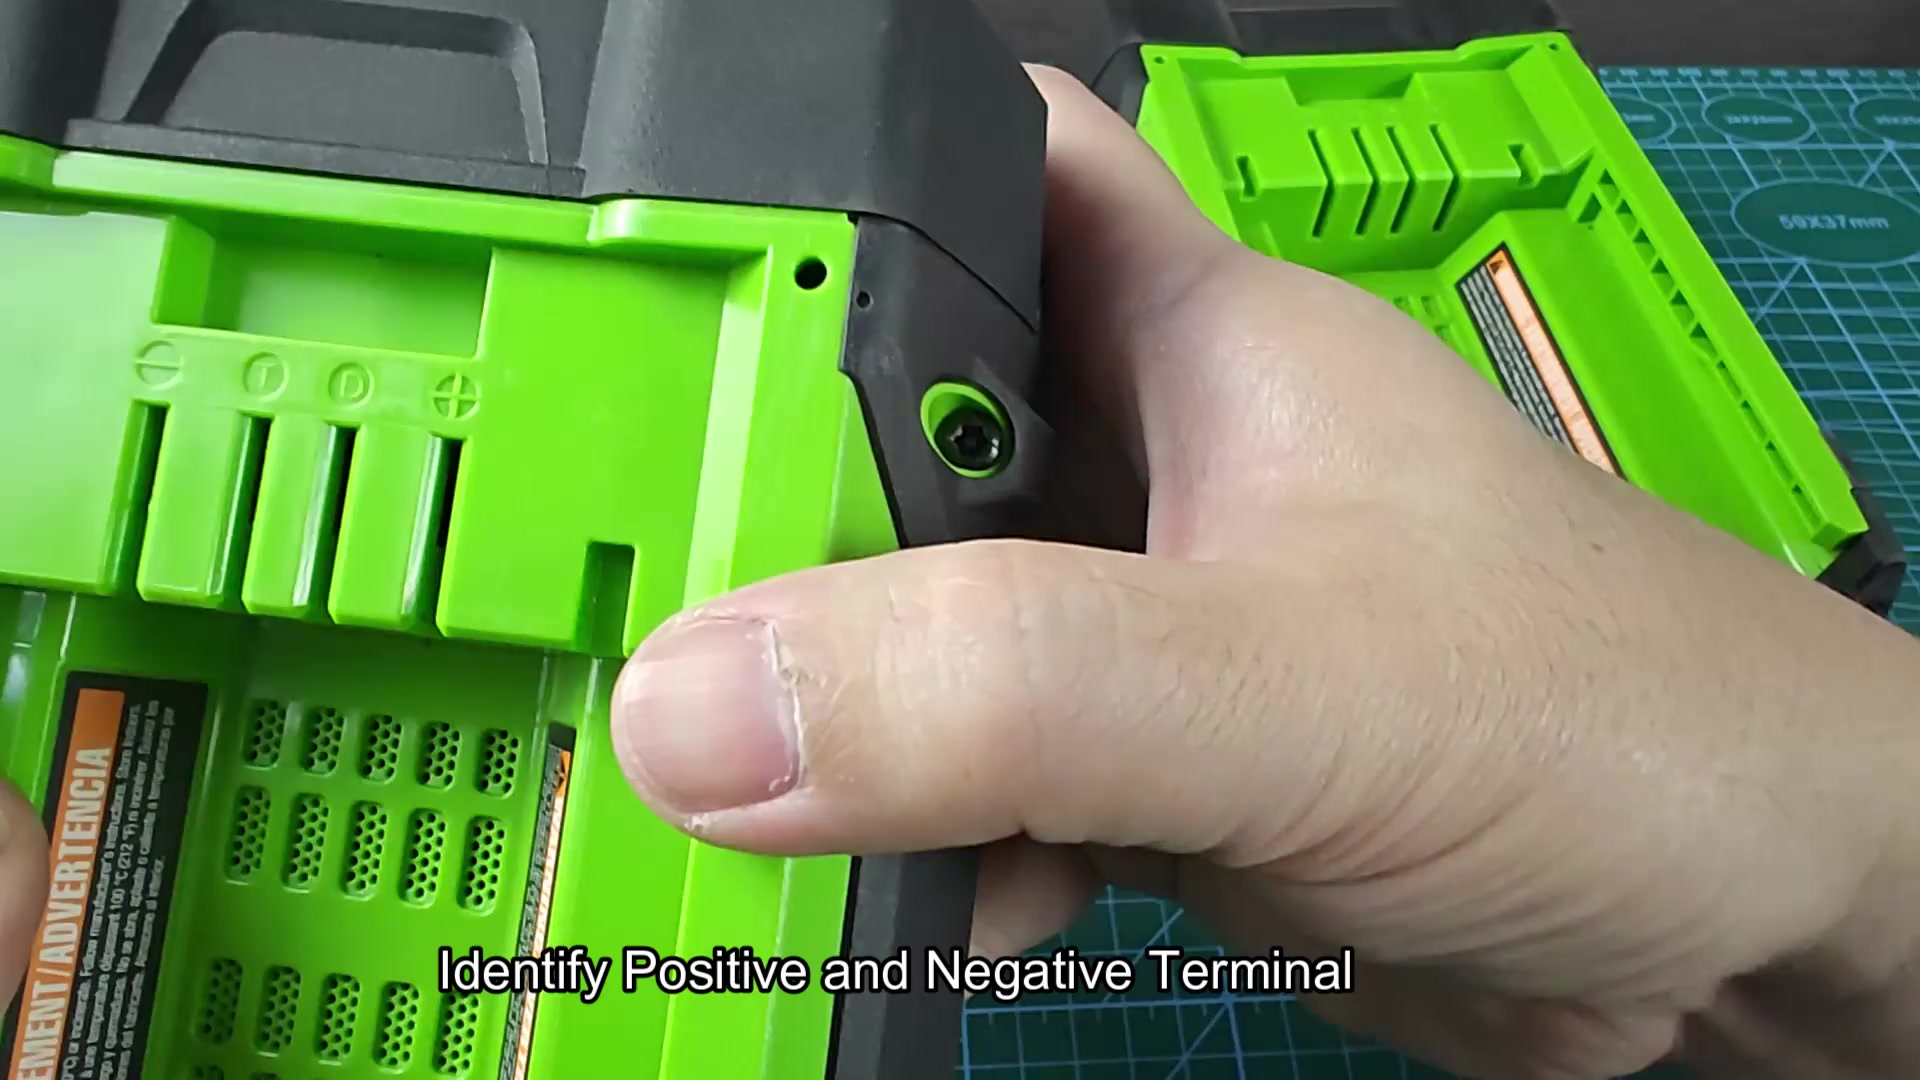
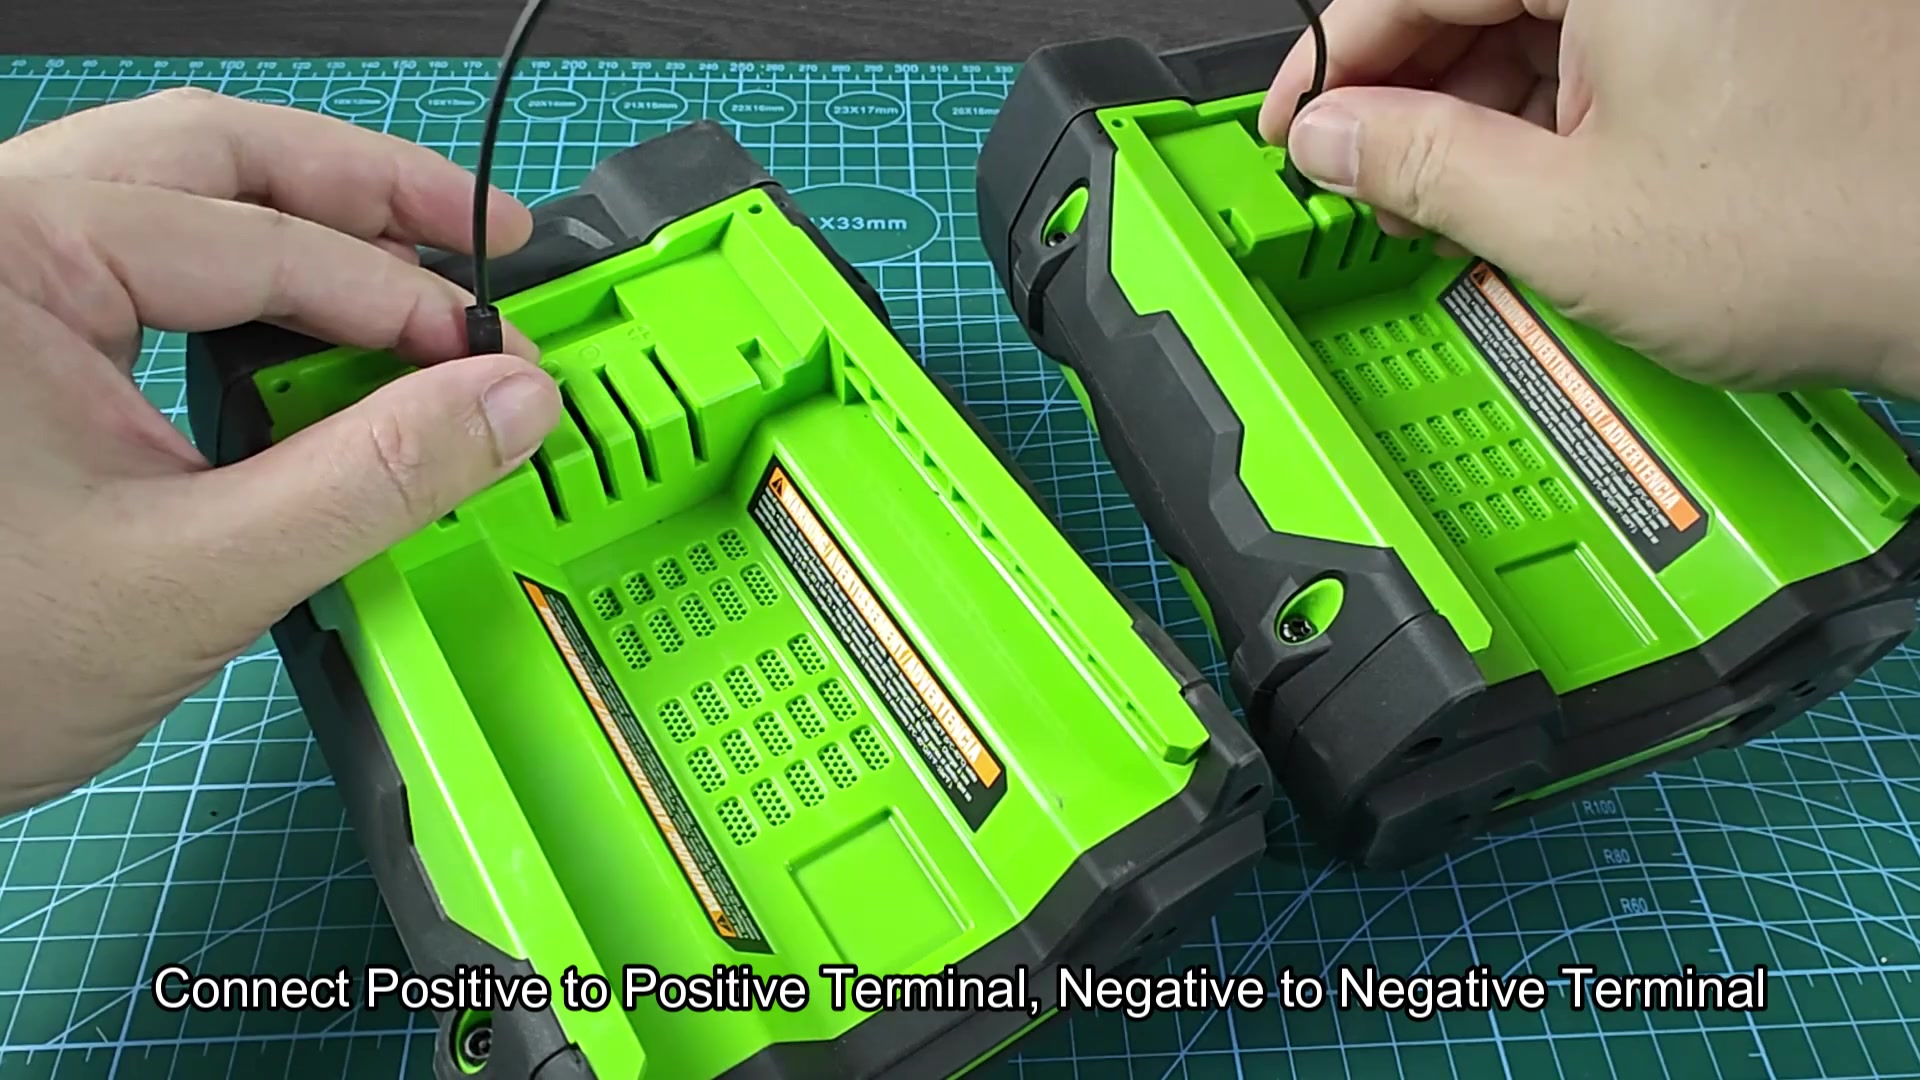
Take both batteries out and lay them down beside each other on level surface. They appear identical in physical model and even connect the same way. There are slots molded into the plastic bottom of each pack where positive and negative terminals attaches. Find and position these properly for this to work.
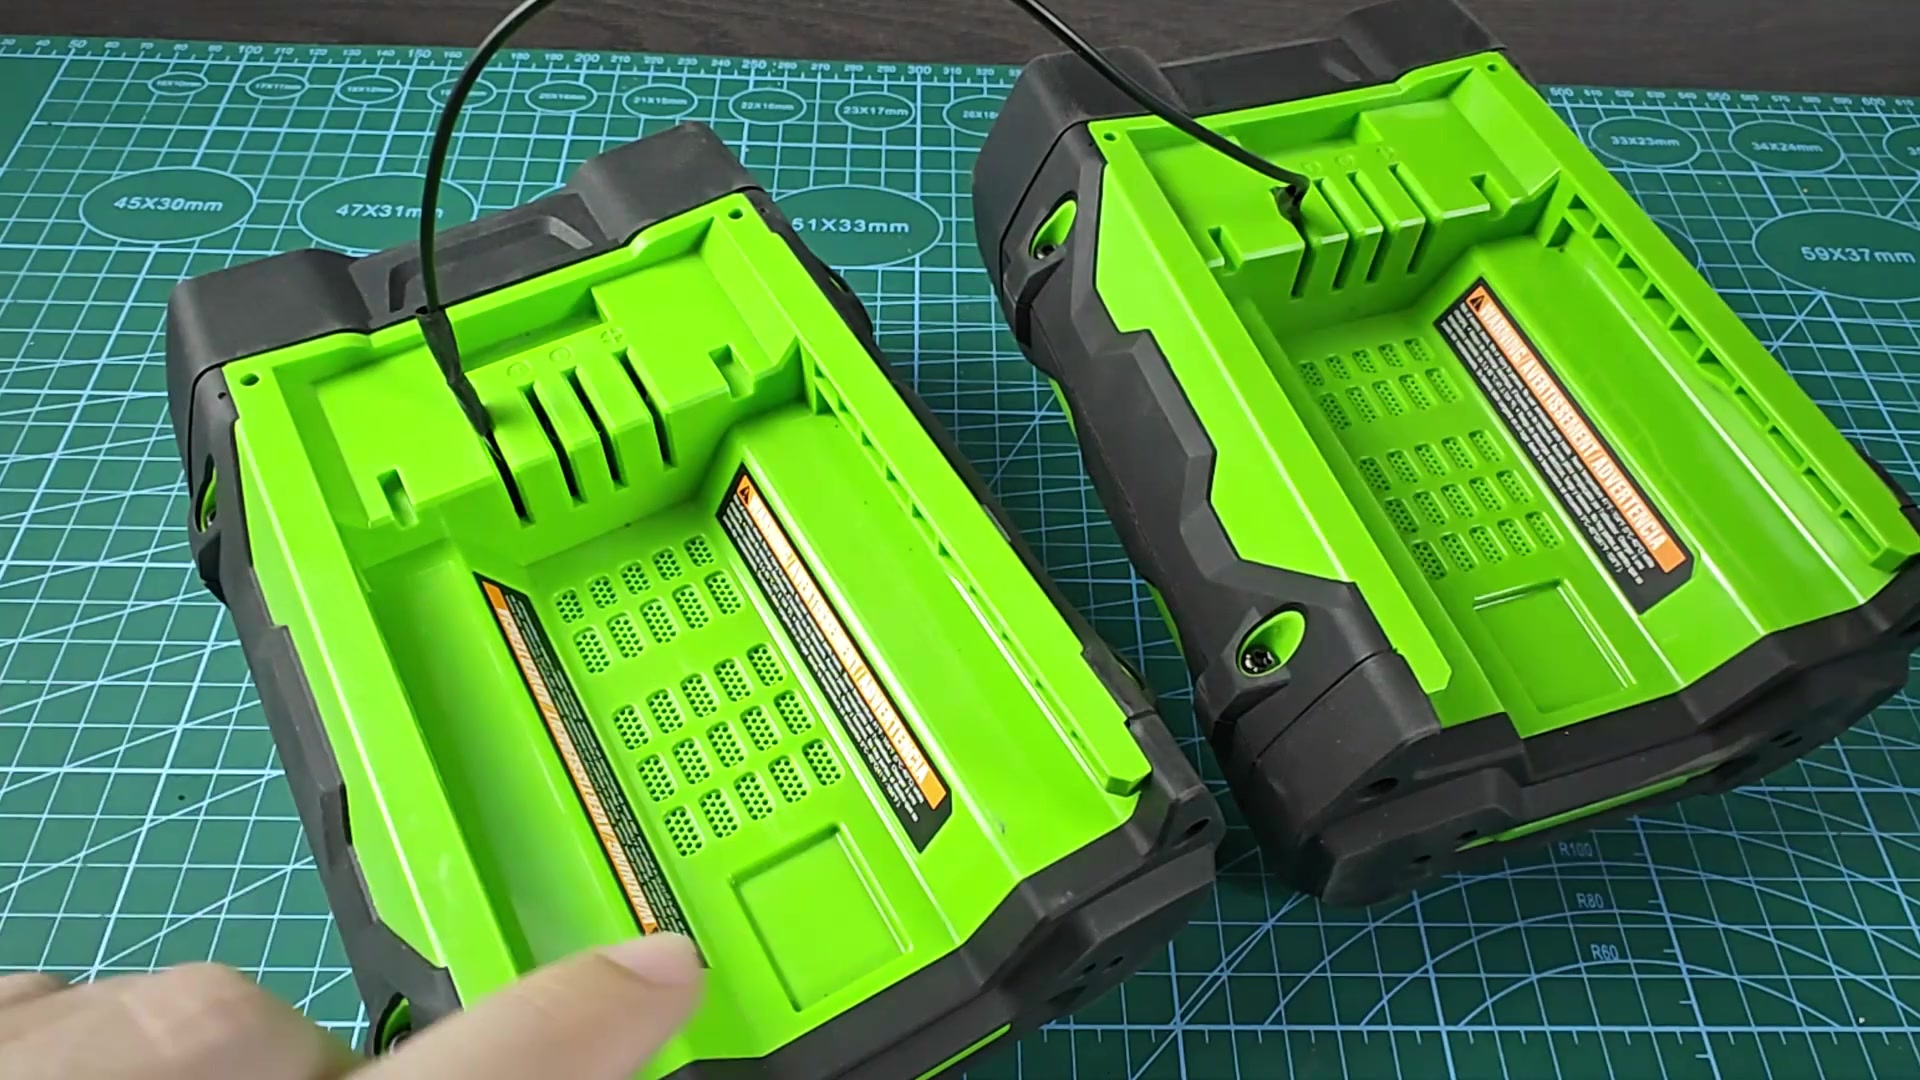
Locate the plus and minus symbols, which is adjacent to the spot where the battery fits in the tool. Match the positive terminal of the dead battery to the positive terminal of the donor battery. Likewise, connect the donor’s negative terminal to the dead battery’s negative terminal.
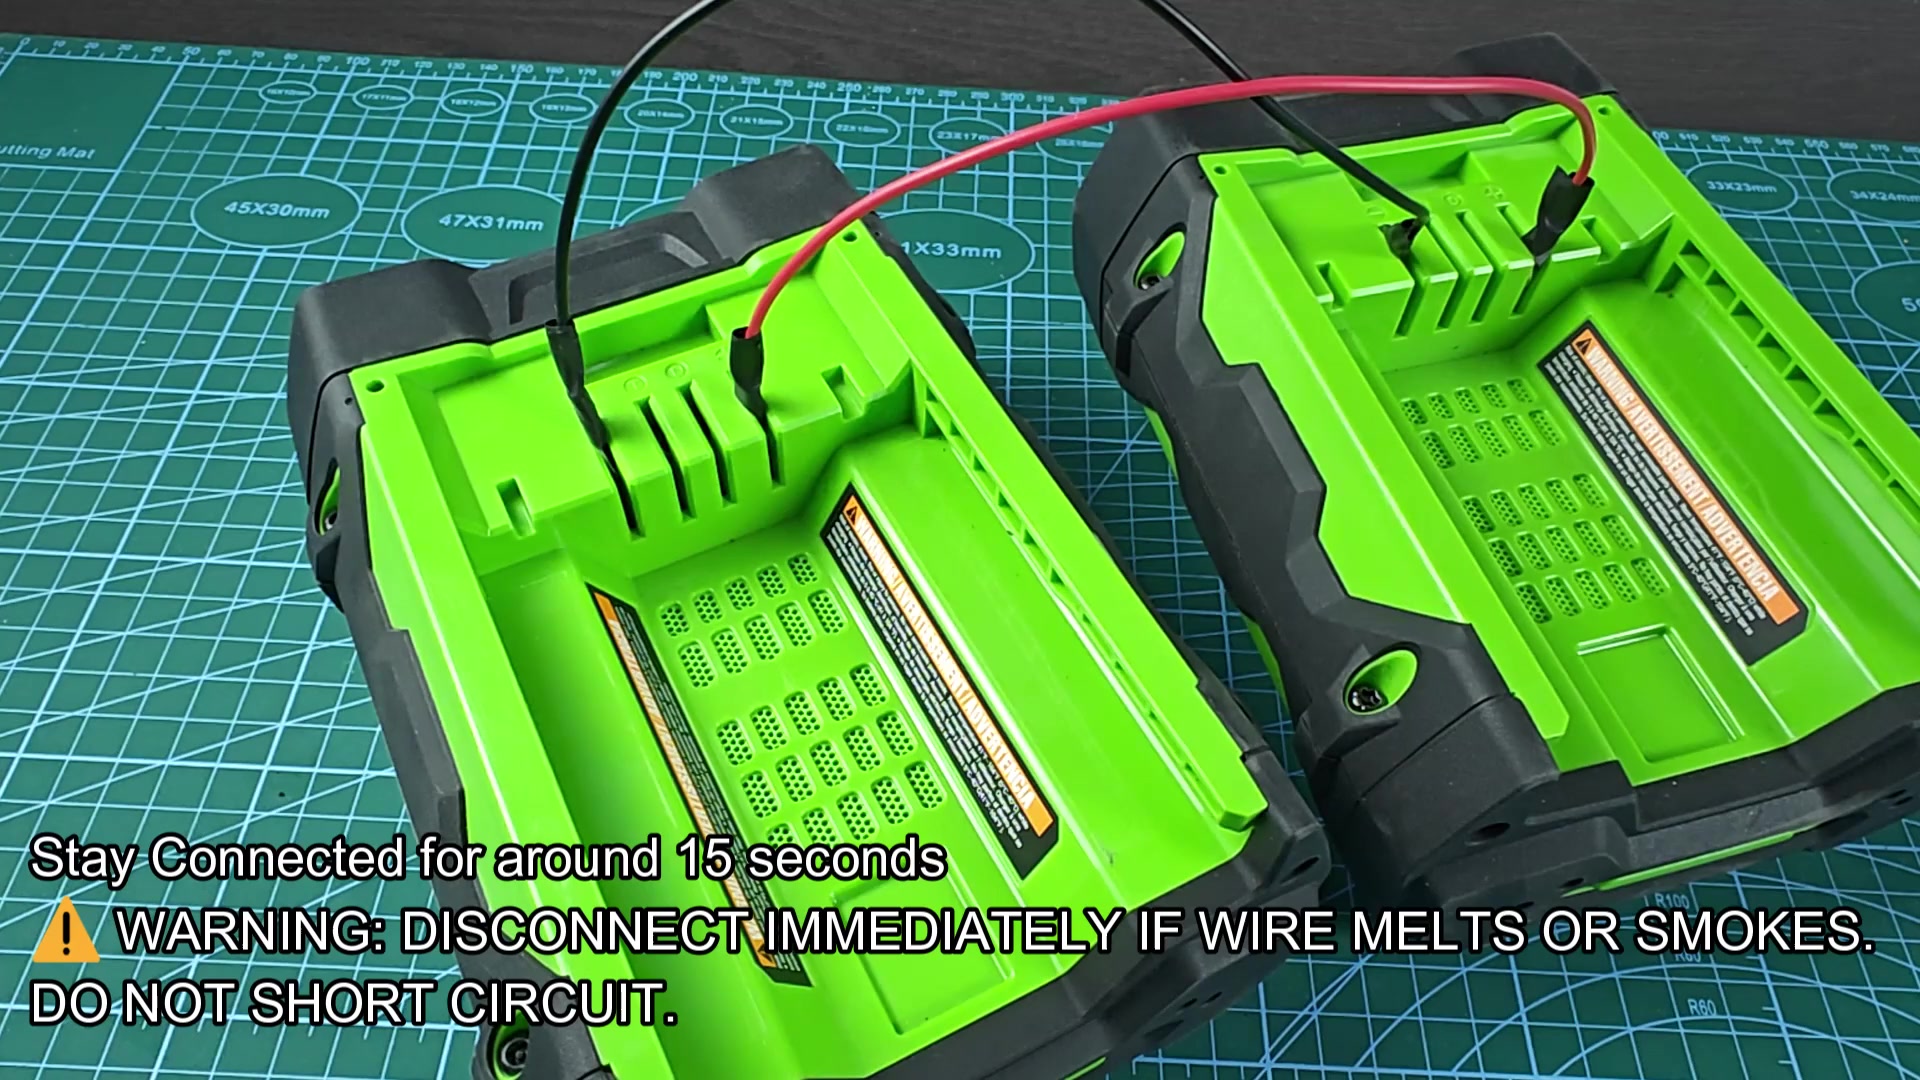
It’s just like jumping a car. Both batteries has to match polarities exactly or you’ll get an instant short that is quite dangerous. Simply bend some alligator clips and clip them onto the packs firmly to close the gap.
Maintain contact for about fifteen seconds to provide adequate juice to the sleeping one. It take that long for the slight increase in voltage to jolt the battery brain awake.
Monitor carefully; don’t let it smoke, overheat or anything. Watch closely for any signs of overheating or smoking during this time. Wires should remains cool and undamaged the whole time.
When the timer indicates ‘go’, disconnect pronto. Making the connection is only half the battle; breaking it matters equally. Letting them remain to long can harm the good batteries.
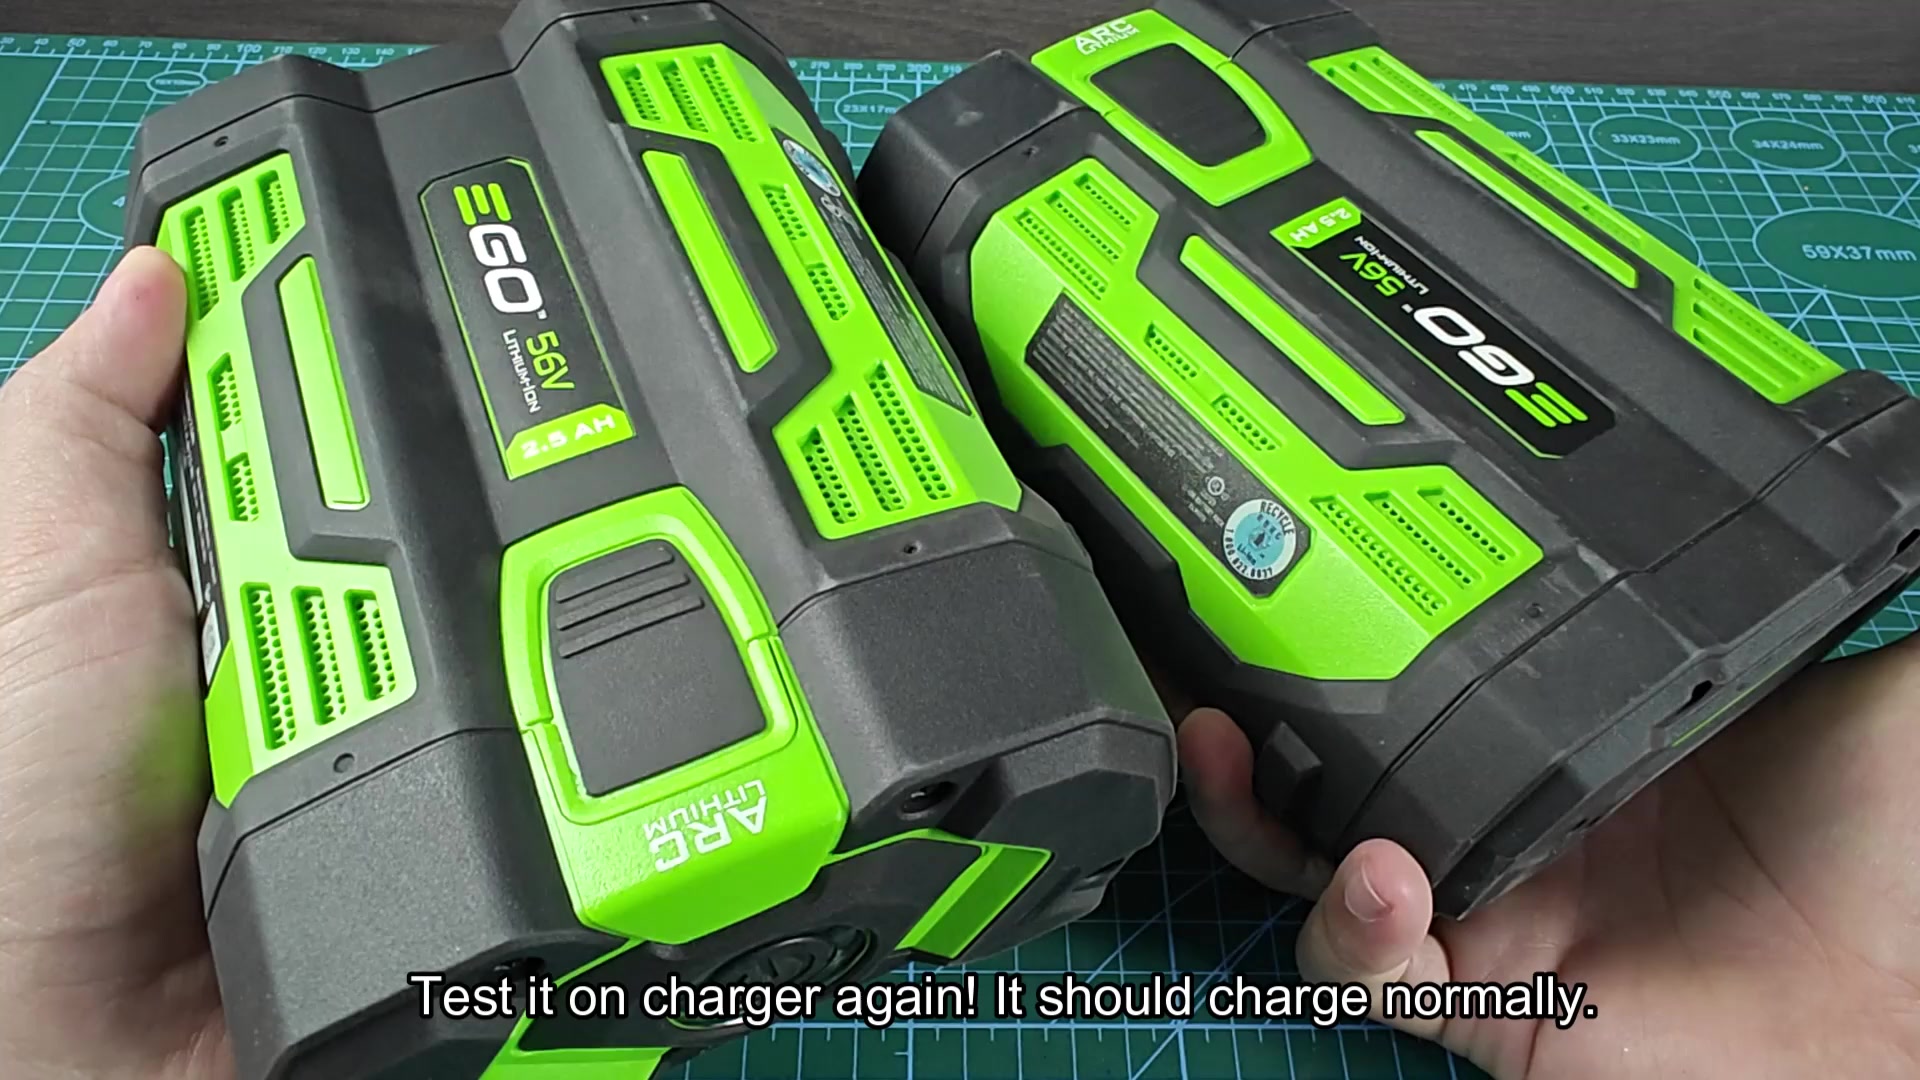
Take the previously dead battery back to the charger, and return it for testing your repair attempt. Hook it up on the dock and see if it’s recognized now.
Otherwise, the red charger light will continue to flash. If so, the charger light goes to a solid green indicating that the pack has gone up high enough in voltage to be past safety checks. It’s usable again and will go through normal charging sequence immediately. Congratulations! You’ve brought the battery back to life without replacement parts.
You don’t need to purchase another unit. This solution keeps you from purchasing an entire replacement. Since jump starting increases voltage back over the threshold, it’s not only a good way to recover but also more cost-effective than one.
The charger should of be able to continue operating normaly once again while it completes a handshake protocol with the battery.
If a similar situation happen in the future, remember to try this. Warranty replacements and visits to customer service centers are both expensive things to have to do. When you know what these safety locks do, simple solutions tend to fix complicated electronics problems quite nicely.
