Drywall Taping Calculator
Estimate drywall joint tape, compound, corner bead, sheet seams, coat volume, waste, and room totals from wall and ceiling area.
⚙Real drywall finishing presets
📏Room, sheet, joint, and finish inputs
Enter total wall and ceiling area per room. The calculator converts metric entries internally and rounds material quantities up for ordering.
📊Drywall and finishing spec grid
📋Drywall sheet and joint layout table
| Sheet size | Coverage | Base tape estimate | Best layout use |
|---|---|---|---|
| 4 ft x 8 ft | 32 sq ft | 45 ft per sheet | Small rooms, repairs, easier handling |
| 4 ft x 10 ft | 40 sq ft | 48 ft per sheet | 9 ft walls, fewer butt joints |
| 4 ft x 12 ft | 48 sq ft | 52 ft per sheet | Long walls, ceilings, fewer seams |
| 54 in x 12 ft | 54 sq ft | 50 ft per sheet | 9 ft ceilings with one horizontal joint |
🧰Mud coat planning table
| Finish target | Typical coats | Mud factor | Use case |
|---|---|---|---|
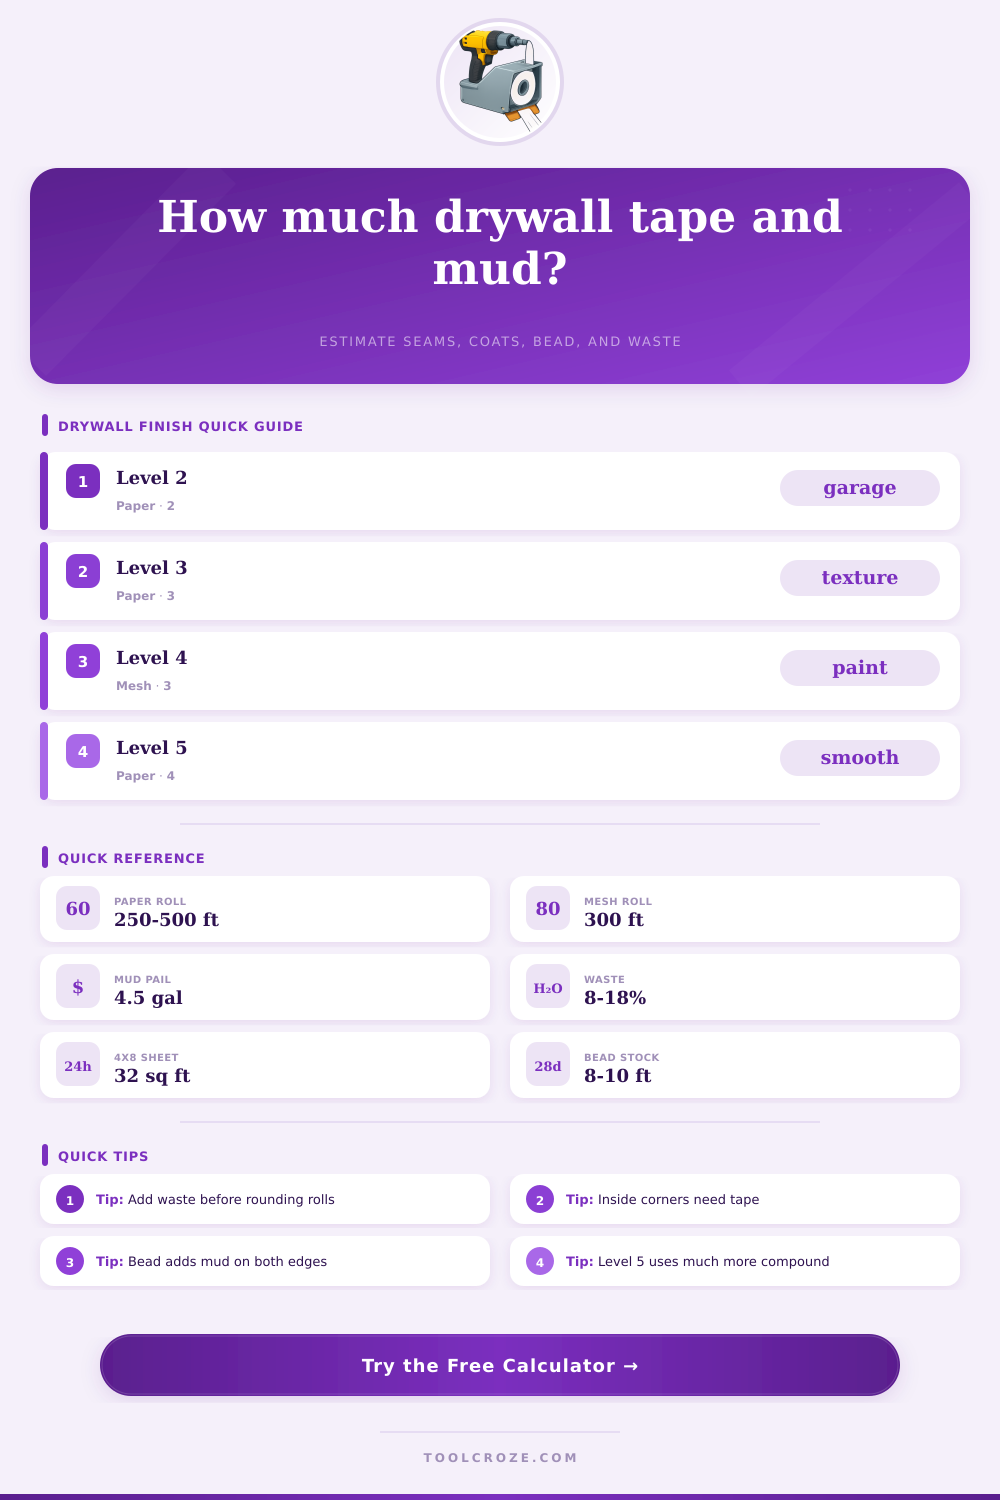
| Level 2 utility | 2 coats | Light | Garage, storage, tile backer areas |
| Level 3 texture | 3 coats | Moderate | Heavy texture or sprayed finish |
| Level 4 paint | 3 coats | Standard | Most painted rooms |
| Level 5 smooth | 4 coats plus skim | High | Smooth walls and critical light |
📏Tape roll and seam reference table
| Tape type | Common roll | Strength note | Best use |
|---|---|---|---|
| Paper joint tape | 250 ft or 500 ft | Creases for inside corners | General seams and corners |
| Fiberglass mesh | 300 ft | Self-adhesive, needs setting mud | Flat seams and small repairs |
| Composite corner tape | 100 ft or 250 ft | Stiffer corner control | Inside corners and off angles |
| Patch tape | 25 ft to 100 ft | Higher waste per square foot | Repairs and mixed openings |
🧱Corner bead and outside corner table
| Bead type | Stock lengths | Mud demand | Typical location |
|---|---|---|---|
| Metal corner bead | 8 ft, 9 ft, 10 ft | Medium on both edges | Standard outside corners |
| Paper-faced bead | 8 ft, 10 ft | Medium, strong bond | Paint-grade corners |
| Vinyl bead | 8 ft, 10 ft | Medium to high | Moisture-prone areas |
| Flexible corner bead | 100 ft rolls | High for shaping | Arches, off angles, soffits |
💡Two practical finishing tips
Finally, you install the final sheet of drywall. Stand back: those walls look good. The corners looks sharp, but you’ll realize the real work of smoothing them out is just beginning. You’ve done the physical part. Now grab your taping knife. That’s where the real work starts. This is where most DIY projects derail. It wasn’t the hanging, it was finishing. Finishing became a guessing game.
How many times did you end up running out of tape in the middle of a ceiling seam? How about buying five gallons of mud when only two were needed? To the pros, it all seems like magic; for us its simply geometry and waste management. After you enter your room dimensions and desired level of finish, the calculator provides a baseline but your skill determines if those estimates hold true. No more guessing at how many seams there will be.
How to Plan Your Drywall Supplies
You only need to know one thing before starting: Drywall sheets leave SEAMS behind. And seams are weeeak spots. Each seam require tape. Interior corners require tape. The tool knows all about this. When it sees the total area of your walls and ceilings, it breaks that area down by sheet size. A 4×12 sheet covers more area than a 4×8 sheet. That equals fewer seams per square foot. Fewer seams equal less tape and a little less mud. But it is not much.
Interior walls always includes some corners. That’s where most of the taping occurs. This step is the most important part. How many coats should I put on? You can choose your finish level using the calculator. These range from Level 2 for utility work to Level 5 for smooth walls. Dial it down if you’re finishing a basement or garage where the texture will take some abuse. Maybe you only need two coats if no one’s going to inspect your walls under bright lights. Or maybe you have a living room with directional lighting where Level 4 and above will do the trick.
Here’s what happens when you change levels. The number of coats required jumps a lot. To achieve a Level 3 finish, you need three coats after taping off the area. Level 5 may require four or even five coats, plus a skim coat. Each additional layer of compound adds up quickly in terms of volume. Underestimate it and you’ll find yourself making a mad dash to the hardware store while your walls are still wet.
One other spot we trip folks up on is corner bead. No tape is used at outside corners. Instead you have vinyl or metal bead, which is an edge reinforcement. That’s why the calculator splits out outside corner bead length from inside corner length. Since inside corners are vulnerable to cracking because they bend when the house settles, paper tape works best there. That’s why paper tape is preferred here. It creases and conforms to the bending action.
Outside corners are rigid. To give them the structure they need, you’ll want to put down bead. Now you’re going to apply mud to both sides of that bead. That means you need twice as much material for these same linear feet compared to a flat seam. A small detail, but it completely alters what goes onto your shopping list.
Every remodel has an invisible tax: Waste. The tool lets you adjust for waste and touch ups as a percentage. A safe starting point for seasoned tapers is twelve percent. For new learners go higher, closer to eighteen or twenty percent. Why? Drywall finishing is messy. Mud spills. Taping pulls too hard in an inside corner, tearing your tape out. Filling a joint overfills, requiring sanding back down. That sends up dust that must be cleaned before the next coat. This waste factor is not just due to being clumsy. It’s due to the fact that no seam is straight enough for a single perfect pass of compound; no wall is perfectly flat.
On this page, they list the normal size rolls of both bead and tape as well. That way when you need it you can buy in bulk instead of all those little rolls which seem to cost more by the foot. For example, mesh is typically found in 300-foot rolls. Paper tape is usually 250 or 500-feet. If you know what a normal length is, you can then round your estimate up to the closest package amount. Nobody wants to get half-way through a room only to discover they were two feet off from the end of a roll. Better to have a bunch of mud in a bucket than not quite enough tape on your hands.
Finishing drywall isn’t about artistry, really; it’s about planning and patience. The estimator gets you the starting point, but where you end up depends on your skill level. Before cracking your first pail of compound, take the time to measure your corners, make a decision on your finish level, and go for it. Walk into your finished room and the sense of accomplishment shouldn’t be that you covered up the wrong texture with another one. It should of being because you knew exactly how many gallons it cost you, down to the very last one.