Drywall Screws Calculator
Estimate drywall screw count, panel count, screw pounds, box quantity, and fastening density from real board size, framing, spacing, layer, and waste inputs.
🔧Fast presets
📏Project inputs
Drywall screw estimate
📦Material and screw spec grid
📋Reference tables
| Installation | Common edge spacing | Common field spacing | Typical screw length |
|---|---|---|---|
| 1/2 in drywall on wood wall studs | 8 in | 16 in | 1-1/4 in coarse thread |
| 1/2 in drywall on ceiling joists | 7 to 8 in | 12 in | 1-1/4 in or 1-5/8 in coarse |
| 5/8 in Type X fire-rated board | 7 to 8 in | 12 in | 1-5/8 in or longer, per assembly |
| Drywall on steel studs | 8 in | 12 to 16 in | Fine thread Type S screw |
| Second layer over first layer | 8 in | 12 in | 2 in to 2-1/2 in, verify embedment |
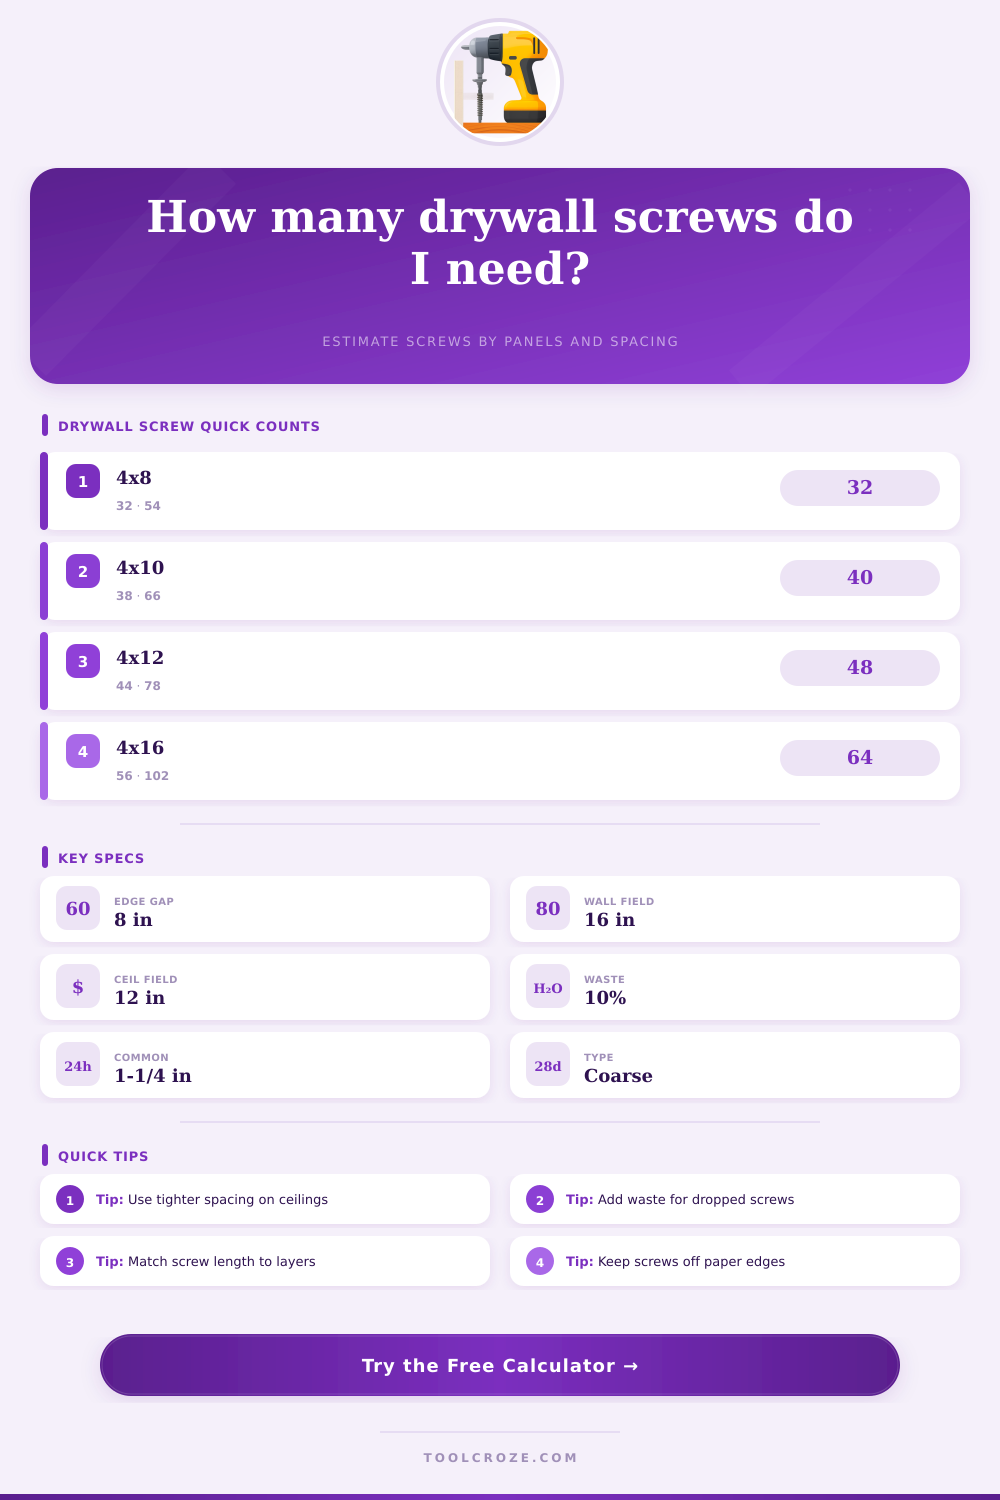
| Panel size | Panel area | Stud lines at 16 in | Approx screws at 8/16 pattern |
|---|---|---|---|
| 4 ft x 8 ft | 32 sq ft | 4 lines | 32 to 36 screws |
| 4 ft x 10 ft | 40 sq ft | 4 lines | 38 to 42 screws |
| 4 ft x 12 ft | 48 sq ft | 4 lines | 44 to 50 screws |
| 4 ft x 16 ft | 64 sq ft | 4 lines | 56 to 64 screws |
| Screw spec | Thread and use | Estimated screws per lb | Common panel match |
|---|---|---|---|
| #6, 1-1/4 in | Coarse thread for wood framing | About 215 | Single 1/2 in board on wood |
| #6, 1-5/8 in | Coarse or fine thread | About 180 | 5/8 in board or ceiling work |
| #6 Type S, 1-1/4 in | Fine thread for steel studs | About 210 | Single layer on light-gauge steel |
| #6 Type S, 2 in | Fine thread longer shank | About 145 | Rated assemblies or thick layers |
| #8, 2-1/2 in | Lamination or specialty fastening | About 110 | Multiple layers when specified |
| Project | Typical area | Usual pattern | Planning note |
|---|---|---|---|
| Small bedroom walls | 350 to 500 sq ft | 8 in edge, 16 in field | Subtract openings before counting sheets |
| Basement ceiling | 500 to 900 sq ft | 8 in edge, 12 in field | Use lift layout and joist spacing |
| Garage fire separation | 450 to 800 sq ft | Assembly-specific spacing | Follow rated wall or ceiling schedule |
| Bathroom board | 180 to 350 sq ft | 8 in edge, 12 to 16 in field | Expect more cuts and small offcuts |
| Sound-control double layer | 300 to 700 sq ft | Each layer counted separately | Stagger seams between layers |
💡Practical notes
The calculator models screw lines from panel width and framing spacing, then applies edge and field spacing along the panel length. Extra backed seams adds a controlled allowance for blocking, butt joints, inside corners, returns, and narrow strips.
Sometimes you stare at a stack of drywall sheets in your garage. You measure the walls. You purchase the board. But you don’t think about the screws. Unless you think about the screws, then you’re behind schedule: When you reach the second ceiling joist, you’ll be out. That’s panic, right there; and this page’s calculator prevents it from ever happening.
Instead, it turns those vague guesses into a clear number of what you really do need to purchase. Fastening Drywall is straightforward math to most folks, they figure square footage and then guess at how many screws per square foot based on a basic formula. What they don’t realize is that every wall and ceiling are unique. Overhead jobs is harder because you are fighting gravity, but walls stay in place. Using the same pattern when screwing will general yield poor results.
How to Calculate Drywall Screws
To account for this we ask if it’s a job for a ceiling or wall. This automatically sets the default spacing according to the structure involved and takes away need to remember code tables. Now you’re in the part where you walk into your project’s net area. Which means after you subtract the portion eaten up by windows and doors. Why? Square footage doesn’t just determine your screw count; sheet count matter too. A wall with one large window between two stud still uses a full sheet of drywall. That sheet must be fastened at regular intervals, regardless of how much of it lies behind glass. The calculator takes all that into account.
Rather than relying on some abstraction called “area,” it calculates based off real-world panel sizes and framing centers. Most people get it wrong at this point, the difference between spacing inside a field versus spacing between edges. Edges requires closer attachment (typically eight inches apart). Those are the key structural seams that hold the whole thing together against shear force. On regular wall studs, the field can often be more like 16 inches, since it has the next panel’s board for support. So tightening the field spacing excessively consumes screw boxes without adding any real strength. Loosening the edge spacing risks future joint failure and paper tear.
For ceilings things get different due to gravity. Generally the table recommend closer fields for overhead setups (down to 12 inch sometimes). This is not because they want to, but because the weight of the gypsum core will settle and cause sag if the ceiling is not properly supported. It also makes sense to use moisture-resistant and fire-rated options this way. Certain thread type screws with certain length are required for performance reasons. The table on the page make those combinations clear. Check that you have the right screw for your application.
The other variable is the waste factor. Until you strip a head while trying to tighten it too much, or accidently toss a screw in your crawlspace, this seems like an arbitrary number. Ten to fifteen percent added to your total will account for those moments when things get messy. It will account for patches and odd cuts which throw off the normal spacing pattern. Construction is messy and you’ll never buy exactly what the calculation tell you. Having just enough extra will ensure you don’t have to run back to the hardware store in the middle of the project.
You enter in a number (i.e. 50) for your project’s net area, then choose what size screws you’re using, and the tool will tell you exactly how many screws you need and how many pounds or boxes that would be. Enter the quantity of screws you’re thinking about buying. Then, choose what size those screws are. The tool will tell you the weight in pounds and how many boxes of that size you would of needed. That’s the conversion part, converting from “screws” to “bulk packaging.” Since screws aren’t purchased individually, they are bought in buckets or pounds. So if you know how many five-pound boxes to pick up at check-out, it’ll save you time and ensure you didn’t undershoot.
It’s mechanical, but it’s also an exercise in learning how materials support each other based on their relative strengths. You also learn what distance apart things should be placed to hold up under a given amount of weight. Drywall is not just a wall: It is part of the structure, which requires careful fastening to do its job. The result is that if you nail it properly, those joints go away, you can paint smoothly over them, and the walls will remain upright. You won’t have to run back out because you didn’t plan for the mechanics of this construction, only guessing as to its appearance. And that planning, or lack thereof, is what distinguishes a solid renovation from a rushed fix.