Drywall Grid Calculator
Plan drywall sheet grids for walls, ceilings, or full rooms with board counts, seam length, screw estimates, joint tape, compound, and layout spacing.
⚙Project Presets
📏Grid Inputs
Drywall Sheets
0
Layout Grid
0 x 0
Joint Tape
0
Drywall Screws
0
Full Breakdown
🧰Material / Spec Grid
📋Drywall Sheet Reference
| Sheet size | Coverage | Best use | Layout note |
|---|---|---|---|
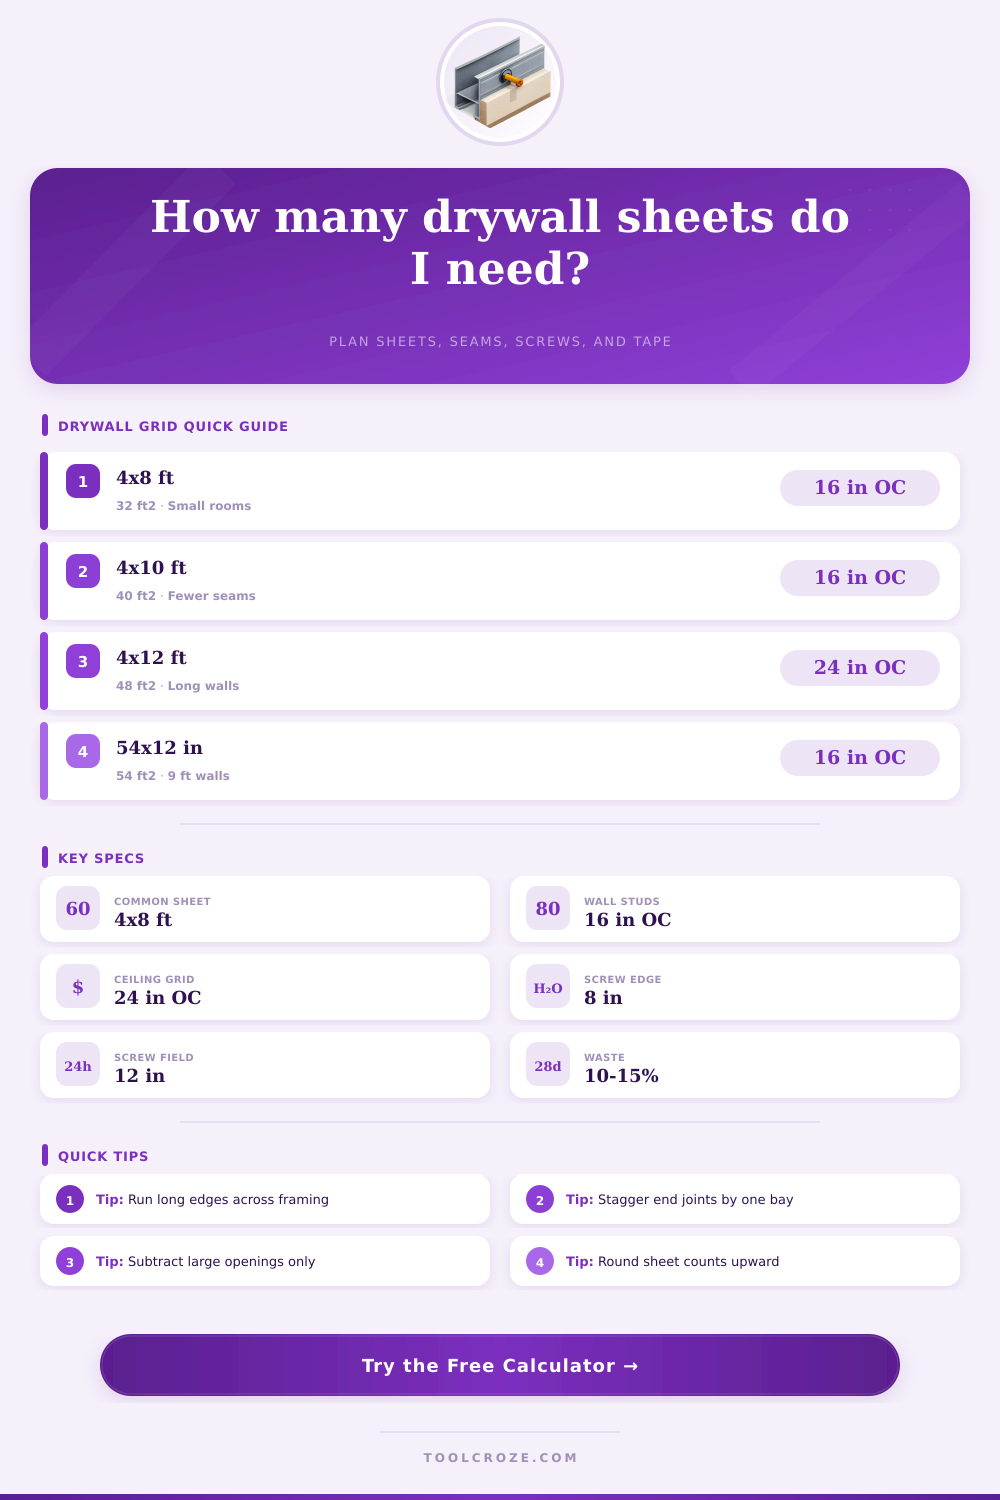
| 4 x 8 ft | 32 sq ft | Small rooms, repairs, tight stairs | More butt joints, easiest handling |
| 4 x 10 ft | 40 sq ft | 10 ft walls or medium ceilings | Reduces end seams on common rooms |
| 4 x 12 ft | 48 sq ft | Long walls, garages, open rooms | Fewer seams, needs more handling room |
| 54 in x 12 ft | 54 sq ft | 9 ft walls with horizontal layout | Two rows can cover full wall height |
| Metric 1200 x 2400 mm | 2.88 sq m | General metric wall and ceiling work | Use framing centers to set cut lines |
🔧Fastener and Joint Reference
| Condition | Typical spacing | Calculator use | Field note |
|---|---|---|---|
| Wall field screws | 12 to 16 in | Average screw spacing input | Closer spacing increases count |
| Ceiling field screws | 10 to 12 in | Use smaller spacing for overhead work | 5/8 in board is common overhead |
| Board edge screws | 7 to 8 in | Included with screw multiplier | Keep fasteners back from paper edges |
| Flat joint tape | Every sheet seam | Estimated from grid seams | Add corners and repairs separately |
| Inside corners | Room perimeter height | Added for wall and full-room modes | Corner bead is not counted as tape |
📐Common Grid Layouts
| Project | Common grid | Sheet choice | Waste range |
|---|---|---|---|
| Bedroom walls | Horizontal rows around room | 4 x 8 or 4 x 10 ft | 10 to 12% |
| Garage walls | Horizontal long sheets | 4 x 12 ft, 5/8 in often used | 8 to 12% |
| Ceiling grid | Long edge across joists | 4 x 8 to 4 x 12 ft | 10 to 15% |
| Small bathroom | Mixed wall cuts | Moisture-resistant 1/2 in board | 15 to 20% |
| 9 ft walls | Two horizontal rows | 54 in wide sheets | 8 to 12% |
ℹPlanning Tips
Drywall is light when you lift it up against a ceiling but quickly becomes awkwardly heavy once gravity changes and you loose your grip. Holding a sheet in position require an additional hand (or two) and/or some sort of lifting tool, hence the preference for building vertically along walls instead of ceilings. The laws of physics dictate where you put joints and how you cut the drywall, since you can’t really hold big-ass sheets of gypsum above you. This same physics also determines whether you will finish job on schedule, because hefting these sheets are tiring labor.
With that in mind, here’s how I planned the job using our online grid calculator (the one above). It models out a real-world layout different than relying on you to estimate from square footage. Why is that important? Because drywall isn’t paint or carpet. You can’t just buy a few extra feet and fill a hole: it require a full sheet, and if you’ve got a short piece in there, then the resulting weak joint mean trouble later on.
Planning Your Drywall Job
More importantly, any edge of any sheet has to be supported on a stud; otherwise, as you screw it down, the unsupported drywall will crack or pull away. The tool doesn’t let you ignore studs in your frame, it maps those rules for you, forcing you to think about them.
Selecting the right board size is usually the first decision people get wrong. Using regular four by eight sheets mean more seams; each one must be taped, mudded in, and sanded. If at all possible, use larger sheets (ten foot or twelve foot) which will also reduce your number of seams. It’s a no brainer since long sheets = less joints = quicker finish.
This trade off comes into play when you look at the reference tables on the page. But the issue with longer sheets is that they are harder to handle when delivering, wider doorways is needed to bring them in as well. So it’s an accessibility vs. Efficiency issue. Know where you need to get things through, otherwise big sheets ain’t gonna happen.
Amateur estimates also tend to stray wildly from pro standards regarding screw spacing. How you place fasteners matter greatly to structural integrity. Edge screws need to be closer together than field screws to prevent the paper face from tearing out under shear force. That’s why this calc factors in multipliers depending on how tight your framing grid is. It doesn’t just count number of heads.
Where the screws are located matters, too. This helps you avoid fasteners popping loose after months as house settles. A common mistake is using the wrong size screw (length) and/or spacing them incorrecty. Proper placement secures the drywall to the studs.
The other underrated factor when estimating materials is waste allowance: basic square footage arithmetic presumes that you’ll cut everything perfectly straight without any mistakes. In reality, there are door frames, electrical boxes, angled corners, and more, all of which add up to around a 10% waste allowance for rectangular rooms. Rooms with lots of extra angles (soffits, closets) can easily hit 15-20% waste, and you can use the calculator’s slider to set your waste allowance accordingly.
It is better to have extra sheets than to run out midway through your second wall. If you go back, you would of had to stand in line and buy more than you need because the sheets got bent during transport.
It’s worth noting that the finish level input also affects how many coats of compound you’ll use (a Level 5 skim coat, for example, needs several coats of mud; a utility finish only needs minimal taping). But the tool scales those materials accordingly, helping you purchase just the correct quantity of joint compound and tape necessary for your job. This means you don’t have to dig around in dried out buckets three days later, saving both time and aggravation. Make sure you have plenty of fresh compound so you aren’t digging through dried buckets three days into the project.
The calculator takes away all that mental math, such as asking how many screws are needed. How many seams?” It’s just geometry and weight management for drywall. Once you know how the board will fit your studs, you are not as afraid to lift these heavy boards. It becomes physical work instead of mental work. There’s nothing unknown about where the sheet will go; it’s mathematical, and knowing that makes everything seem less like a struggle. More systematic.