Drywall Compound Calculator
Estimate joint compound, tape, corner bead, coat volume, and container count from room size, board layout, finish level, and waste allowance.
📌Project Presets
📏Drywall Area and Finish Inputs
Compound Estimate
🧰Material and Spec Grid
📚Drywall Compound Reference Tables
| Finish Level | Typical Use | Compound Basis | Coat Pattern |
|---|---|---|---|
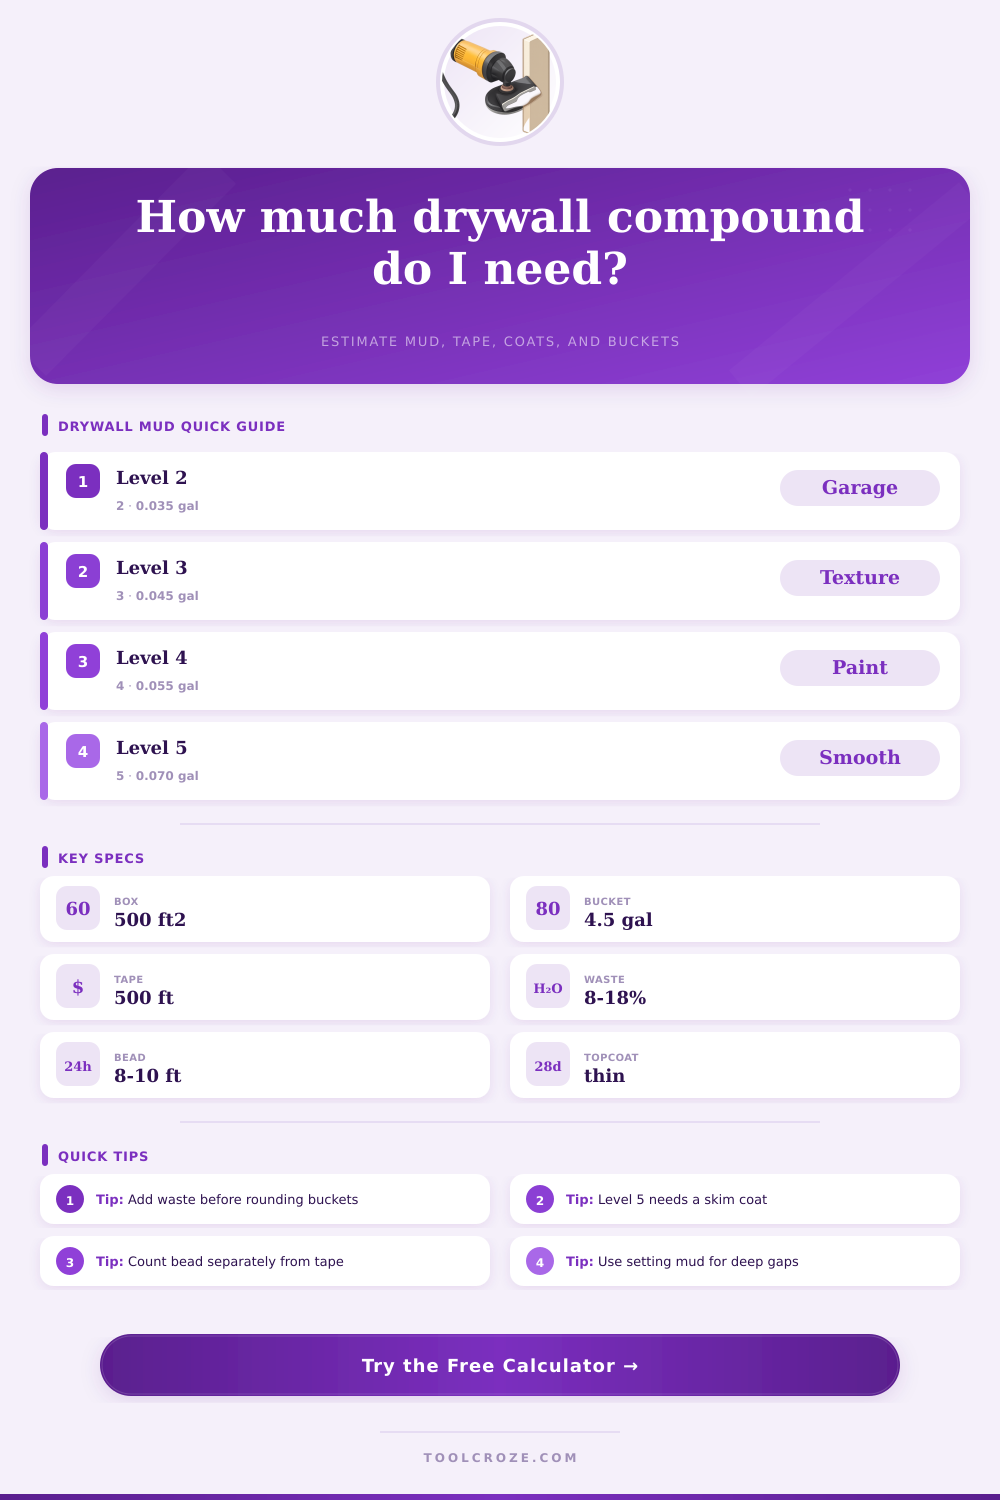
| Level 2 | Garage, storage, fire-tape | 0.035 gal per sq ft | Tape bed plus cover coat |
| Level 3 | Heavy texture surfaces | 0.045 gal per sq ft | Tape, fill, light finish |
| Level 4 | Standard painted walls | 0.055 gal per sq ft | Tape, fill, finish, fasteners |
| Level 5 | Smooth or critical lighting | 0.070 gal per sq ft | Level 4 plus skim coat |
| Compound Type | Volume Factor | Best Placement | Container Basis |
|---|---|---|---|
| All-purpose premixed | 1.00 | Tape bed, fill, general finish | 4.5 gal bucket or 3.5 gal box |
| Lightweight premixed | 0.92 | Finish coats and sanding-heavy rooms | 4.5 gal bucket |
| Topping compound | 0.88 | Final coat over set tape bed | 4.5 gal bucket or carton |
| Setting compound | 1.08 | Pre-fill, deep gaps, fast repair | Powder bag mixed as needed |
| Board Size | Area | Seam Planning | Good Fit |
|---|---|---|---|
| 4 x 8 sheet | 32 sq ft | More butt joints in long rooms | Small rooms, stairs, tight access |
| 4 x 10 sheet | 40 sq ft | Fewer horizontal seams at 10 ft | Medium walls and remodels |
| 4 x 12 sheet | 48 sq ft | Reduces butt seams and tape | Open rooms and ceilings |
| 54 in x 12 ft sheet | 54 sq ft | Useful for 9 ft walls with fewer seams | Tall walls and fewer courses |
| Project Scenario | Typical Area | Tape Allowance | Waste Range |
|---|---|---|---|
| Bathroom or powder room | 280 to 450 sq ft | 100 to 180 linear ft | 10% to 15% |
| Bedroom walls and ceiling | 500 to 750 sq ft | 180 to 280 linear ft | 8% to 12% |
| Garage fire-tape | 600 to 1200 sq ft | 220 to 460 linear ft | 10% to 18% |
| Level 5 open plan | 900 to 1800 sq ft | 300 to 700 linear ft | 12% to 20% |
💡Calculator Notes
A large five gallon bucket rests in your hand as you find yourself standing in the hardware store’s aisles. Will those additional twenty dollars really prevent another trip? Or will they simply contribute to a heap of dried muck in your garage? It all seems so daunting, all this math, but then you think about it: a surface area. It is a finished level. Here’s when a calculator makes you happy; it transforms a guesstimate into a shopping list.
Before you start though, you should of decide exactly what kind of smoothness you’re after. Drywall pros talk in the language of finish levels which also determines how much compound you use. For example, Level 2 consist only of fire tape. You’d reserve this for garage walls where nobody looks too close. Most folks goes for Level 4: Filled seams, filled fasteners, and a paint ready surface. Shooting for Level 5 add a full skim coat to the entire surface. It helps hide every bump under raking light. You’ll double your mud consumption here since you aren’t just covering joints anymore; you’re covering whole boards. The calculator accounts for this math by adjusting the coverage rate based off which finish level you choose. So you don’t have to remember that Level 4 covers roughly half a gallon per hundred square feet, while Level 5 go even higher.
How to Calculate Your Drywall Needs
The slight variation in numbers depends as well on what kind of drywall sheets you’re using. Standard four-by-eight boards mean more seams because the long edges overlap less often in tall rooms; those horizontal joints takes slightly more compound and tape and are harder to complete than simple edge joins. Longer sheets, say four-by-twelves, has dramatically fewer seams. Fewer seams mean fewer ridges to sand, less tape to cover with compound, and fewer lines. A tiny bit of logistics, but it adds up when you’re counting linear feet of joint tape. The tool takes sheet length into account and calculates the estimated number of joints from measurement you input for the space.
Don’t neglect corners. These require additional mud and tape. Specifically, inside corners gets taped, which adds more mud and tape to your total length. Usually, outside corners is primed/beaded first with some sort of metal or vinyl bead then mudded over. To look good, that bead should have a solid layer of compound on each side. It doesn’t take paper tape though. Running those two together result in either forgetting the bead altogether, or having to buy an extra roll of tape you won’t use. The tool lets you enter lengths for inside and outside separately. This maintains accuracy for detailed rooms such as those with bay windows/closets.
Waste is the silent killer of budget plans. Left open too long, premixed compound set up and hardens. Some will go bad before you use them all. Some sticks to your knife. And some spills on floor. Don’t think I’m being pessimistic by adding that ten to fifteen percent waste buffer. I’m being realistic. Once you paint and see every imperfection that you thought you sanded away, you’ll be glad you’ve got plenty of stuff left over for touch ups.
Now, you’re left with an answer in total gallons and number of buckets. You’ll know if it’s a two-and-a-half-gallon pail (for smaller area) or a five-gallon bucket (for bigger rooms). Lightweight mud sands easier but costs more per gallon than standard mud. Topping is smoother but not as strong for filling gaps. Knowing what will fit where on the job avoids buying the incorrect product for current needs. So instead, you plan and keep the work moving along with no wasted trips to the store.
At the end, you have a clean wall and a full bucket instead of an empty one. You also have a clear head, knowing exactly what went into making that happen. The feeling of having that level of control is worth every second you spend on the estimate.