Drywall Adhesive Calculator
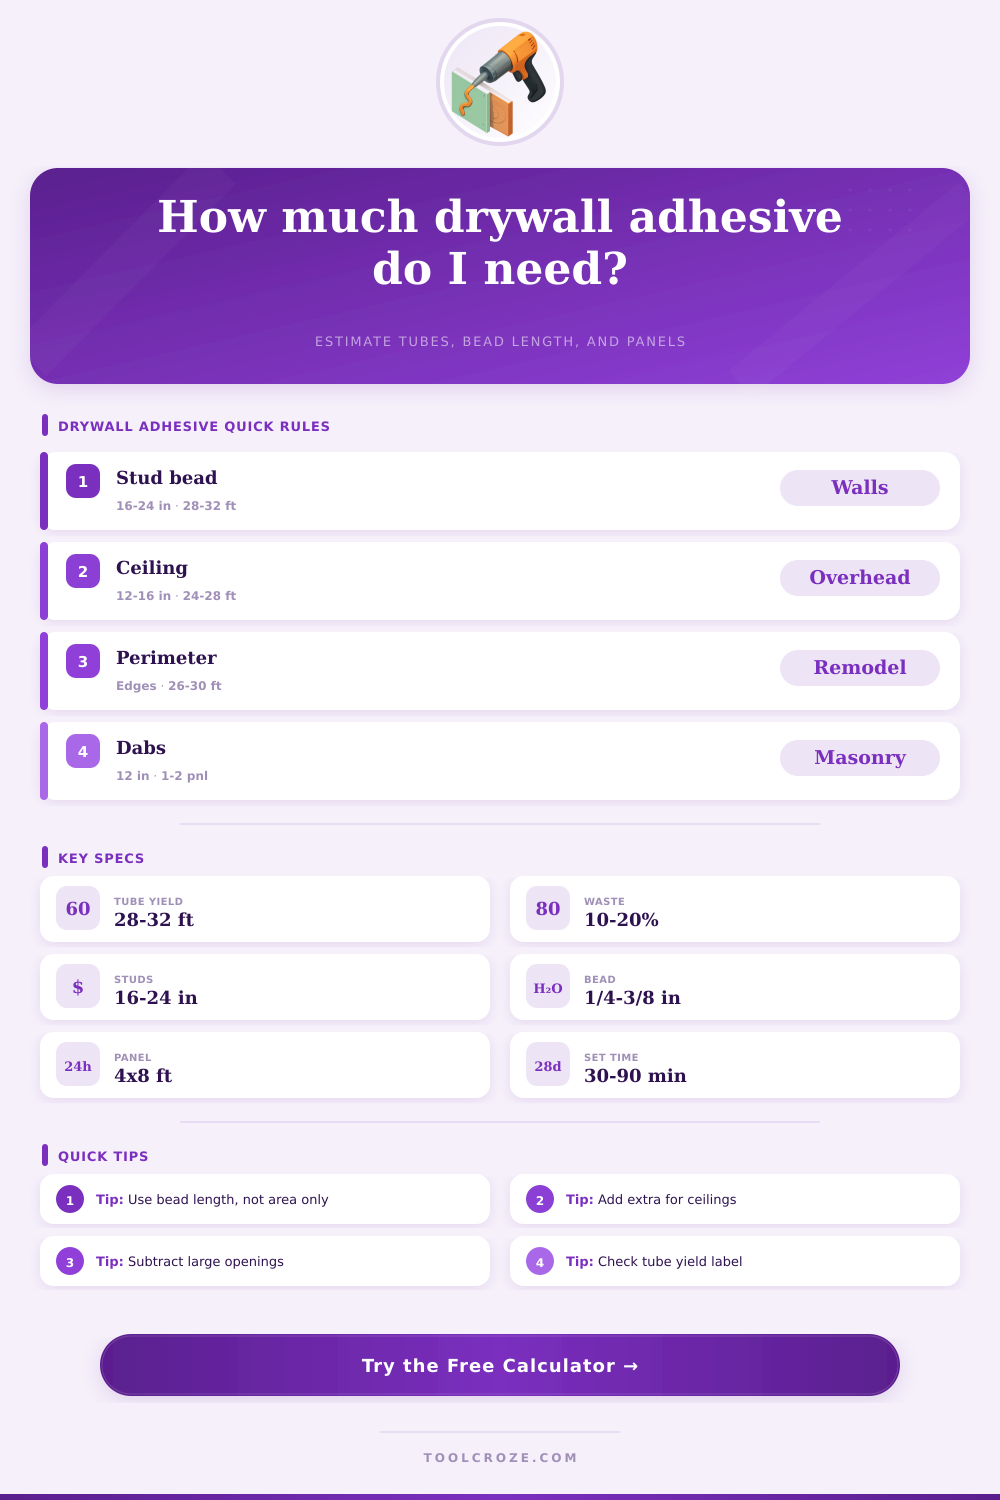
Estimate drywall adhesive tubes, bead length, panel count, surface area, openings, stud or joist spacing, coverage yield, and overhead waste for wall, ceiling, and overlay work.
⚒Project Presets
📏Drywall Layout Inputs
🧰Adhesive Planning Snapshot
📊Adhesive Pattern Comparison Grid
📋Bead Pattern Reference
| Pattern | Calculator Method | Typical Bead Spacing | Best Fit |
|---|---|---|---|
| Vertical beads on framing | Stud line count multiplied by wall height | 16 in to 24 in on center | Standard framed walls and partitions |
| Perimeter plus framing | Stud beads plus top, bottom, side, and seam beads | Edges plus framing lines | Walls with edges, patches, or extra grip needs |
| Ceiling joist beads | Joist line count multiplied by ceiling length | 12 in to 16 in on center is common | Ceilings, lids, and overhead repair work |
| Grid overlay beads | Area-based grid lines plus perimeter length | 12 in to 16 in grid spacing | Drywall over plaster or old gypsum board |
| Dot and dab | Panel count multiplied by dab tube allowance | About 12 in dab spacing | Masonry lining where accepted by local practice |
📐Panel Size And Coverage Reference
| Panel Size | Area Per Panel | Common Use | Calculator Note |
|---|---|---|---|
| 4 ft x 8 ft | 32 sq ft | Small rooms, repairs, easy handling | Default panel size for most adhesive estimates |
| 4 ft x 10 ft | 40 sq ft | Longer walls with fewer horizontal joints | Change panel length to 10 ft for sheet count |
| 4 ft x 12 ft | 48 sq ft | Large walls and ceilings with fewer seams | Lower seam count, but handling may increase waste |
| 1200 mm x 2400 mm | 2.88 sq m | Common metric board planning size | Use metric mode and enter panel dimensions in meters |
| 54 in wide board | Varies by length | 9 ft walls with horizontal hanging | Enter exact actual panel width for tall-wall work |
🔧Tube Yield And Bead Diameter Table
| Bead Diameter | Typical 28 oz Tube Yield | Use In Calculator | Planning Caution |
|---|---|---|---|
| 1/4 in bead | 28 ft to 32 linear ft | Good default for many drywall adhesive labels | Cold material and rough framing can reduce yield |
| 5/16 in bead | 22 ft to 26 linear ft | Use for heavier board or uneven contact | More squeeze-out means fewer linear feet per tube |
| 3/8 in bead | 16 ft to 20 linear ft | Use where a thick bead is specified | Check clamping, screw schedule, and adhesive label |
| Dot and dab | 1 to 2 panels per cartridge | Choose dabs pattern for panel-based estimate | Substrate flatness changes material use quickly |
| Quart pail bead | Depends on trowel or gun | Convert label yield to linear feet per unit | Do not mix tube and pail yields in one entry |
🏗Common Drywall Adhesive Scenarios
| Scenario | Typical Inputs | Adhesive Rule | Waste Allowance |
|---|---|---|---|
| New bedroom walls | Room perimeter, 8 ft walls, 16 in studs | Stud beads plus opening and seam adjustment | 10% is usually adequate for clean framing |
| Garage ceiling | Ceiling length and width, 16 in joists | Joist beads across the lid plus overhead factor | 15% to 20% helps with starts and squeeze-out |
| Partition wall | Single run length, height, and stud spacing | One side area with vertical bead lines | 5% to 10% for straight framing |
| Overlay over plaster | Room area with grid overlay selected | Grid lines plus perimeter for existing surface contact | 15% to 20% for uneven substrate |
| Masonry lining | Panel count from net area and sheet size | Dab factor converts sheets into cartridge demand | 20% when walls are out of plane |
ℹAdhesive Calculation Tips
To calculate the amounts of drywall adhesive that is needed for a drywall projects, an understanding of how drywall adhesive is use is required. Drywall adhesive is used to create structural bond along specific lines on the drywall boards. Even though it may seem importance to calculate the amount of drywall adhesive based on the square footage of the rooms that are to be drywalled, this is not an accurate way to calculate the amount of drywall adhesive.
Since drywall adhesive are applied in bead or patterns onto the drywall board, it is important to calculate the linear footage of the drywall adhesive beads that will be applied to the walls to purchase the correct amount of drywall adhesive. The spacing of the studs in the wall will play the most biggest role in the linear footage of the drywall adhesive. The farther the studs are spaced from one another, the more drywall adhesive are required.
How to Figure Out How Much Drywall Adhesive You Need
By not accounting for the spacing of the studs, one may either not have enough drywall adhesive to complete the drywall application project or purchase too much drywall adhesive for the job. Additionally, the diameter of the drywall adhesive bead will play a role in how much drywall adhesive is used for the project. Thin beads of drywall adhesive will cover more distance then thick beads of drywall adhesive.
However, the worker will use thick beads of drywall adhesive for drywall boards that is heavier in weight and will use up the drywall adhesive fasterer. The pattern of drywall adhesive that is applied will change based on the type of project that is being perform. For instance, in construction, drywall adhesive will be applied in vertical lines along the studs.
For remodel jobs, drywall adhesive will be applied in a grid pattern. This grid pattern is applied for overlay jobs so that the drywall boards remains flush with the existing walls. For ceiling, a different strategy is used due to the gravitational influence on the drywall boards.
For drywall ceiling jobs, more drywall adhesive is used to ensure that the drywall boards does not bow and less drywall adhesive squeeze out of the walls when nailed down. Additionally, there is more waste in drywall adhesive for ceiling drywalling applications. In these cases, it is better to have more drywall adhesive than less because there is a possibility of running out of drywall adhesive while holding one of the drywall boards overhead.
For drywall masonry projects, a different drywall adhesive application method will be used. The dot and dab method is used for masonry drywalling projects. This method does not use drywall adhesive in long beads but instead in cluster.
For these projects, the drywall adhesive is calculated per panel of drywall rather than calculating the linear footage of the drywall adhesive. When calculating the total amount of drywall adhesive that will be used in a job, the area for doors and windows will not be treated with drywall adhesive. However, there will be extra drywall adhesive used in those areas to support the drywall panels.
The area of the doors and windows will be subtracted from the total area of the walls but with added drywall adhesive for the perimeter of those doors and windows. Drywall adhesive is used to create a permanent clamp to hold the drywall boards in place so that the screws will lock the drywall board to the studs in the walls. Using the correct amount of drywall adhesive will allow for the drywall installation to be completed at a faster rate and result in drywall boards that are more stiffly.
By measuring the length of the drywall adhesive beads, the thickness of the beads, and the type of surface that will be dried, a contractor can ensure that the amount of drywall adhesive for the job is correct.