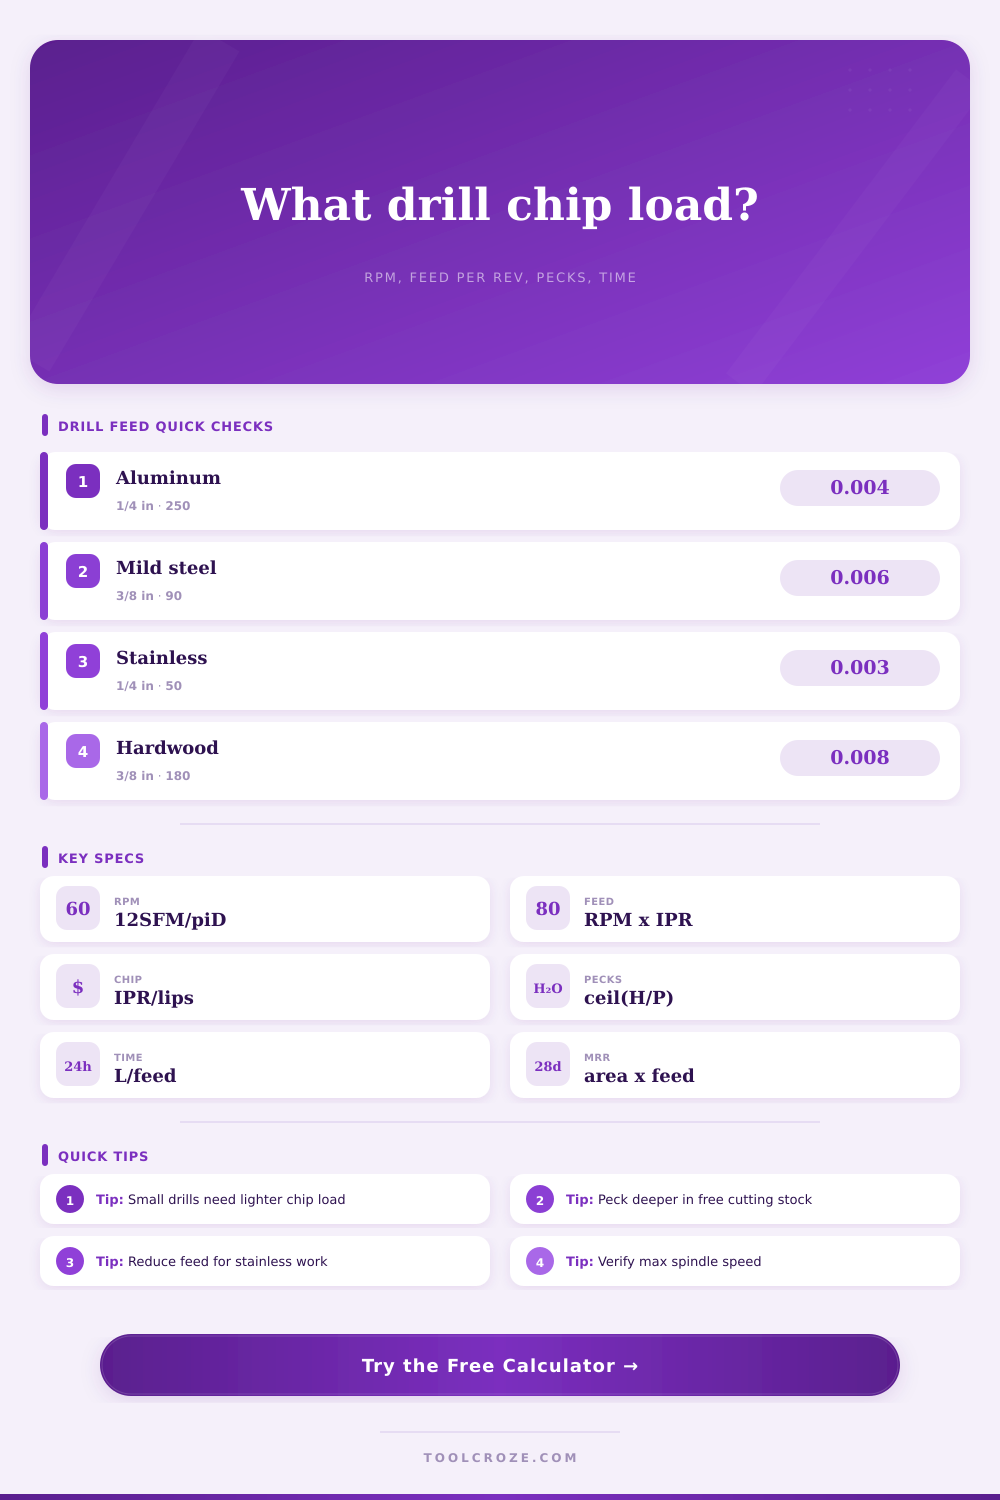
Drill Chip Load Calculator
Calculate drill chip load per lip, feed per revolution, spindle speed, surface speed, peck count, material removal rate, and estimated hole cycle time from diameter, RPM or SFM, feed rate, hole depth, and drill geometry.
⚙Drilling Presets
📏Drill Chip Load Inputs
Drilling Results
Calculation Breakdown
🔧Drill and Material Grid
📊Material Speed and Chip Load Reference
| Material | HSS SFM | Carbide SFM | Typical chip load per lip | Drilling note |
|---|---|---|---|---|
| 6061 aluminum | 200 to 350 | 450 to 800 | 0.002 to 0.010 in/tooth | Use chip evacuation and avoid recutting packed chips. |
| Mild steel | 70 to 110 | 180 to 300 | 0.002 to 0.008 in/tooth | Keep pressure steady so the lips keep cutting. |
| 304 stainless steel | 35 to 60 | 90 to 160 | 0.0015 to 0.005 in/tooth | Do not rub; use lower speed and a positive feed. |
| Free machining brass | 150 to 250 | 300 to 550 | 0.002 to 0.008 in/tooth | Use controlled feed because brass can grab aggressive lips. |
| Gray cast iron | 60 to 100 | 140 to 240 | 0.002 to 0.007 in/tooth | Dry drilling is common; clear abrasive dust often. |
| Acrylic plastic | 80 to 140 | 120 to 220 | 0.002 to 0.006 in/tooth | Reduce heat, avoid melting, and support the exit side. |
| Hardwood | 120 to 240 | 180 to 320 | 0.004 to 0.014 in/tooth | Sharp brad point bits reduce wandering and tearout. |
| MDF or plywood | 160 to 260 | 220 to 360 | 0.005 to 0.016 in/tooth | Dust extraction matters more than coolant. |
📐Diameter, Feed, and RPM Examples
| Drill diameter | Material | Reference SFM | Reference RPM | Starting feed per rev |
|---|---|---|---|---|
| 1/8 in | Aluminum | 250 SFM | 7,640 RPM | 0.004 in/rev |
| 3/16 in | Brass | 200 SFM | 4,074 RPM | 0.006 in/rev |
| 1/4 in | Mild steel | 90 SFM | 1,375 RPM | 0.006 in/rev |
| 5/16 in | Stainless steel | 45 SFM | 550 RPM | 0.006 in/rev |
| 3/8 in | Hardwood | 180 SFM | 1,833 RPM | 0.016 in/rev |
| 1/2 in | Cast iron | 80 SFM | 611 RPM | 0.014 in/rev |
🔃Peck Depth Reference
| Hole condition | Depth ratio | Starting peck depth | Retract allowance | Use when |
|---|---|---|---|---|
| Shallow hole | Up to 2D | Full depth or 1D | 0 to 1 sec | Short holes with clear chip flow. |
| Medium hole | 2D to 4D | 0.75D to 1D | 1 to 2 sec | Common jobber drill work in metal. |
| Deep hole | 4D to 8D | 0.25D to 0.5D | 2 to 4 sec | Chip packing, coolant delivery, or heat are concerns. |
| Sticky material | Any depth | 0.25D to 0.75D | 2 to 3 sec | Aluminum, acrylic, and gummy stainless setups. |
| Wood boring | Any depth | 1D to 2D | 0.5 to 2 sec | Clear chips before the bit heats or burns. |
⏱Common Drilling Setup Table
| Setup | Diameter | Material | RPM | Feed rate | Peck plan |
|---|---|---|---|---|---|
| Tap drill prep | #7, 0.201 in | Mild steel | 1,700 RPM | 10.2 in/min | 0.20 in pecks |
| Sheet aluminum | 1/4 in | 6061 aluminum | 3,800 RPM | 30.4 in/min | Through in one pass |
| Bracket hole | 3/8 in | Mild steel | 900 RPM | 10.8 in/min | 0.25 in pecks |
| Stainless plate | 1/4 in | 304 stainless | 730 RPM | 4.4 in/min | 0.125 in pecks |
| Furniture bore | 3/8 in | Hardwood | 1,800 RPM | 28.8 in/min | 0.50 in pecks |
💡Drilling Calculation Tips
There’s nothing like hearing a bad cut. When it sounds like your drill bit is rubbing metal together, you know that the bit (and probably your part) are getting worn out and overheating. If you’re a woodworker or machinist, you’ll know what I’m talking about. You start to feel vibration as your hand grips tool or you begin to notice a change in sound of the cut. By then though, it’s too late: you’ve either destroyed your bit or your part.
That’s the frustration of not getting drilling parameters correct beforehand. You must gets the drilling parameters correct. Feed rate tends to be the main part of most problems. You have a dial on your machine that makes RPM really easy to set. Feed is a little tougher; you need to think about how far forward bit advances with every revolution. A bit that’s spinning rapidly but hardly moving forward will polish rather than cut into surface. It produces tremendous amounts of heat. This work hardens metals (stainless steel being a perfect example) until they is almost impossibly difficult to drill. Move it too quickly and you’ll break tip off. Find the sweet spot by matching feed rate to rotational speed.
How to Get the Right Drilling Settings
That’s where we bridge the gap with metric called chip load. That’s how thick a strip of material is cut off by each cutting lip for every revolution. In steel it appears as a nice steady blue-grey sliver; in aluminum, more like curly ribbon. Are you seeing fine dust? Feed light. You’re rubbing, not cutting. Rubbing means friction. Friction means heat. Heat ruins hardness. Get the bit taking a real bite.
After plugging in your individual variables (bit size, material being attacked, etc.), the calculator does all the rest of the math, saving you from having to convert surface feet per minute to RPM by hand. It even takes into account how many flute are on the tool. That matters… A quarter-inch drill is not nearly as strong or similar than a half-inch drill. Big ones has slower safe RPMs due to surface speed concerns, yet may want a heavier feed to stay engaged; small ones will snap like a twig if not torqued gently. You need light chip loads/lighter feeds and higher RPMs.
All of that comes from material choice. Soft and gummy aluminum will clog flutes unless you periodically pull bit back to remove chips. Tough stainless steel quickly work hardens and requires a slower speed and steady pressure to complete cut. Brittle brass will try to grab the bit and wrench it right out of chuck if fed in an irregular pattern. Knowing how each behaves lets you set feed rate correctly.
Speed ranges for various woods and metals are presented on the page as reference tables. Another variable is depth of cut. No problem with shallow holes. For deep ones, drill by peck. That’s when you drill for a short distance, pull back to remove chips, advance, etc., until done. As a general rule, peck depth relates to bit diameter. One common rule-of-thumb is to go every one or two diameters of depth. That way, chips don’t pack up in your bit’s flutes and push it out, or otherwise clog the cut. It helps you estimate cycle time (at those peck intervals), which means you can better plan production runs.
This is the same for woodworking (but faster). Keep your brad point bit edge sharp in hardwood to prevent tearout, and with MDF feed carefully since it makes fine dust that gums up fast. Feed it slowly and make sure you have plenty of air extraction or clear often. Because it makes super-fine sawdust that gums up fast.
It’s all about chip load. Ensure it cuts clean shavings instead of burning the wood through friction. So what is the main point? Drill fast. Drill slow. Drill in between. Take off as much as you can without heating up too much. And how do you know when it starts getting to hot? That’s where the feel comes back into play. You look at the chips. You listen for the sound. When they change or stop coming out, throttle up or down. The best part of a good cut is that it sounds like music; it will be consistent and rhythmic. It feels smooth on your finger.
Once you get it dialed in, drilling becomes an exact science rather than a guessing game. Always aim for that true clean cut that keeps bit sharp and the hole clean. You should of aimed for better chip loads to avoid this. Looking at all these moderrn tools can be luxurios but difficultly setting them right. If you don’t follow these rules, your work will dissapears into a pile of scrap.