
For those projects that need the use of decals, paint removal and shrink tubing, there’s the DeWalt DCE530. No need to drag your cords with you when moving this tool around.
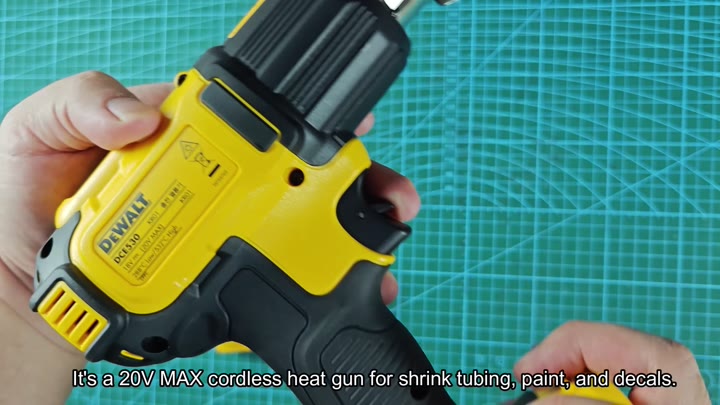
The DeWalt DCE530 are designed for shrink tubing, paint removal, and decal work.
Setting Up And Safety Features
I like that it’s cordless, which makes it more flexible to work with. First up, go through setting it up. It’s simple to get going.
Place a charged 20V battery into the bottom section of the tool. Slide it in and click it home. Make sure it fits snuggly before turning it on.
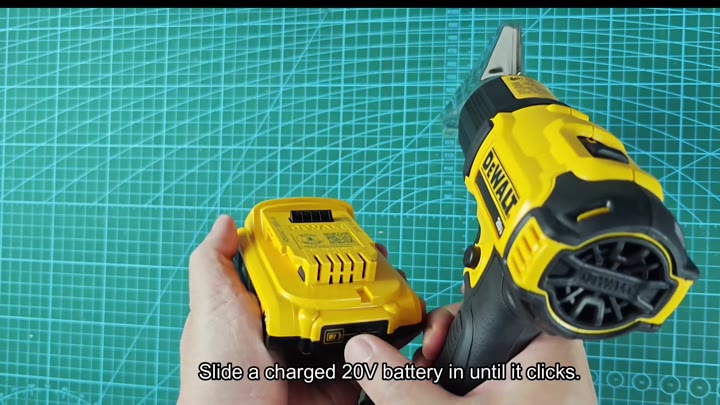
The battery fit snugly without any wobble.
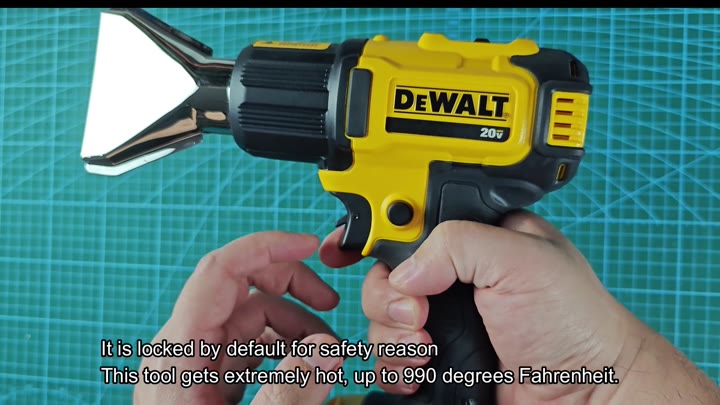
There are no worries about the battery moving around or getting loose. But safety is most important. By design, the tool is locked in place until you need to fire. That makes sense.
It gets quite hot, as much as 990 degrees Fahrenheit.
Pay attention to the nozzle. It has two temperature settings. The lower temp is about 550 degrees. That’s ideal for more delicate materials.
The high setting reach 990 degrees Fahrenheit. Turn the dial to a high or low setting.
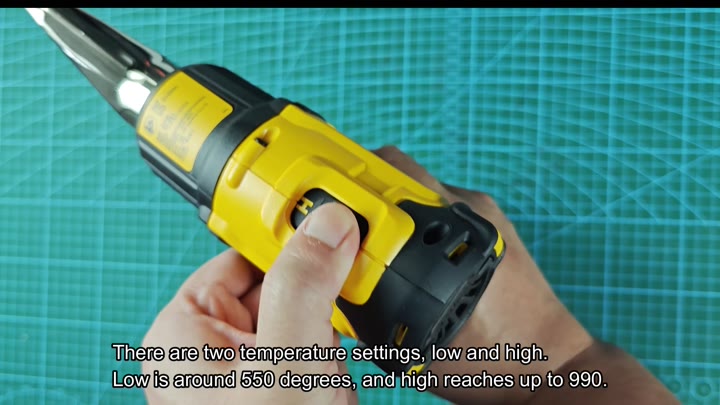
The right amount of heat
Lock-on/lock-off functions helps with prolonged use when holding down the trigger becomes tiresome for whatever task you’re performing.
There’s an LED light on the unit that shine into those darker spots. You can direct it exactly where needed.
The reduction in shadow is significant. When choosing nozzles, you attach the flat nozzle first. That spreads out the heat across a broader surface. This is great for large areas.
Next is the hook nozzle. For tighter spots, this one concentrates the heat.
Swapping them is quick and simple.
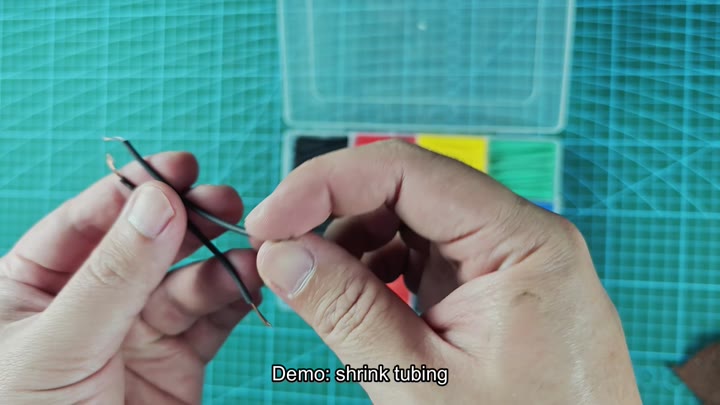
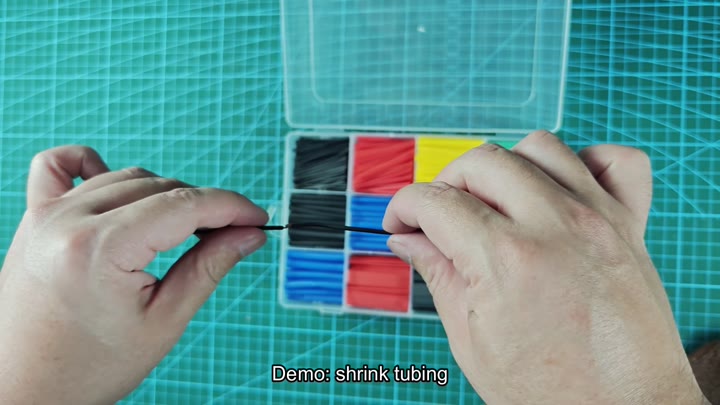
Try it with some heat-shrink tubing. Use one of those heat-gun applications. Take two wires, strip back their ends, twist them to make your connection, then push a length of shrink tubing onto the join.
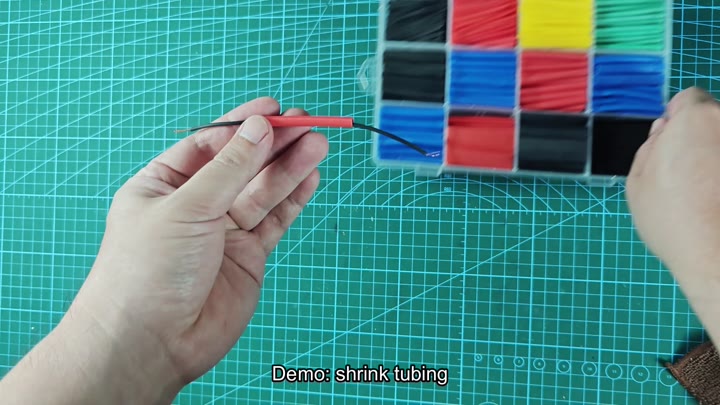
The tubing was initialy loose.
Point the tubing towards the gun, then you simply fire the gun. The material contracts under heat. It tightens up snugly around the wire splice. You now have an insulated and secure join. It’s quicker than the lighter method.
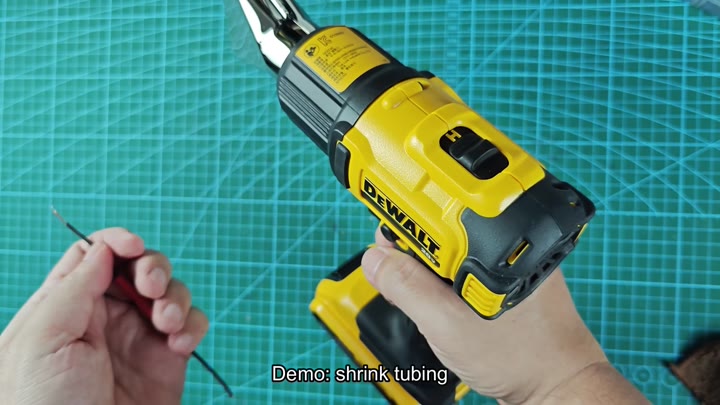
Now that’s a help. Everything shrinks evenly and completely. No air bubbles forms inside the shrink material. Tubing fits snuggly onto the shape of the wire.
You test out the joint for flexibility. Yep, it’s solid and stays put. Heat spreads consistently.
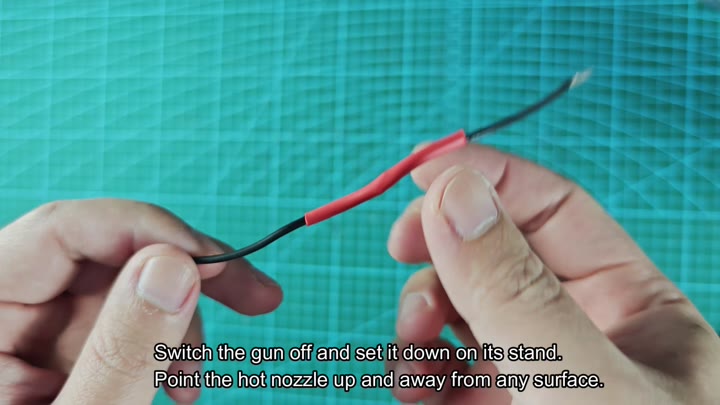
Afterwards, you turn the gun off and place it back onto its stand. Very important so that it doesn’t cause fires or burns. Pointing the hot nozzle upward is also important. Don’t let it touch anything. The tool cool down slowly after use.
The overall experience is positive.
Overall, it’s a good experience. That cordless freedom is legit. It takes under a minute to set up. The temp control hits where you need it. The safety lock is nice. It does not operate accidently.
Changing out the nozzles was easy peasy. LED light was a welcome addition. Smooth as butter heat shrink application. The heat shrink was fine.
Battery holds up long enough to do some work. Will be using this in the future. Replaced my old corded gun. It is very portable. Worth making the switch. Don’t trip over cords anymore. Just pick up the battery and roll. It is simple but effective.
