
If your DeWalt brad nailer suddenly stops making popping sounds and starts making dull clicking sounds, then it is possible that your tool is experiencing one of the many common problem for brad nailers. Whether you are in the middle of trimming a room or assembling cabinet, it is frustrating when a tool that is otherwise built to deliver speed and precision in woodwork encounters a problem. Most of the problems with a DeWalt brad nailer have an identifiable cause that those who work with these tool on a regular basis have encountered before.
By learning the various cause of these problems and how to correct them, you can often get your tool back to working condition in a matter of minutes. The following list details the most common reason for a brad nailer that does not fire, as well as ways to fix each of these problems. The first reason to consider is if the nails are empty or improperly seat within the magazine of the nailer.
Common Reasons Why Your Brad Nailer Won’t Fire
1. Improperly Seated Nails or Empty Magazine
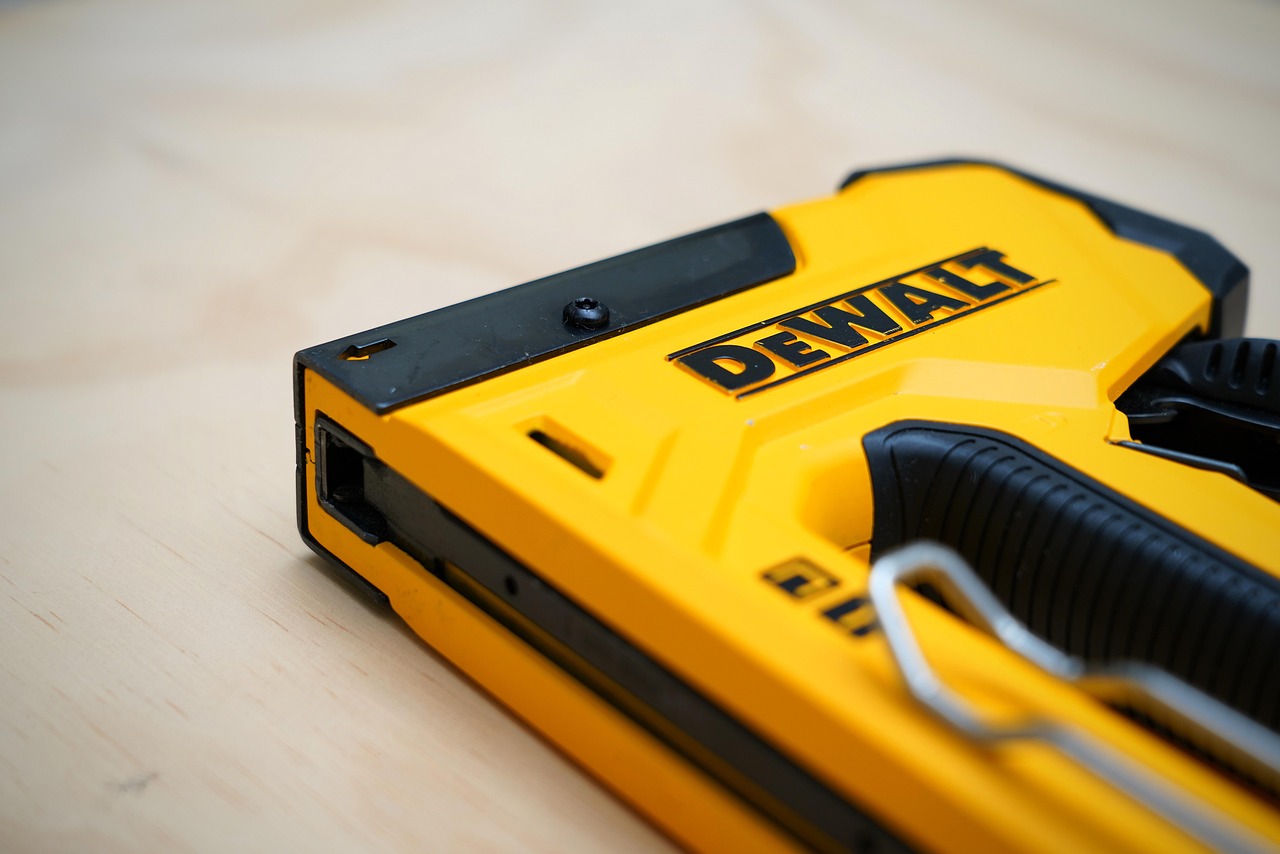
If your brad nailer is not firing but the magazine appears to be half full of nails, it is possible that the strip of nails is mispositioned or there is a gap at the front of the magazine where the nails should be push forward. Try removing the magazine, removing the strip of nails, and reinserting the strip of nails in such a way that the point of the nails are facing in the correct direction. Many brad nailers will make a distinct click when the pusher of the nailer engages with the last nail in the magazine.
2. Wrong Nail Type or Specifications
If your nailer is still not firing after this adjustment, it is also possible that the nails are of the wrong type for your specific model of nail gun. An 18-gauge brad nailer, for instance, require nails of a specific length and angle. Any deviation from these specifications will cause the nails to jam within the magazine before they can be fired.
3. Low Air Pressure
Another of the most common problems with a brad nailer is low air pressure. This is especially true for the pneumatic models used on job site. Most nail guns require air pressure to be between 70 and 120 psi.
If the air pressure is too low to provide the necessary force to fire the nailer, the piston will not be able to fire. Check your compressor gauge to ensure that the air pressure is within the recommended range for your nail gun model. Additionally, ensure that your air hose is not kinked or leaking air before it reaches the brad nailer.
Attempt to disconnect your air hose from the nail gun and pull the trigger. If the burst of air is weak, your compressor may be cycling too often or your regulator may need to be adjust. The solution is typically to raise the air pressure in five-pound increments until the brad nailer fires proper.
4. Dirty or Damaged Driver Blade
Ensure that you do not adjust the pressure too rapidly or you may damage the o-rings within the nail gun. If the driver blade within the nailer is dirty or damaged, it will not be able to make proper contact with the head of the nail. Over time, fibers from the wood, adhesive used to attach wood to other materials or wood parts, and the coating on the nails all become stuck to the driver blade.
This gunk prevents the driver blade from making proper contact with the head of the nail. Remove the nose piece from the nailer (refer to the manual to learn how to do this), clean the driver blade using a dry rag, and inspect the edge of the driver blade. If the driver blade has any chip or a mushroomed tip, it should be replaced.
Additionally, remove any debris from the magazine channel of the tool. Add a few drop of tool oil to the moving parts of the nailer, reassemble the tool, and fire a few test nails into some scrap wood. You should immediately notice a difference in performance between dirty and clean tools.
5. Faulty Trigger Valve or Worn O-rings
A faulty trigger valve or worn o-rings will cause the nailer to fire intermittently. This can be frustrating as one may squeeze the trigger but feel no effect. Over time, these component can harden or crack from overuse.
These components are located within the nailer but are relatively inexpensive to replace. Many people choose to replace the entire trigger valve assembly to make the adjustment. If your nailer is a few year old but used every day, this adjustment may be worth considering.
6. Bent Nails or Damaged Feed Pawl
A fresh set of seal will allow your nailer to function as it should. If the nails are jammed within the magazine or the teeth of the feeder are bent, then the nailer will not be able to fire. A nail may have buckle within the magazine, especially if the nails were driven close to the end of the strip or into particularly hard wood.
A bent nail will lock the pusher of the magazine and prevent the next strip of nails from feeding into the magazine. Release the magazine pressure, extract the bent nail using needle-nose pliers, and inspect the feed pawl. It may be possible to straighten the feed pawl with pliers but if it is bent repeatedly, you will need to buy a new feed pawl.
Use only dry and straight nails in your tool. Avoid firing the last two or three nail in a strip of brad nails. If the depth adjustment on the brad nailer is too shallow, the tool will not fire even if all other aspect of the nailer are in proper working order.
7. Shallow Depth Adjustment
Many brad nailers allow the user to adjust the depth setting with a depth wheel or screw. If the depth setting is too shallow, the safety tip on the tool will not depress, preventing it from firing. Turn the depth adjustment to a deeper setting and test the nailer on some scrap wood.
Once you have found the proper setting, mark it with a small amount of paint. Setting the depth adjustment to the proper mark prevents the brad nails from being driven too far into the workpiece. Additionally, this adjustment will prevent splitting of delicate wood trim or prefinished surfaces by the nails.
8. Worn or Contaminated Fuel Cells
For cordless models, worn or contaminated fuel cells can be the cause of the problem. These gas-powered nail guns use a fuel cell that mixes with air within the tool to form a combustible gas mixture. When the fuel cell is past its expiration date or was stored in extreme heat, the gas mixture becomes weaker and cannot create an explosion strong enough to fire the brad nailer.
Simply replace the fuel cell with a new fuel cell that has not expired. Shake the fuel cell as the manufacturer’s instructions suggest and purge the combustion chamber by firing the nailer several times without nails. The first few shots will sound weak as the gas flushes out the gunk that has accumulated within the fuel chamber.
After a few firings without nails, the performance of the tool should return to normal. For battery-powered versions of the nail guns, a battery that is partially discharged or whose terminals are dirty typically causes the electrical problems. Remove the battery from the tool, wipe both the battery and the tool’s contact points with a dry cloth, and reinsert the battery until you hear it click shut.
9. Low Battery or Dirty Terminals
If the LED indicators on the nail gun still blink or do not light up when activated, try using a different charged battery. Many who own nail guns of this type have a spare battery ready to use on the charger. This way, they can easily swap batteries as soon as the performance of the tool begins to diminish due to a depleted battery.
As the batteries wear with time, the replacement of a few batteries with others that have more charge will prevent the tool from failing during important projects. Finally, it is also possible that the safety contact tip is stuck or misaligned after use on the same piece of work. This tip is spring-loaded and must move freely to allow the tool to fire.
10. Stuck or Misaligned Safety Contact Tip
If the tip is stuck in a position that does not allow for contact with the material being nailed, the tool will not fire. Try to work the tip in and out by hand. Use a soft brush to remove any debris from the tip.
If the manual for the nail gun suggests the use of dry lubricant, apply a small amount. This adjustment will allow the tool to recognize when it is in contact with a workpiece. In most cases, the nailer can be fixed within the span of ten minutes.
The next time that you experience a nailer that will not fire, take a breath and perform the steps in this mental checklist. Most tools will not be broken but be waiting for you to notice the detail that you have overlooked. By following these steps, you will be back to your building projects before the next cycle of the air compressor.
