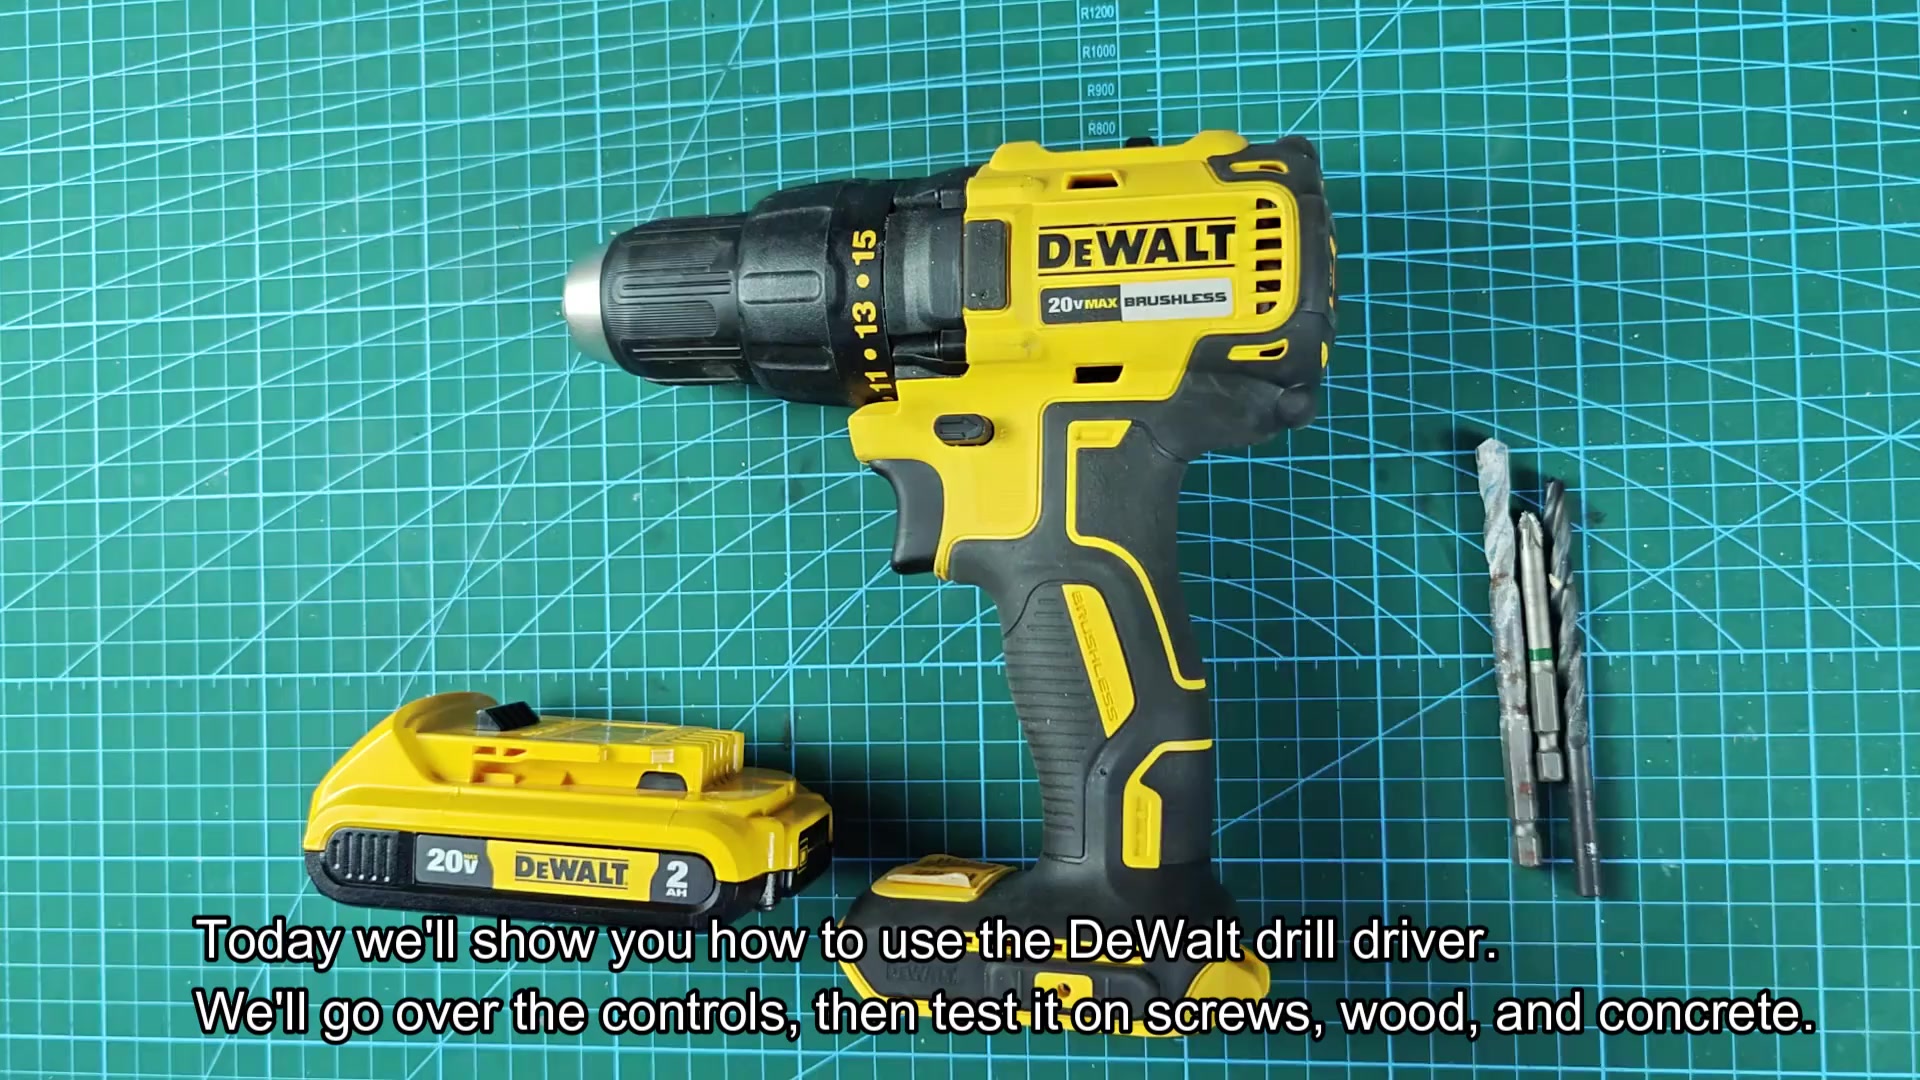
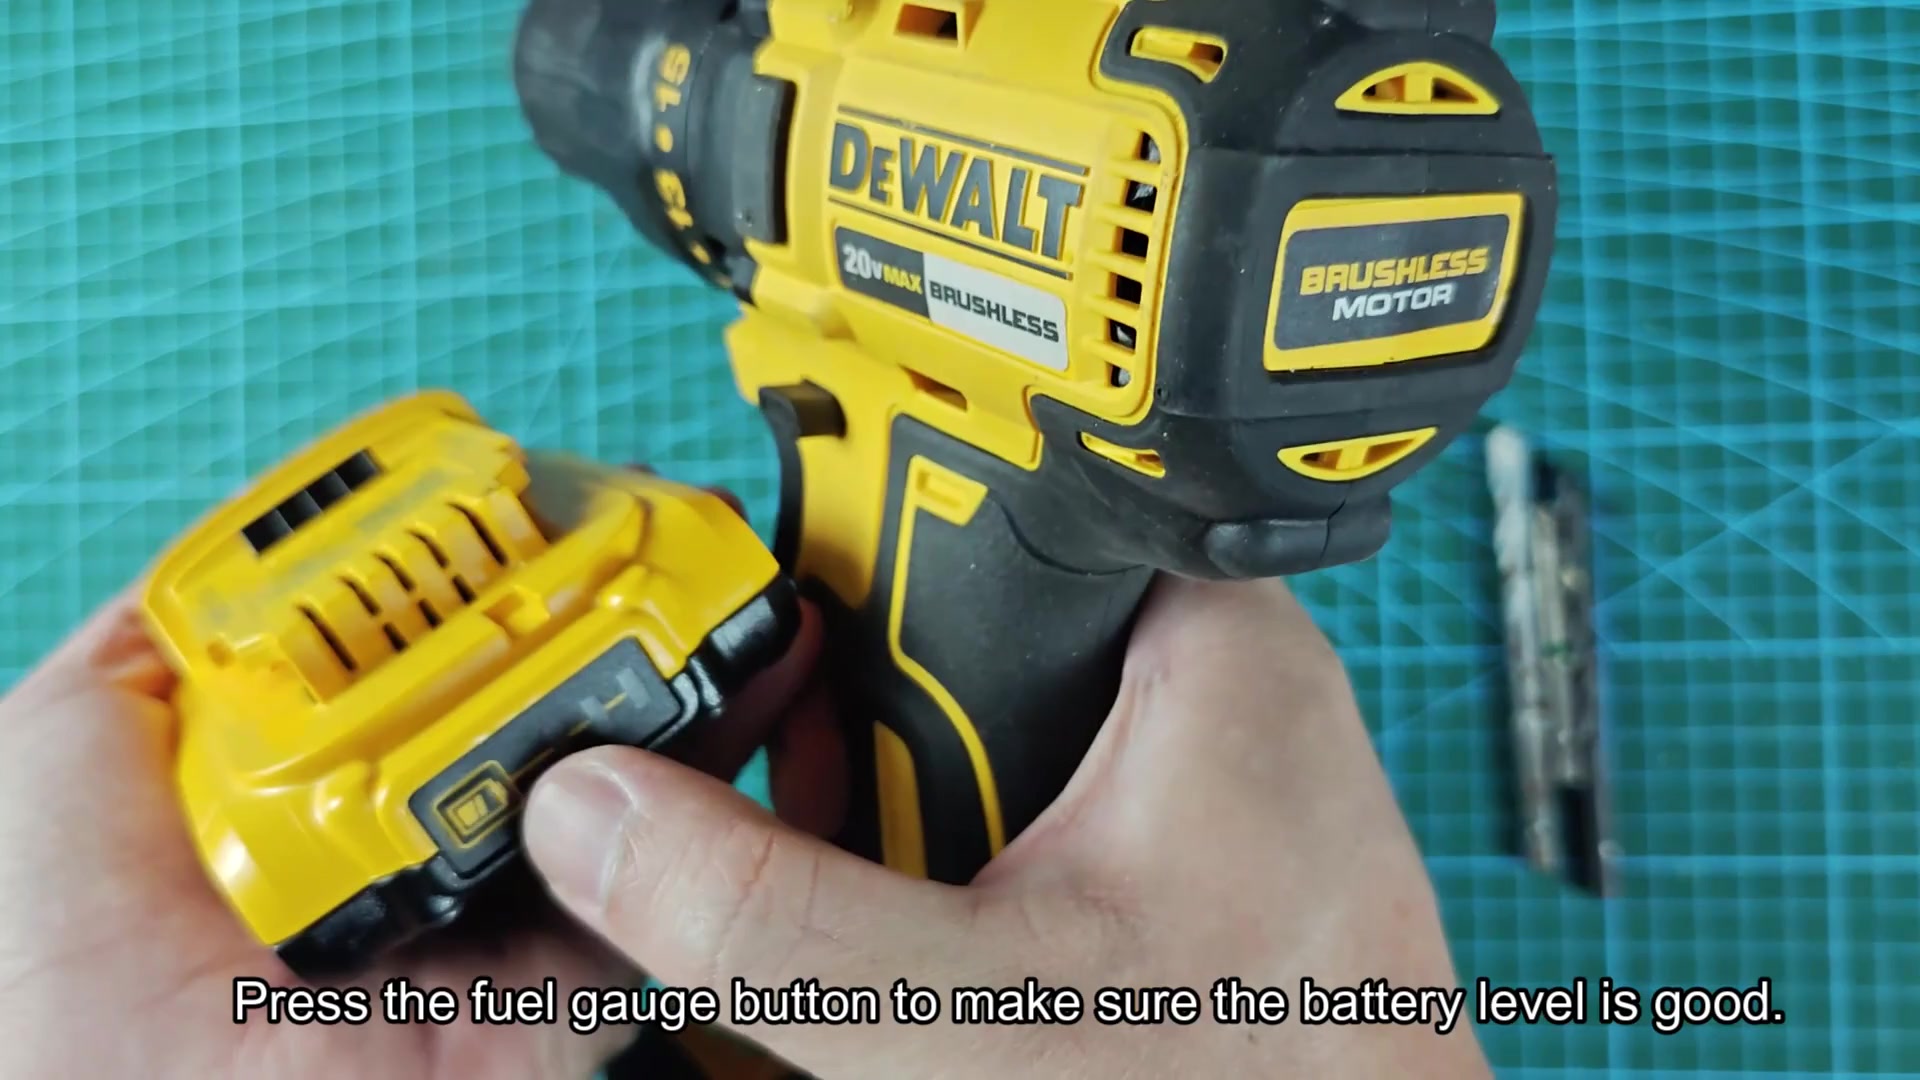
The 20V battery simply clicks in place on the tool body, after you slot it into position. It’s a good idea to check the charge before beginning a job to ensure that you don’t run out mid-project. Press the fuel gauge button; four bars show there is plenty of juice remaining. You can go ahead with confidence because you do not need to change battery just yet.
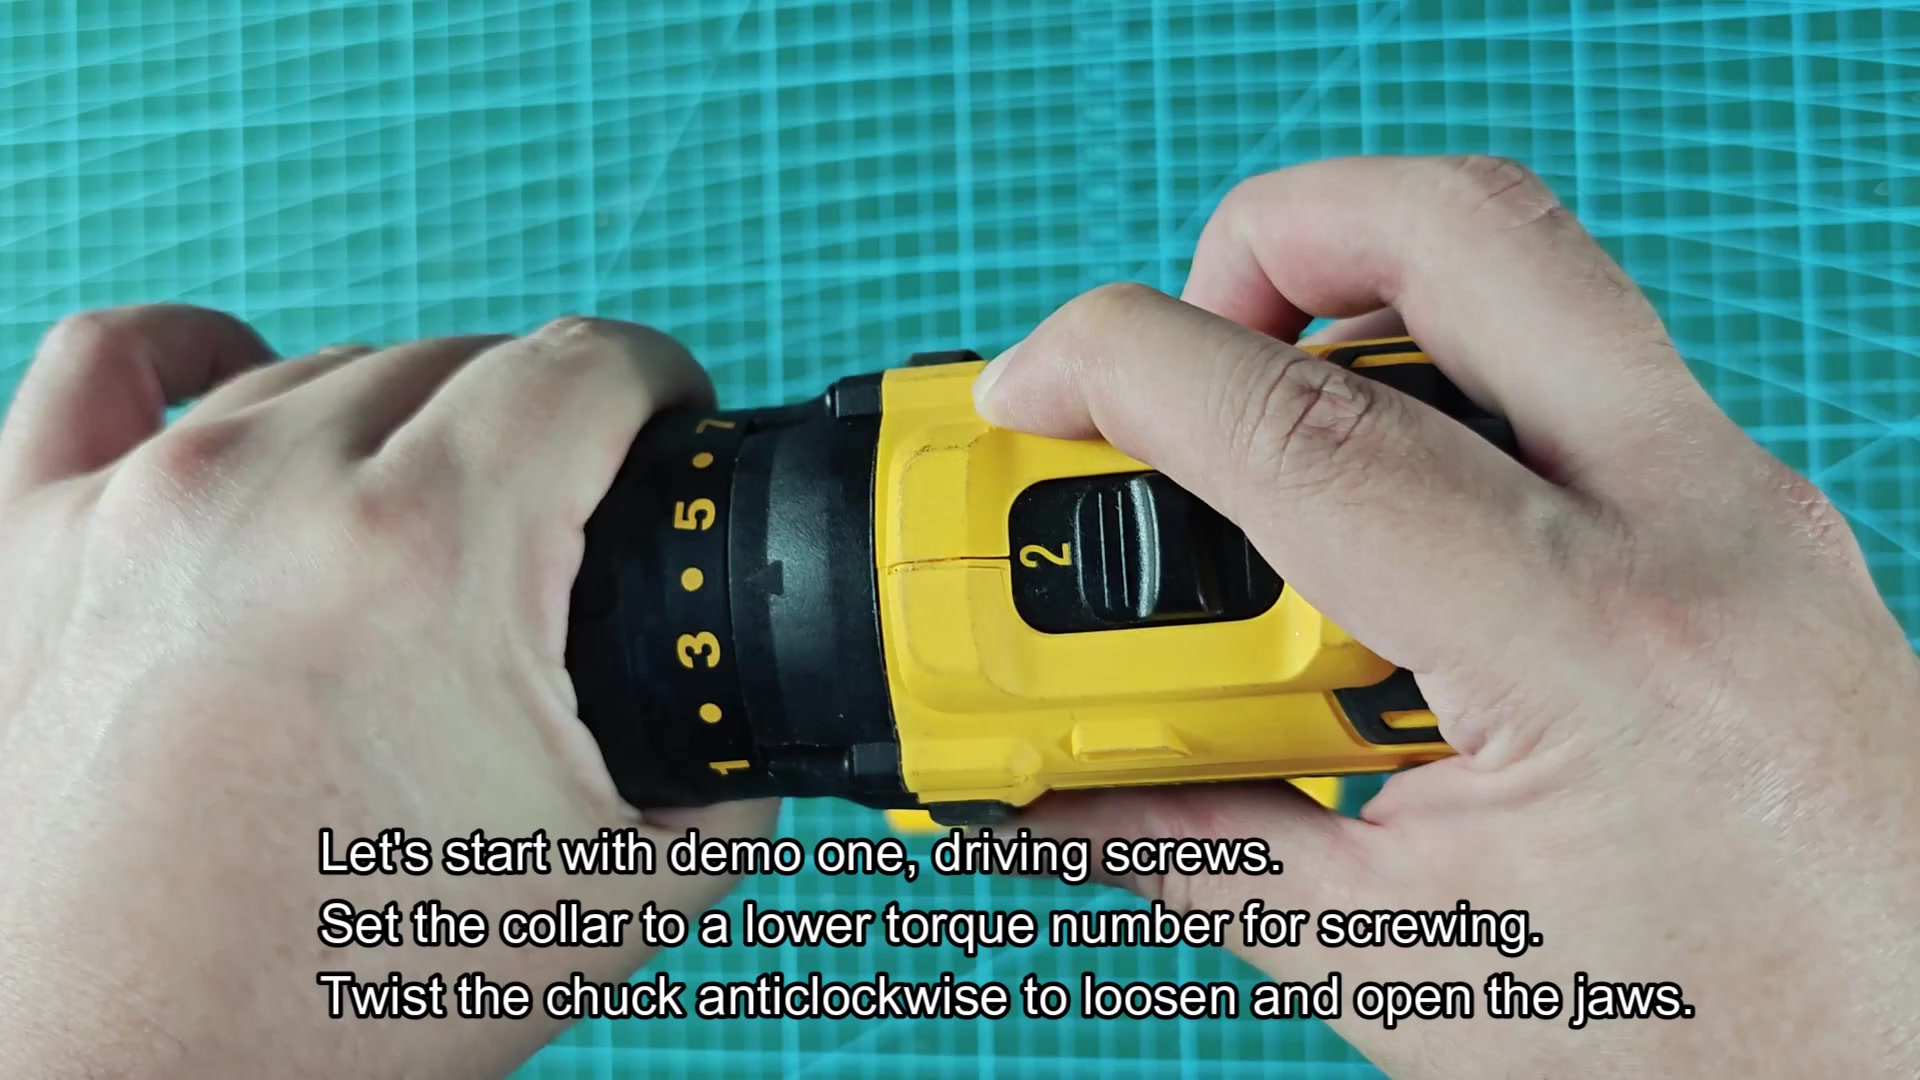
Before you put your finger to the trigger, you have time to get the hang of the controls. There’s the torque clutch, which is numbered. The higher the number, the greater the twisting force with which the drill will engage. That’s important when you’re screw-driving so as not to strip screws.
Testing Concrete Drilling Performance
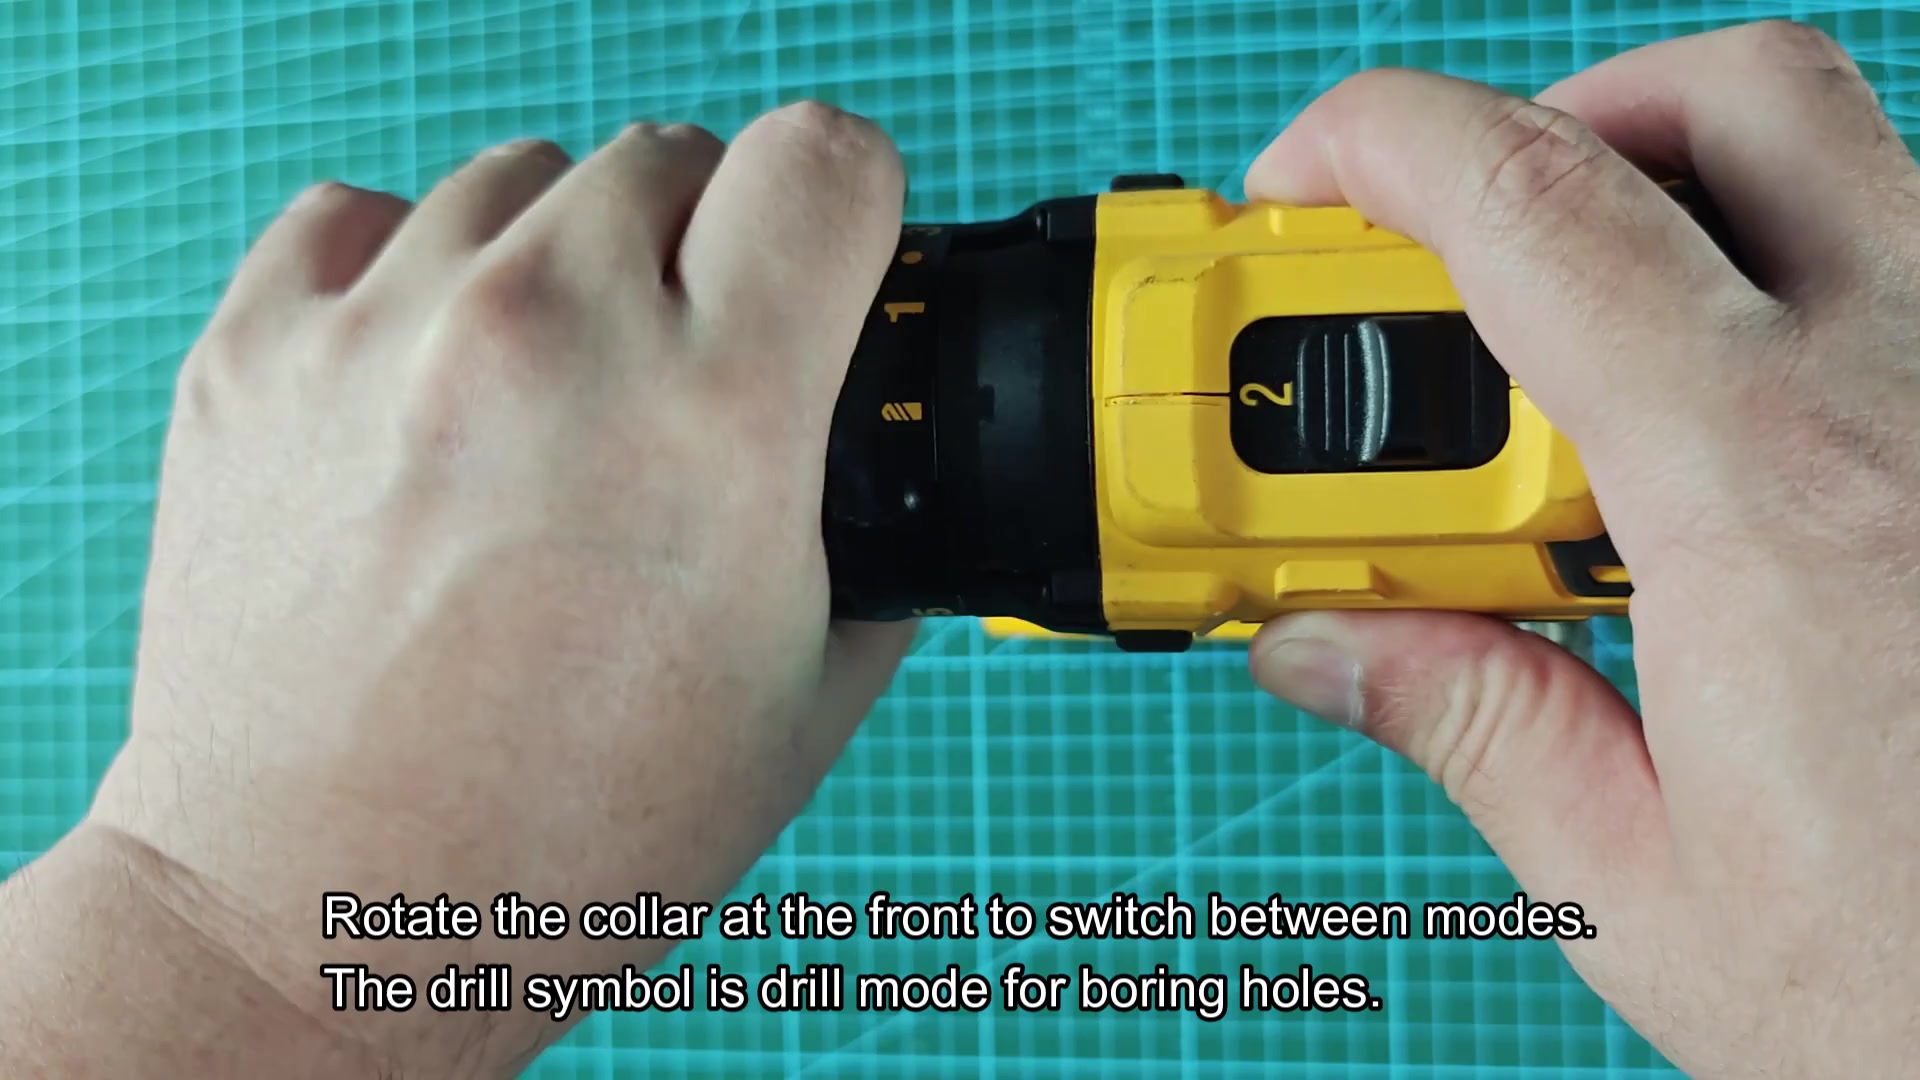
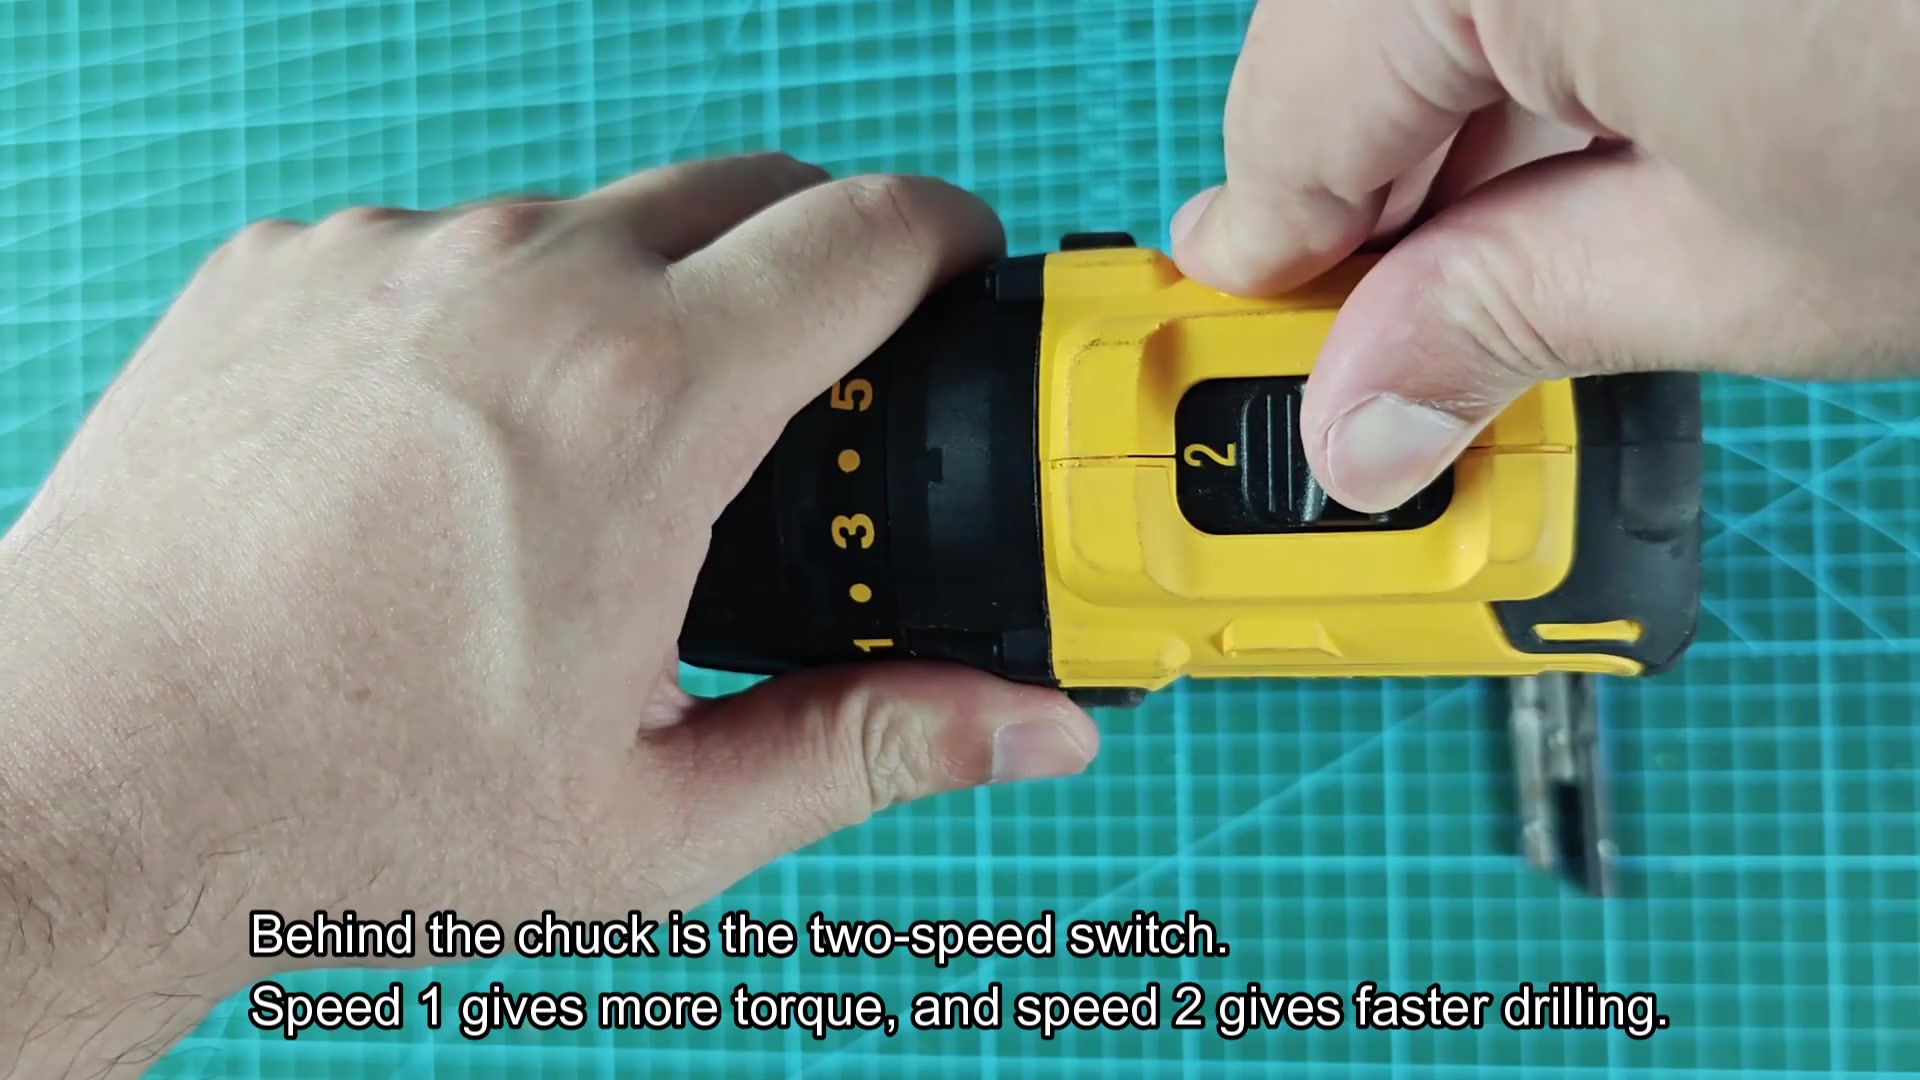
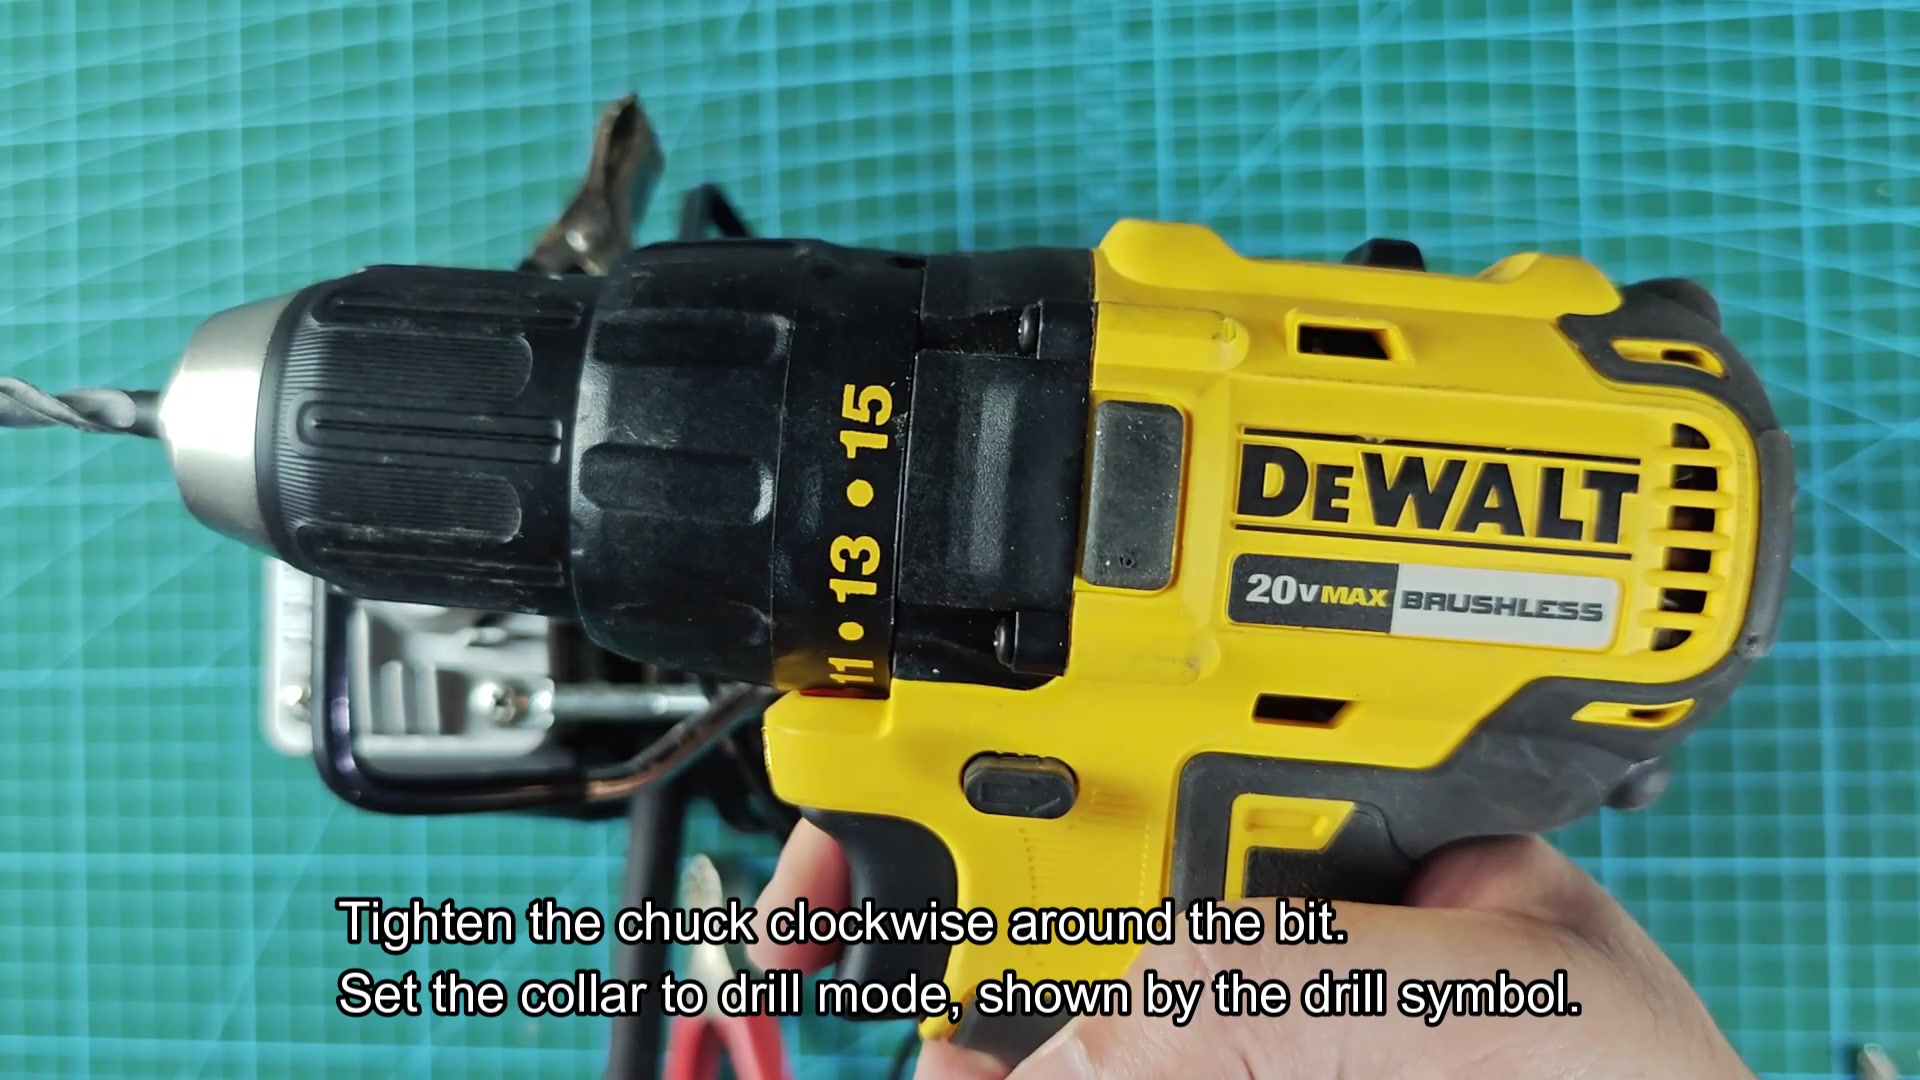
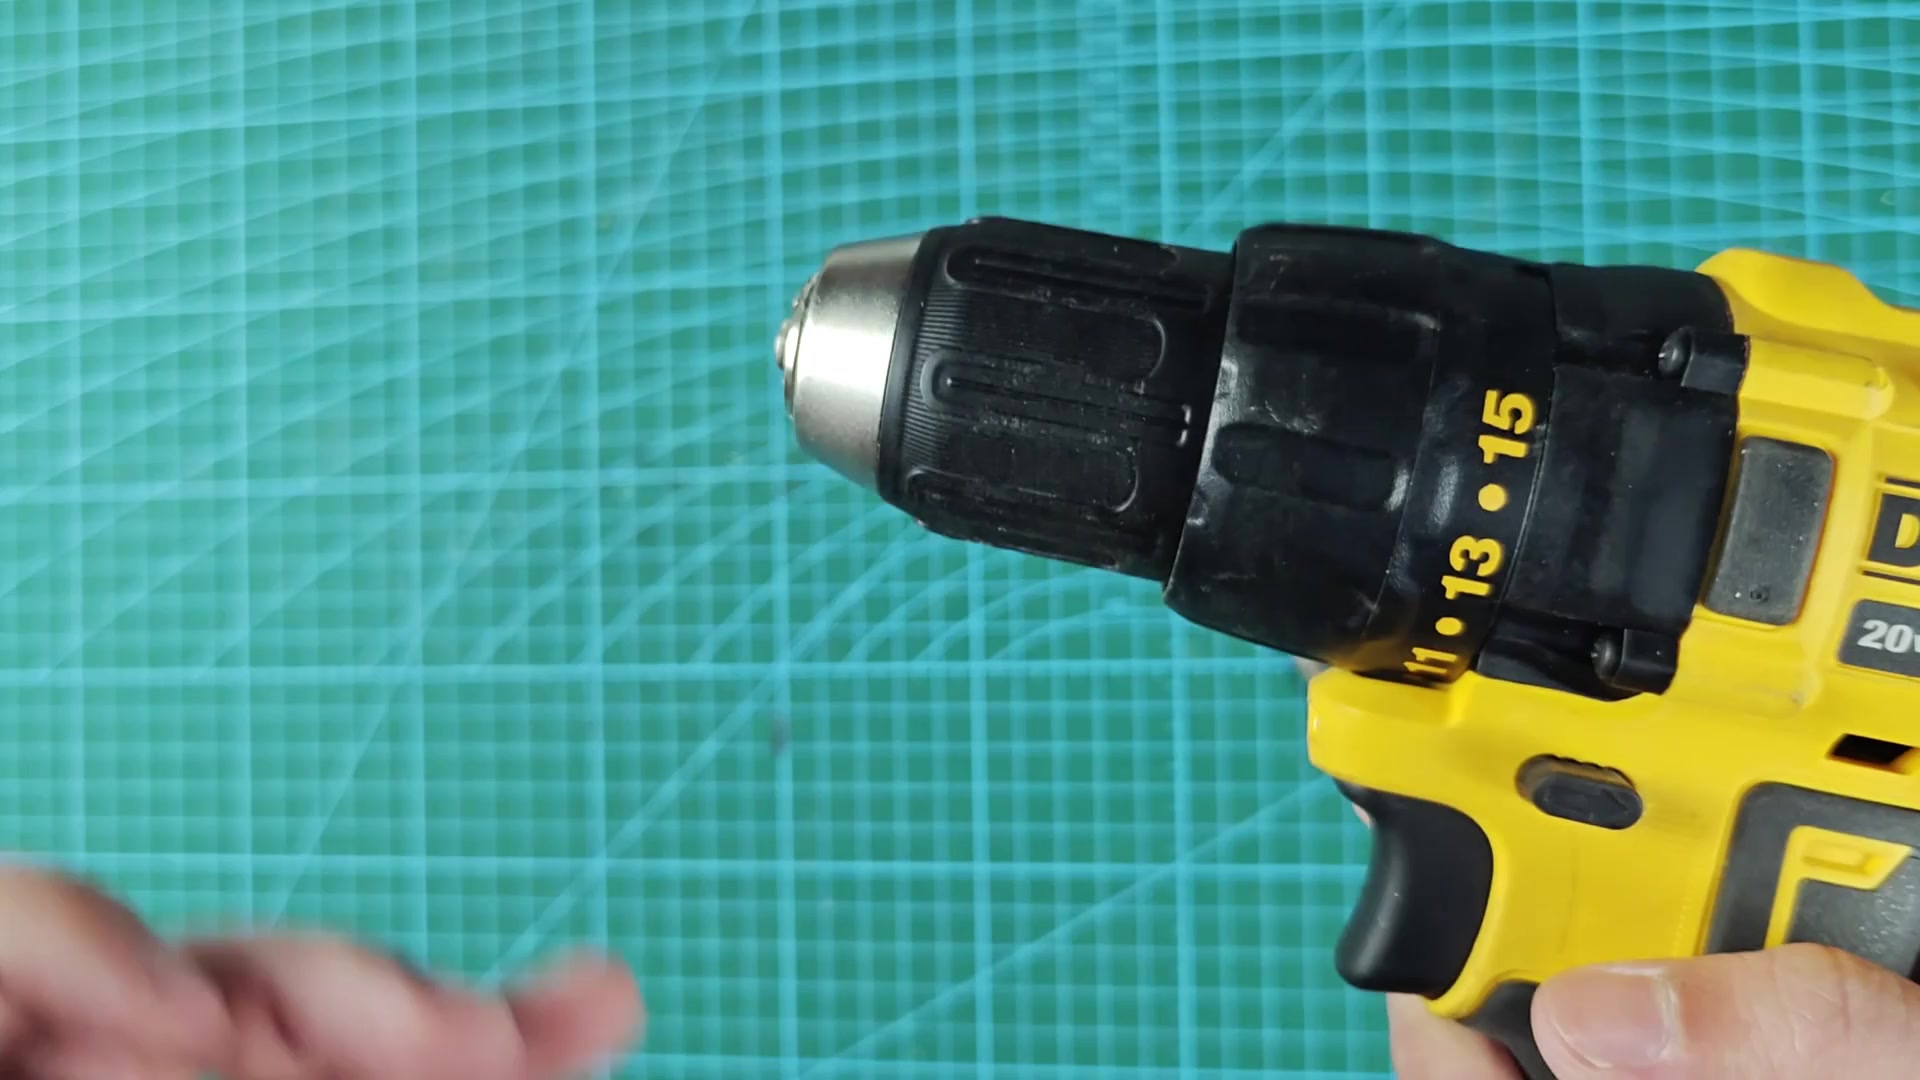
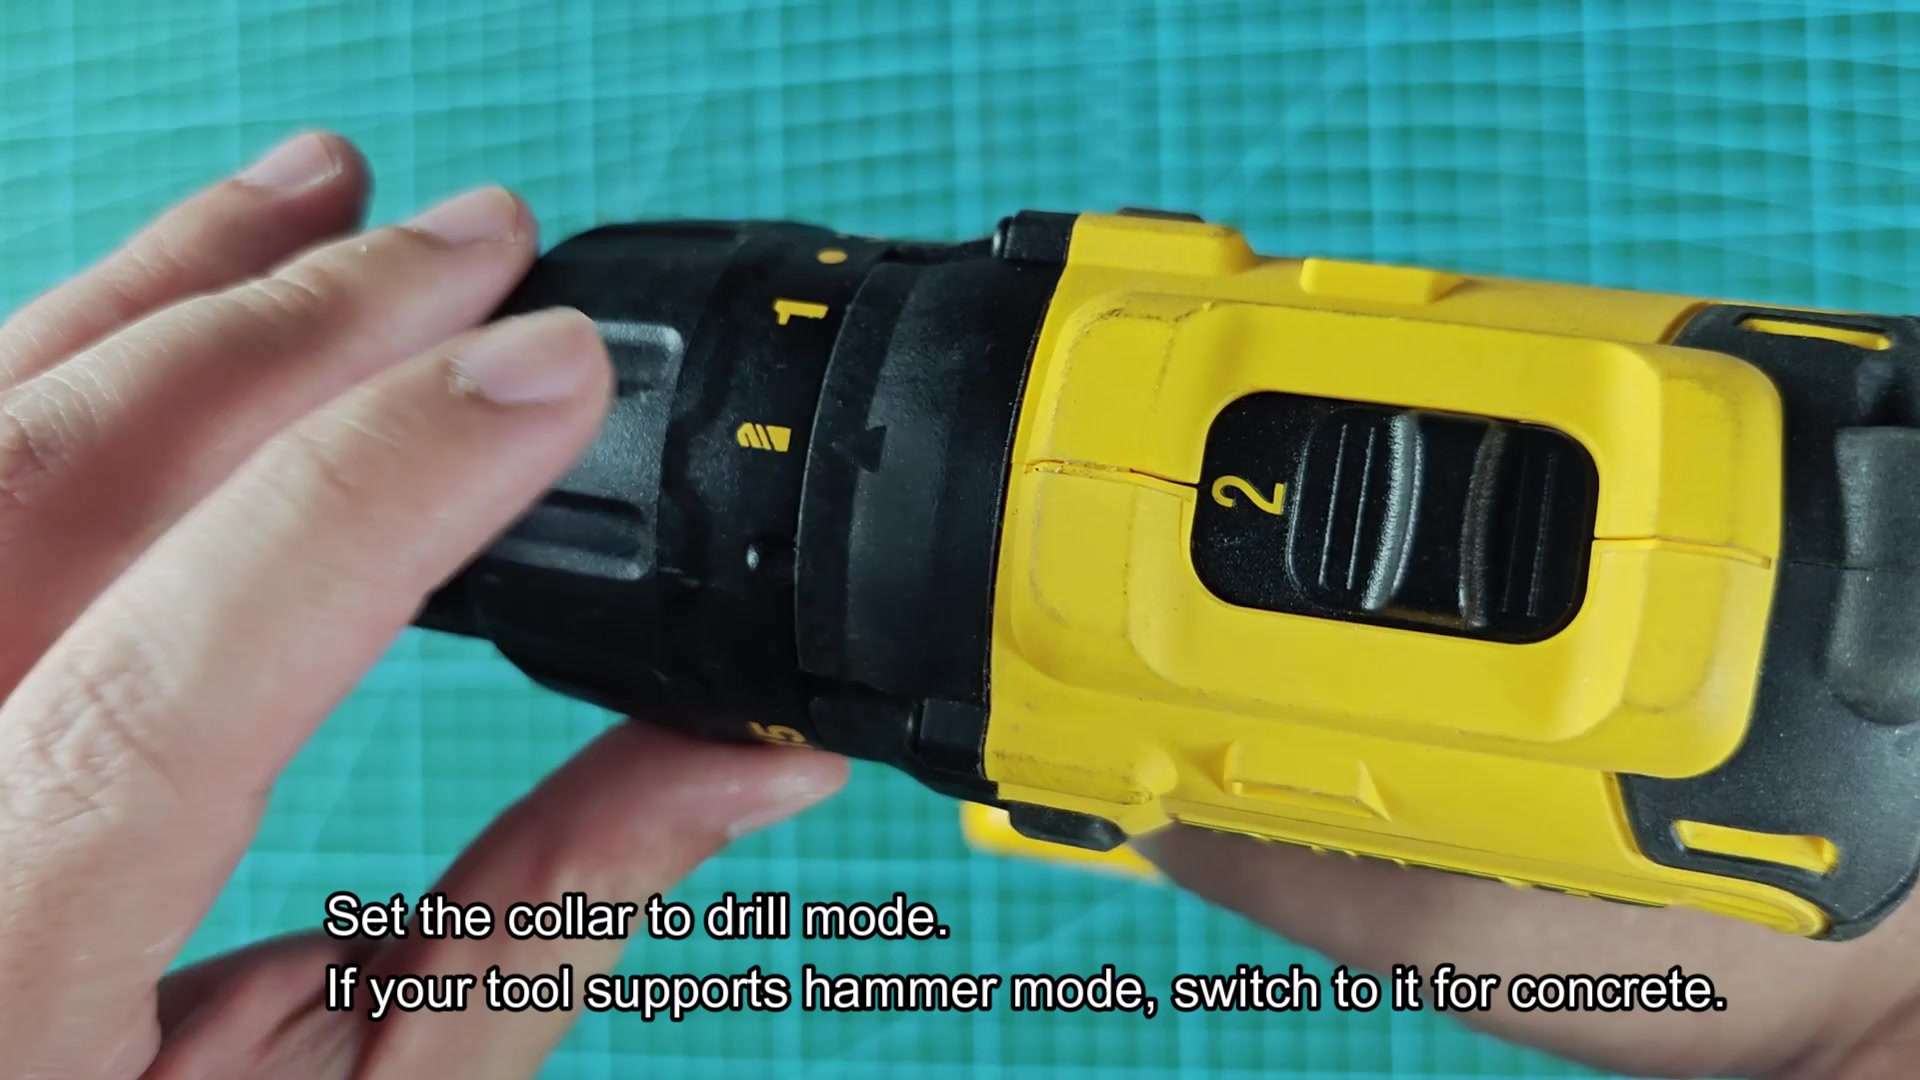
The hammer symbol means you’re in masonry mode if your tool sports one; otherwise it’s all about straight-on rotation with this one. The two-speed selector switch are behind the chuck. On speed two you get a faster rate of turn (for making holes quickly) while on speed one you get maximum torque for heavy duty tasks or driving large screw.
When testing a screw, you want maximum control so you’ll leave it on speed one. Forward/reverse is easy to learn by feel.
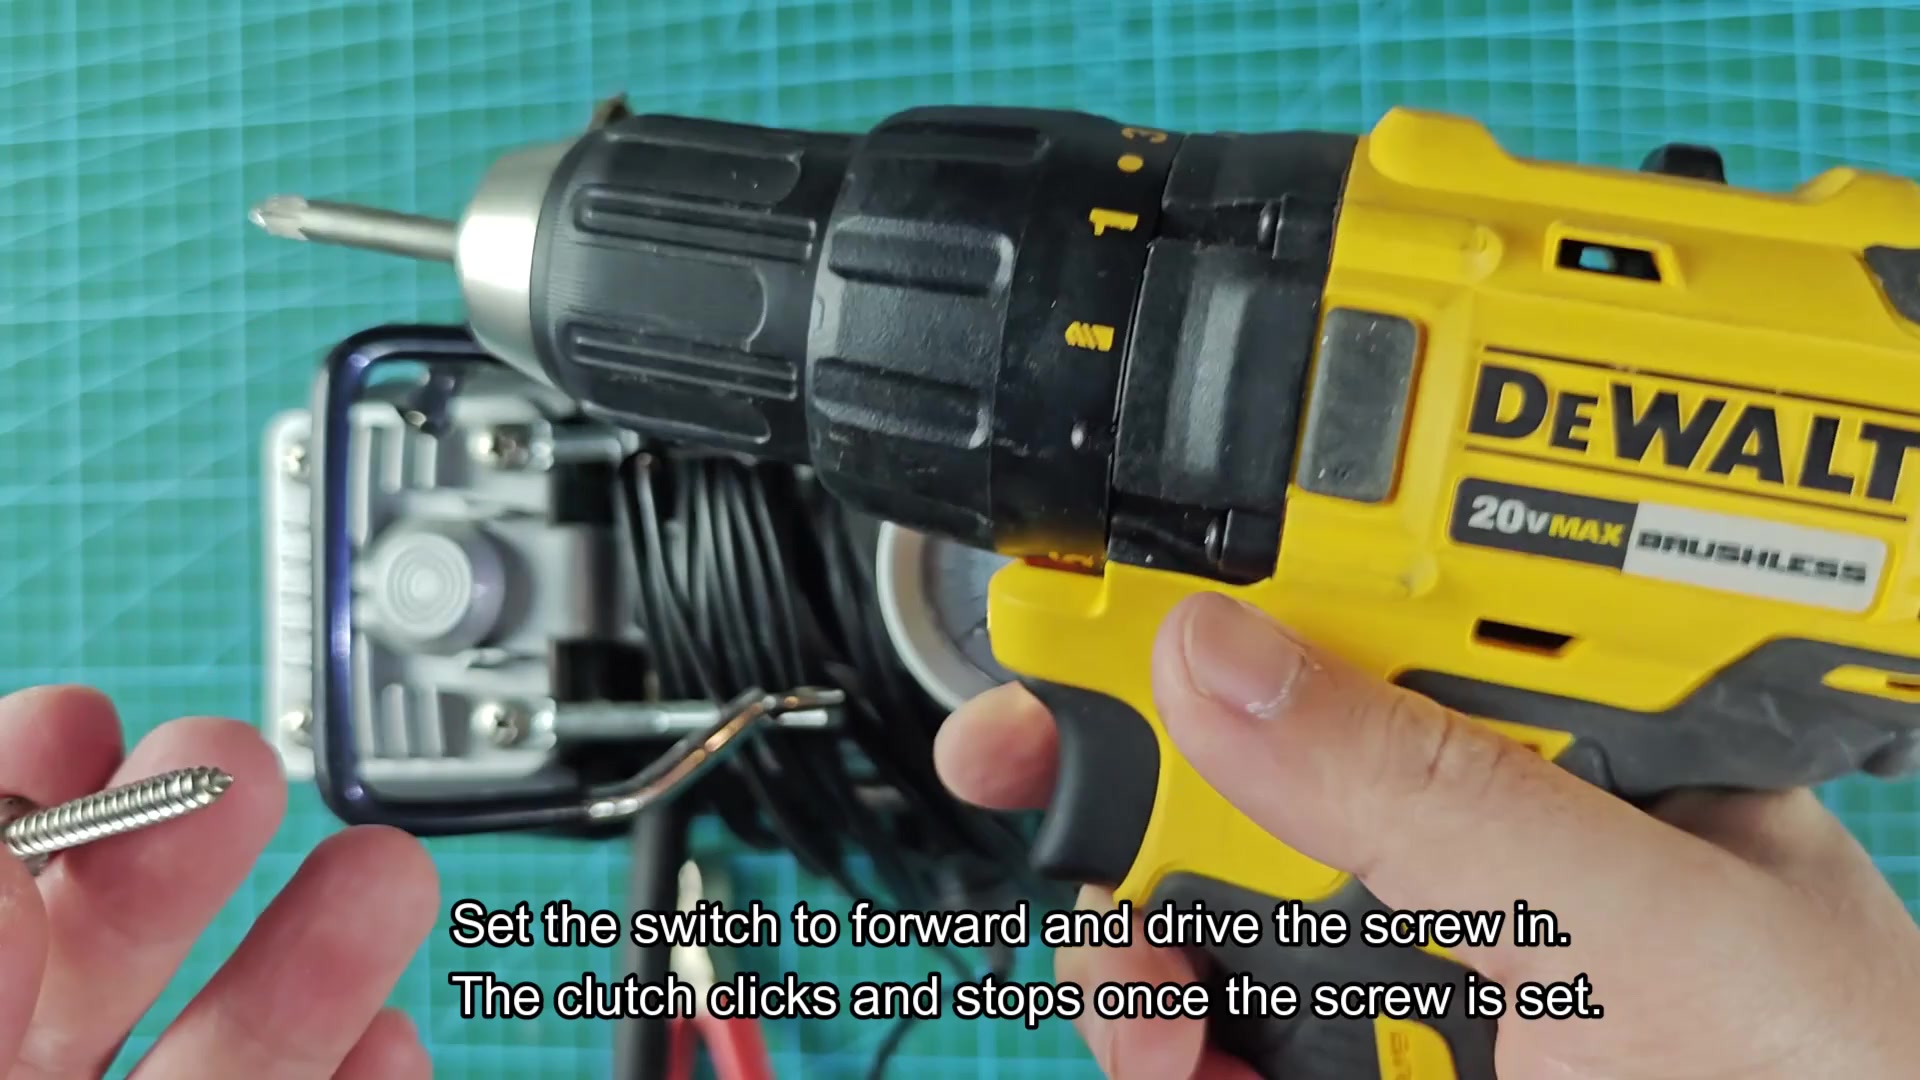
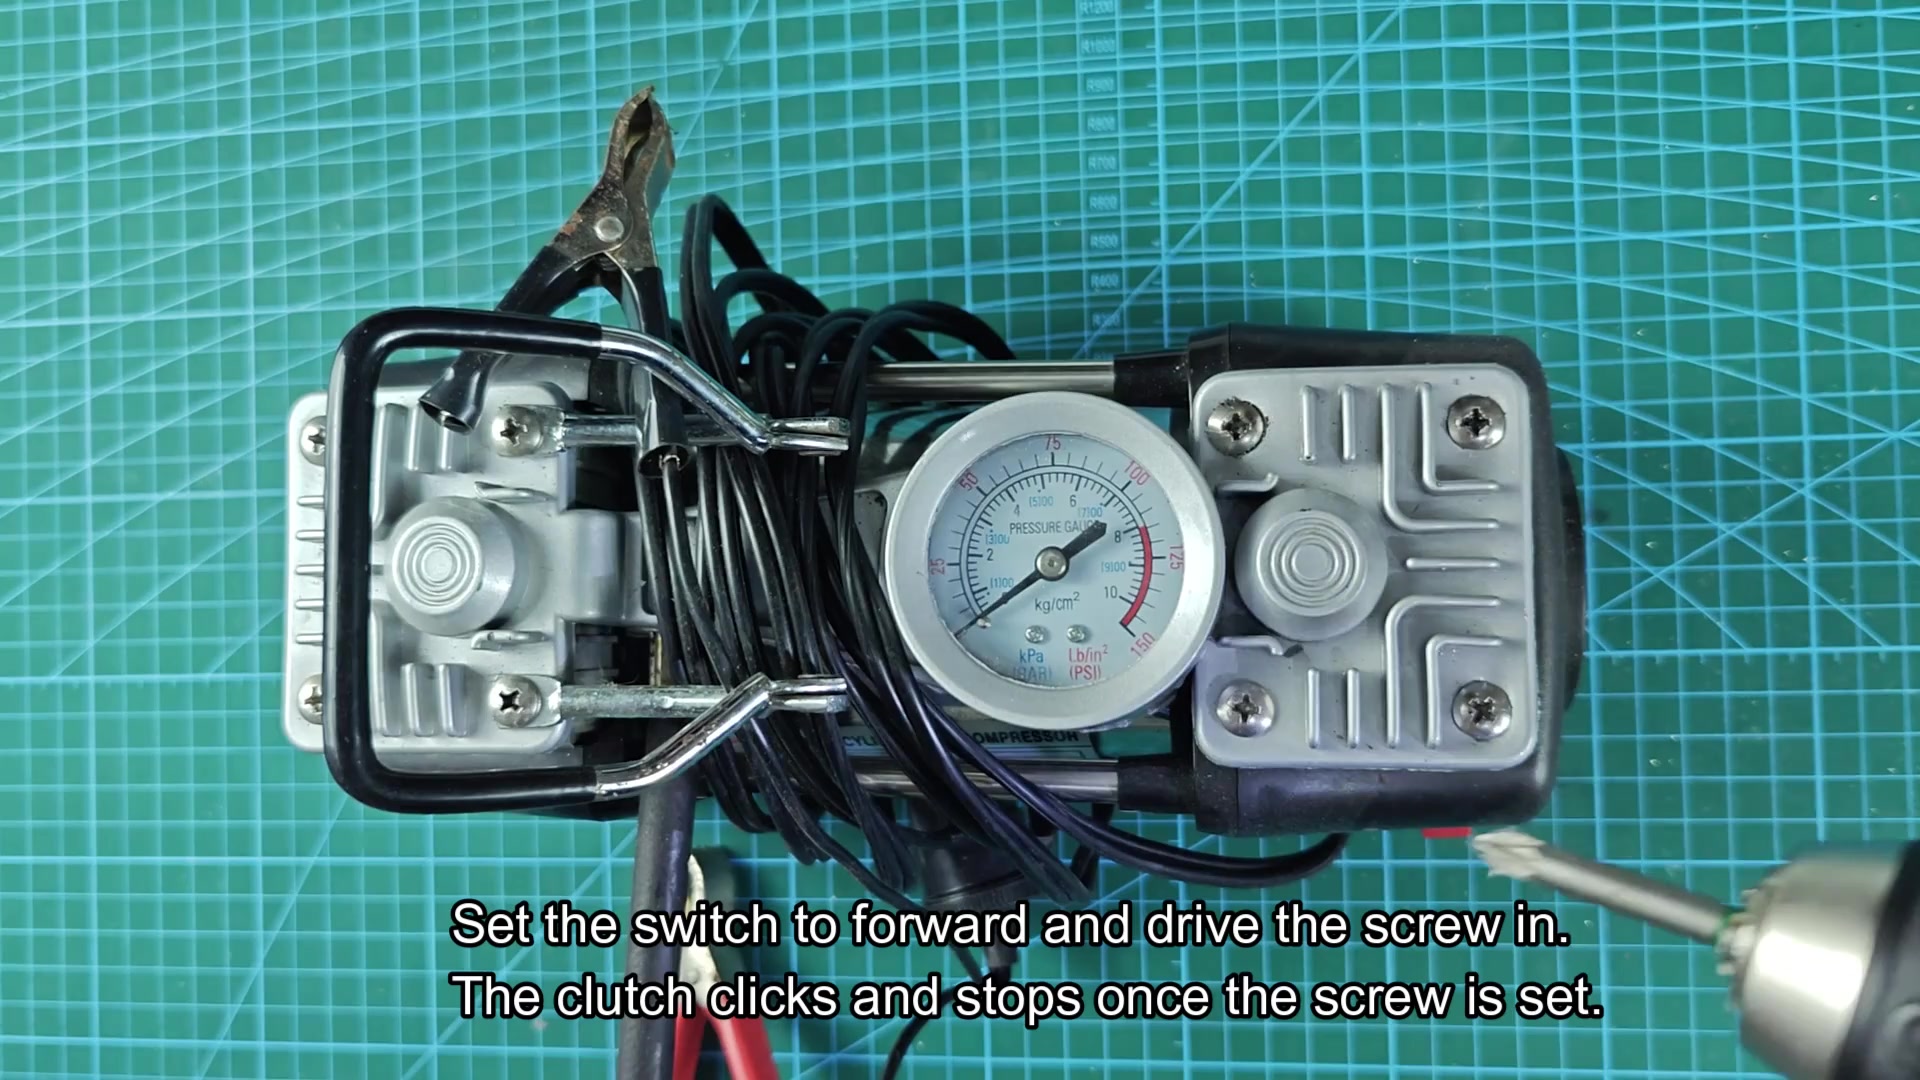
But the first task involves driving screws into metal. To put a Phillips bit into the chuck you turn it anticlockwise to loosen the jaws. Next you adjust the collar down for less torque, otherwise the screw will be over tightened. Set the switch to forward then squeeze the trigger. The screw turns easily, going in and seating perfectly.
When it hits resistance, the clutch engages automatically. You can continue to hold the trigger down but the screw will click and stop rotating. No more stripped screw heads, that’s a real time-saver. And no more screw digging itself too far into material, either. When it’s time to back out, just reverse direction and it comes right out.
The wood drilling test. Loosen the chuck, pull out that bit, push in the new bit (a regular wood drill bit), tighten it back up and go to town on a nice clean piece of lumber. Accuracy on drilling depends largely on keeping your drill straight while applying steady pressure to the trigger.
When you hit the wood, it has no problem powering through. The bit cuts into the grain cleanly and chips fly off. The hole is round and precise.
With speed one, you have good control but it would of been faster with speed two. It balances well and you can tell that it’s a tool that feels stable in your hand.
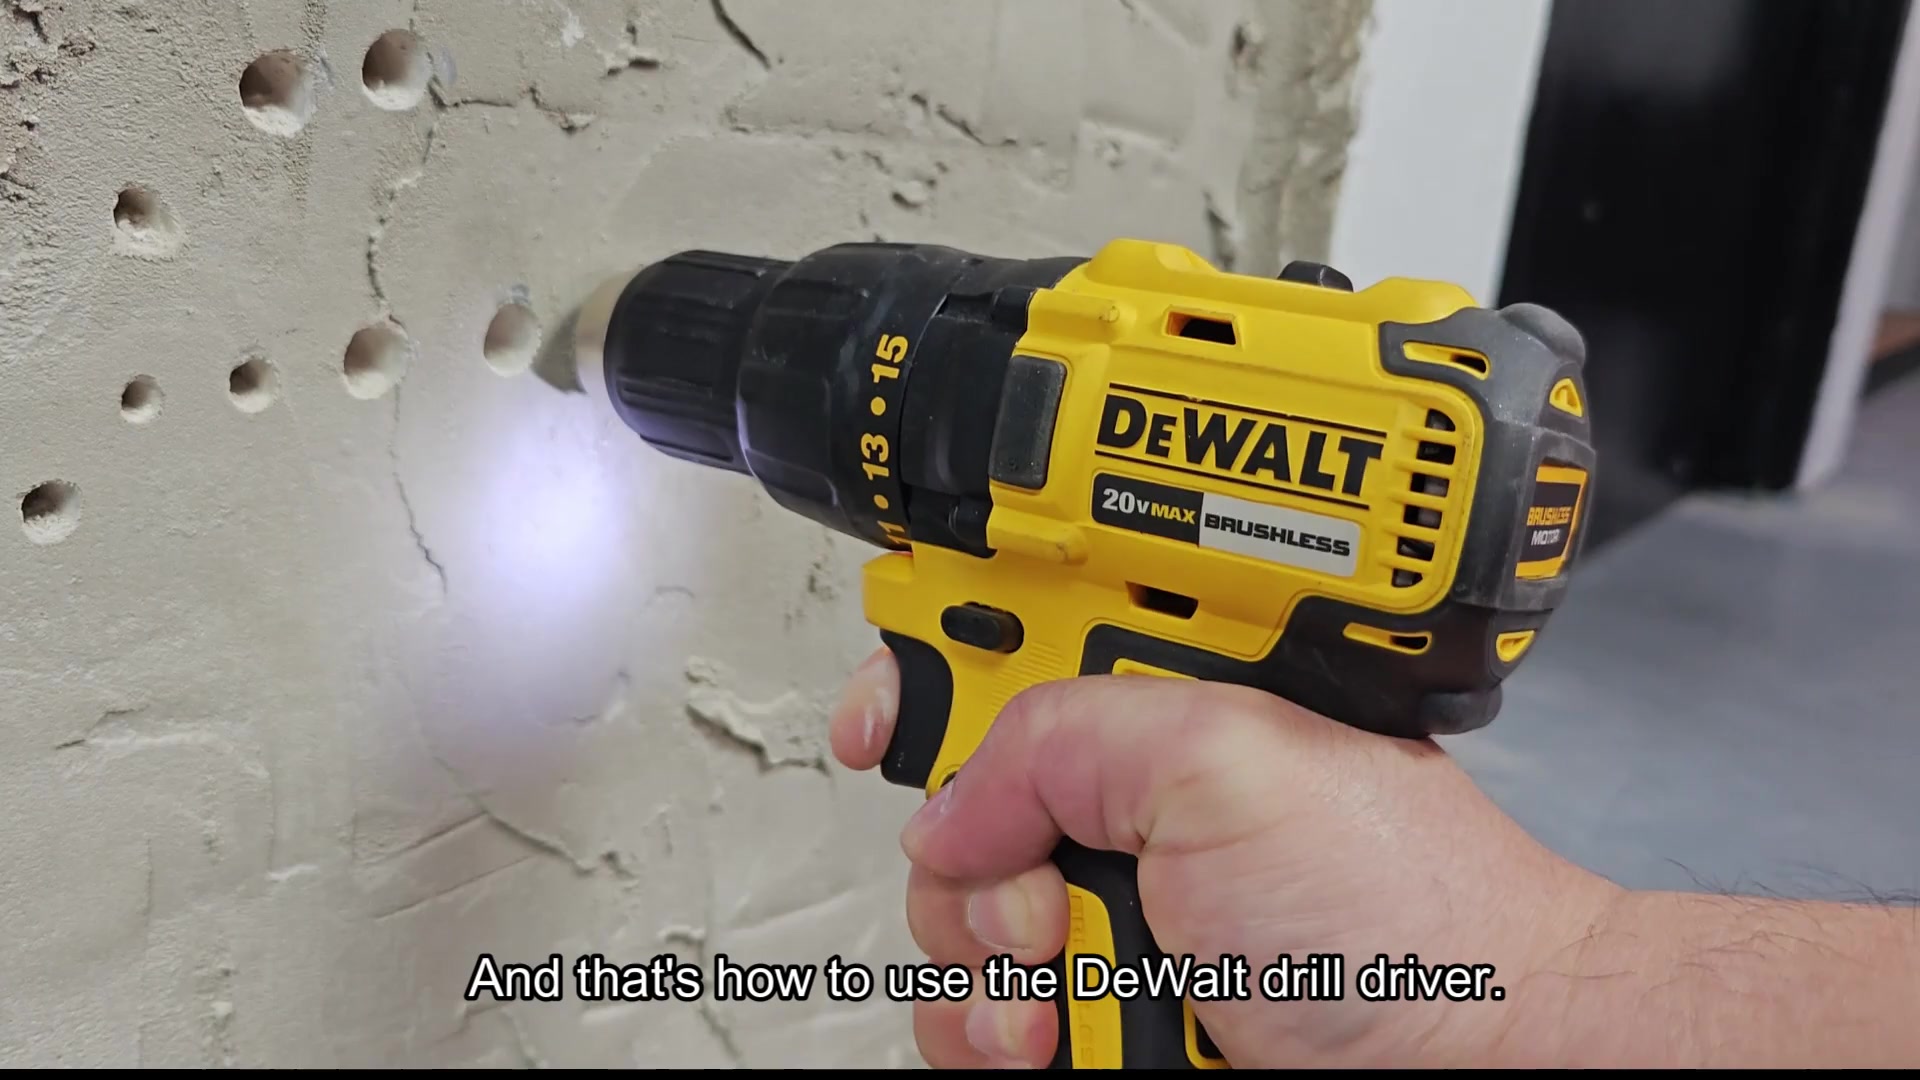
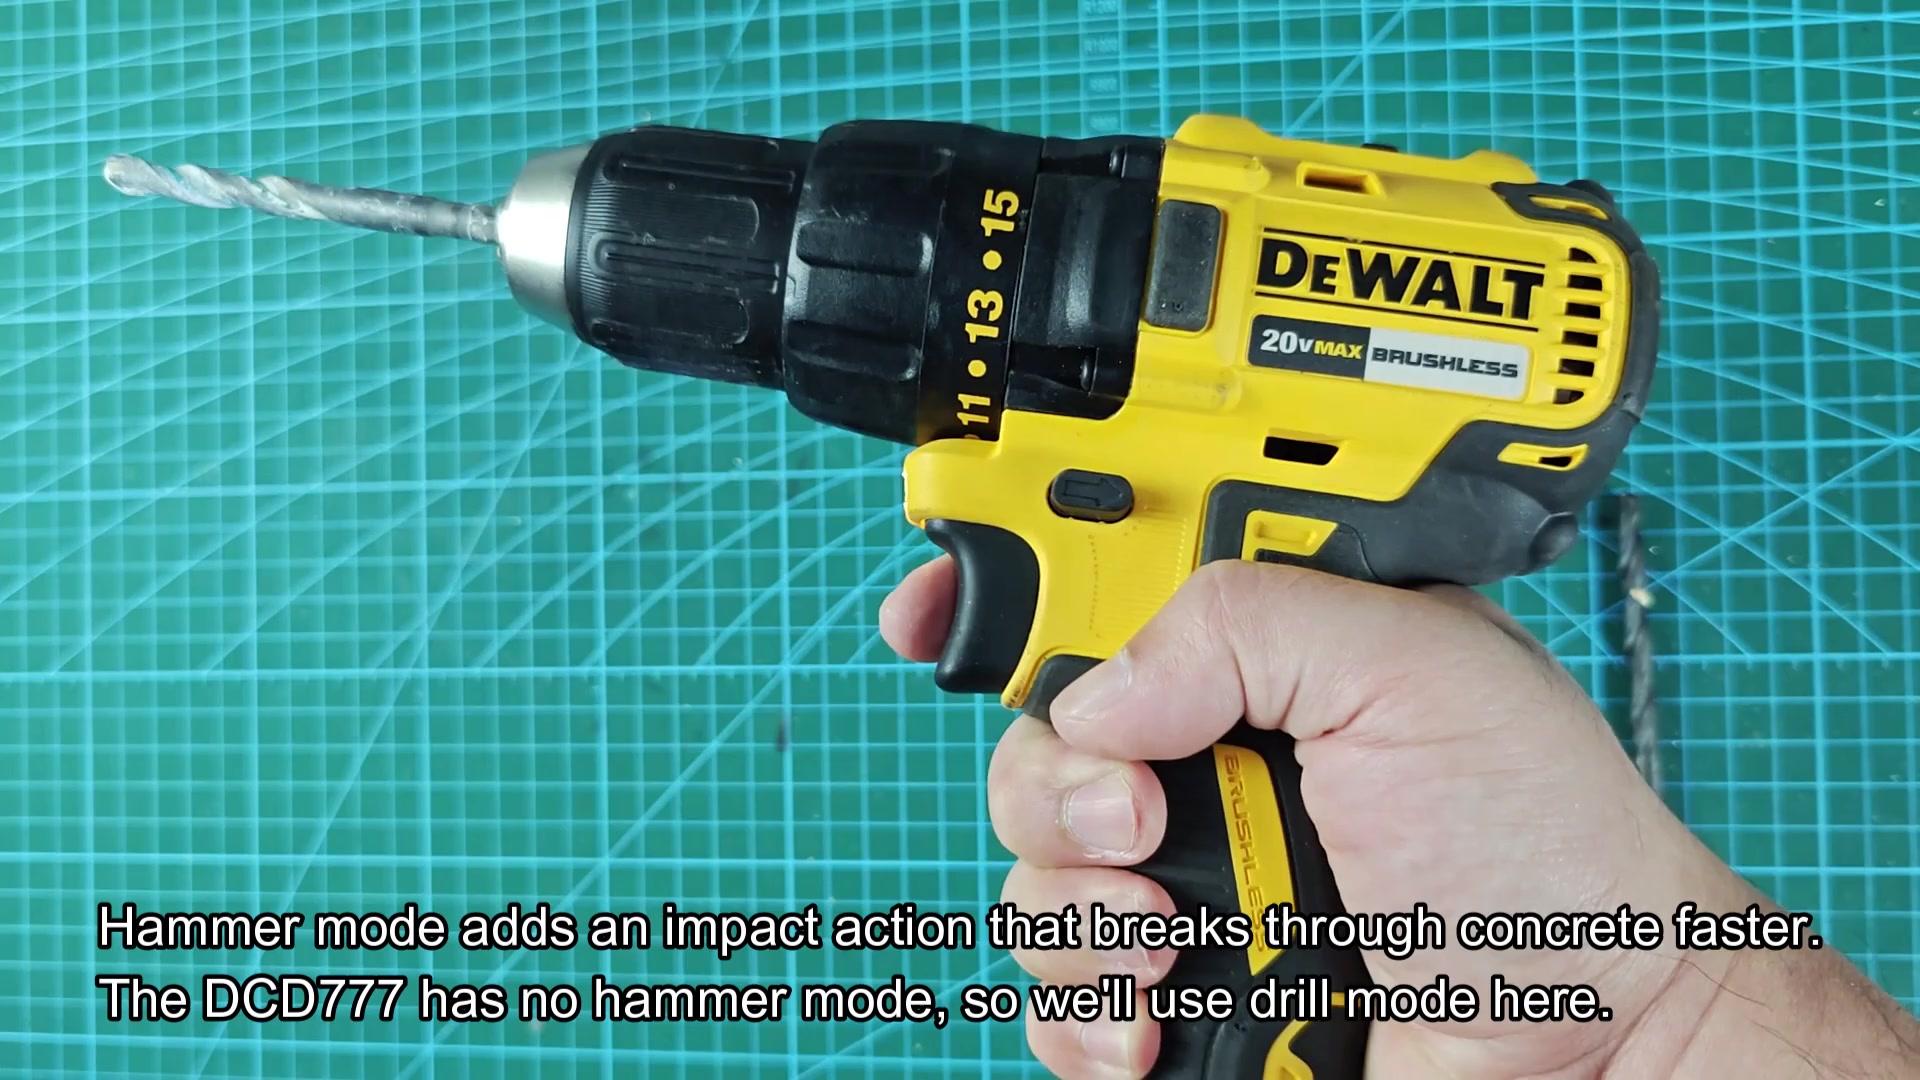
For the concrete test, you swap out the wood bit for one specifically made for drilling into stone (masonry). Because this drill doesn’t have an impact feature like some other drills, there isn’t any breaking apart of hard surfaces via impact action. It’s all rotational force grinding its way through the concrete.
Position the drill against the concrete wall. Engage at low speed (don’t let the bit wander around). Increase the speed and pressure. The bit digs in; small chips appear, then dust. It is slow going, but it gets the job done. You can feel the motor straining compared to when you are drilling wood.
You have to be patient when using a non-hammer drill on concrete. There is more heat generated because of the friction. It will take longer to bore through the hard stuff without the hammer.
This tool does the trick if you’re working with some light masonry projects. If you’re doing anything heavy duty in concrete, go with a true hammer drill.
You can feel the difference. When you bore into wood, you make progress in seconds, but with this, it takes several seconds longer. The dust cloud expands as you advance further.
But under the load, the brushless motor perform well. During your brief test, it doesn’t stall and it certainly doesn’t overheat. It shows impressive staying power.
Pull the bit out, you’re done with the hole. Around the edge, there’s no damage to the concrete; it’s a hole ready for an anchor. You clean the chuck jaws and wipe down the tool so there isn’t any fine dust left. It is a pretty simple process that covers the basic functioning of this drill driver.