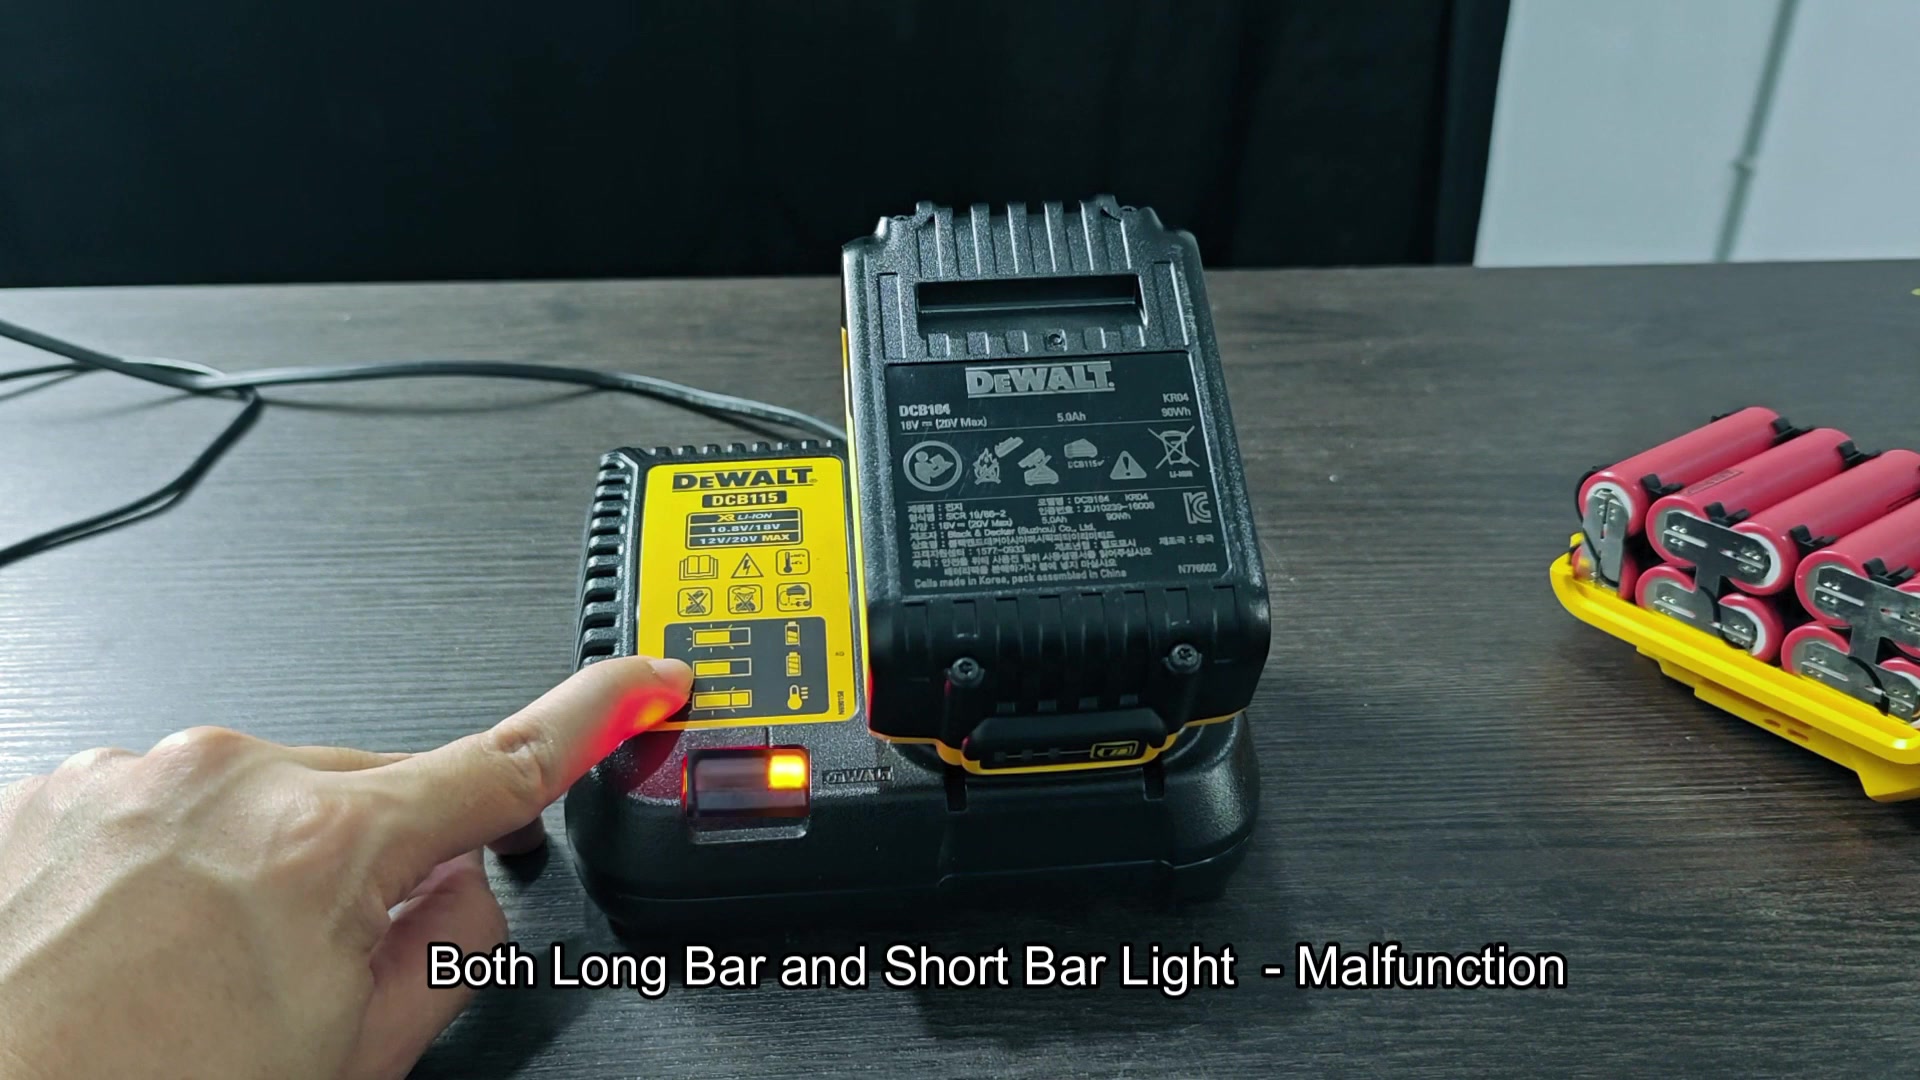
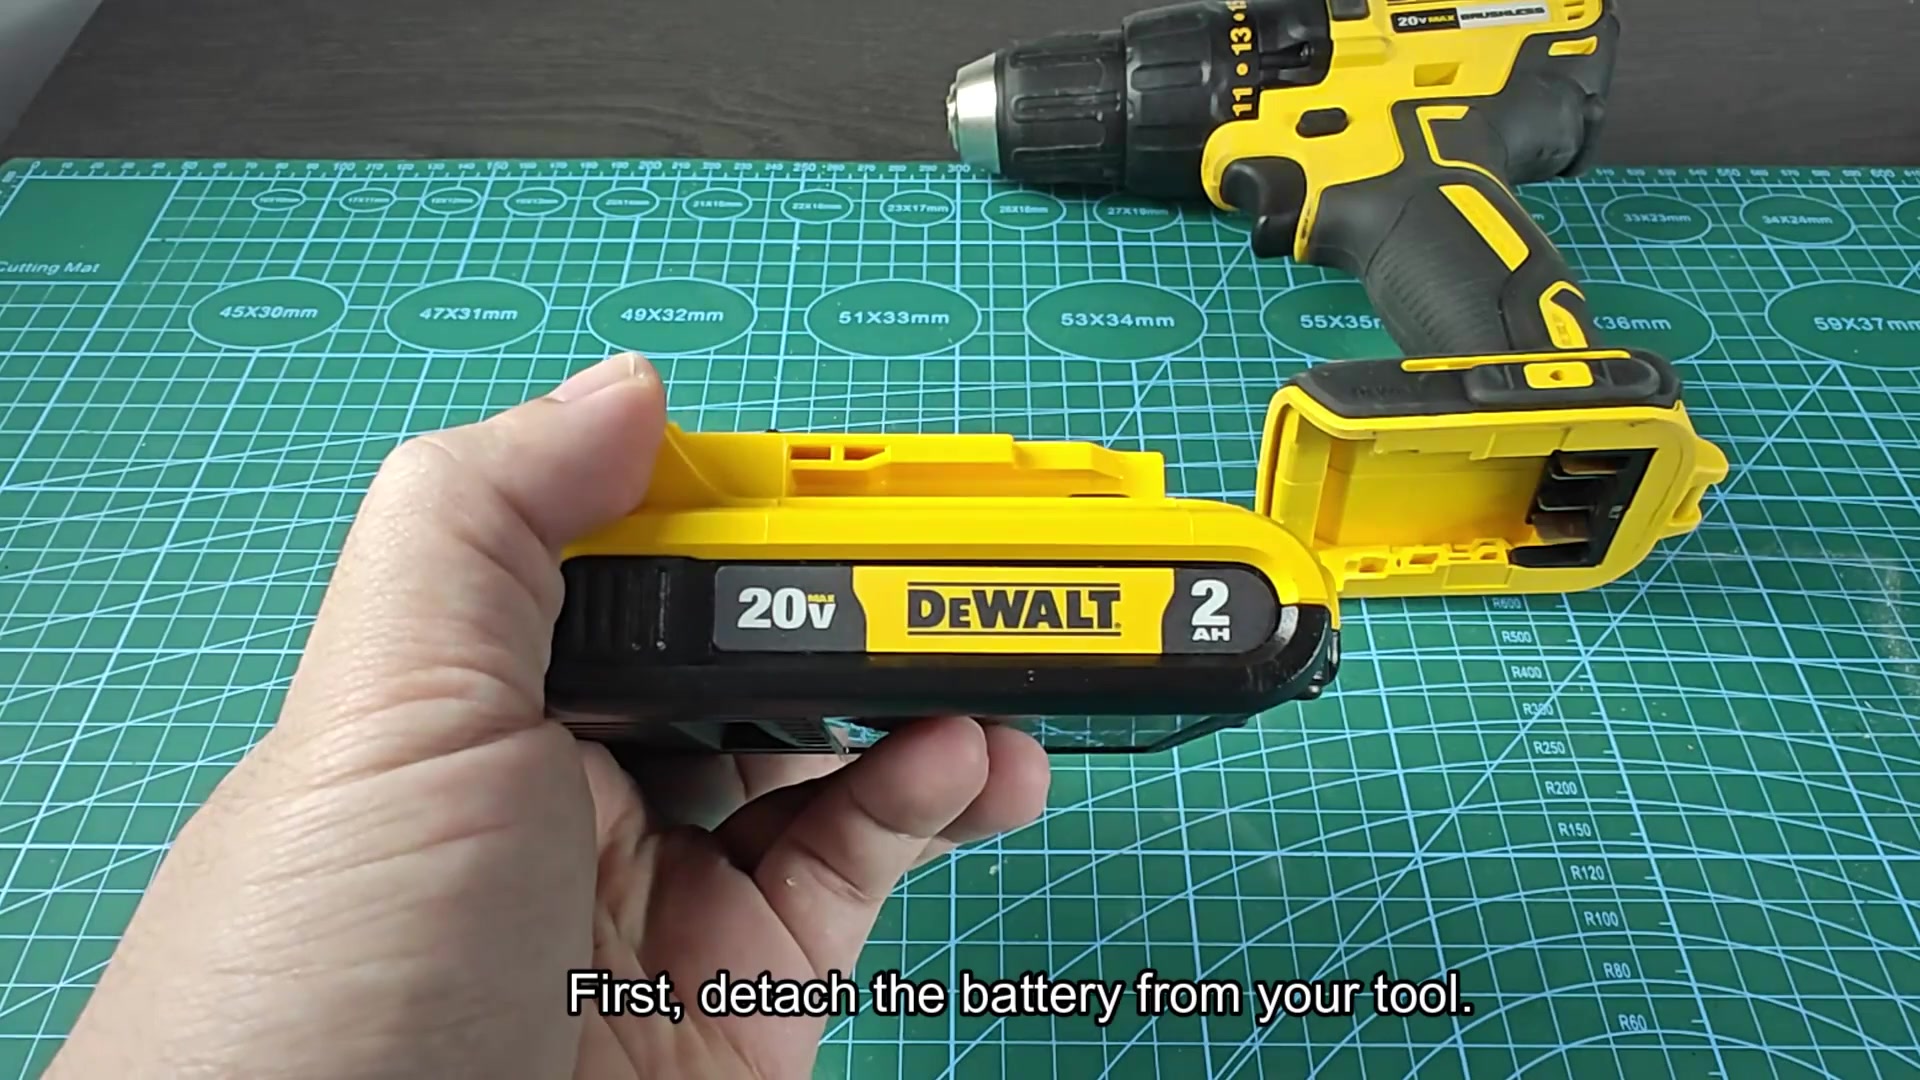
The first thing you do is take out the battery. Why? Because no matter what else you do, you has to get the battery off.
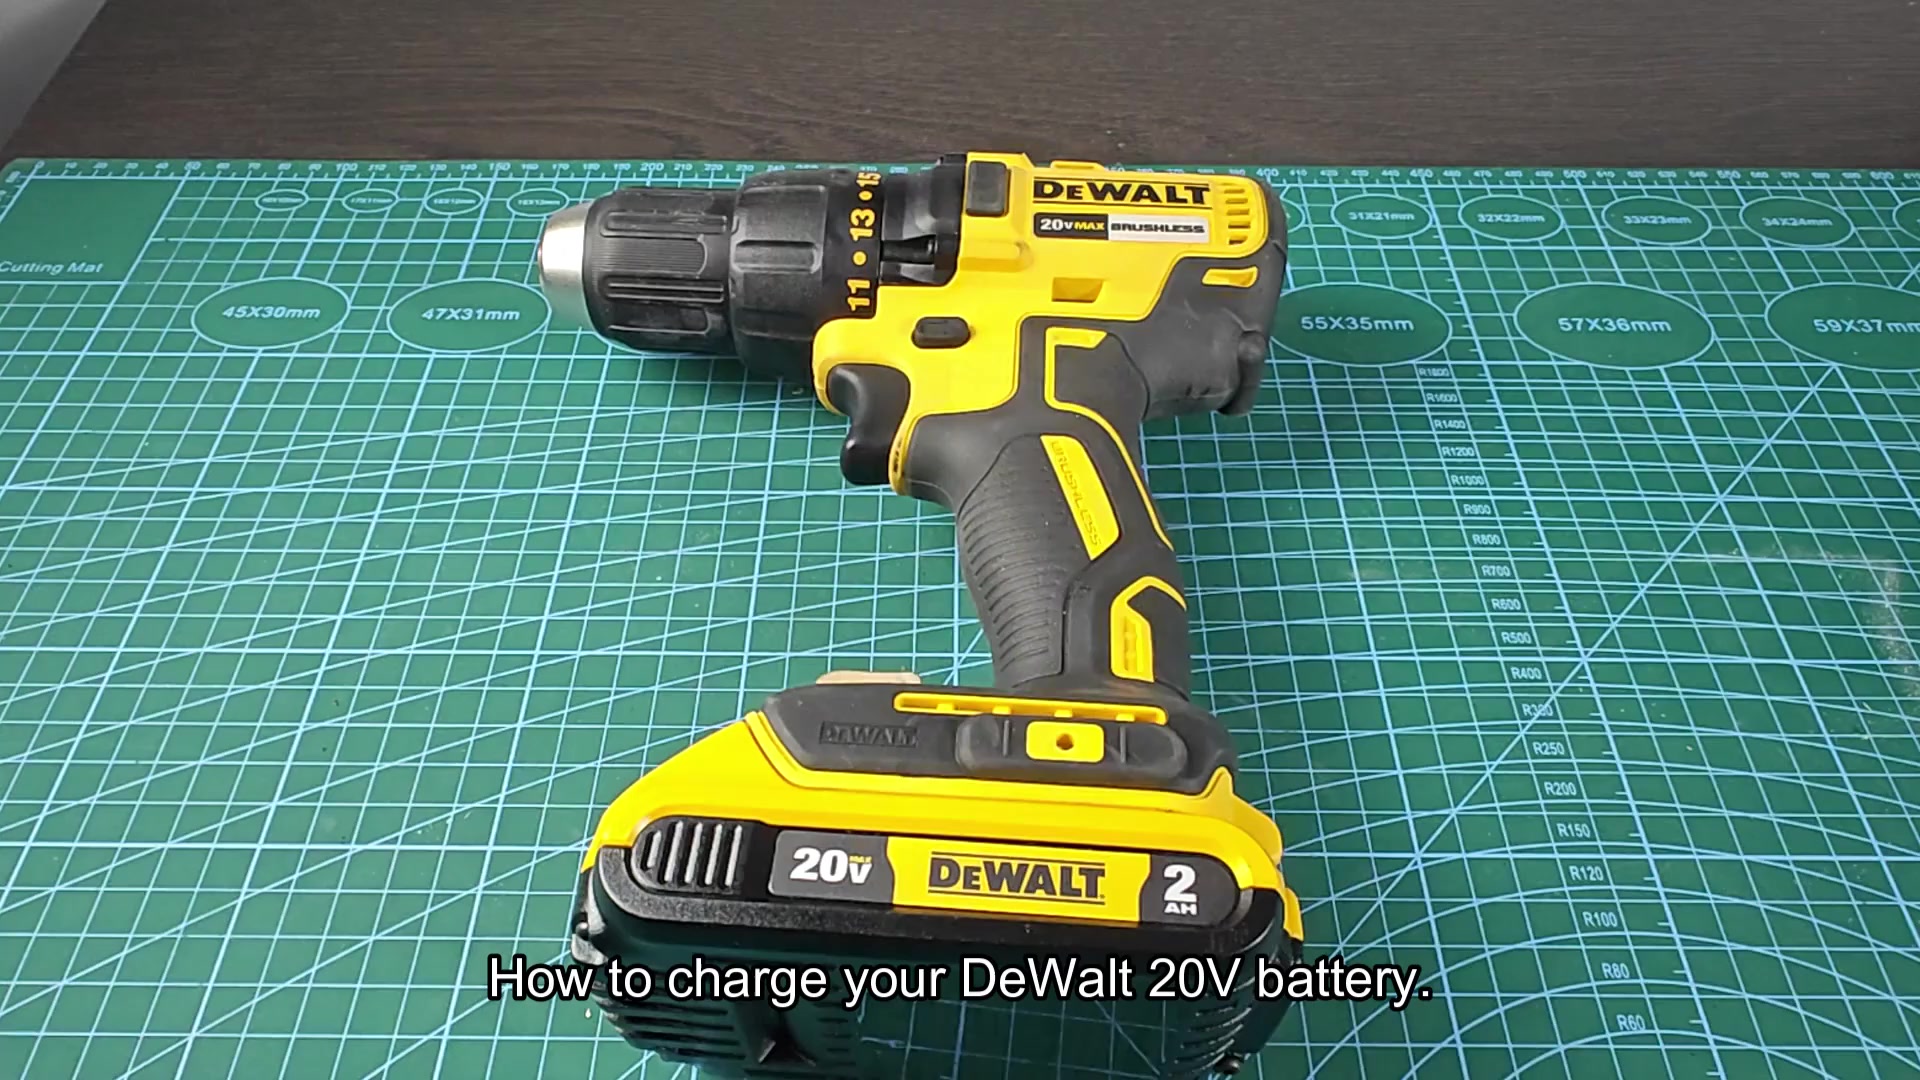
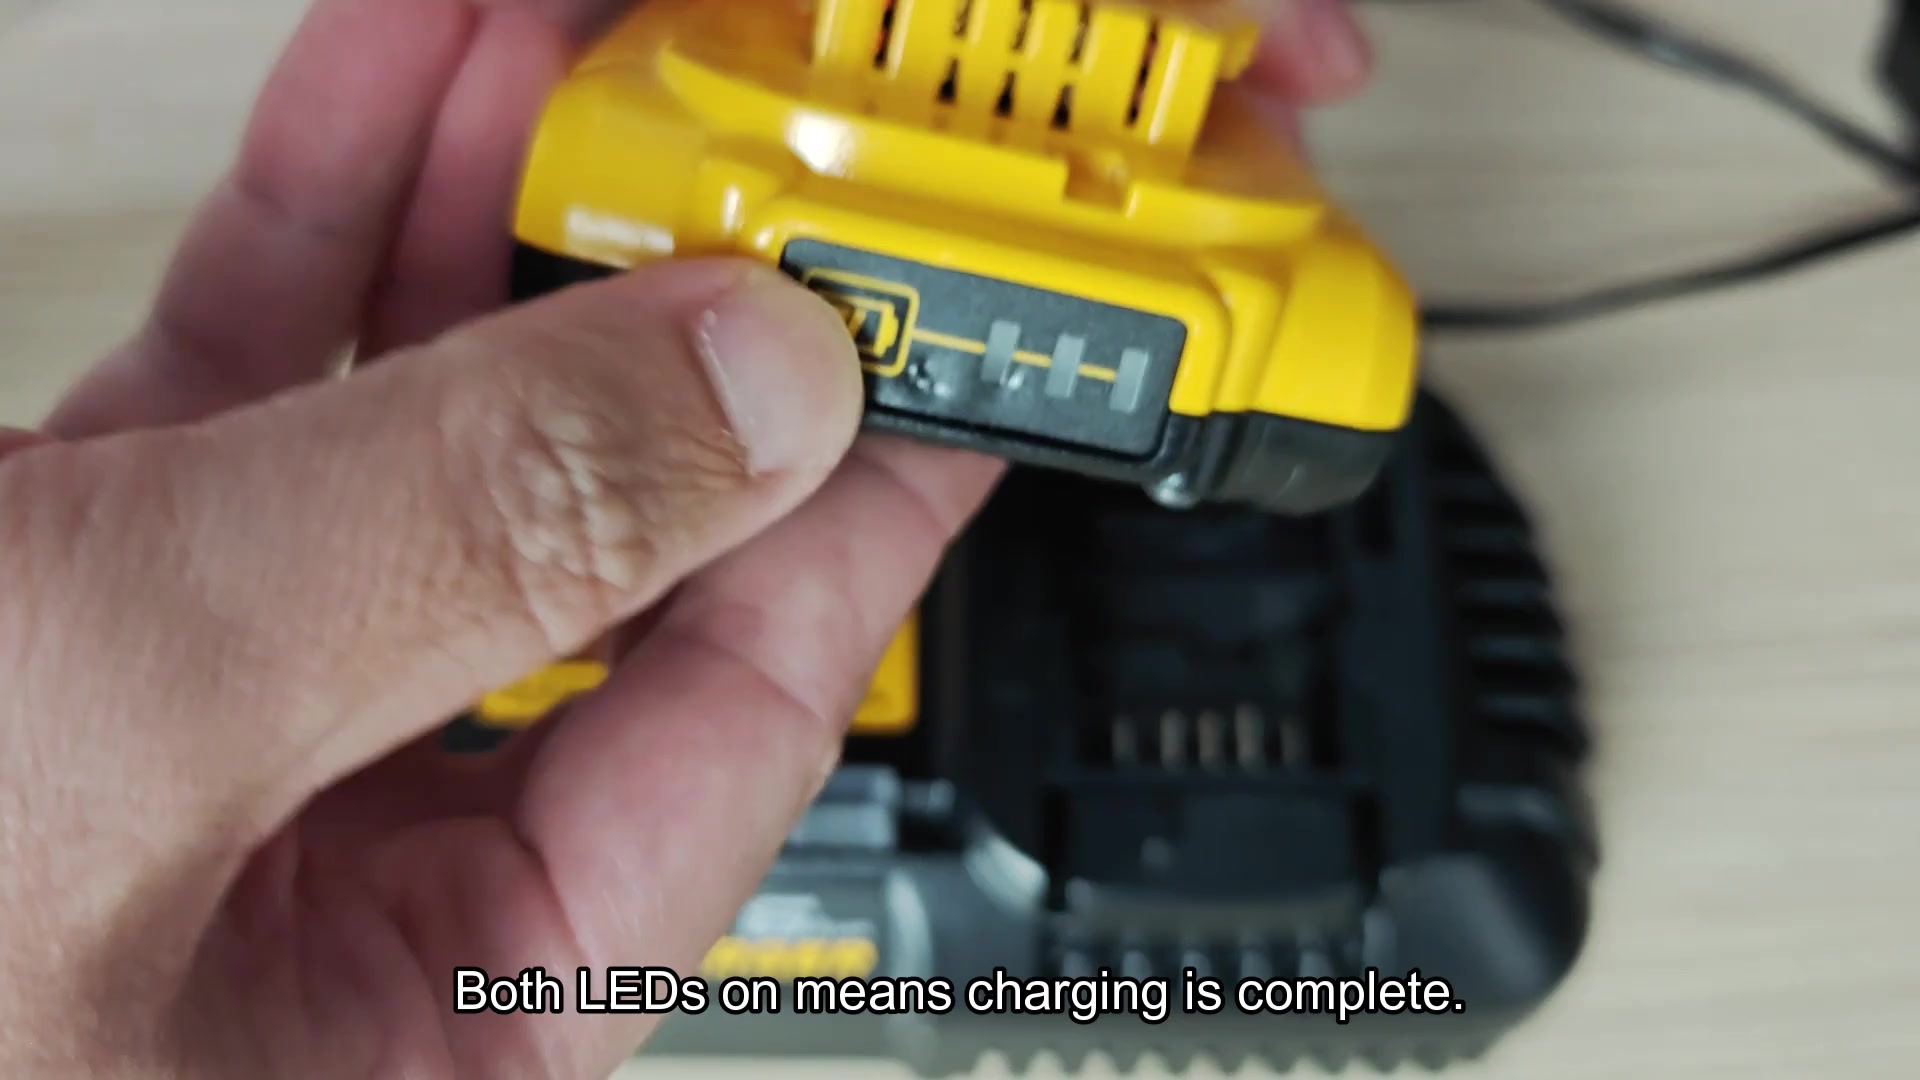
A strong yank pulls the pack directly downward away from the body of the drill and it just clicks free. It is easy enough but it’s where everything starts. Before plugging anything in, you check the charge level. To do that, there’s a little button on the side of the battery pack. You push that button and remaining power lights up with LED bars.
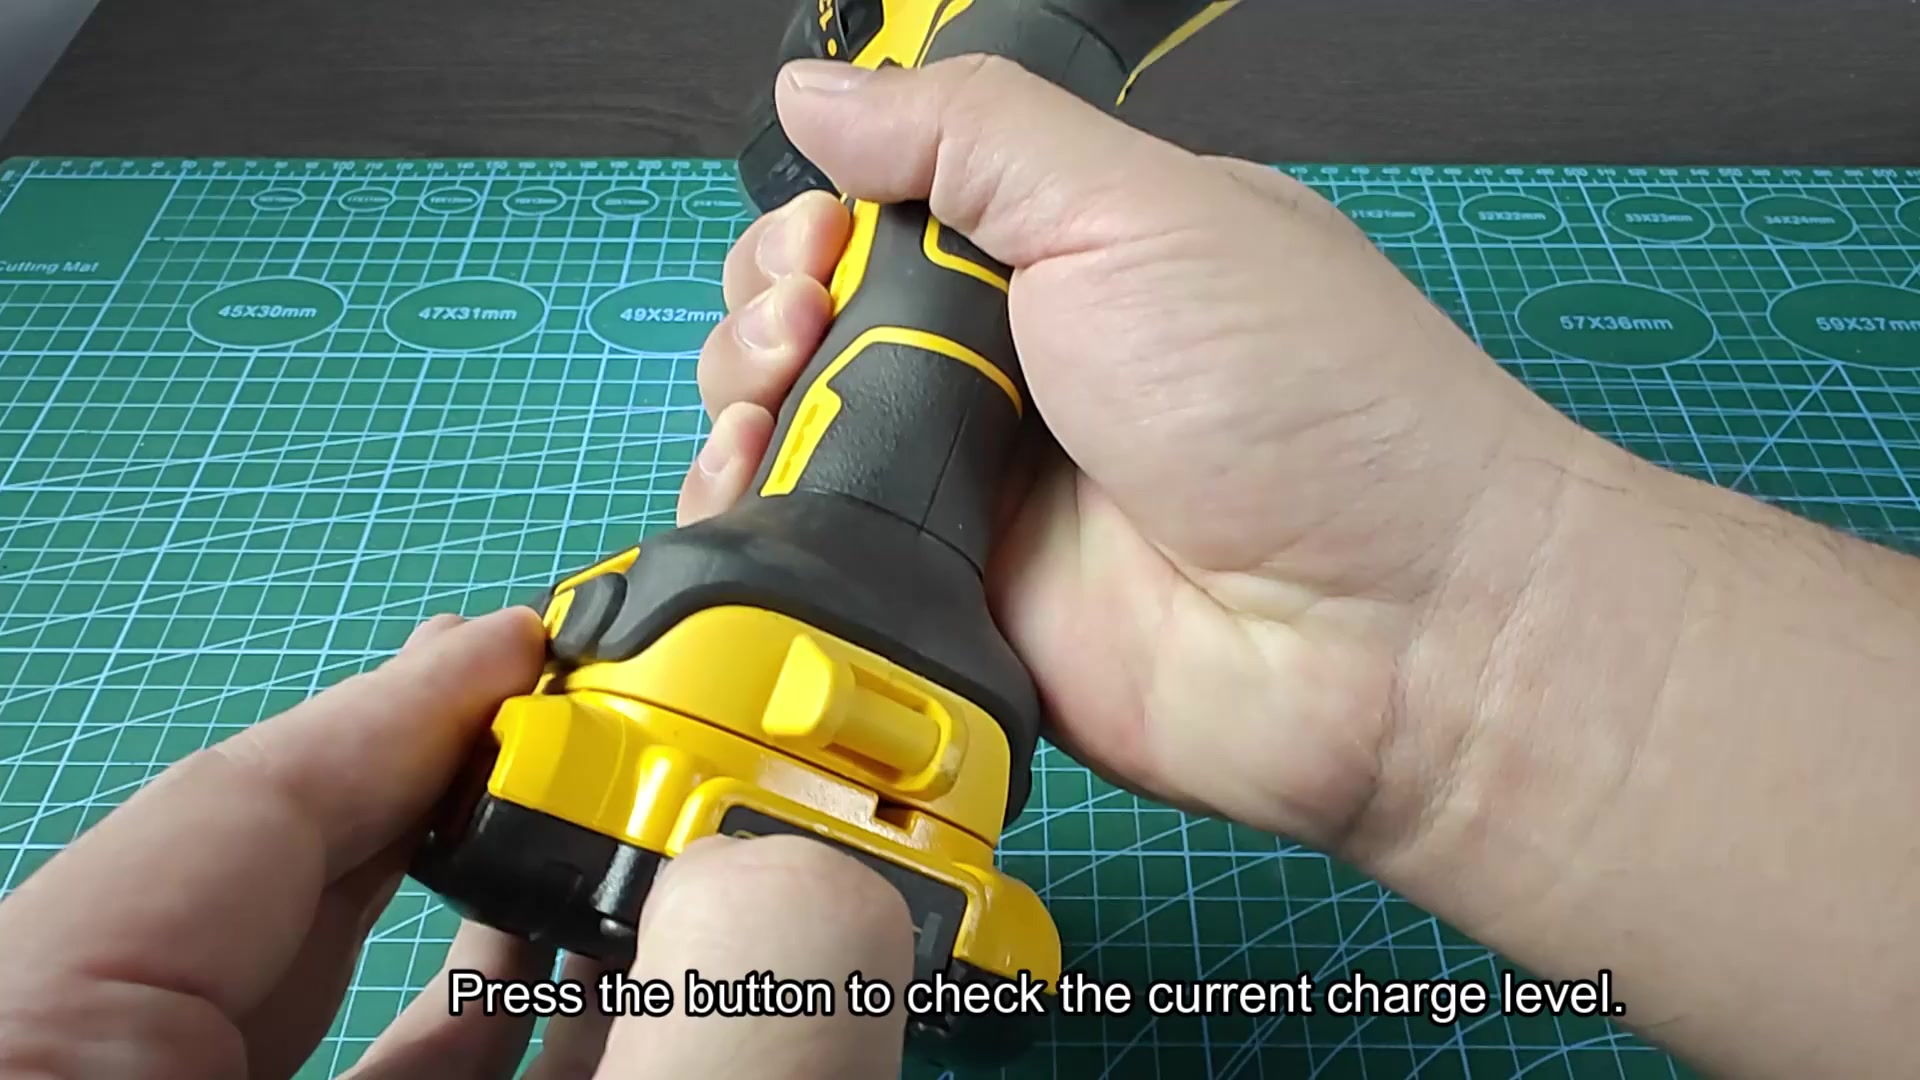
This step will save time later and let you know if you’ve got enough juice for the job or if you need to swap packs. Now that you know how much charge is left, you slide the battery onto the charger. The battery must seat firm. There should be no movement at all. Charger needs a solid connection to complete the charging circuit.
Understanding Charging Indicators and Times
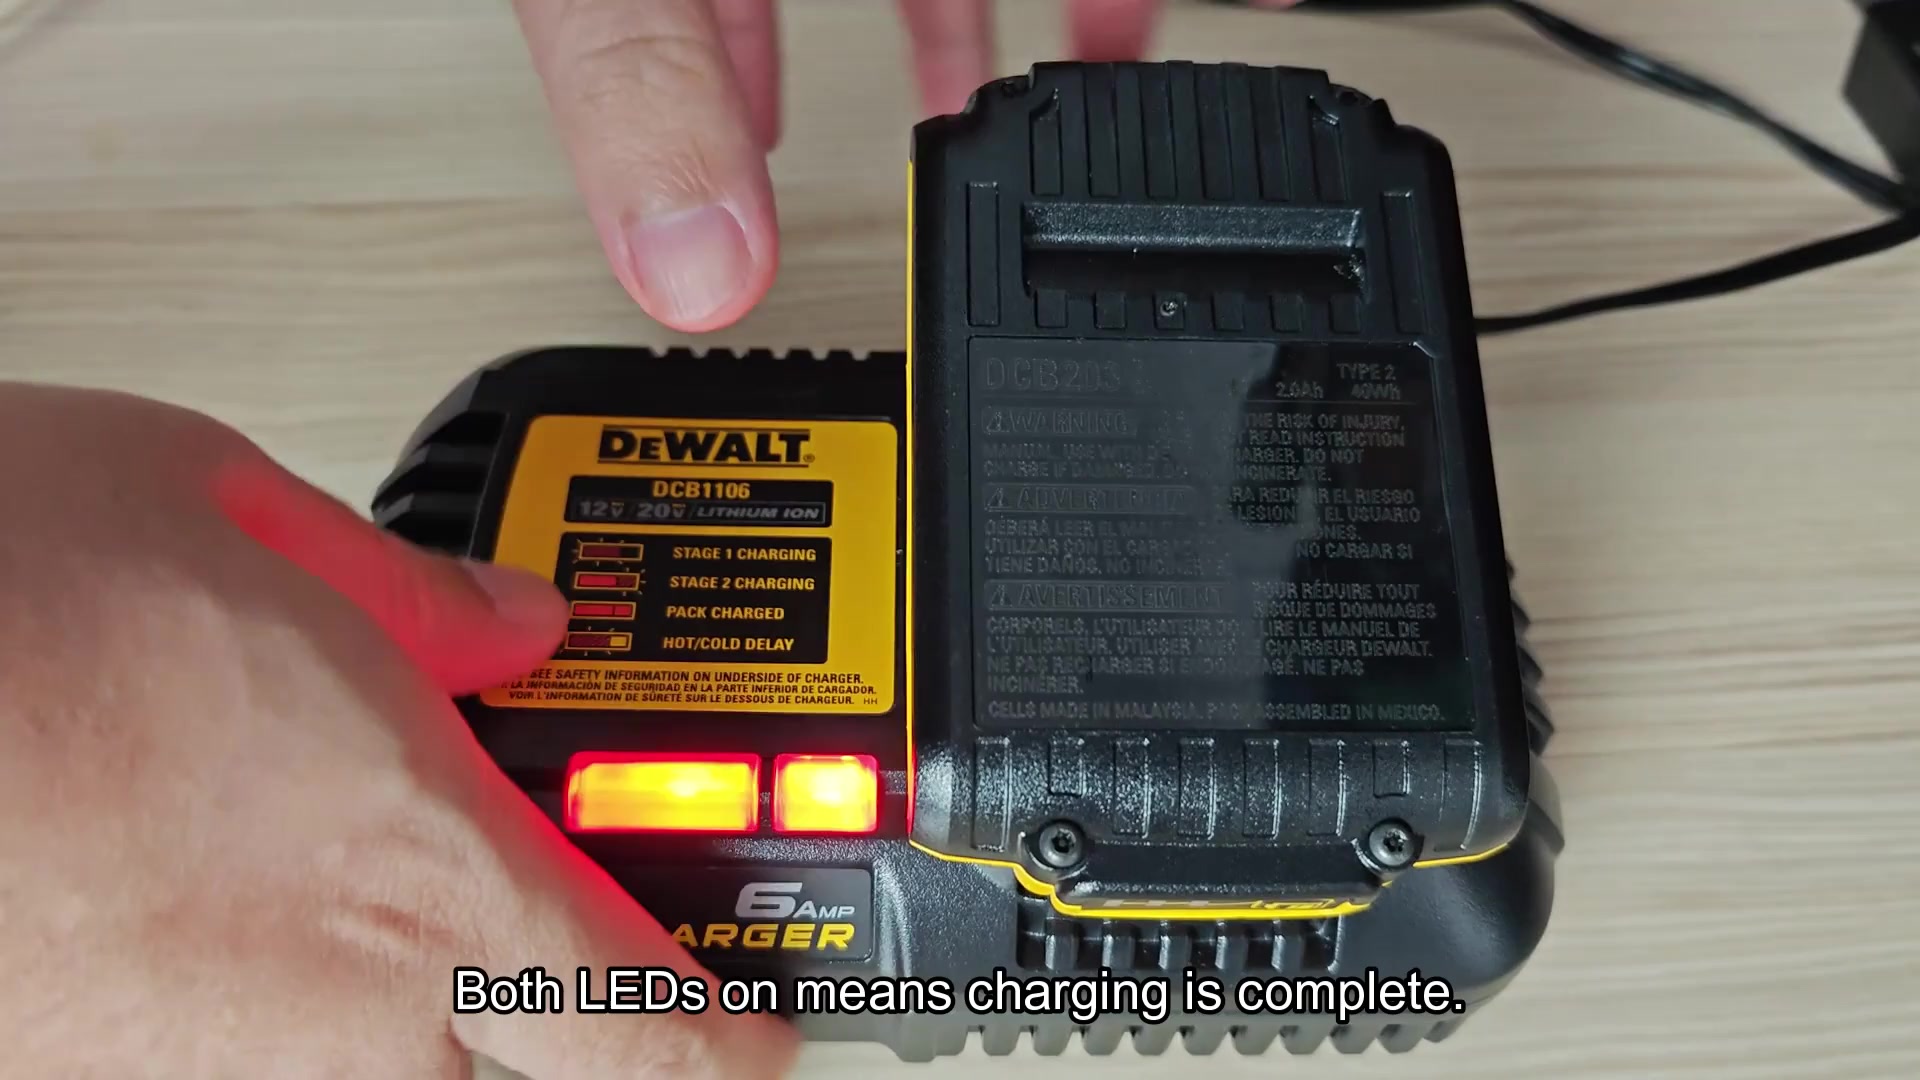
When it clicks into position, it makes a definite sound. Nothing will happen if there’s any looseness to it. In Stage 1, one red light blinks to show that the charger is in the first stage; it’s charging the battery as fast as possible (the bulk charge). This stage will last for most of the time and will continue to blink while the cell voltage approach being fully charged. As it nears completion it changes what it’s doing. It’s still blinking the second LED but the first turns solid in Stage 2, which means the battery is nearing full charge.
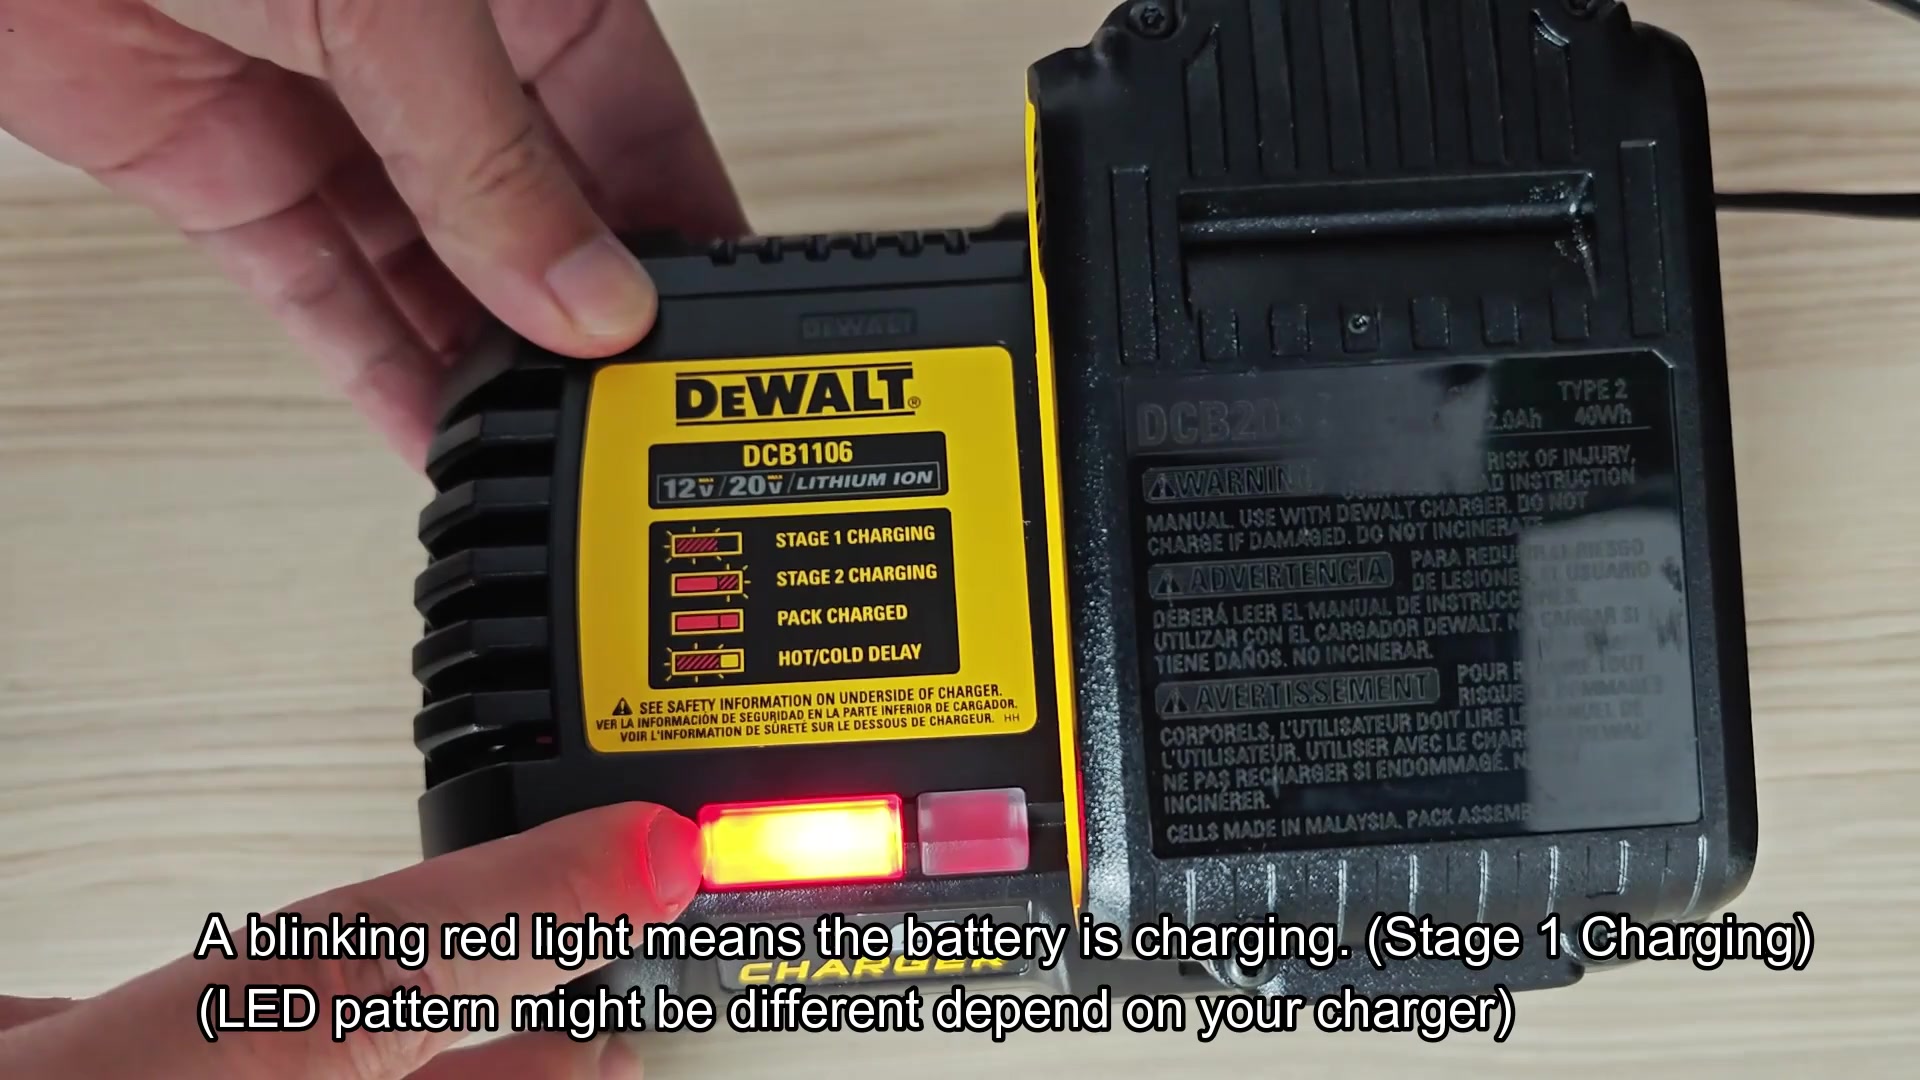
At that point it goes into a slow charging phase and slows down how fast it charges your batteries so it won’t hurt them. If both lights turn solid, it’s done. You can pull the pack off of the dock, slide it on your tool, and go. No more waiting.
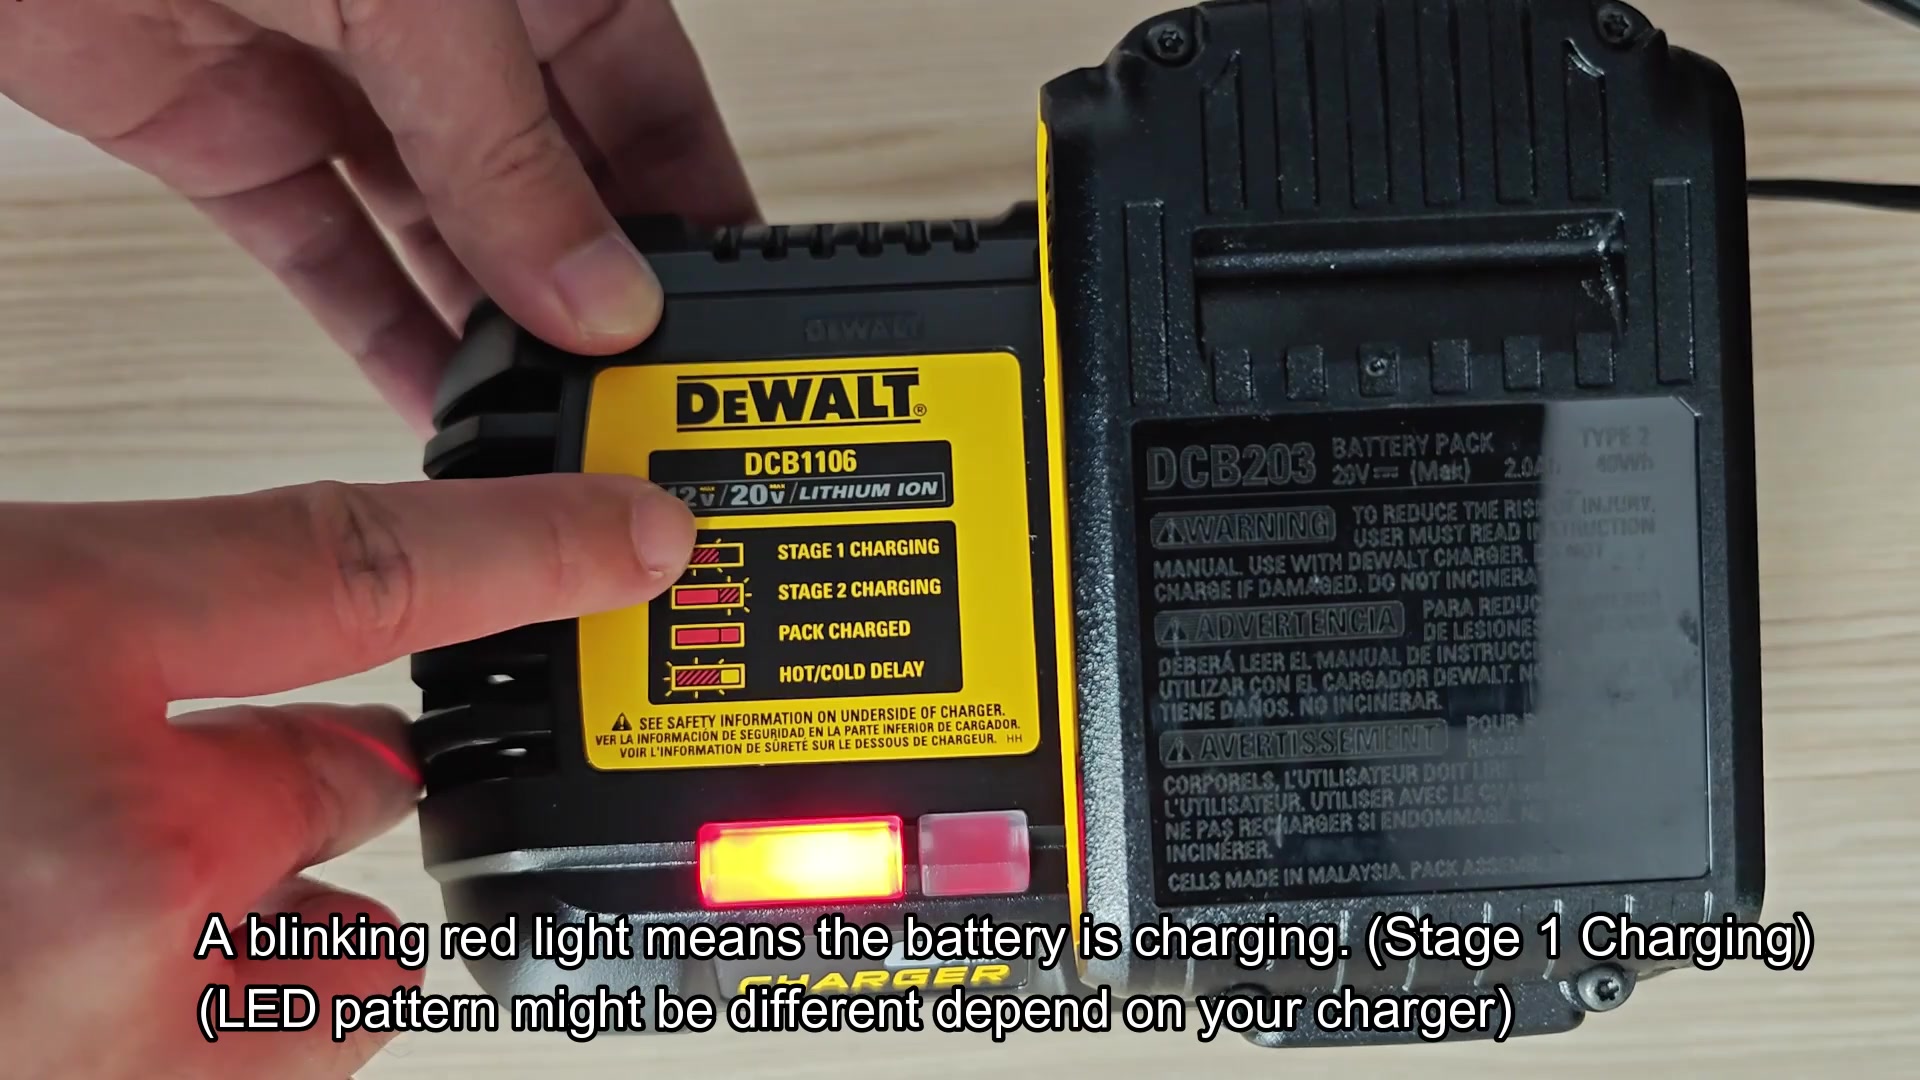
When both LEDs stay solid, the process is complete and the pack are ready to use.
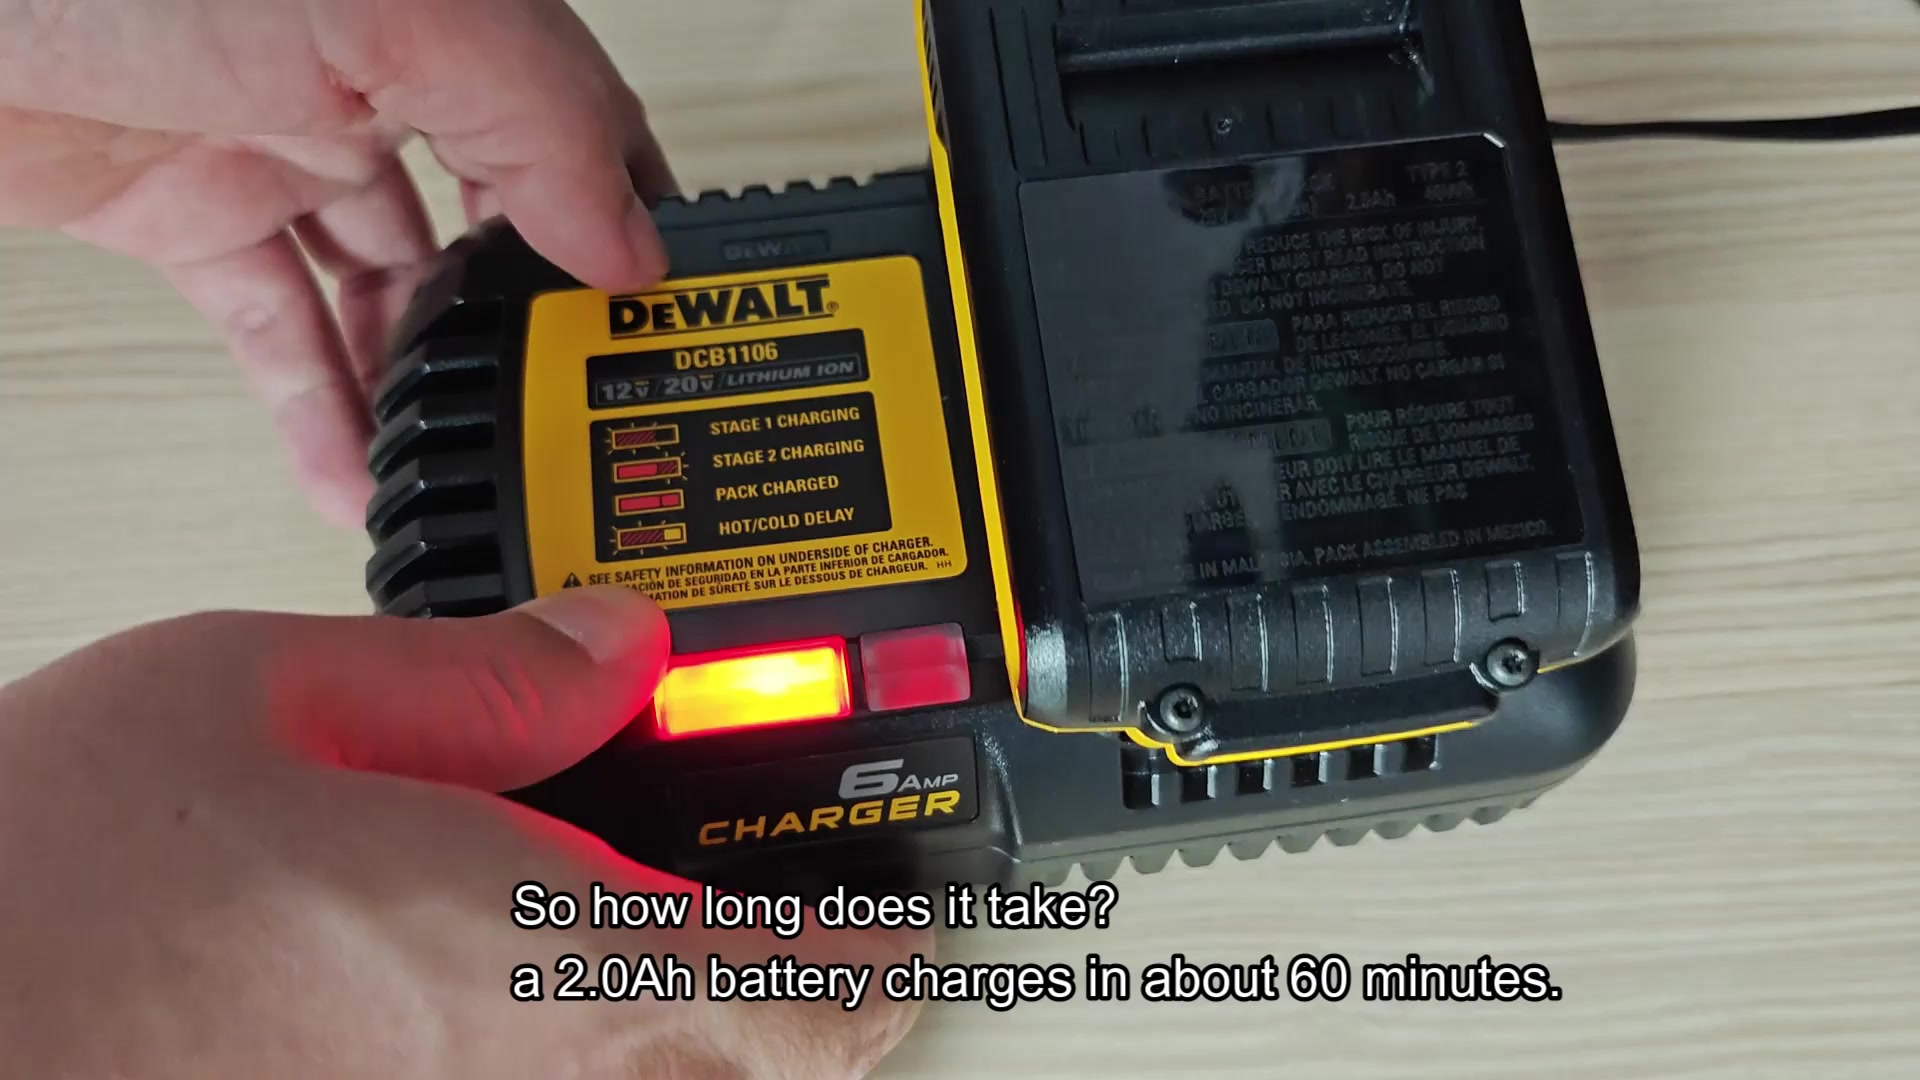
Battery size matter a lot too. For instance, the smaller 2.0Ah takes roughly an hour to charge, not too bad if you’re using it for something fast.
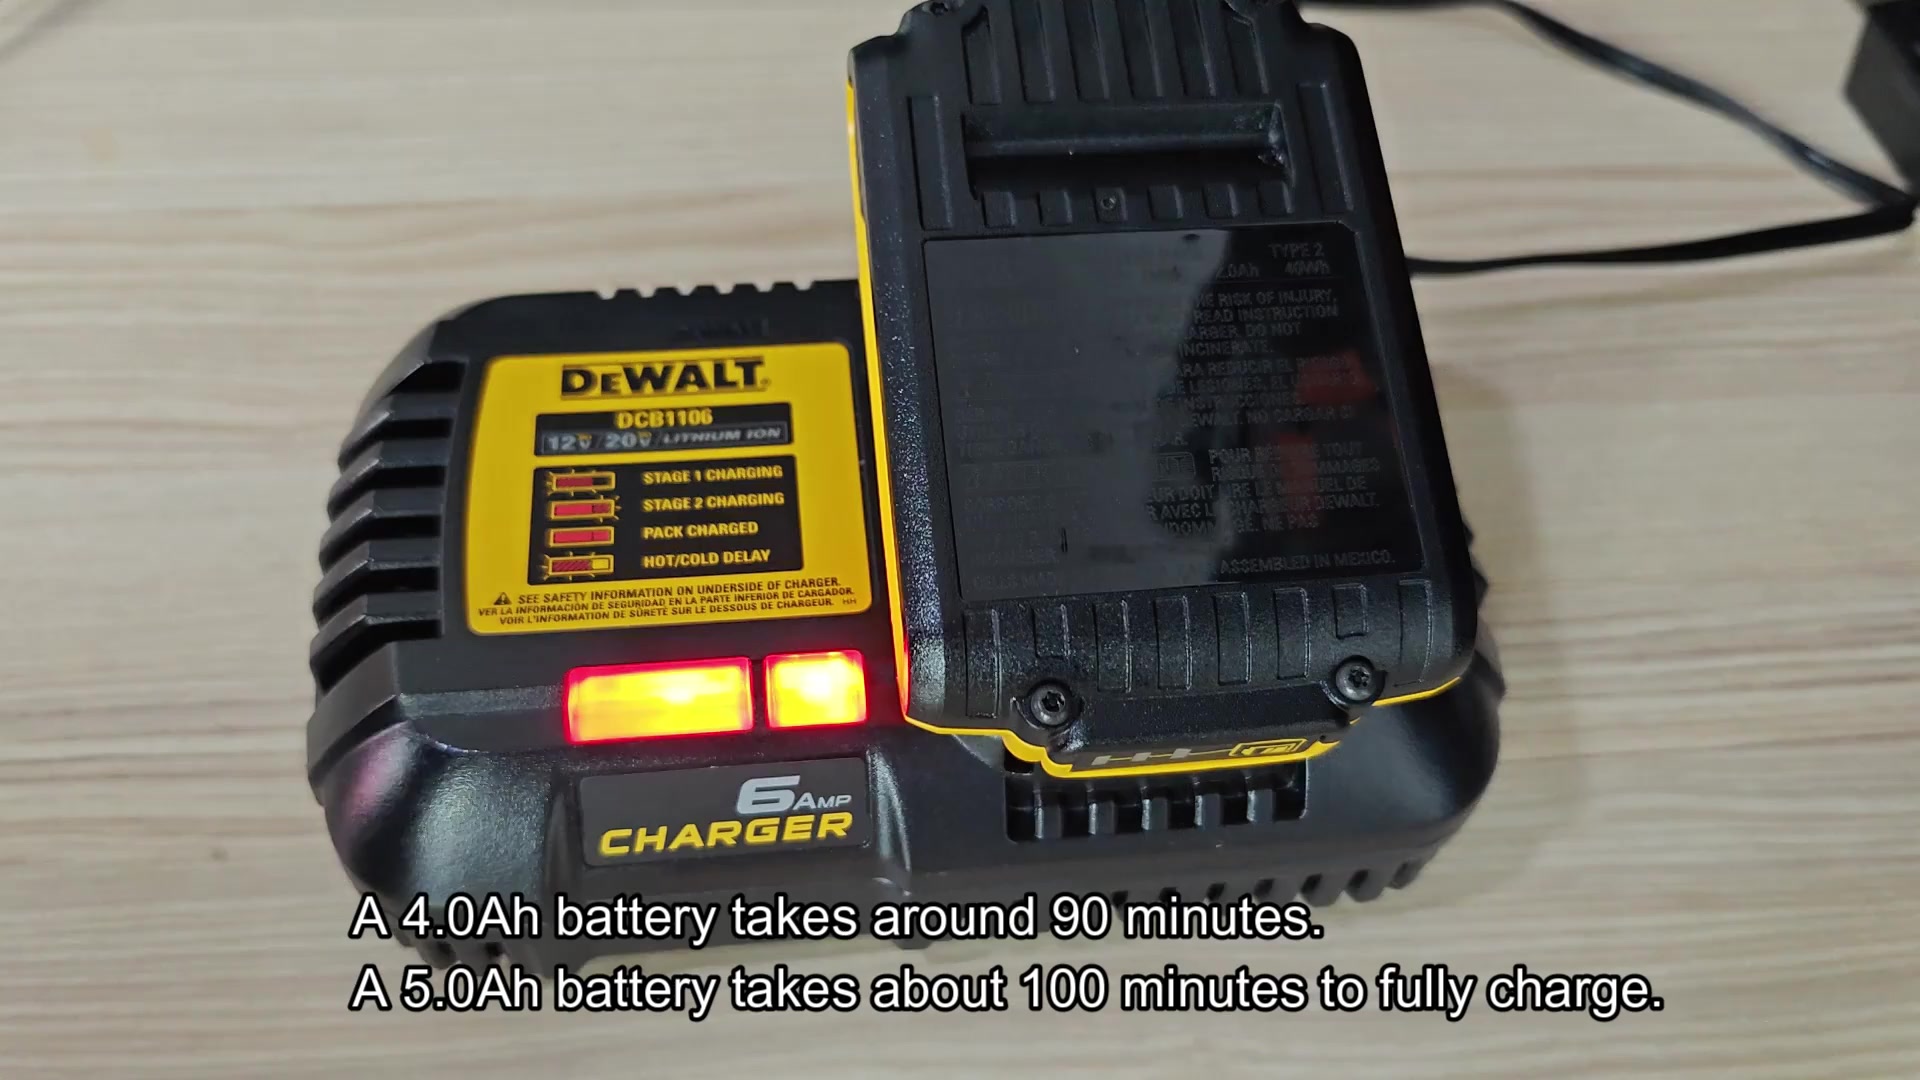
For the other batteries (4.0Ah and 5.0Ah), charging times is 90 minutes and about 100 minutes respectively. Obviously the bigger packs will take longer. I’ve got a 4.0Ah battery, which requires about 90 minutes for a full charge, during which time you’ll be able to get on with the job. If you have a heavy-duty 5.0Ah pack, expect roughly 100 minutes to charge up. It is not fast but not slow either.
The faster chargers greatly reduce these charging times and that was apparent when I saw what happened with my equipment. Big difference.
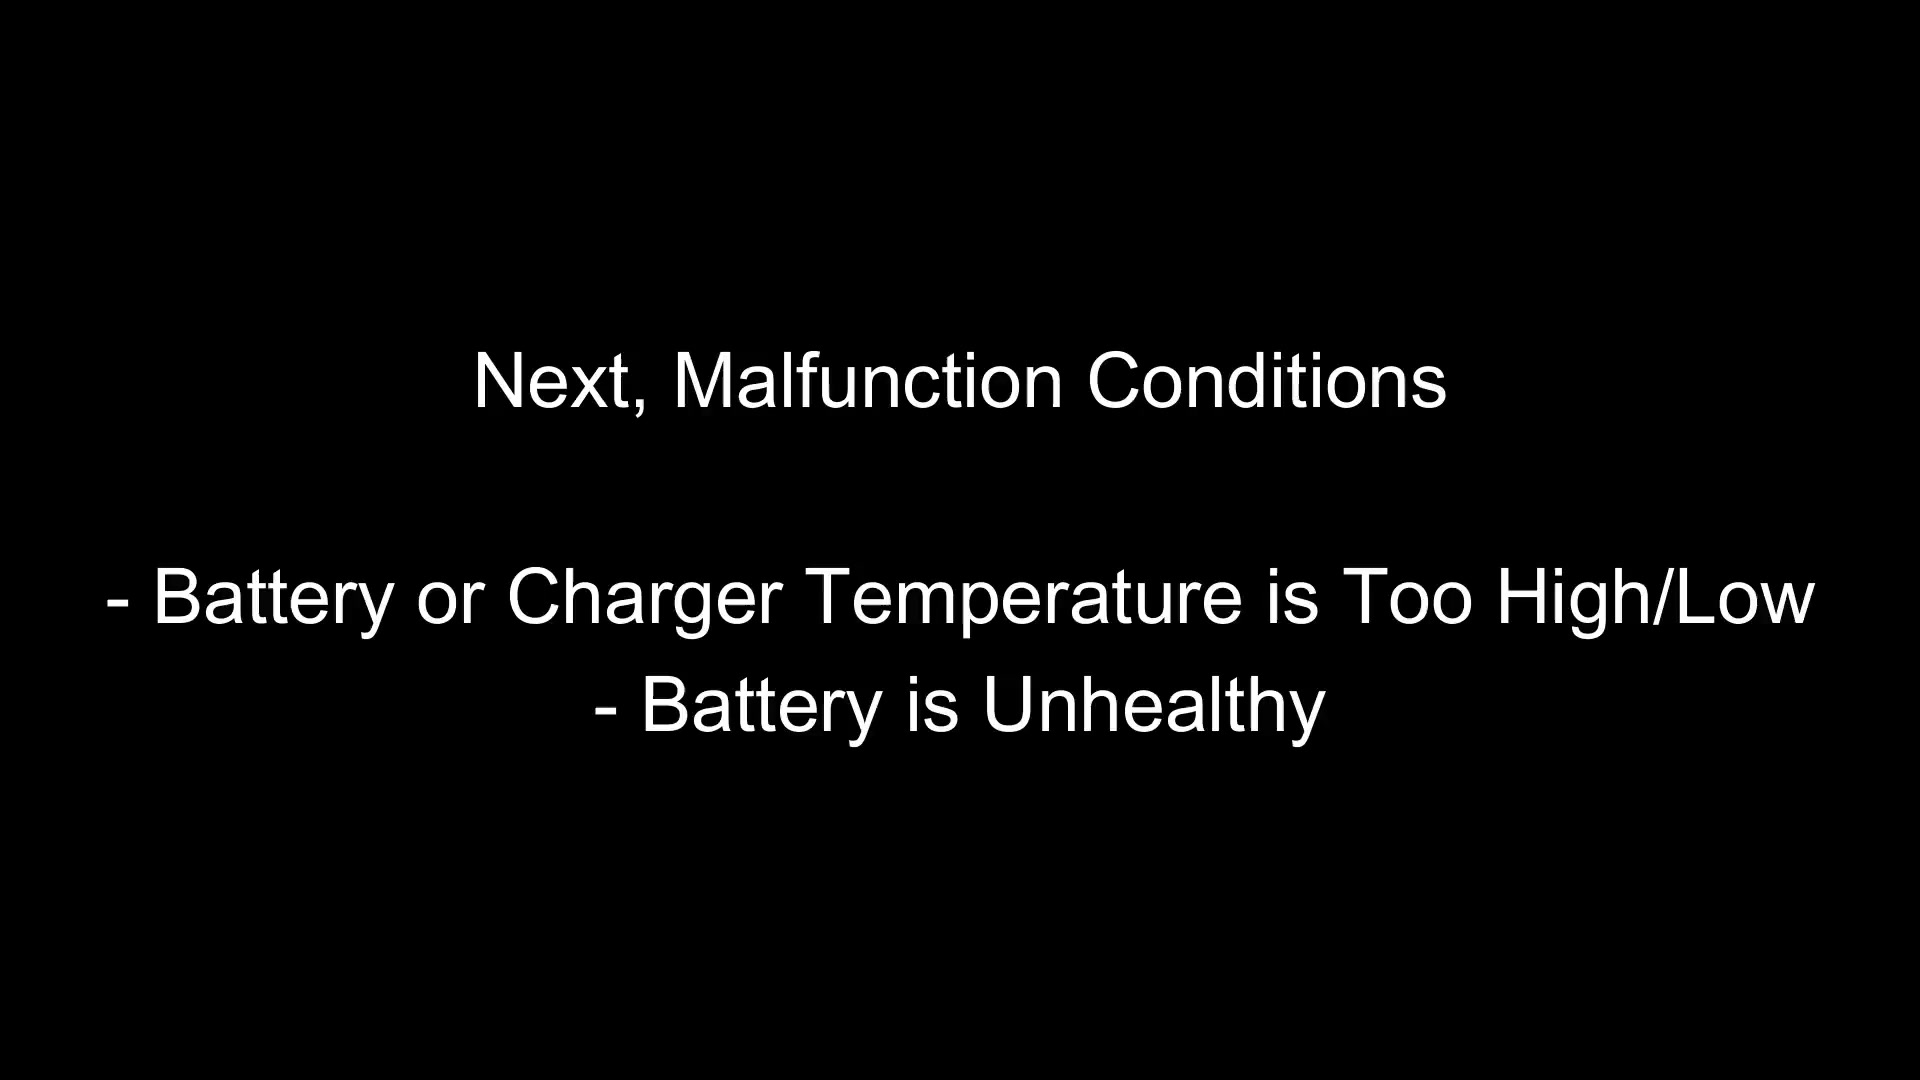
Note these other light patterns: The lights will do funny things sometimes and act different than they should, which typically means something’s wrong with your environment or the pack itself. Knowing what these mean can help troubleshoot issues quickly. Malfunction signal, If you see the short bar light AND the long bar light illuminated, then it means there’s an issue. It’s not meant to charge like this, so it’s either a problem with the internal circuitry or the battery cell itself. Older packs are prone to getting damaged and that was how mine was diagnosed instead of through guesswork. There is also another pattern of hot/cold delays. Because the charger checks temps to make sure it isn’t damaging anything, a hot battery (from hard use) makes the charger wait as well. It keeps your expensive lithium cells safe and prevents them from overheating. Annoying. But again, good for the batteries.
Cold weather acts the same way. The batteries don’t like being cold, and the charger won’t take them until they warm up. I learned that the hard way while outside in the winter. Nothing happens till the temp go up. You will feel less frustrated knowing what all of the lights mean. You won’t have to wonder if your battery is dead or if the charger is broken. The lights clearly indicate what’s going on. It makes keeping up with my tools a lot simpler. It is a clear winner.
Once you understand the indicators it’s simply: Detach, Check level, Seat on charger, Watch lights. Follow the visual clues and you’ll always know what’s happening. It is that simple.