
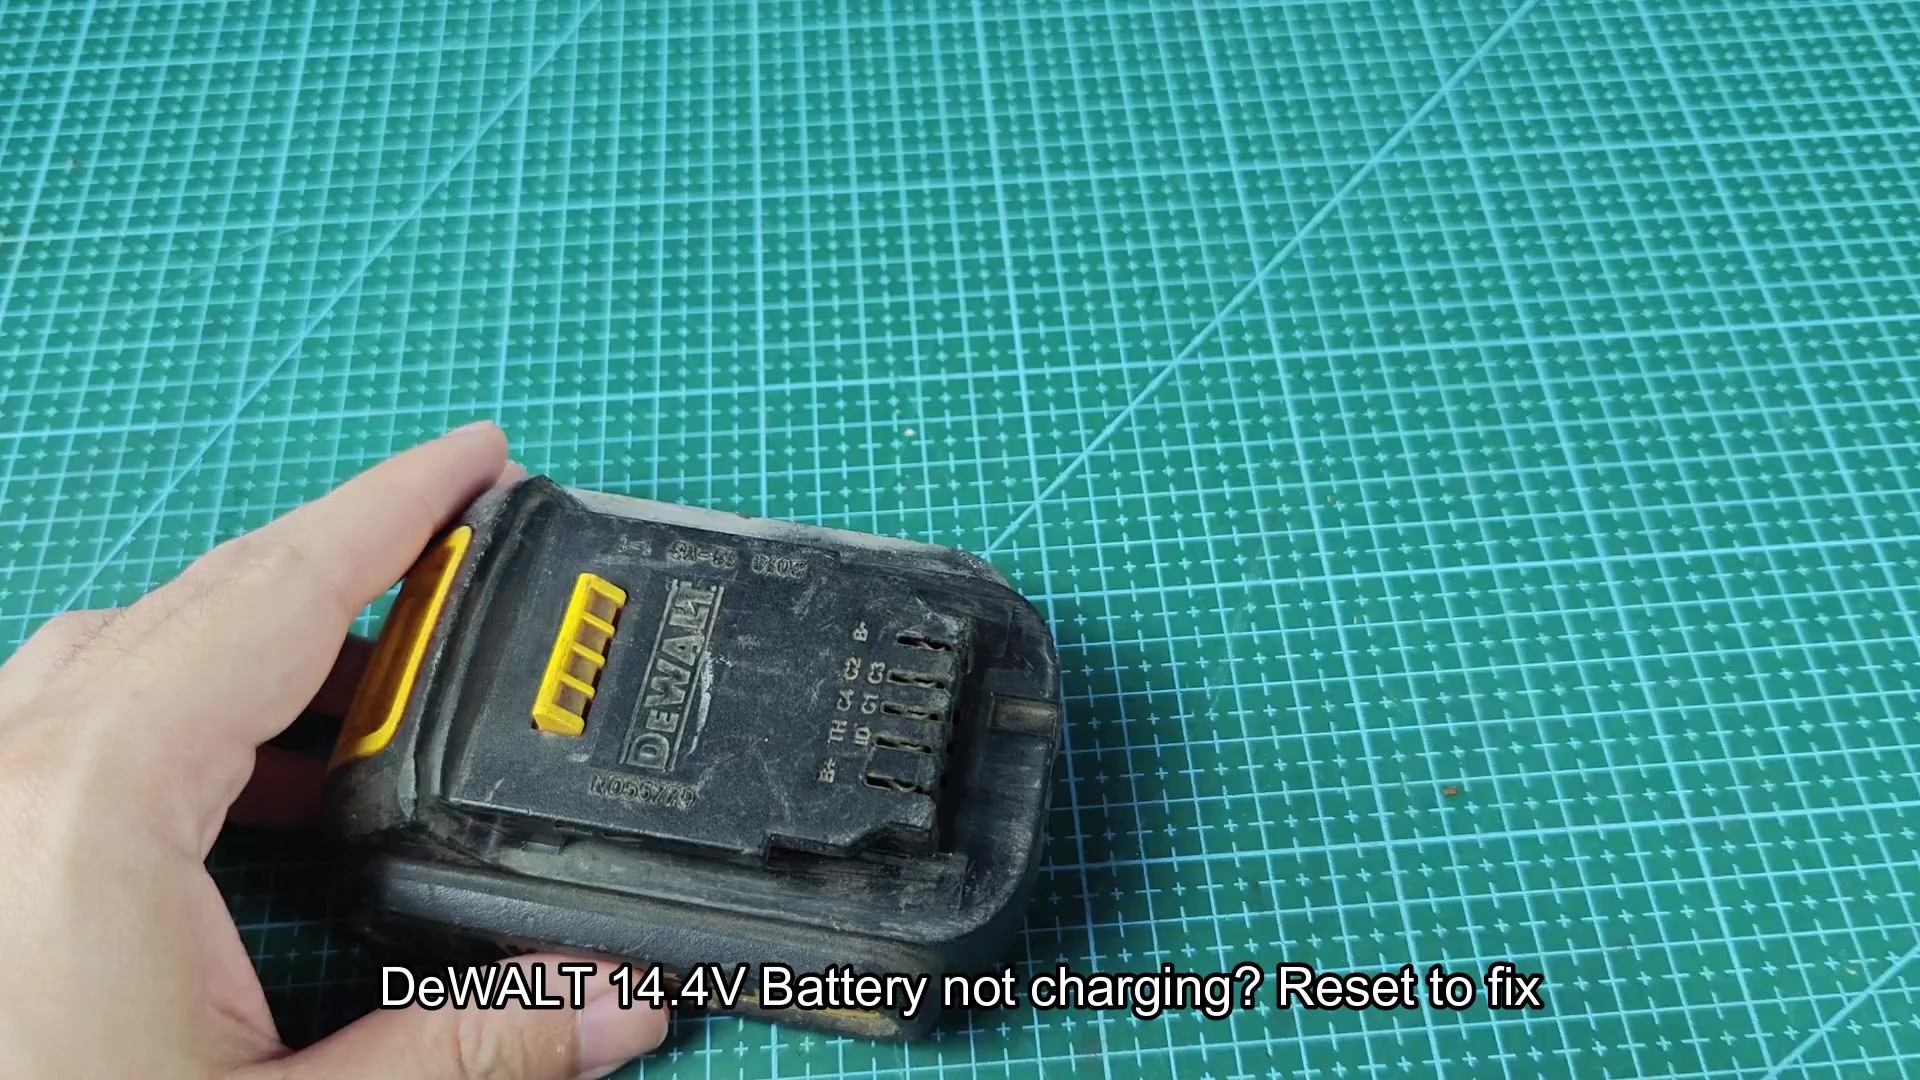
Had a DeWALT 14.4V battery packs that would not charge at all. The battery had sat in the garage for several months and dropped to such a low voltage that the charger would not recognize the battery pack anymore. There are three different technique to bring a dead DeWALT battery pack back to life when the voltage drops to this extent.
Quick battery revival
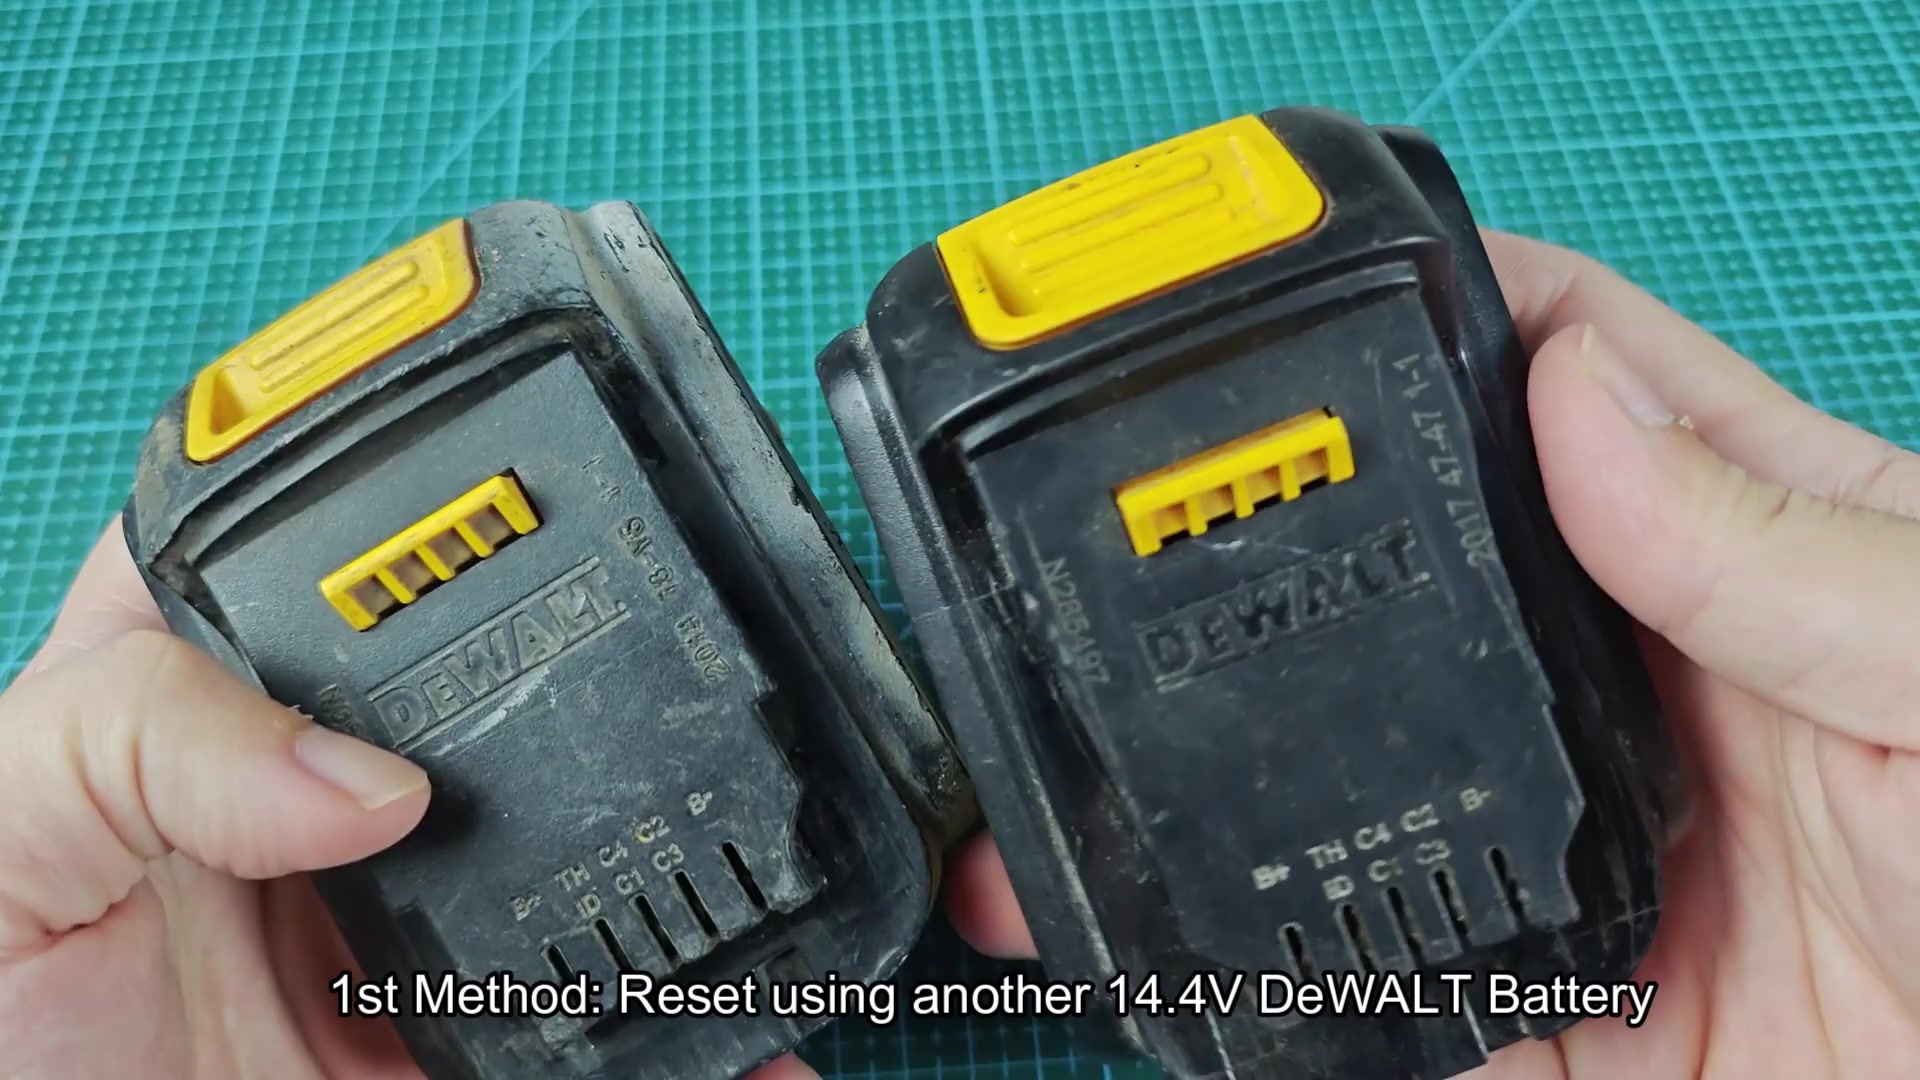
The first technique involve placing the dead battery pack alongside a healthy 14.4V battery pack. Find the correct terminal on both battery packs.
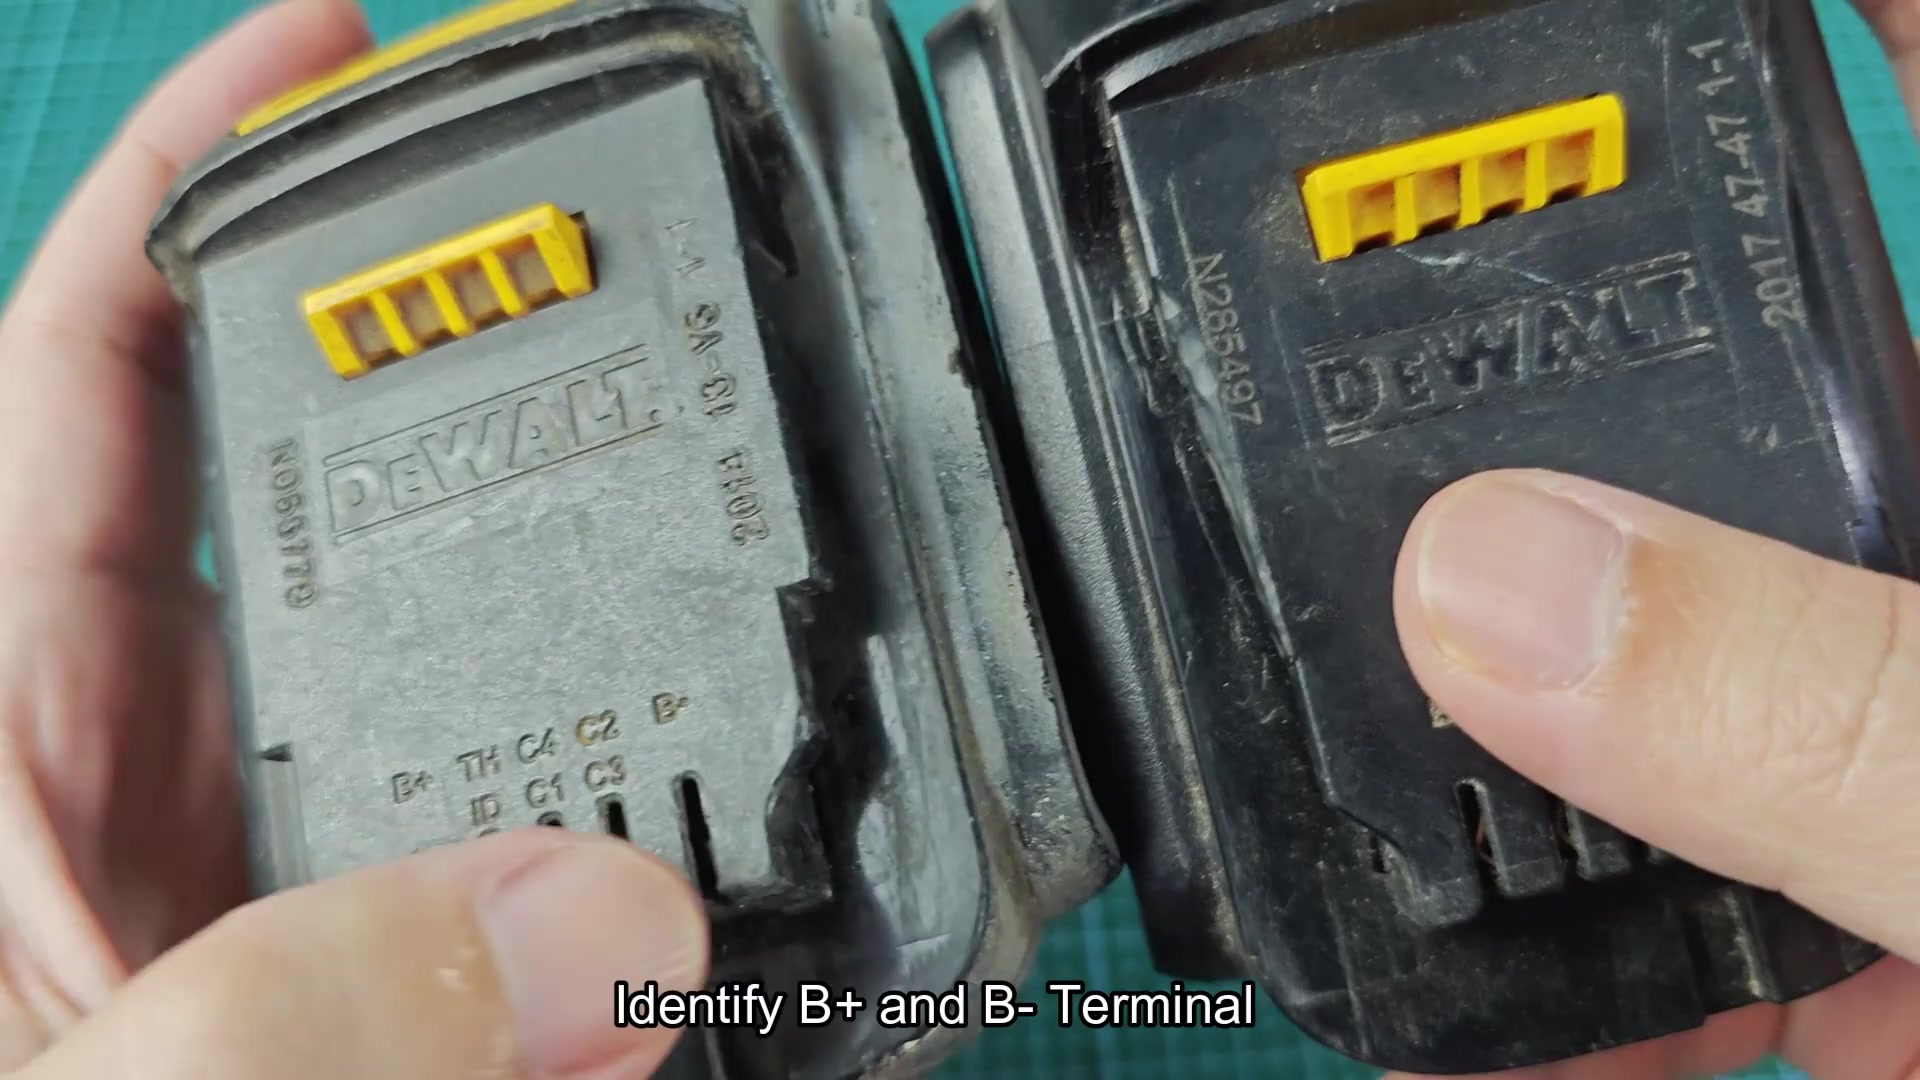
The bottom of battery packs will have the label B+ and B− printed on the plastic casing of the battery pack. There is several electrical contacts on each battery pack but only three of them are needed to jump start the dead battery.
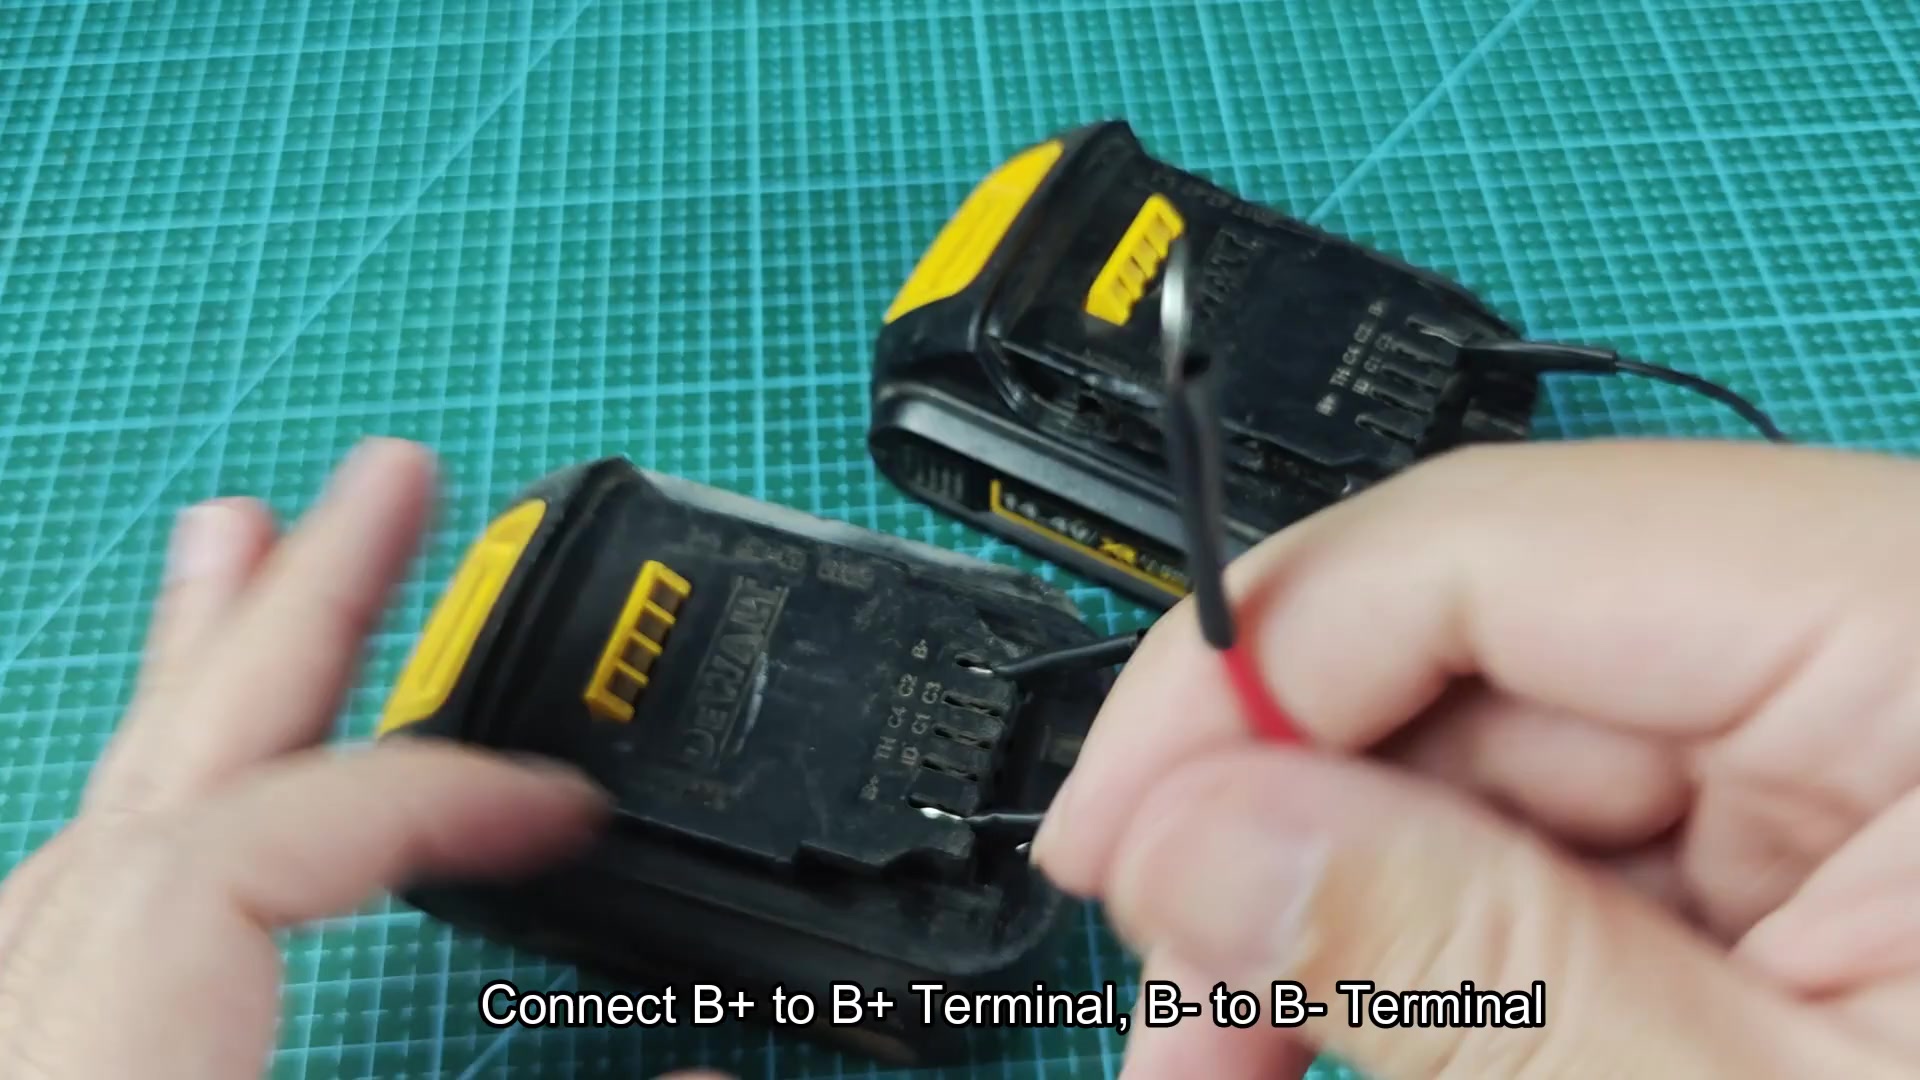
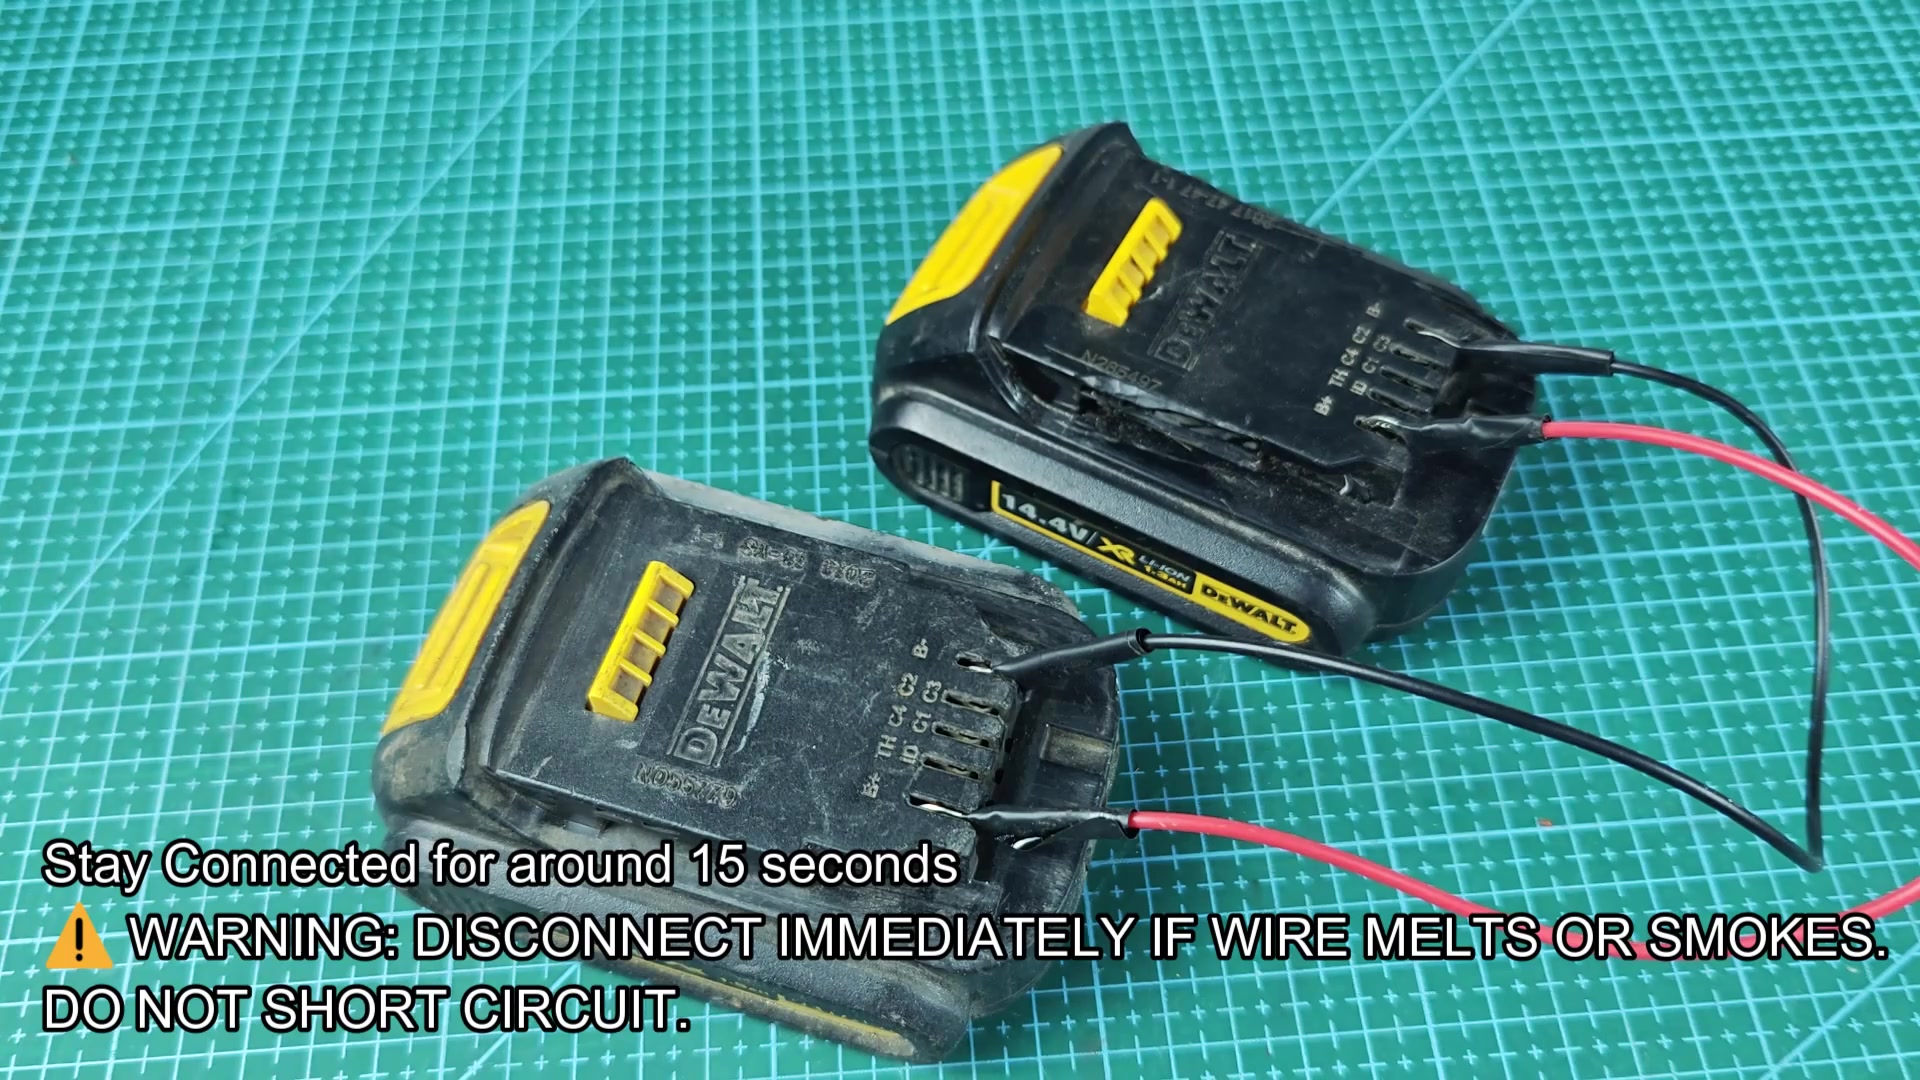
Use a short length of electrical wire to connect the B+ terminal on the dead battery to the B+ terminal on the healthy battery pack. Do the same for the B− terminal.
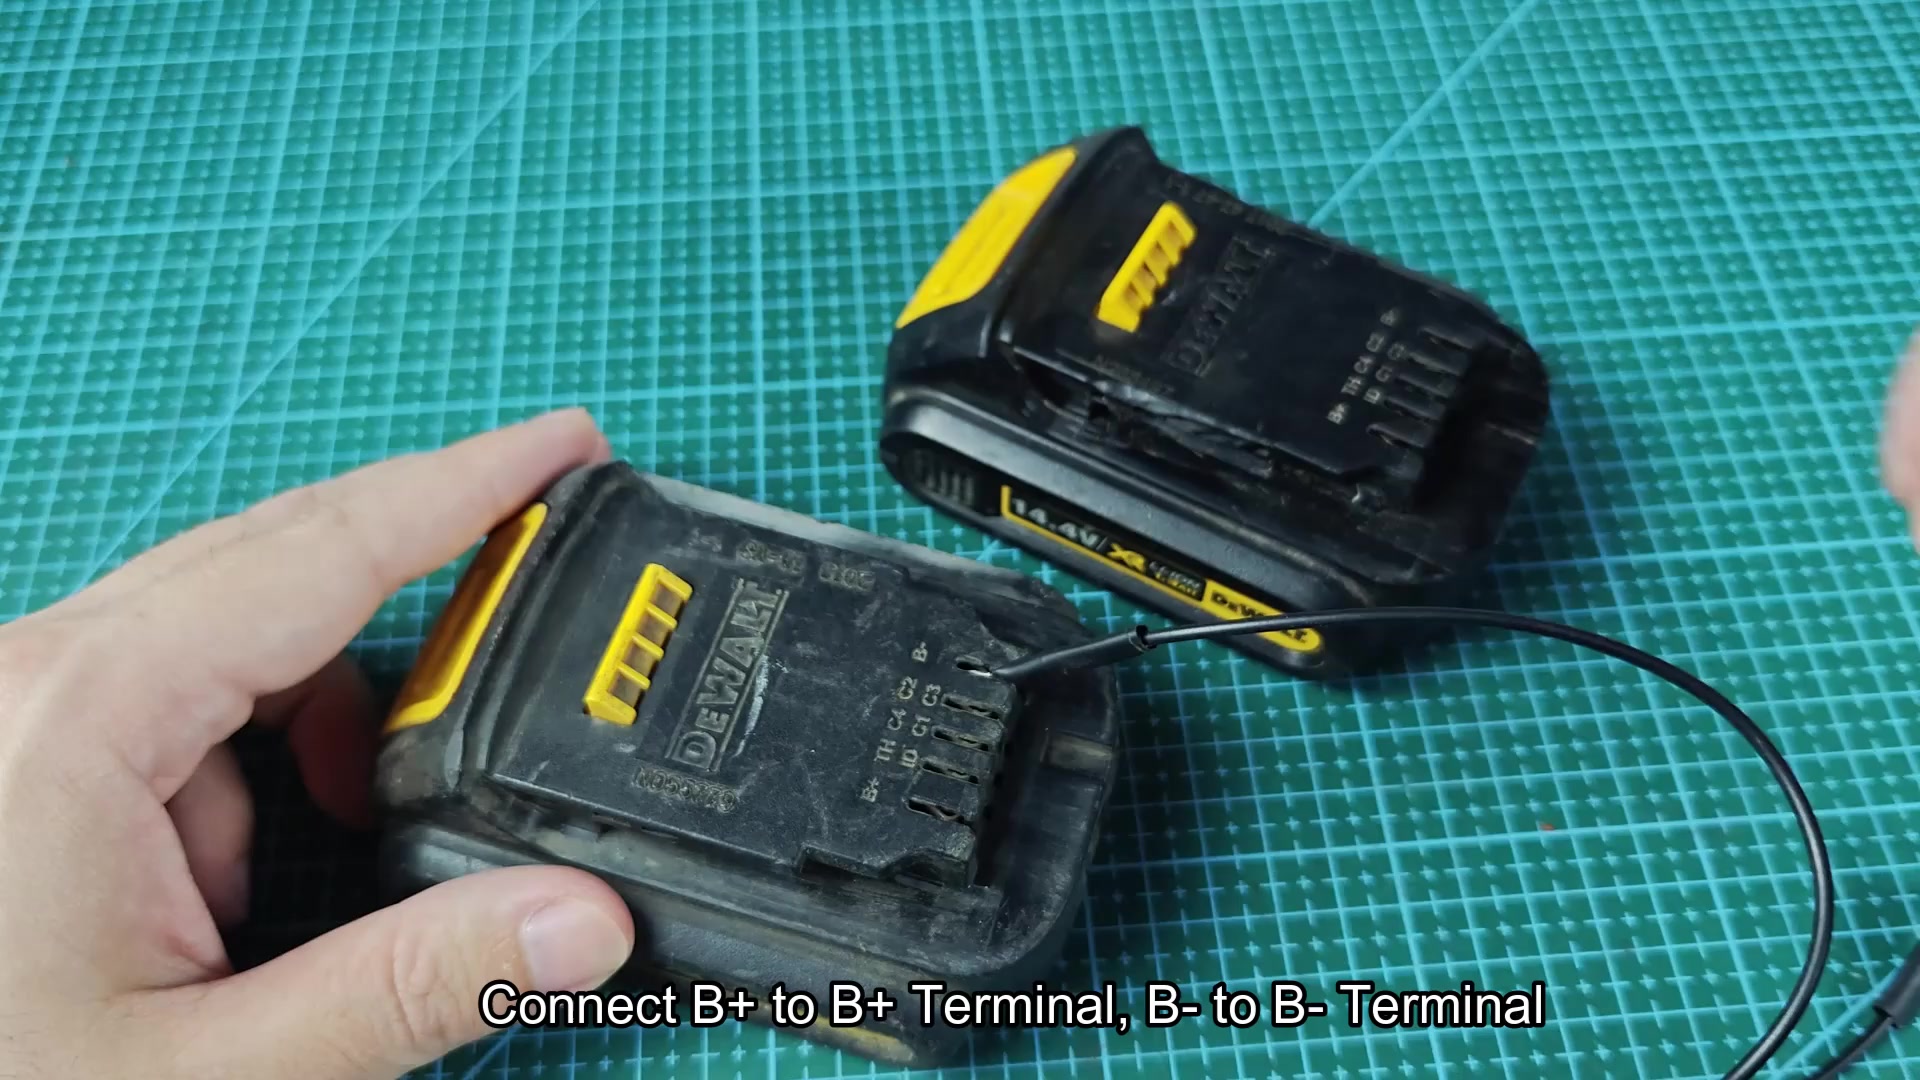
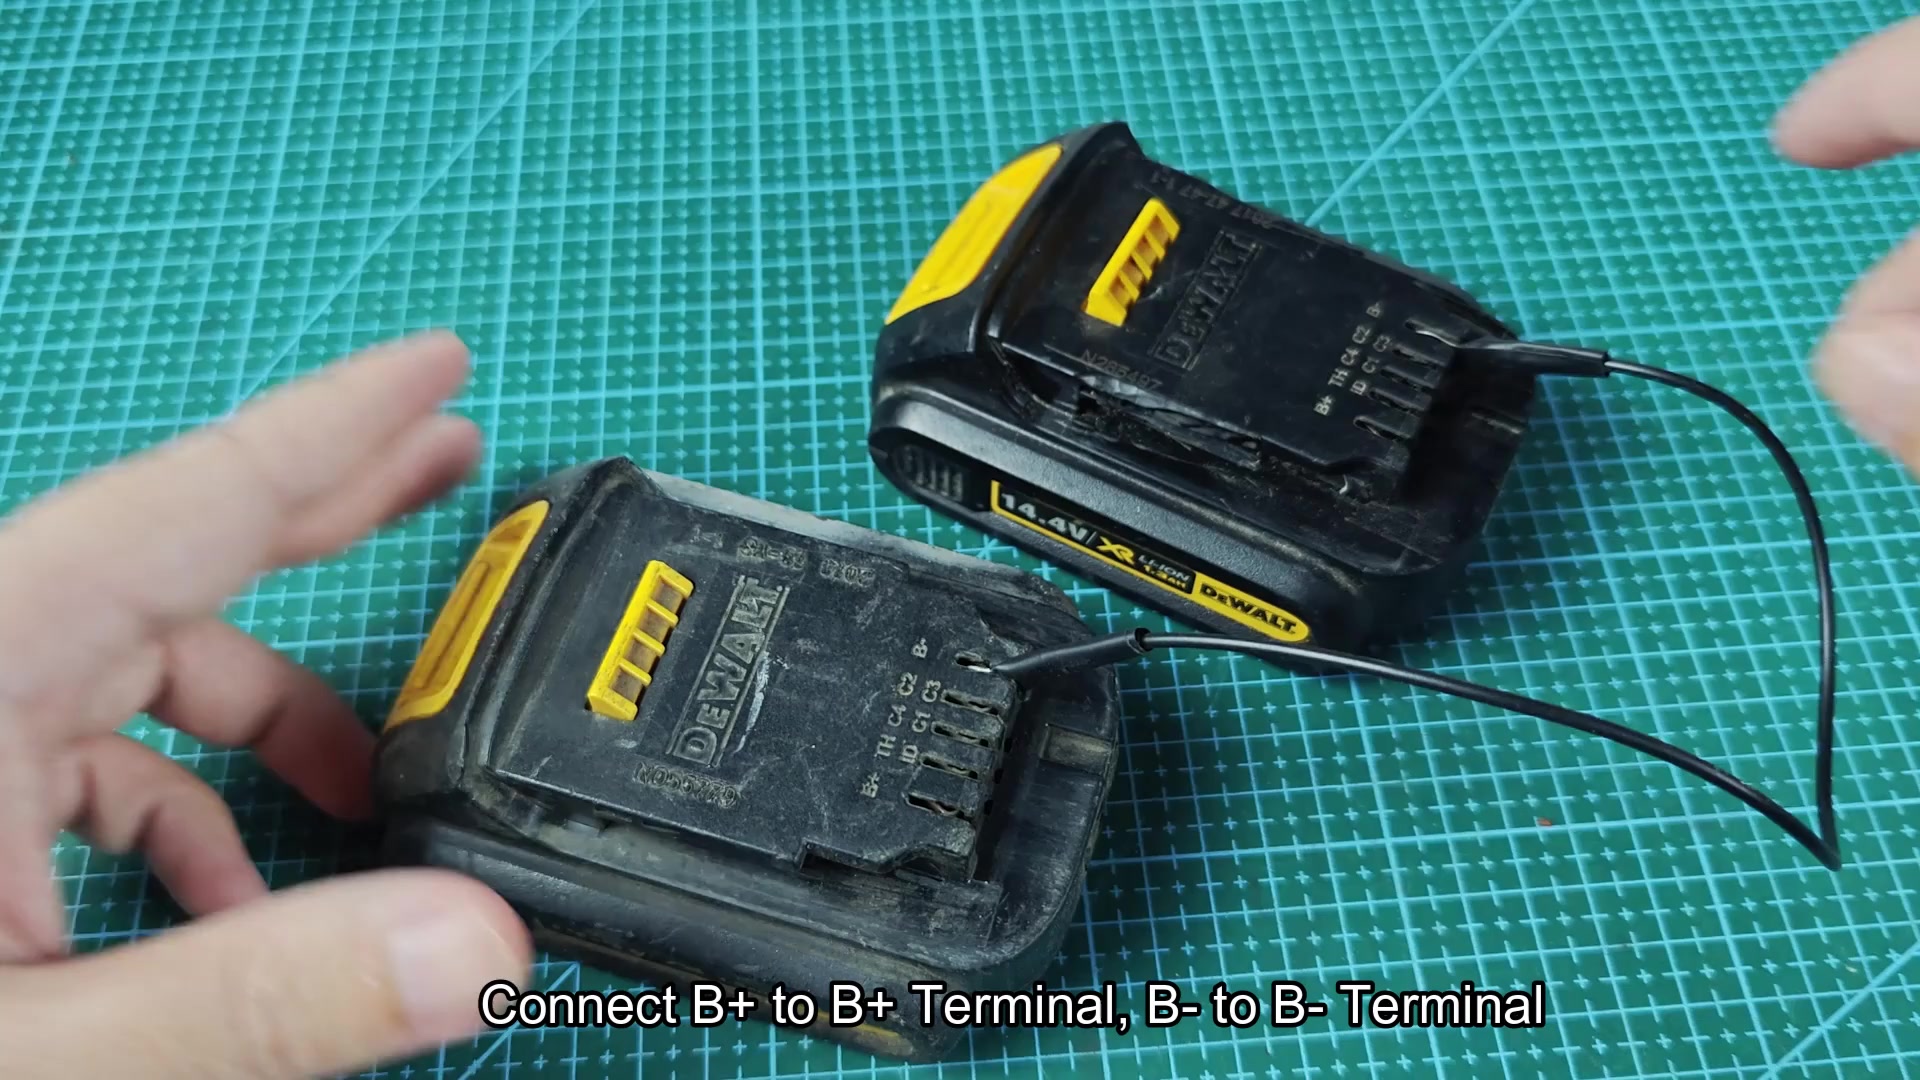
Leave the two battery packs connect for approximately fifteen seconds. This will allow the healthy battery to impart some of its voltage into the dead battery pack. The healthy battery will lose some of its charge in the process but the dead battery should develop enough voltage to be recognize by the charger.
If you dont have access to another battery pack, you can use a second technique. In my case, I used a Ryobi 14.4V battery pack instead. Any battery pack of the same voltage will work for this technique in place of another battery pack.
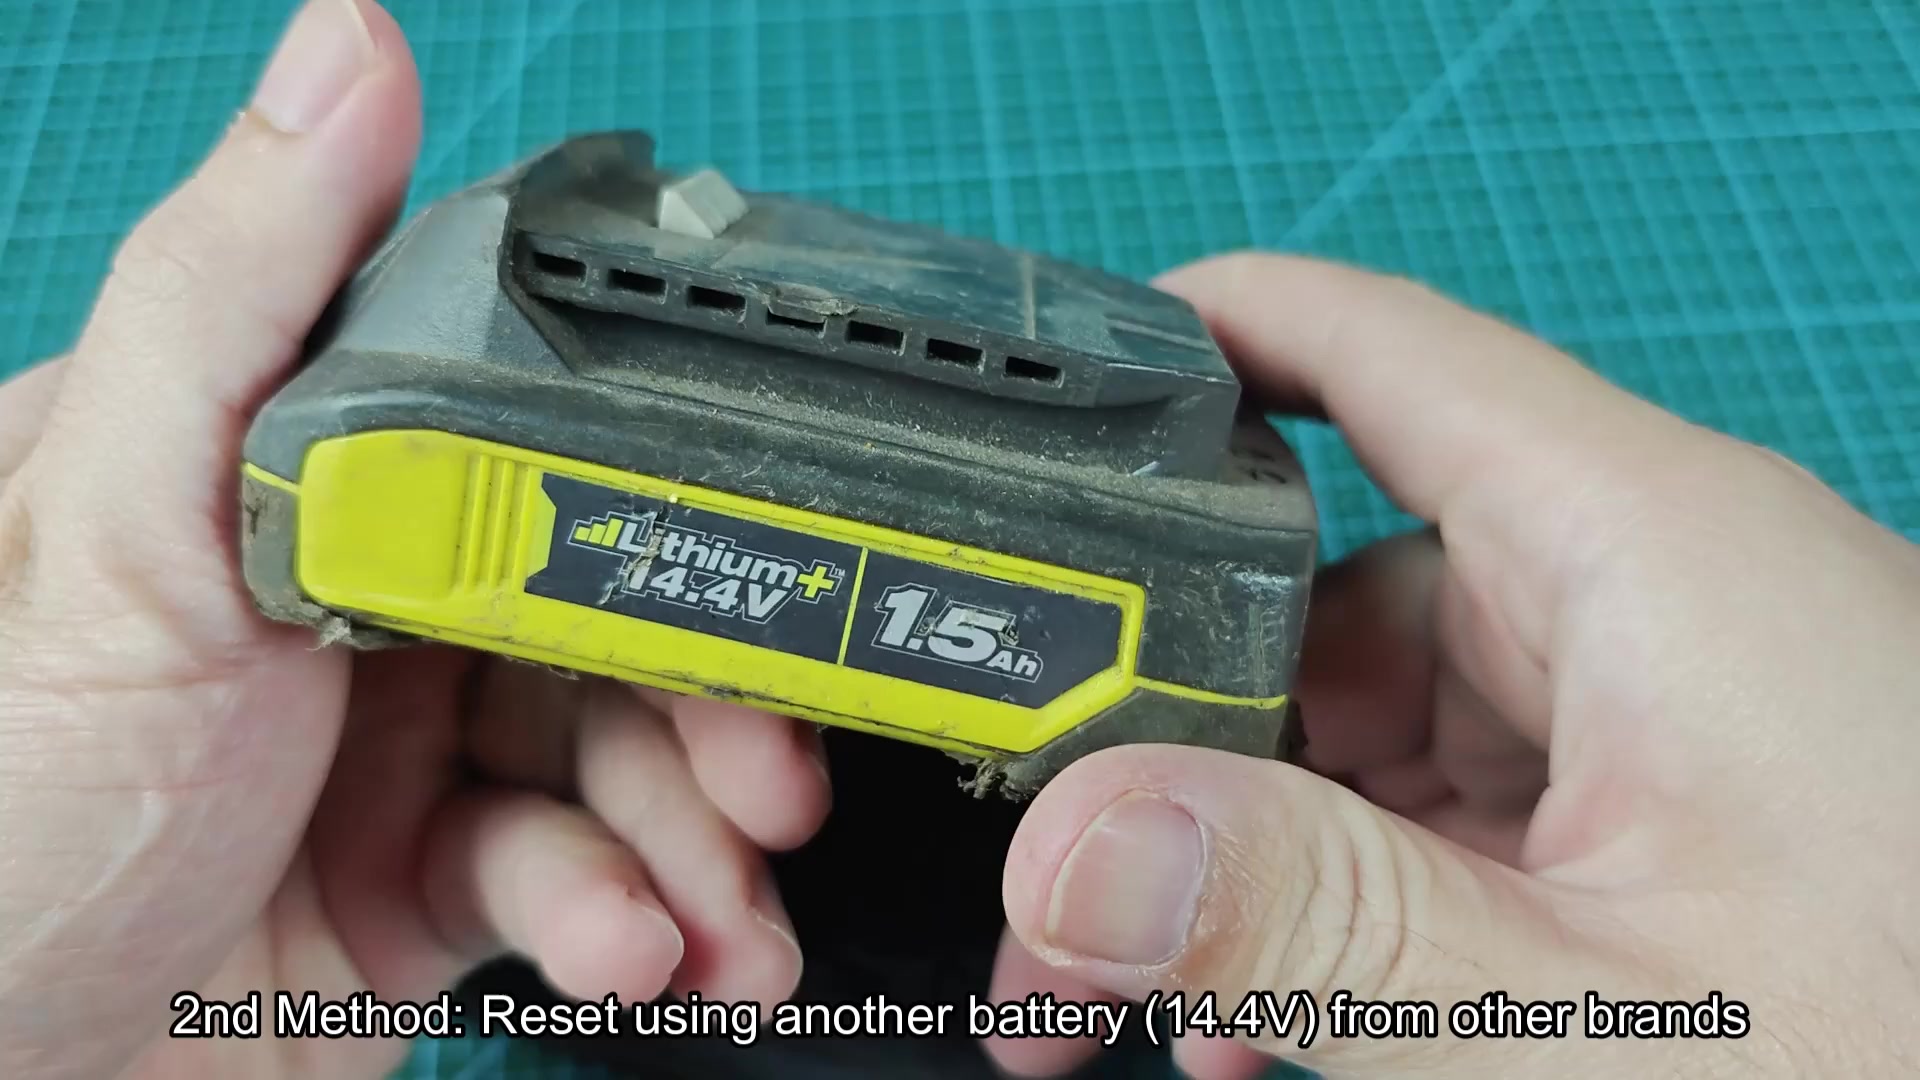
The Ryobi battery pack employ embossed plus and minus sign on the battery case indicating the positive and negative terminals. Unlike the DeWALT battery packs the terminals on the Ryobi battery are labeled different.
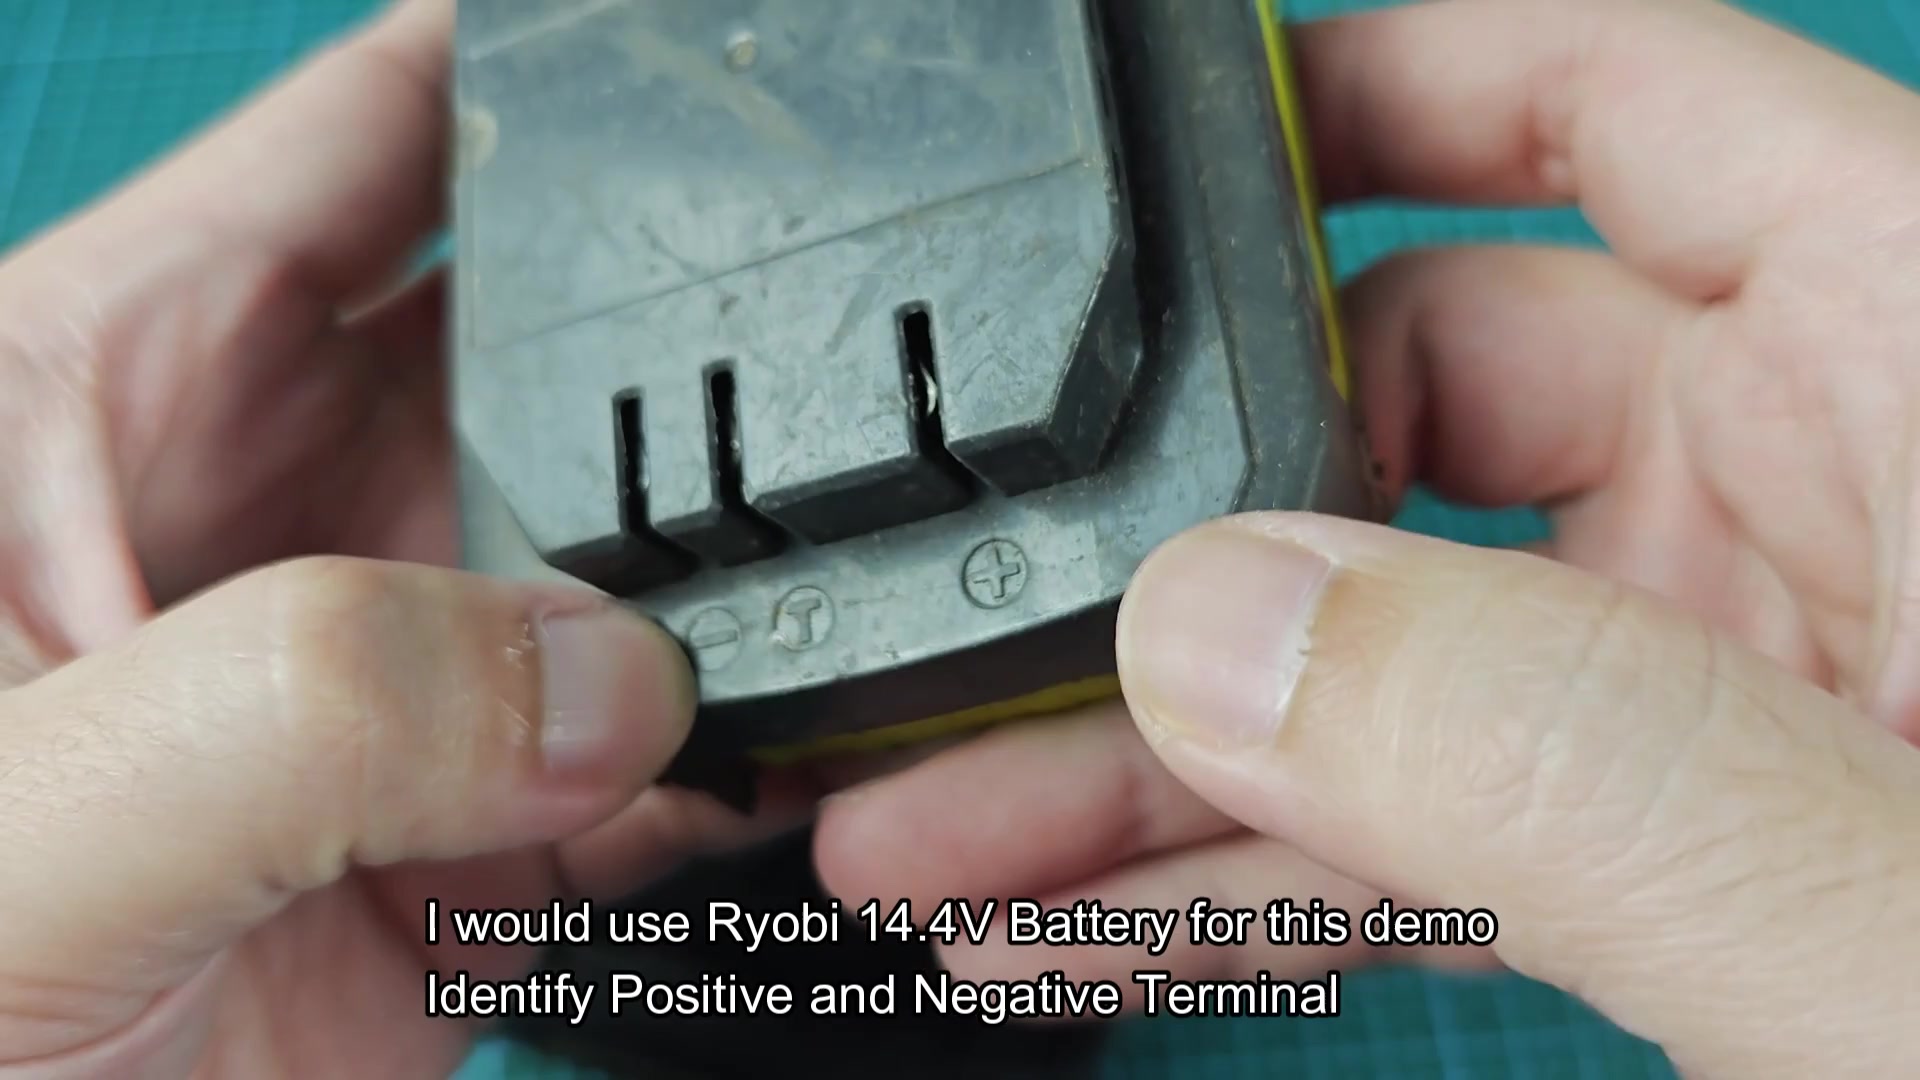
Connect one end of an electrical wire to the B+ terminal on the dead DeWALT battery and the positive terminal on the Ryobi battery. Do the same for the B− terminal of the DeWALT and the negative terminal on the Ryobi battery.
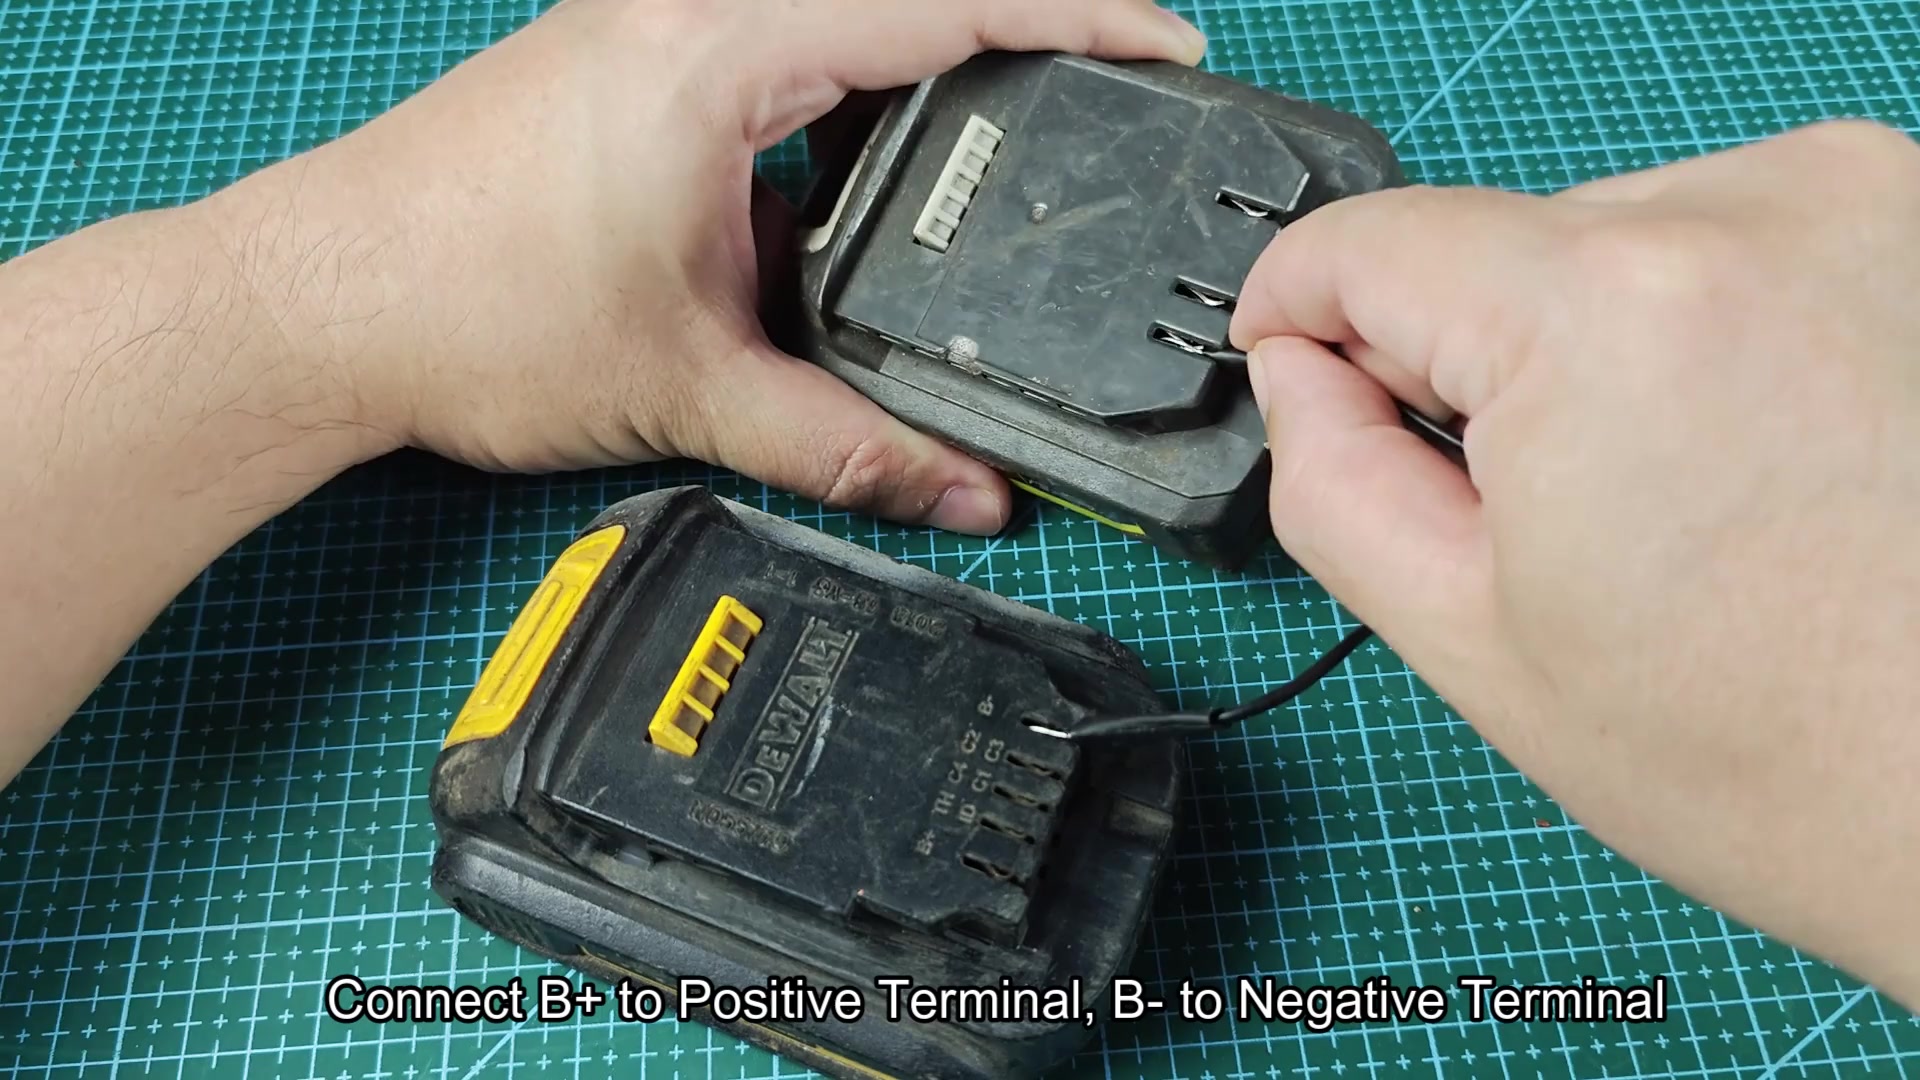
Allow the two battery packs to remain connected in this fashion for fifteen second.
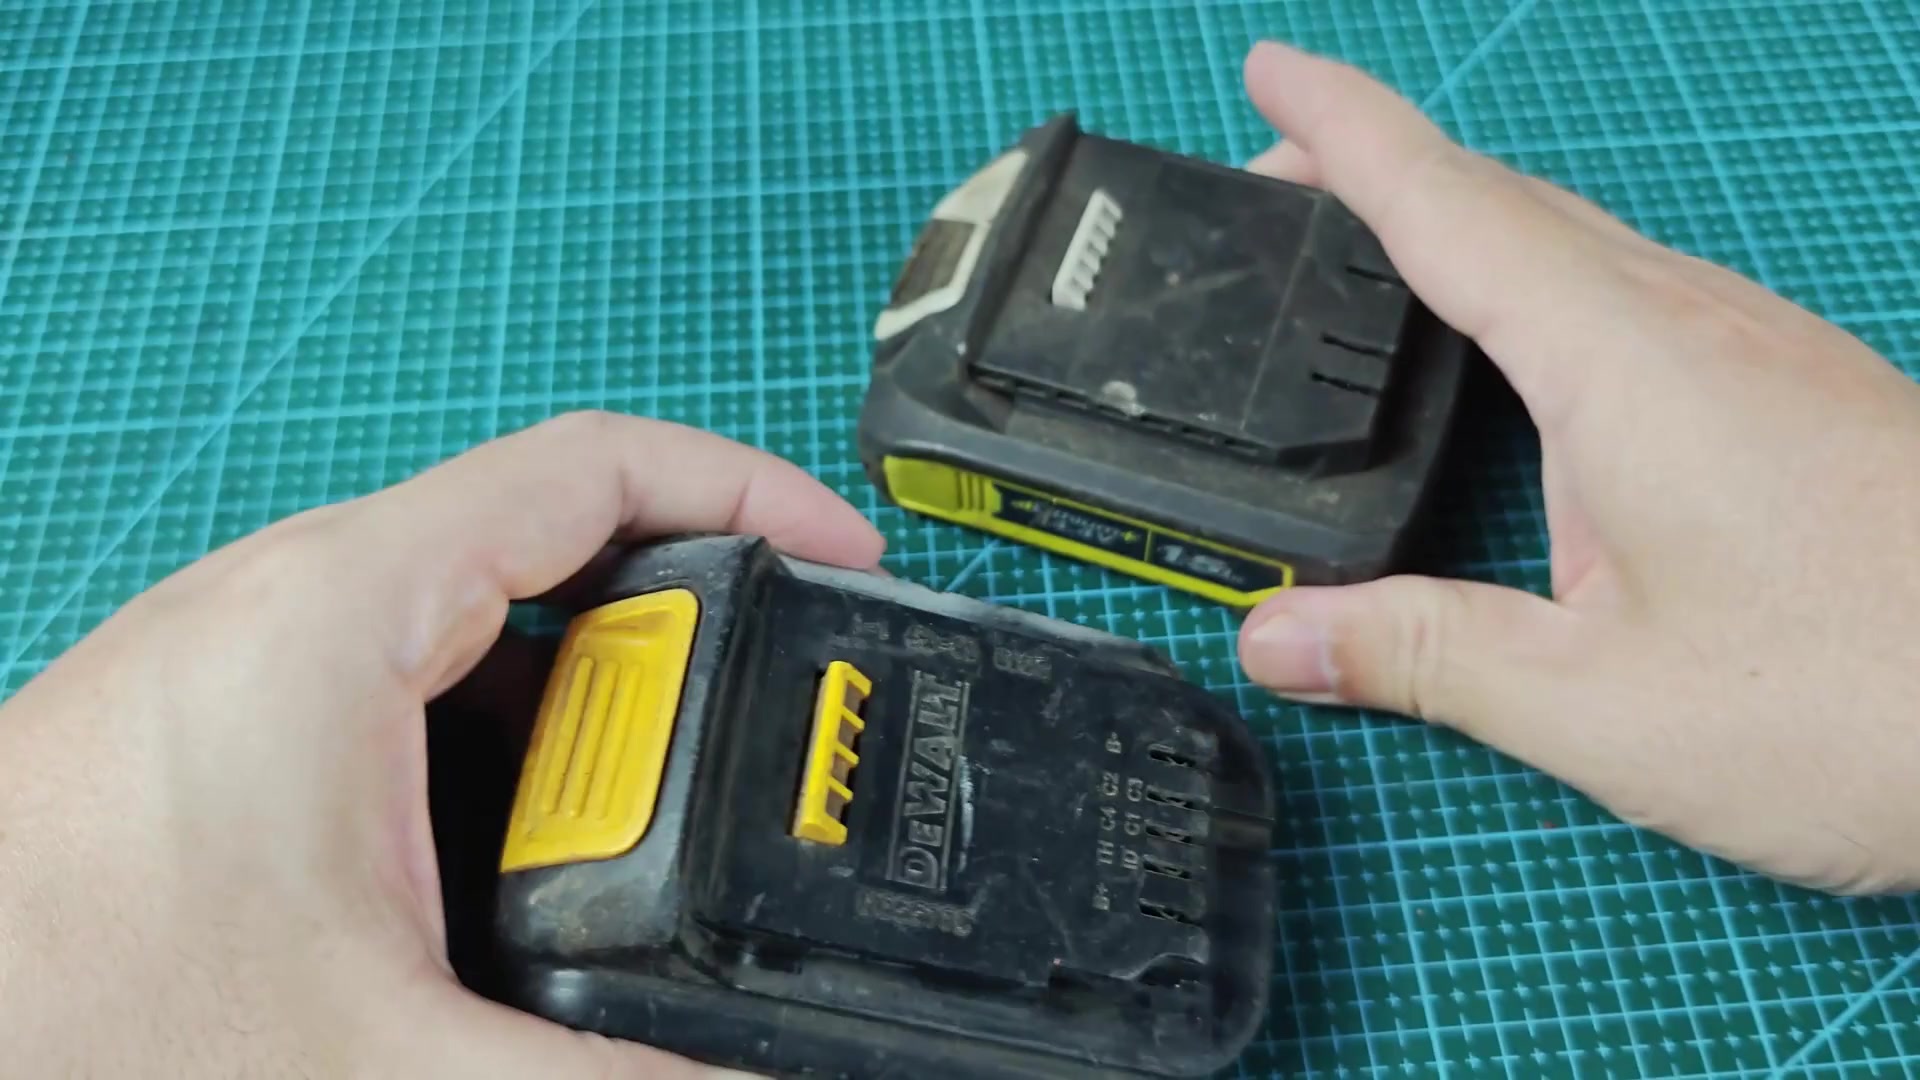
Technique three use a bench power supply to deliver a charge to the dead battery pack. This technique require more tools than the other two method but provides better control over the charging process.
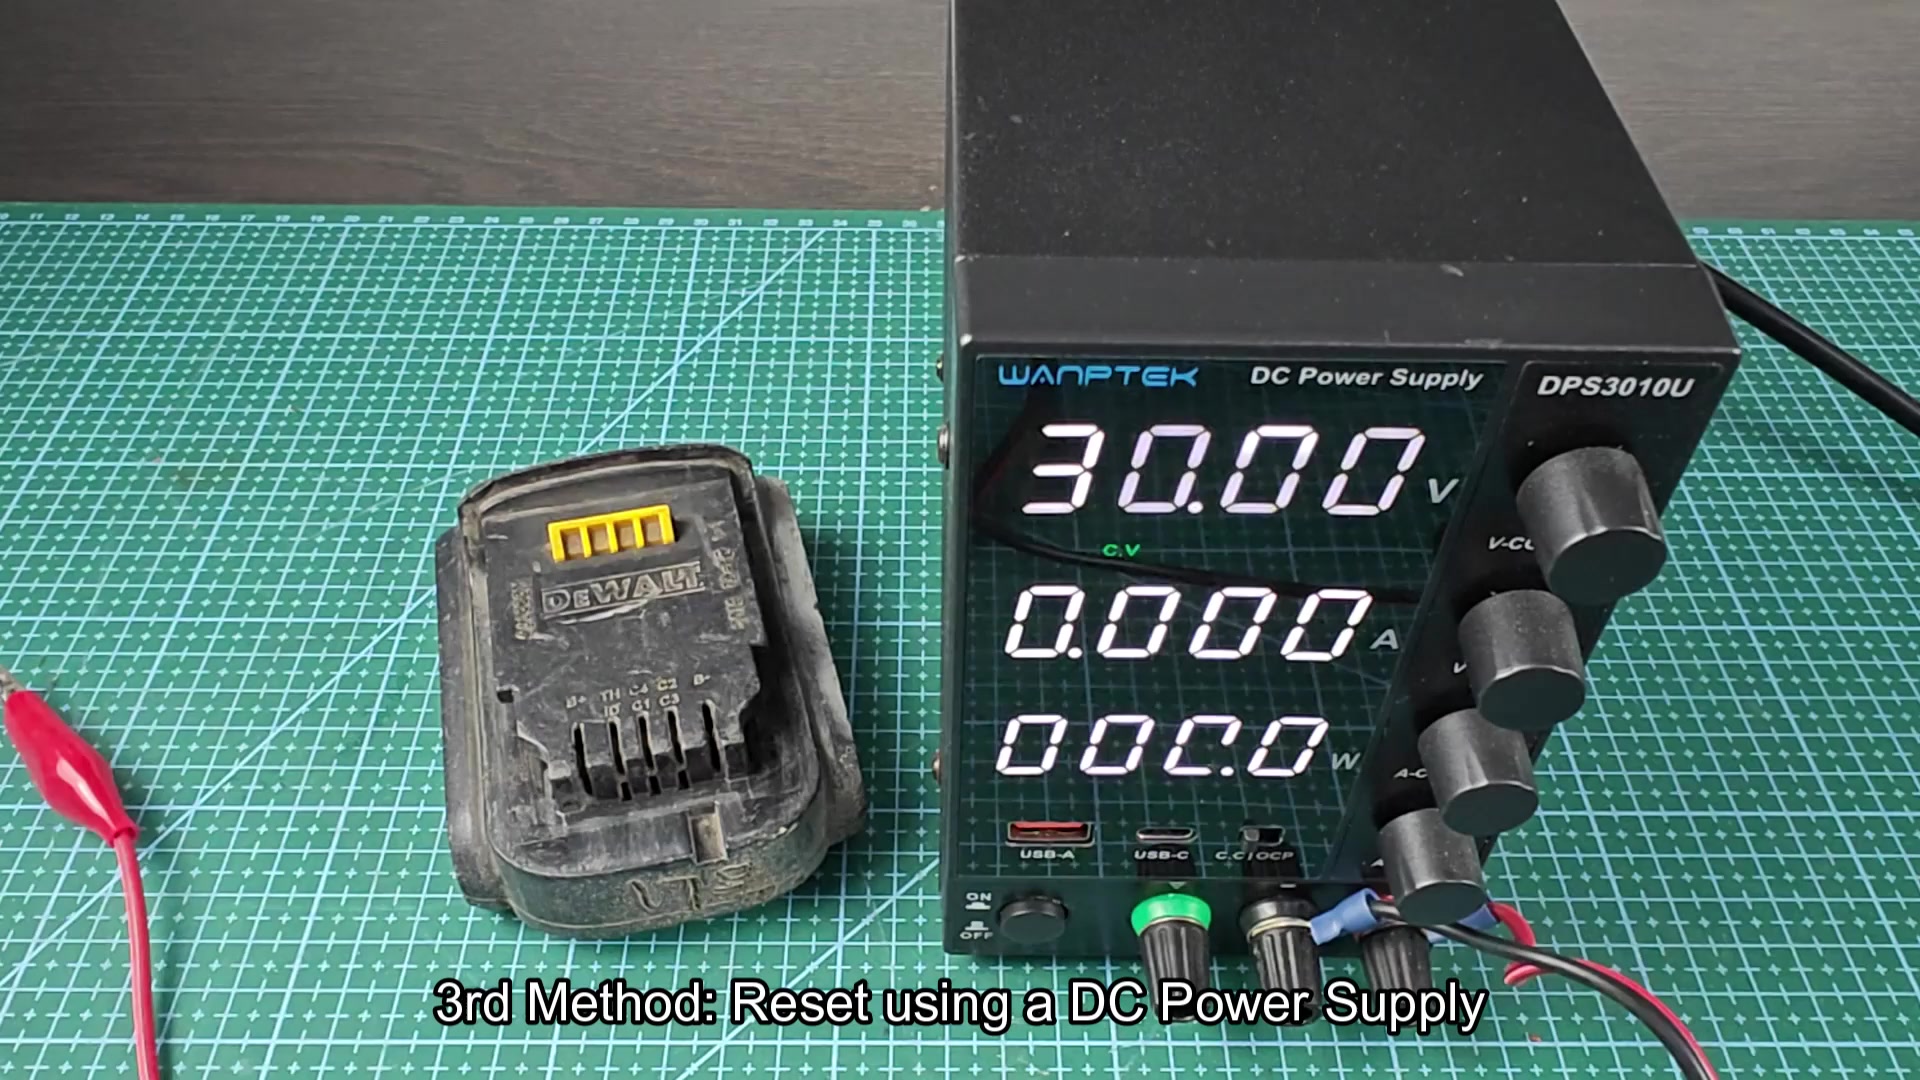
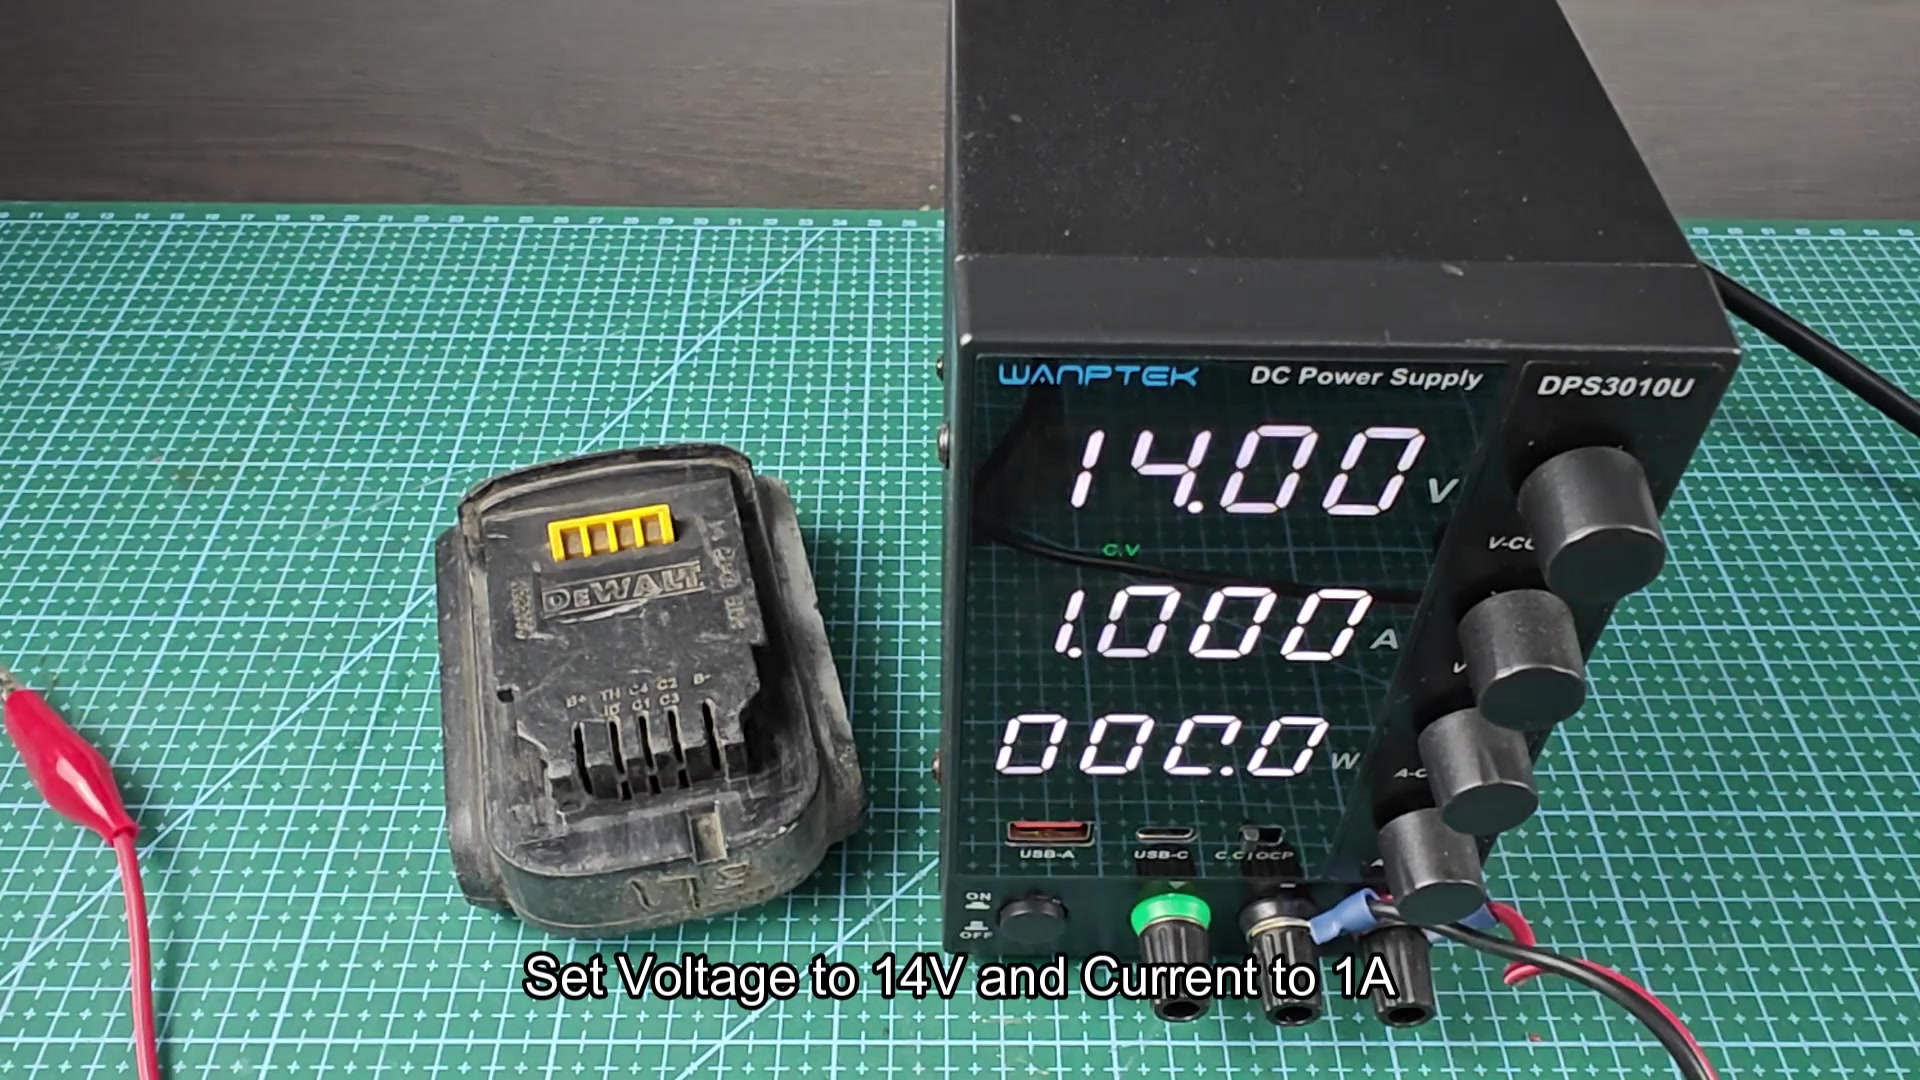
Adjust the voltage dial of the bench power supply to 14 volts and the current dial to 1 amp.
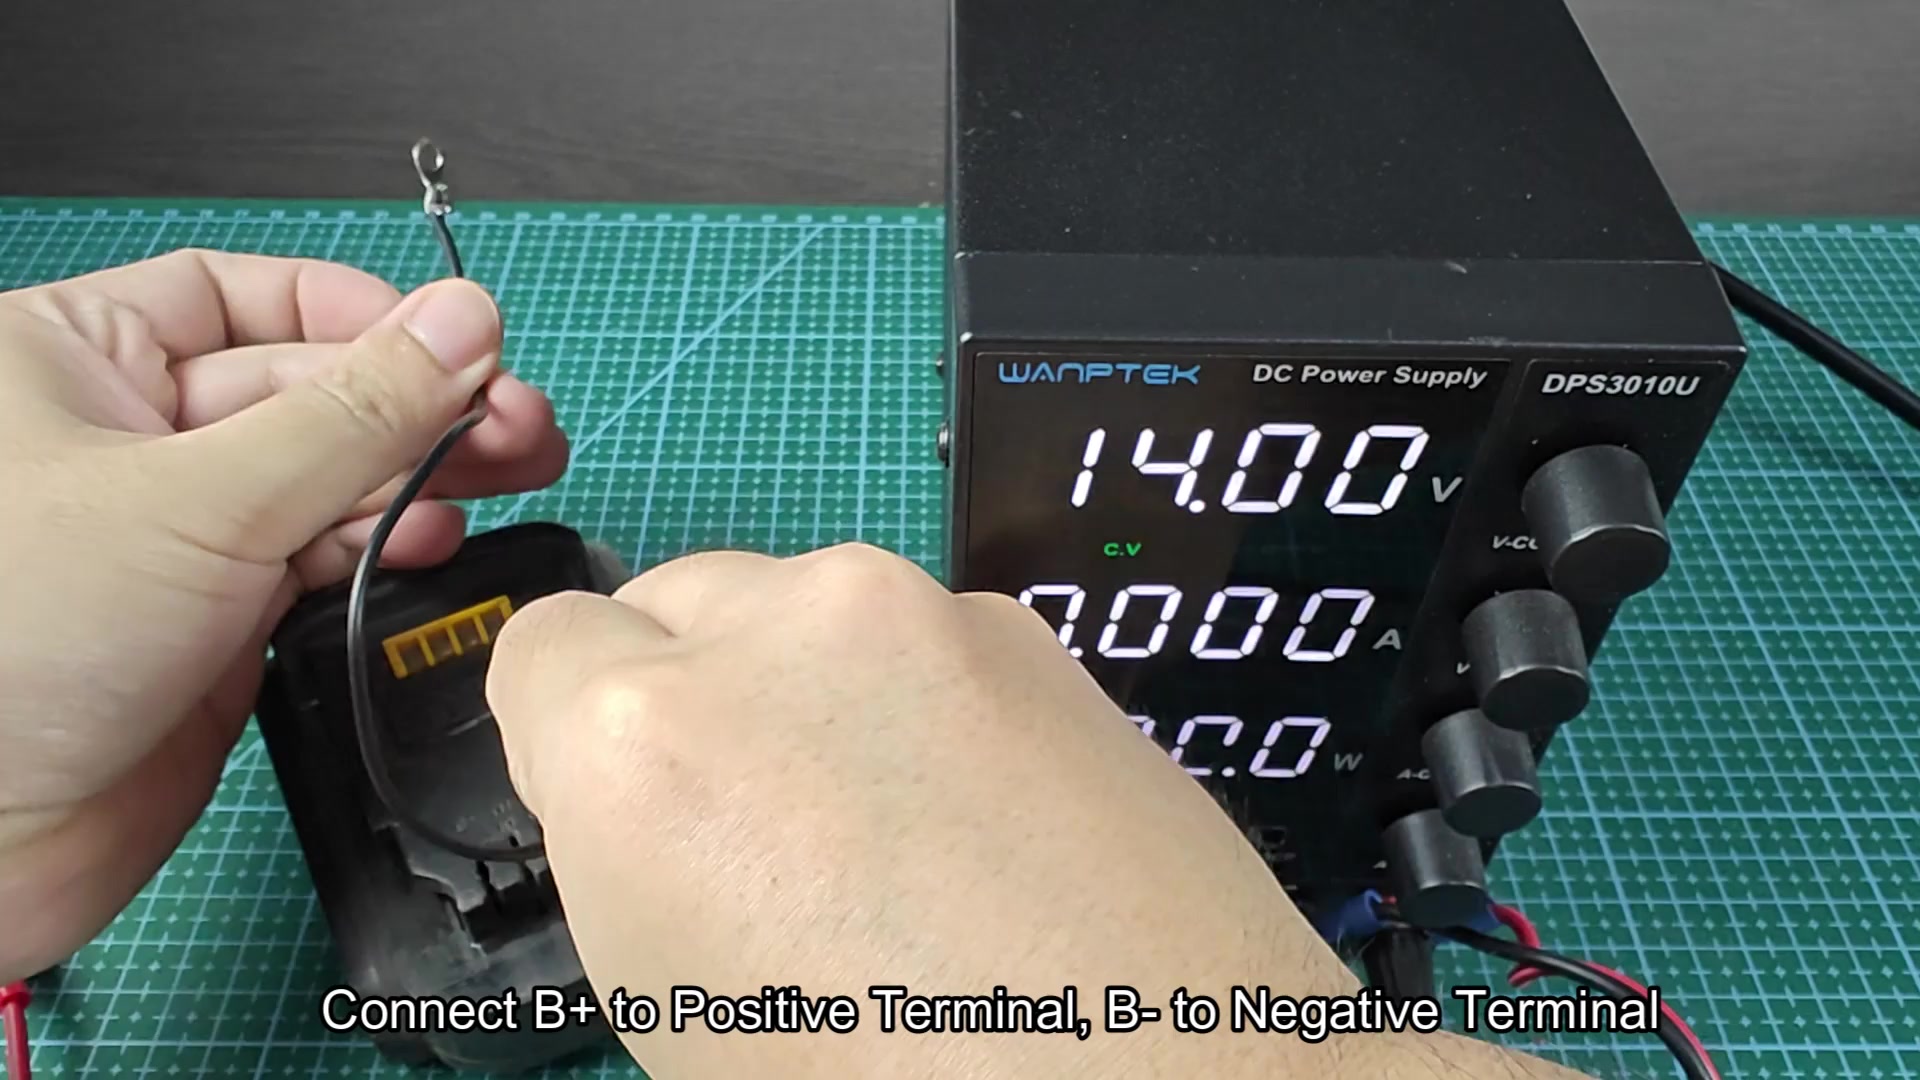
Connect the positive lead from the power supply to the B+ terminal on the dead DeWALT battery and the negative lead to the B− terminal on the same battery pack.
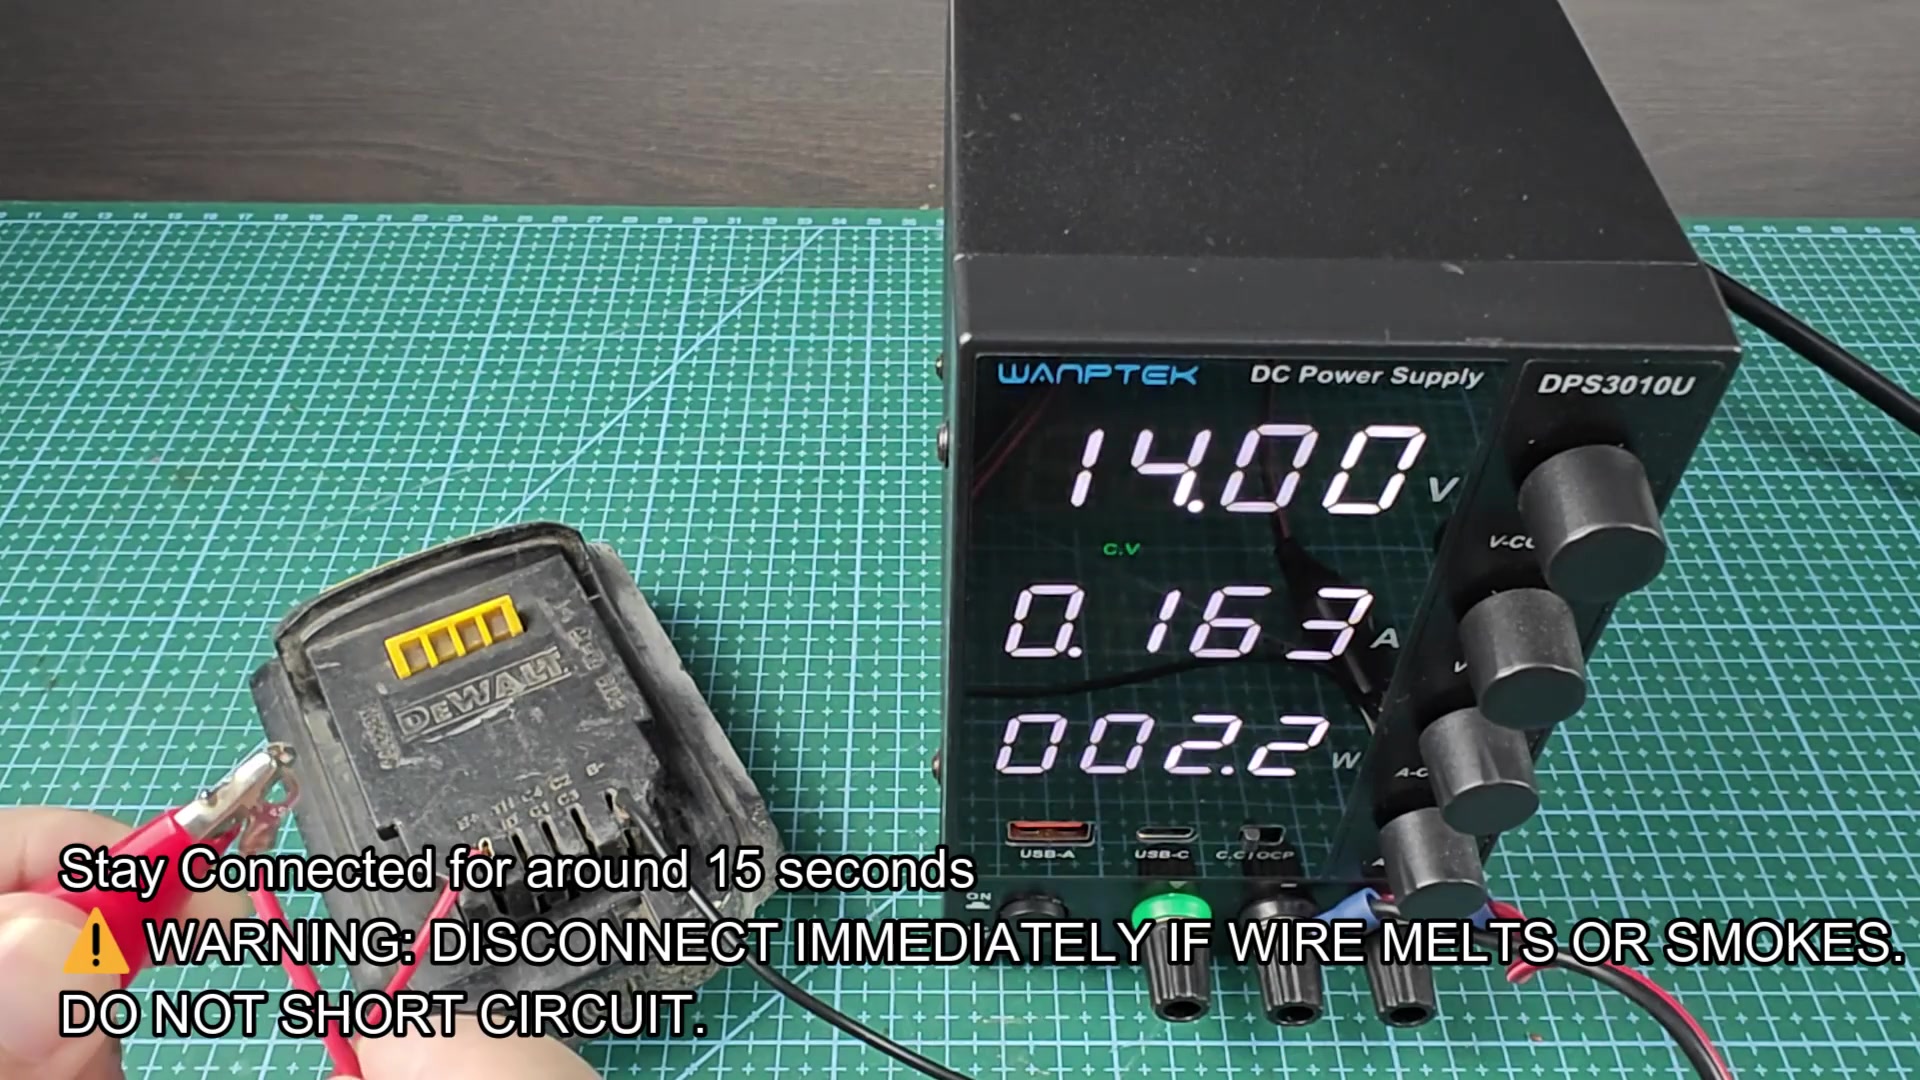
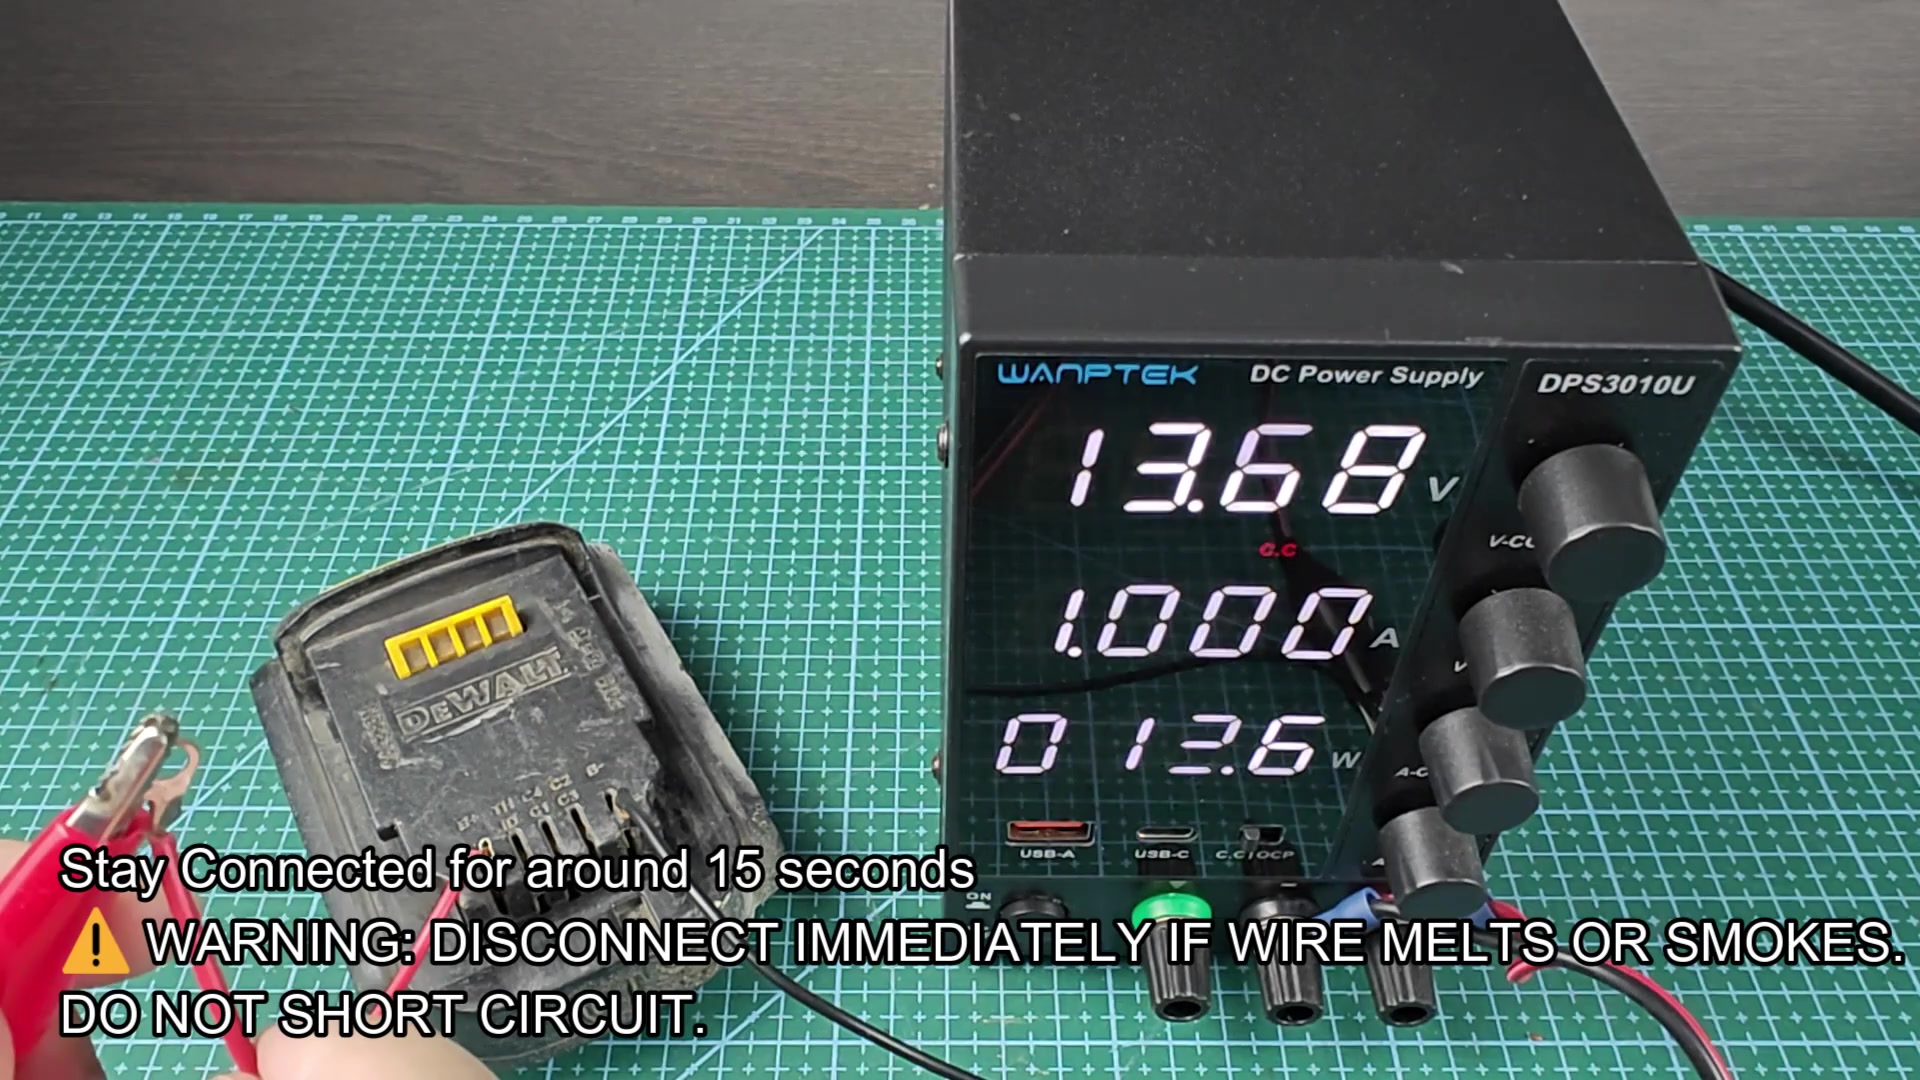
Allow the power supply to remain connected to the dead battery for fifteen seconds. On the bench power supply, the voltage should read 13.6 volts with the current reading 1 amp.
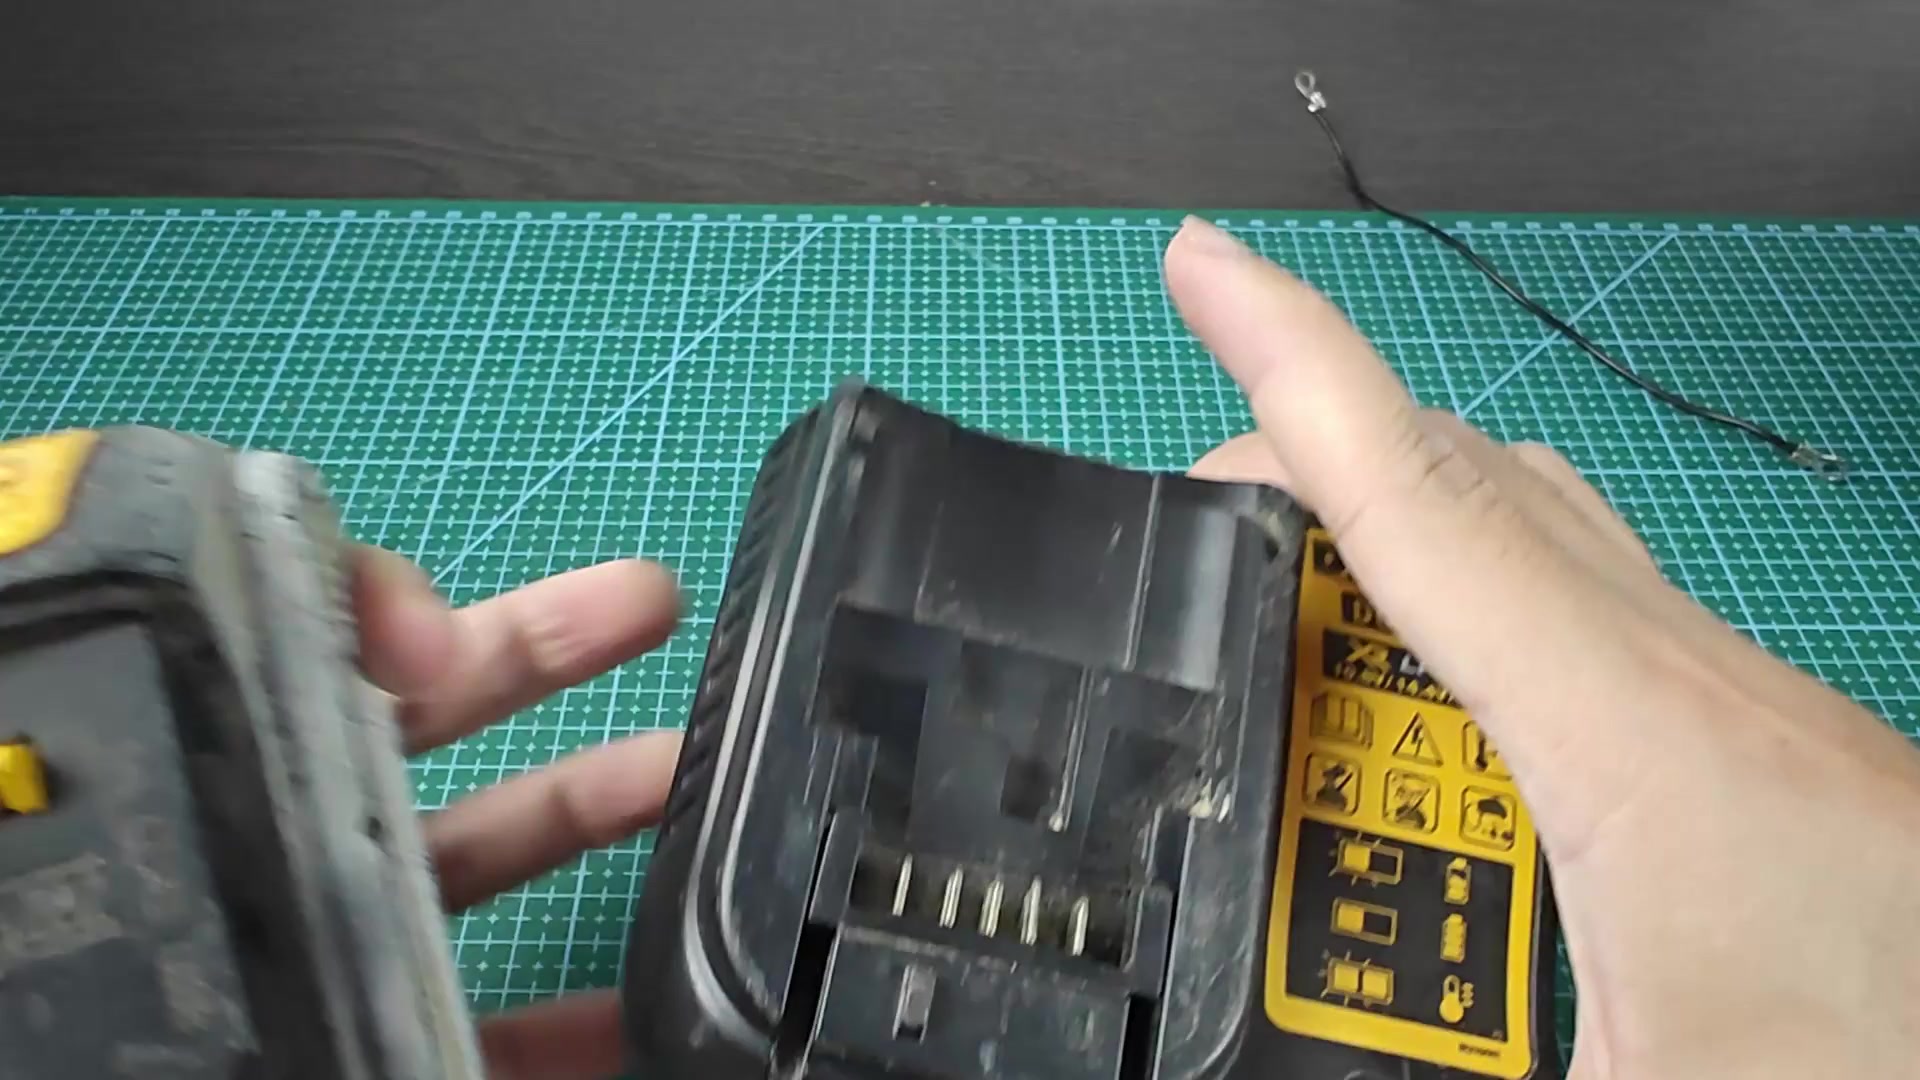
After removing the battery from the bench power supply, place the battery onto the charger. Wait a few second to see if the charger recognize the battery pack.
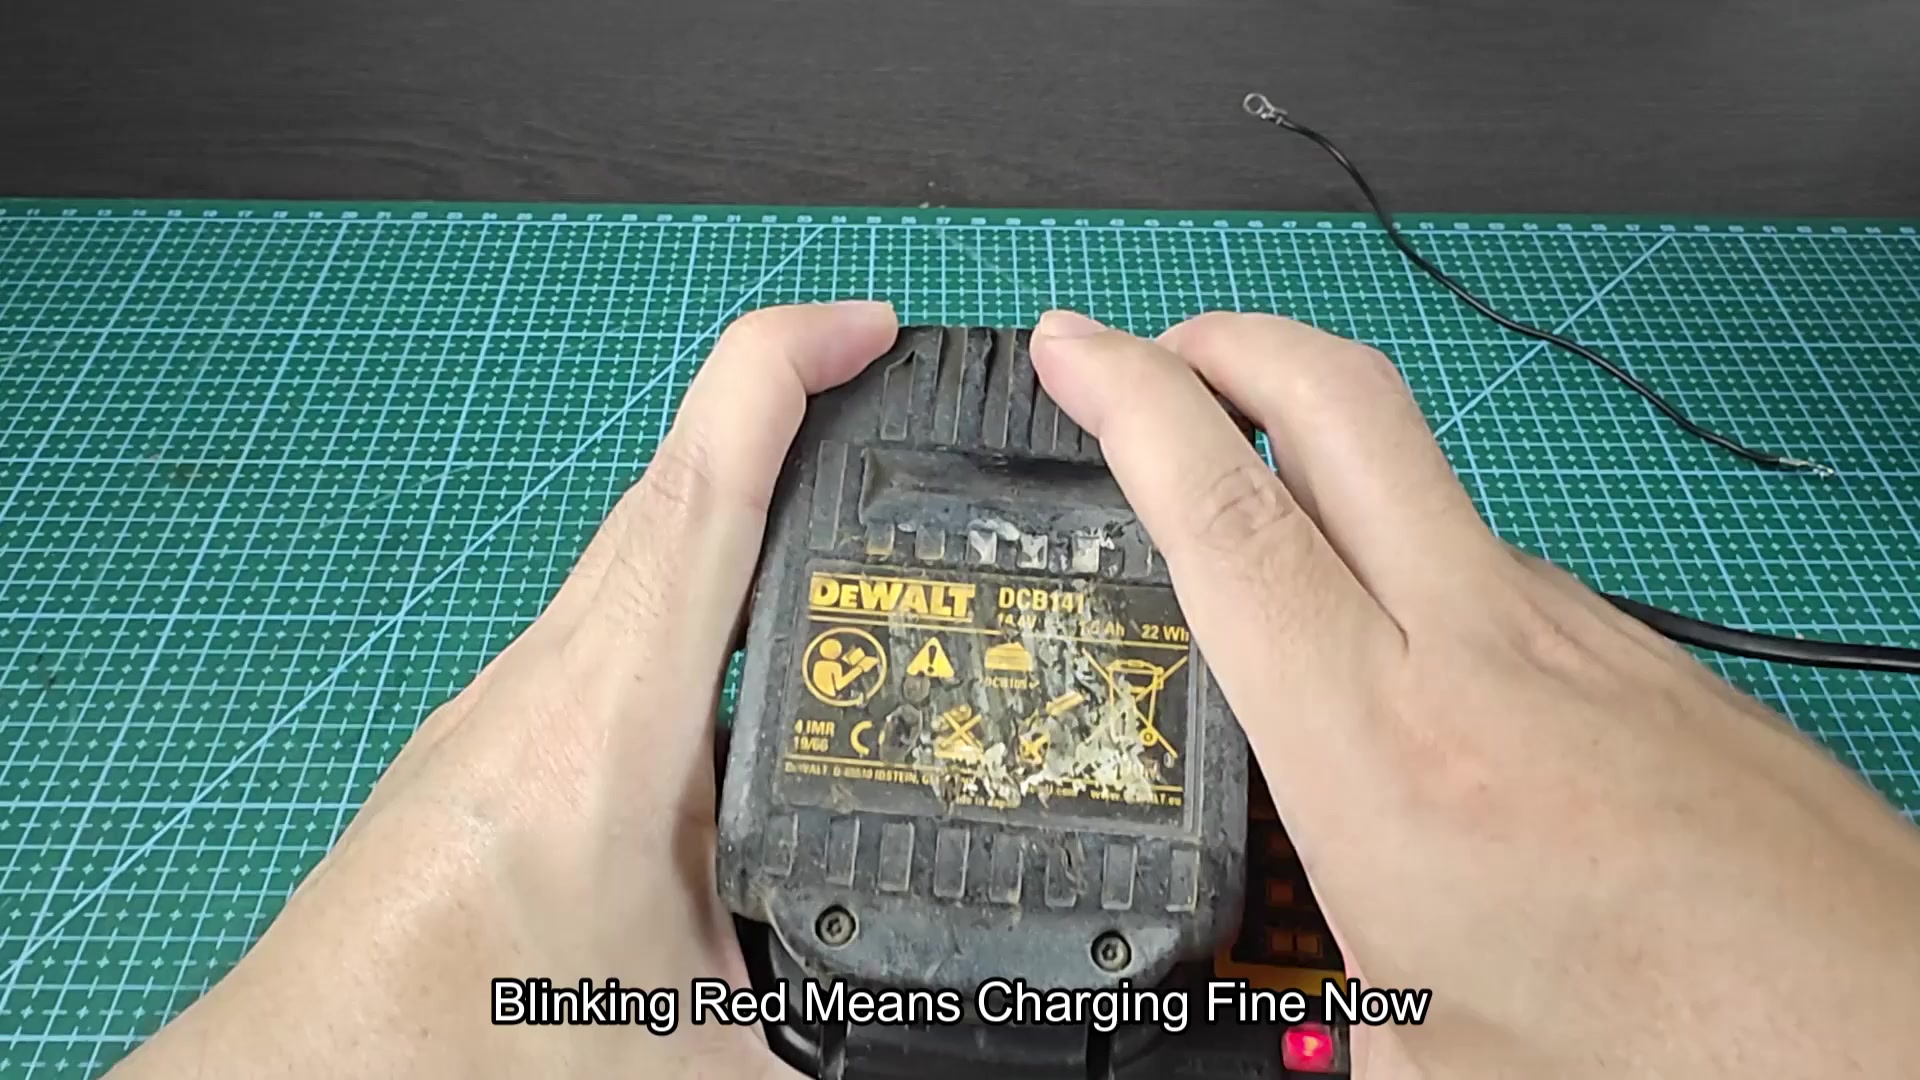
The charger LED light begin to blink red which means the battery is now properly charging. A blinking red light on the charger indicate that the dead battery have come back to life.
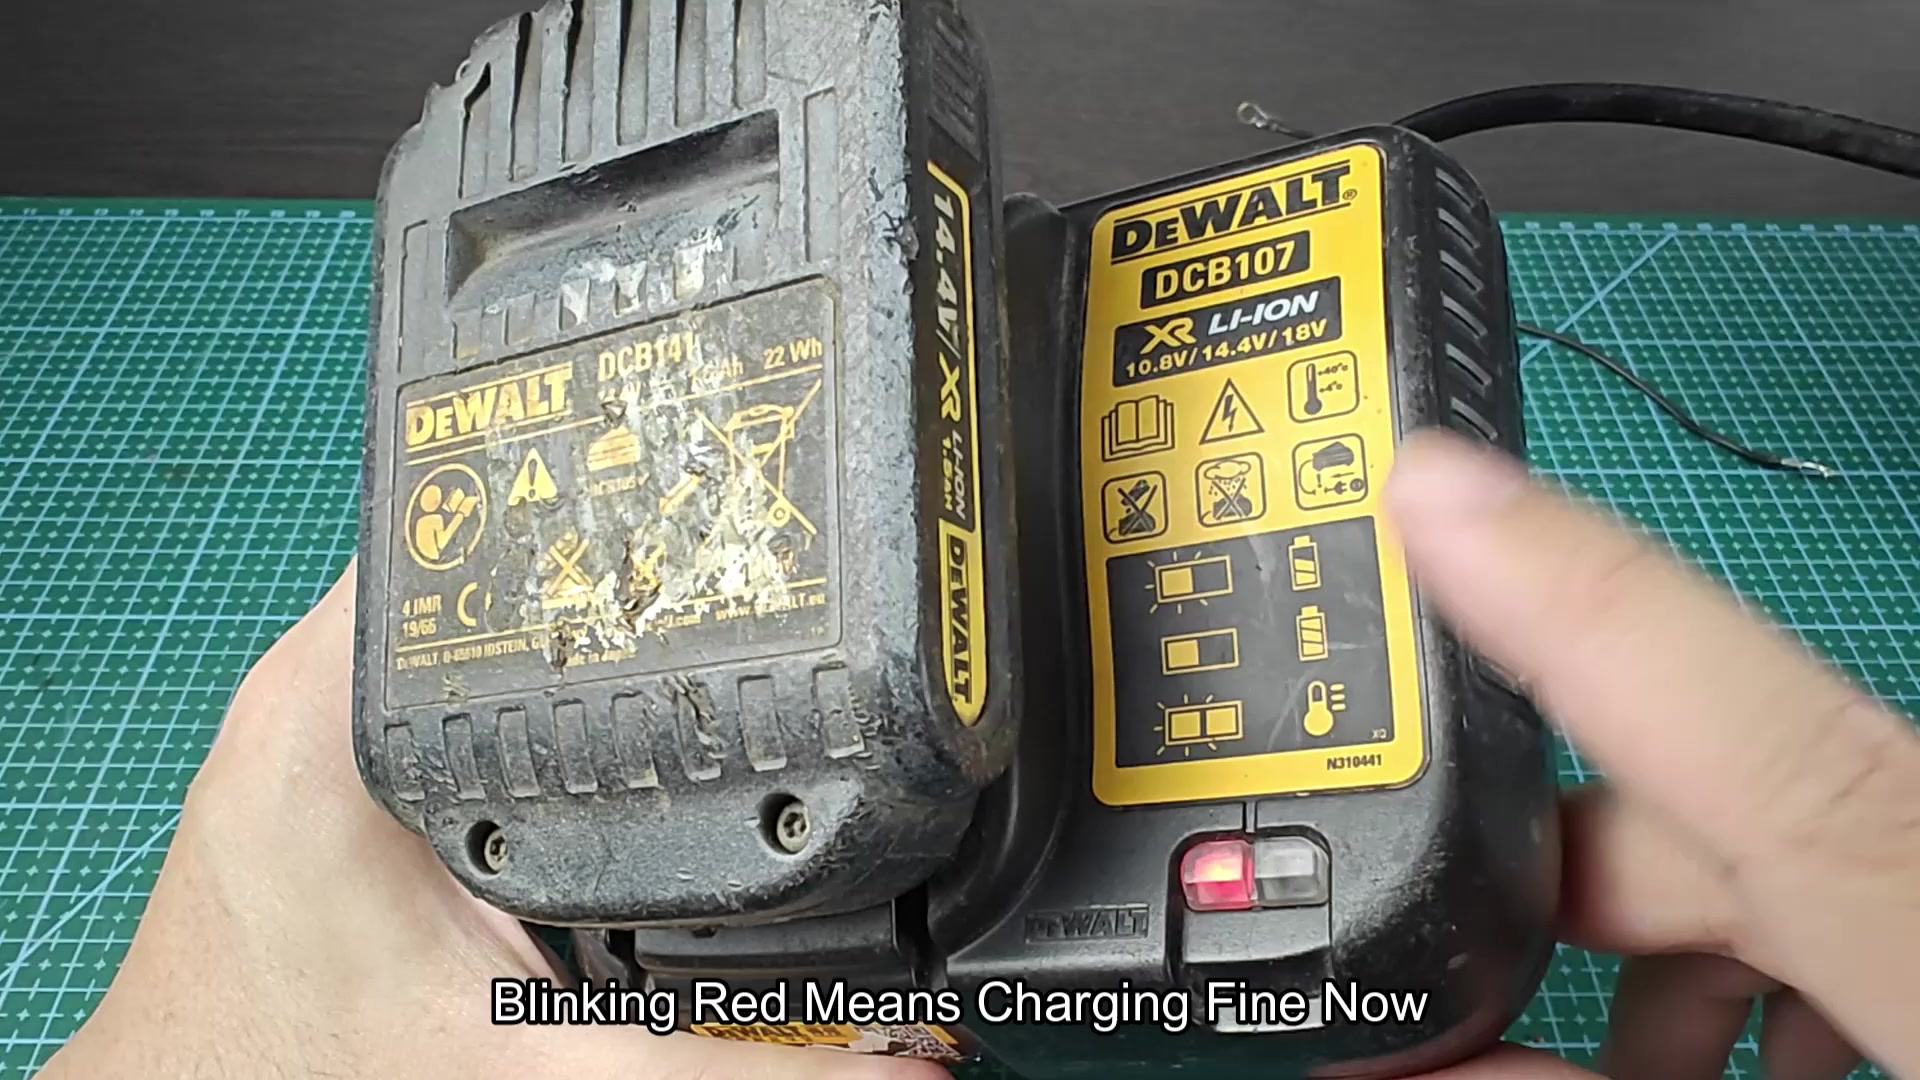
All three of these techniques will work if the battery pack’s voltage has dropped to a level that is not recognized by the charger. Techniques one and two requires another battery pack while technique three require a bench power supply. All three method will result in a working battery that would of otherwise been thrown out.
