
Running into a DeWALT 14.4V battery that refuse to charge is an annoyingly problem. I’ve had this same issue with one of my older batteries and had to throw it out. It turned out to be a voltage problem rather than a battery problems.
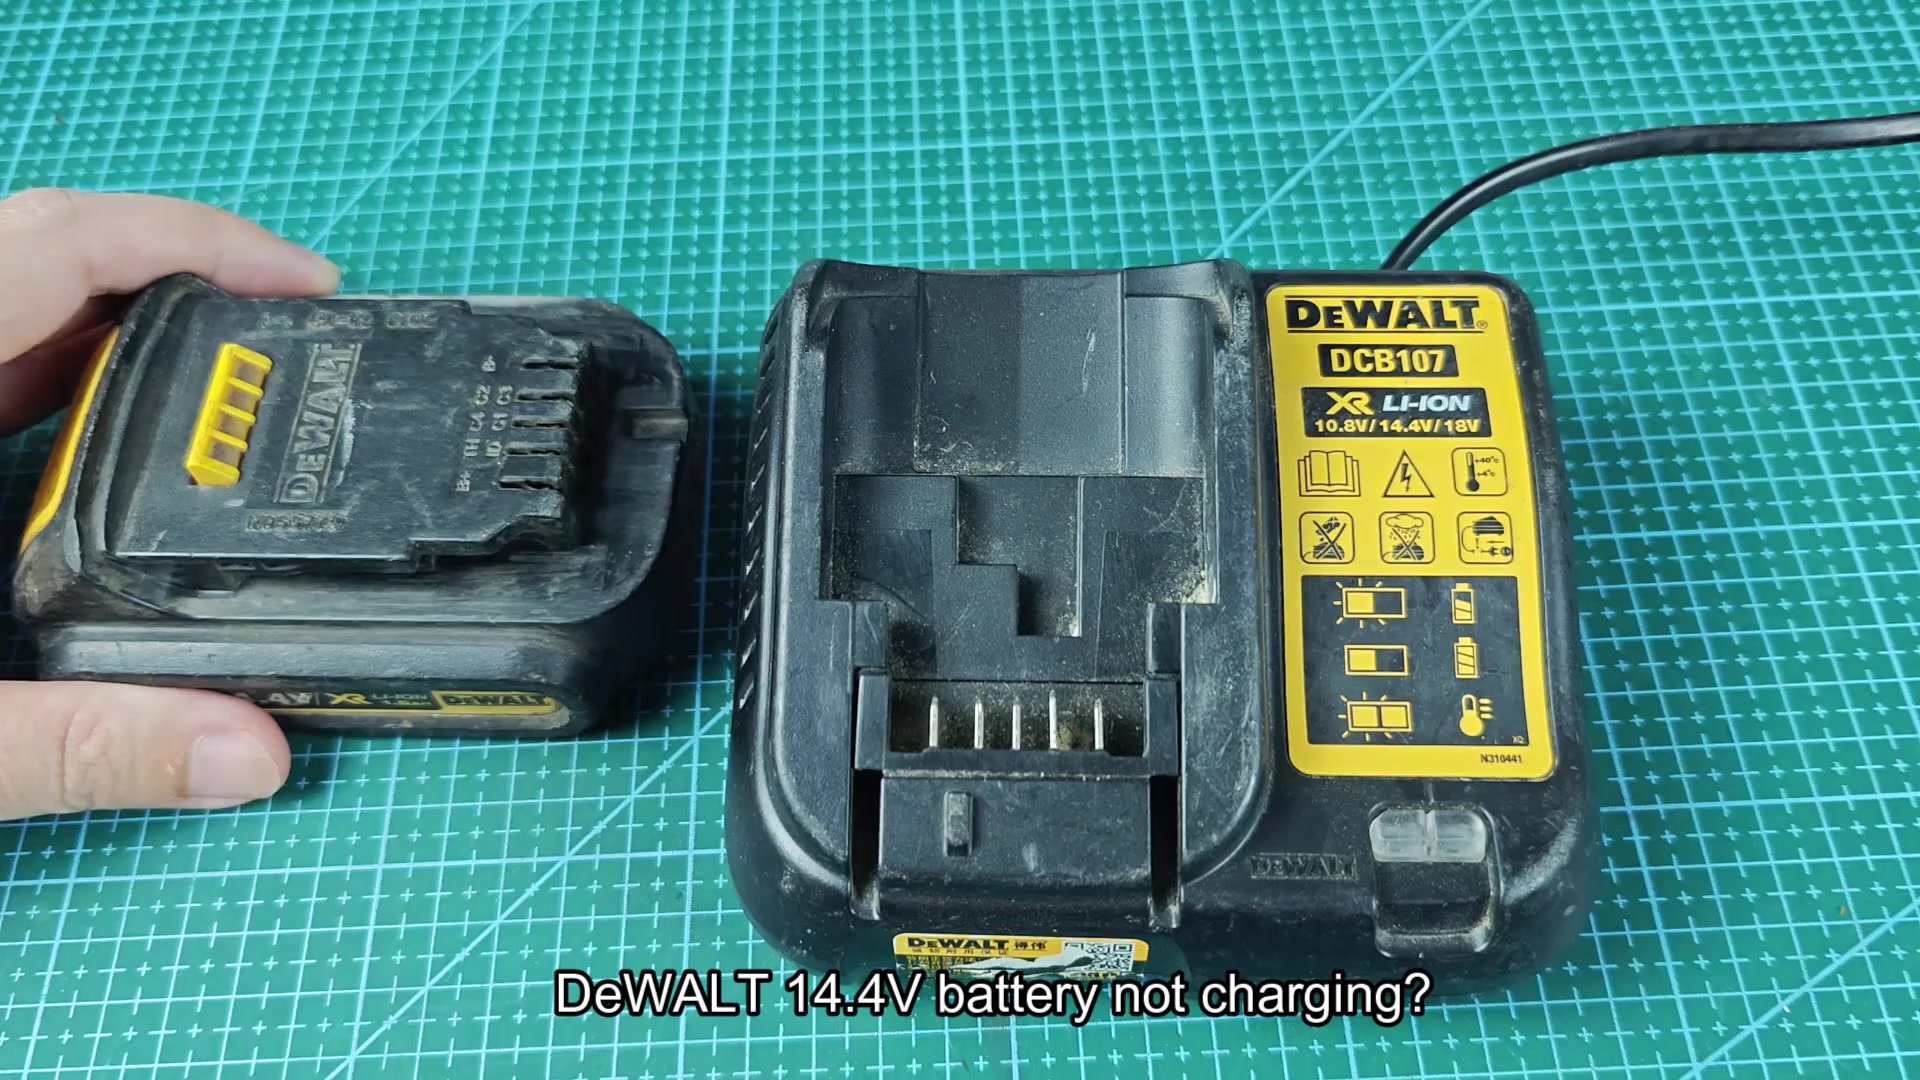
The voltage from the battery have to be high enough for the charger to recognize the battery. If the voltage is too low, such as if the battery has been sitting for a while or has been completely drained, then the charger will not recognize the battery. This is rather annoying.
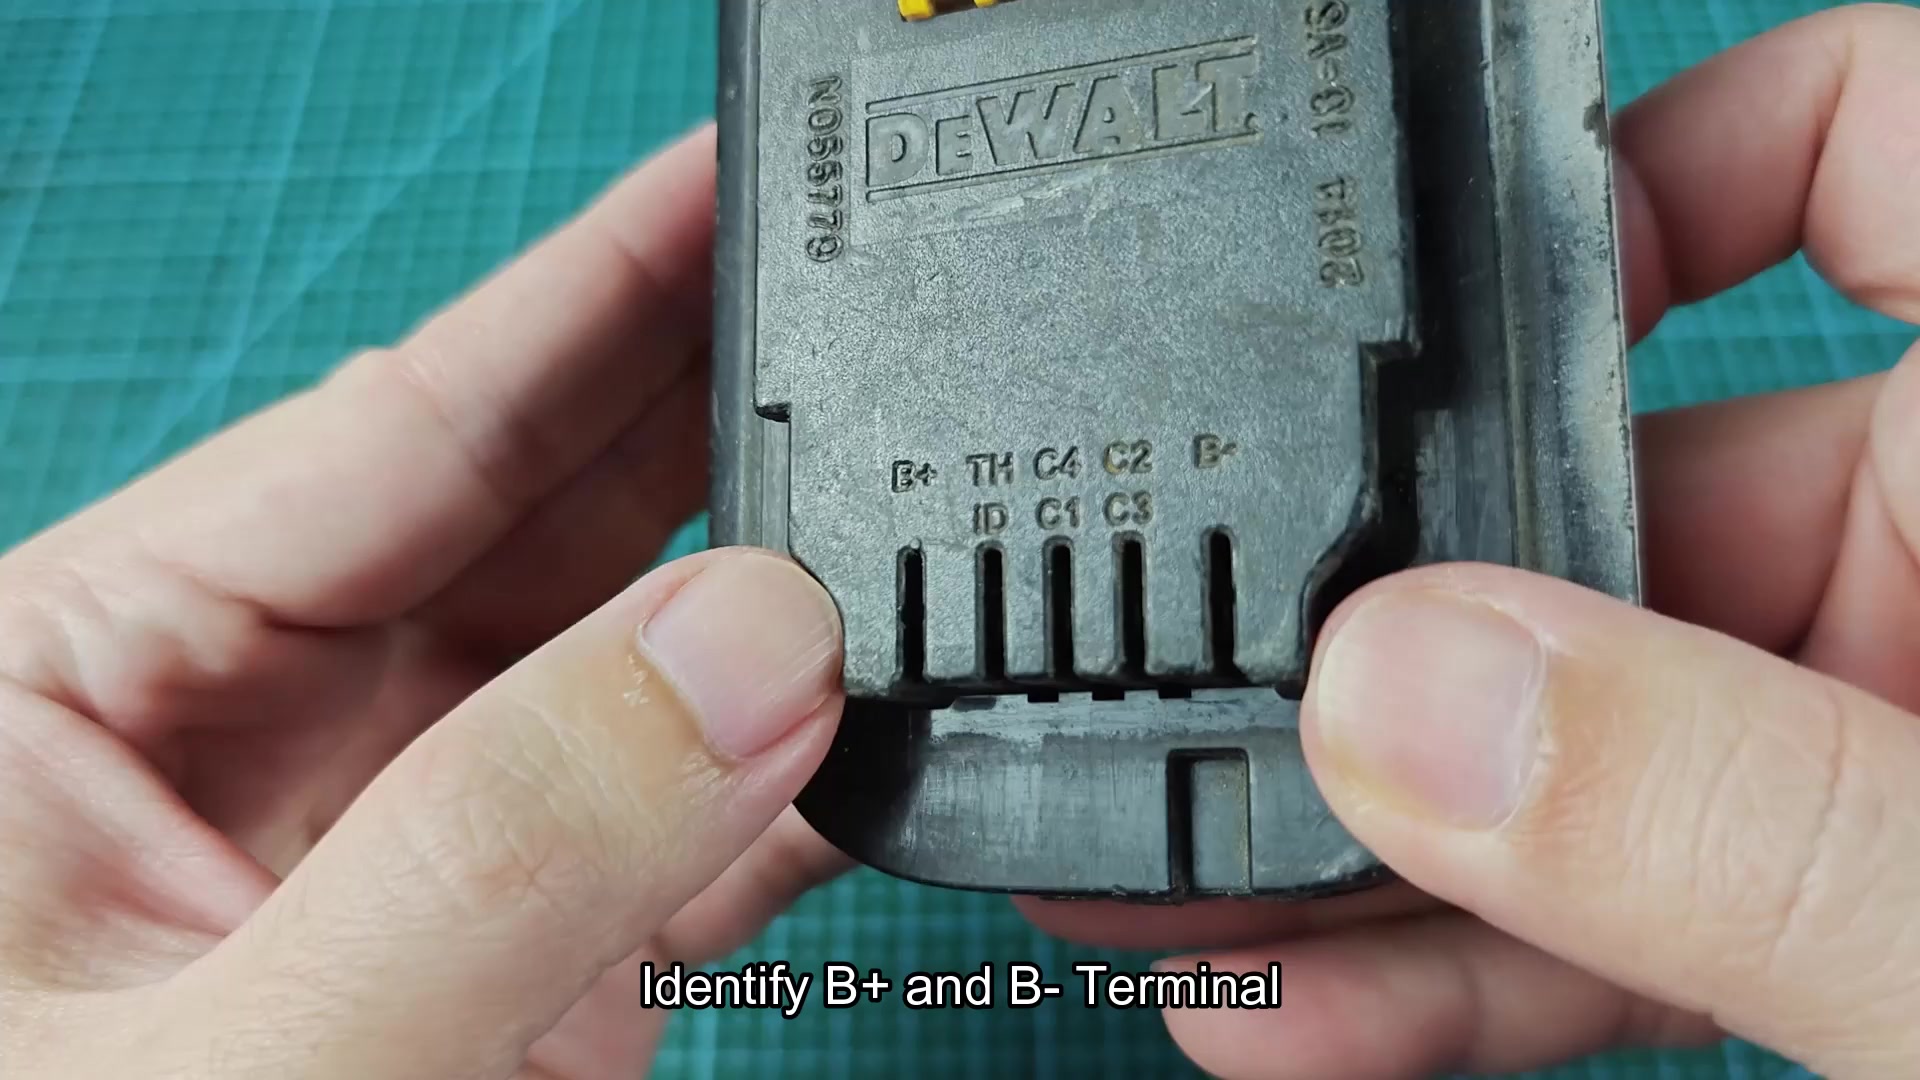
The first thing you have to do is check the voltage of your battery that refuses to charge. Flip the battery over and there should be two terminal on the bottom of the battery. They will be labeled with letters printed on them, including B+ and B-.
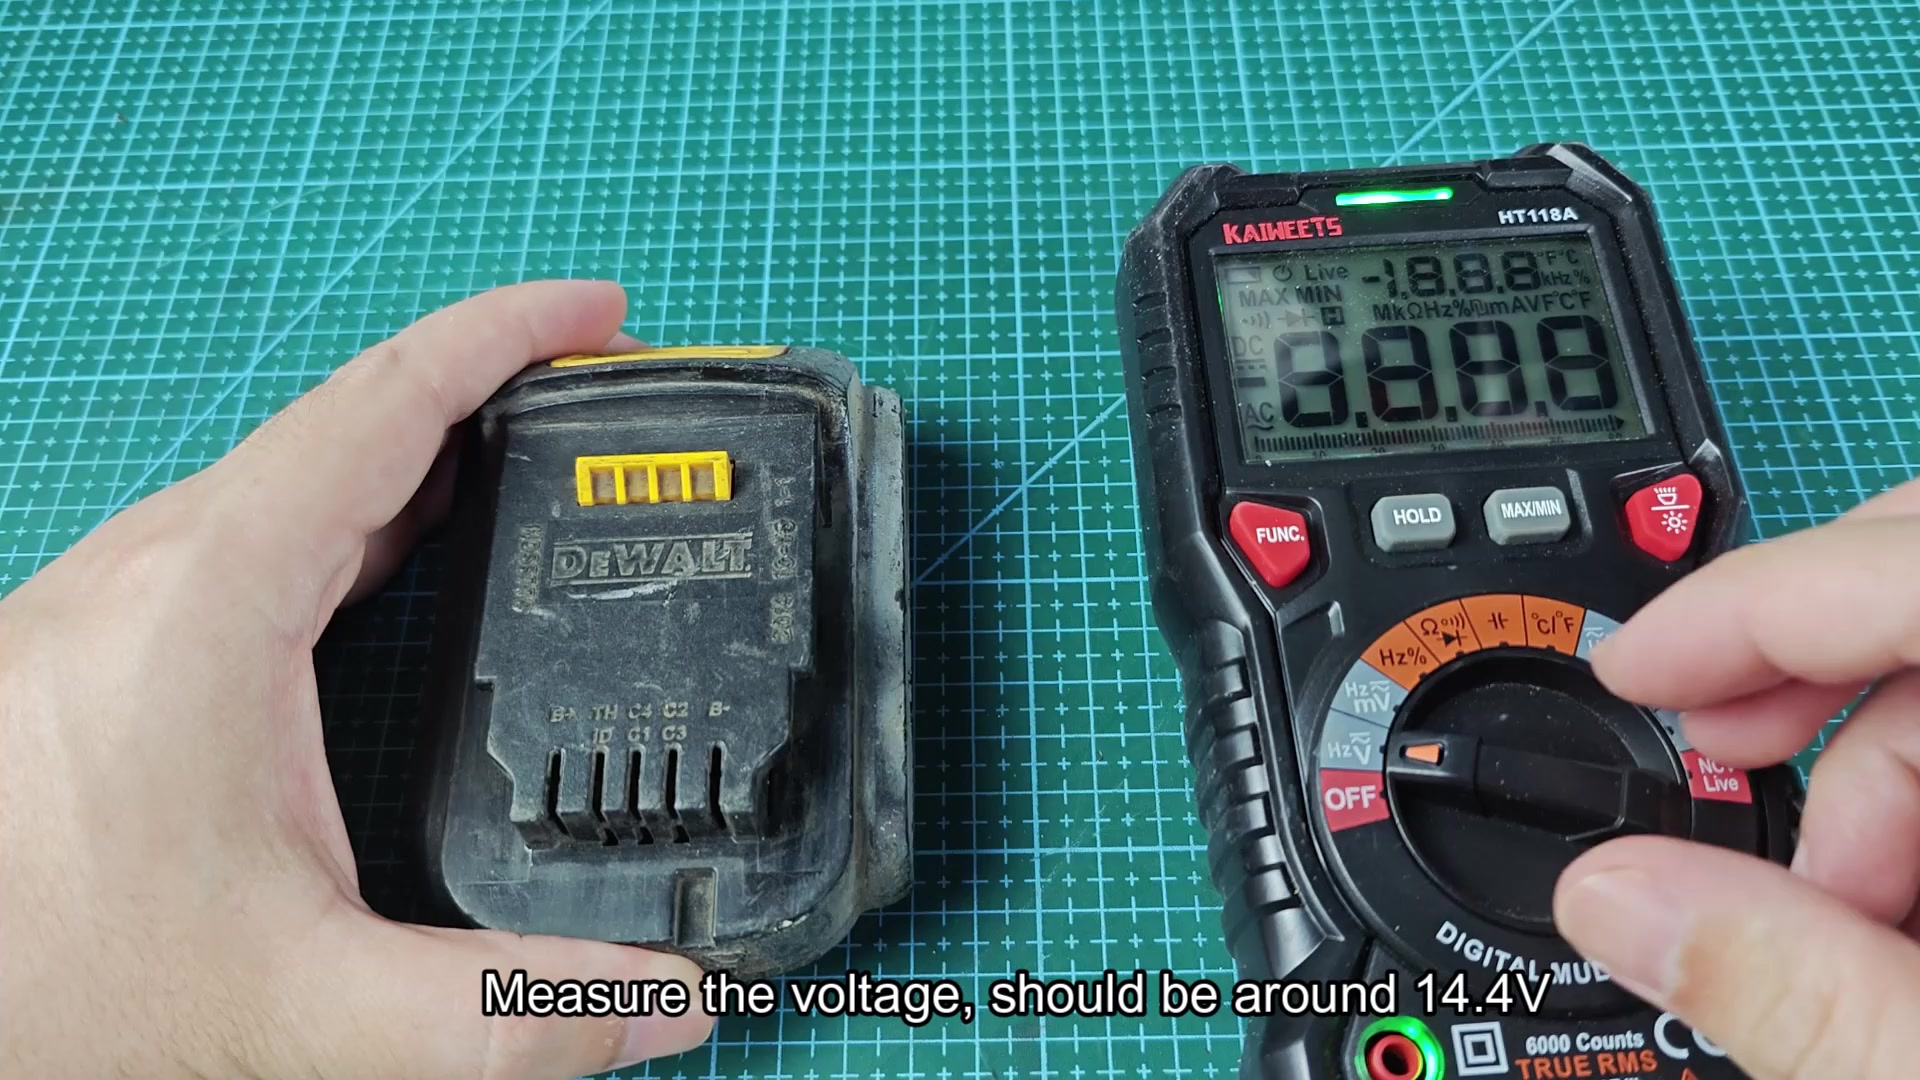
Get out your multimeter and set it to measure DC voltage. Place the red lead at the B+ terminal on the battery and the black lead to the B- terminal. Healthy batteries will read around 14.4V on a fully charged battery. Mine only read 11.79 volts.
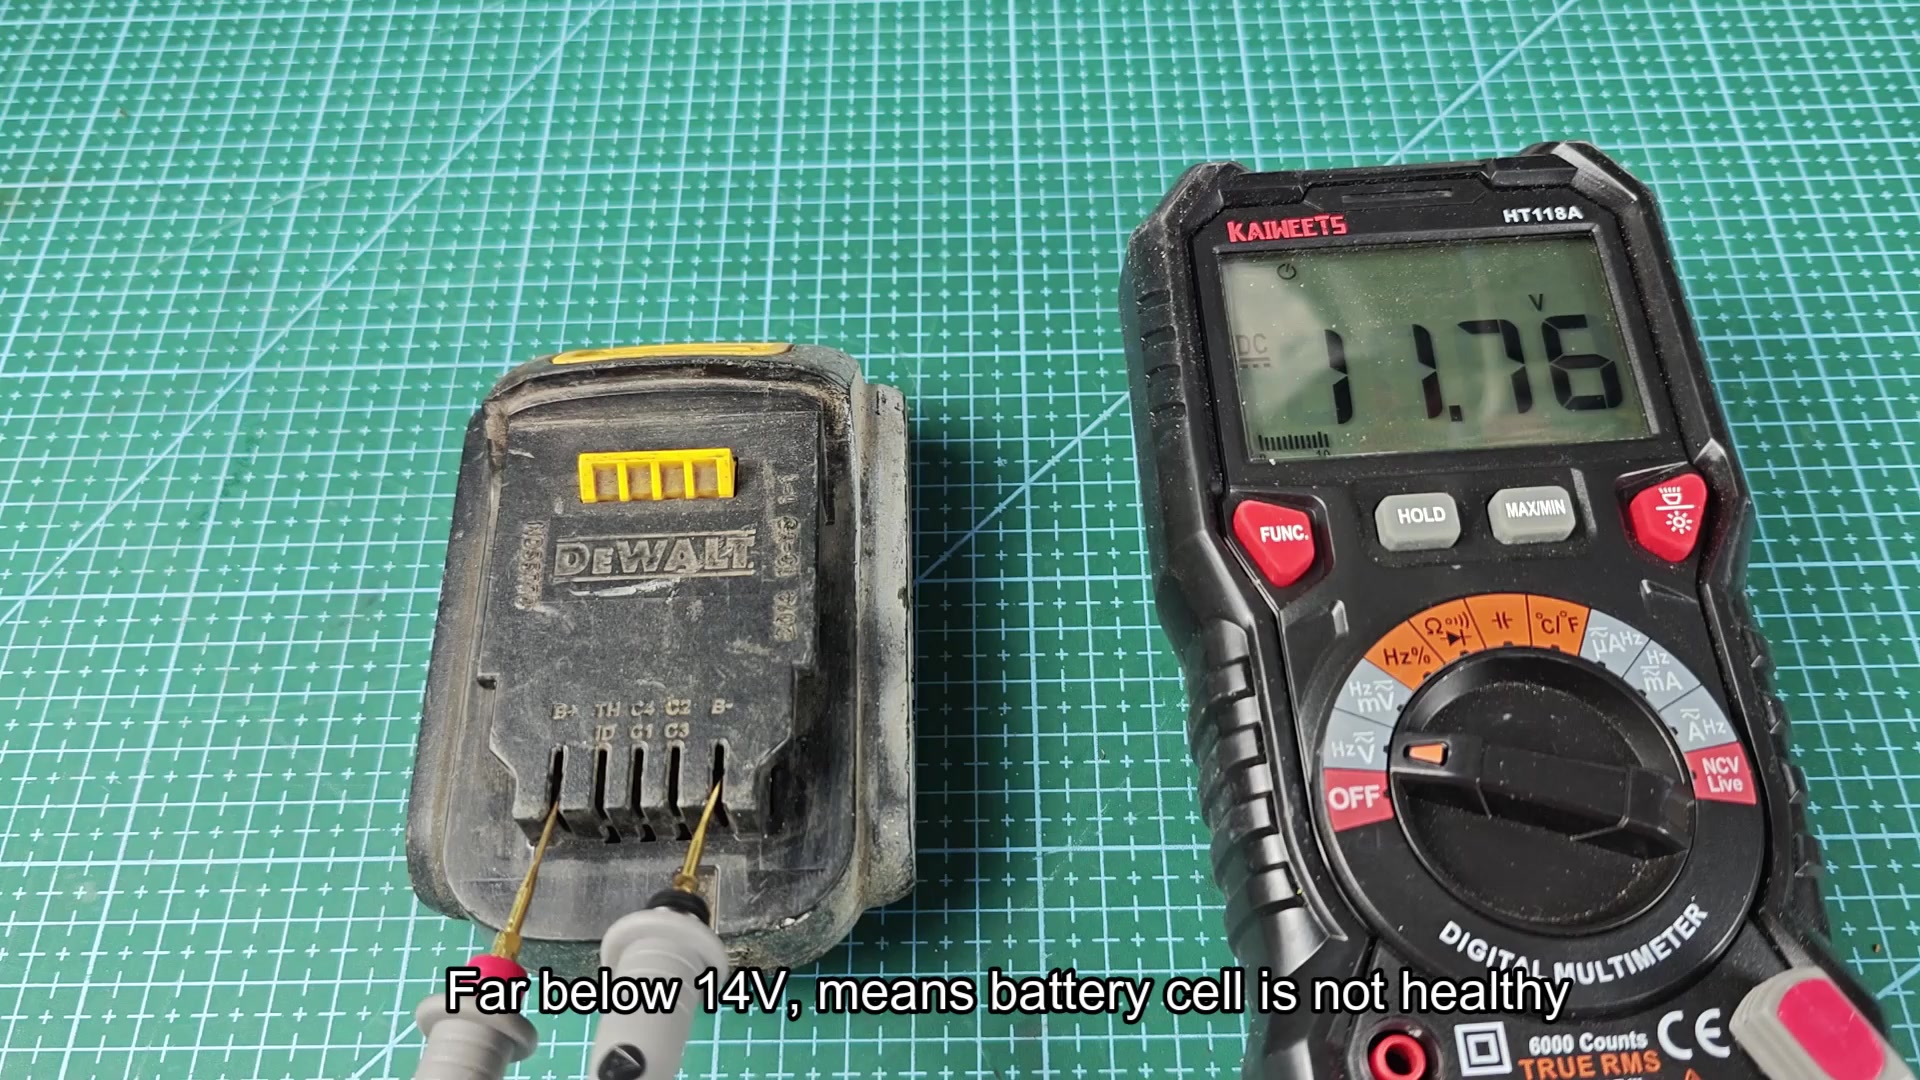
The low voltage reading confirm the problem with your battery. The voltage has dropped low enough that your charger will not recognize your battery. The solution is to jump-start the battery using another battery.
How to jump start a battery
To jump start the battery, take another battery with full battery charge. I used another 14.4V DeWALT battery. I checked the voltage of my other battery and it measured 15.45 volts indicating it was fully charge.
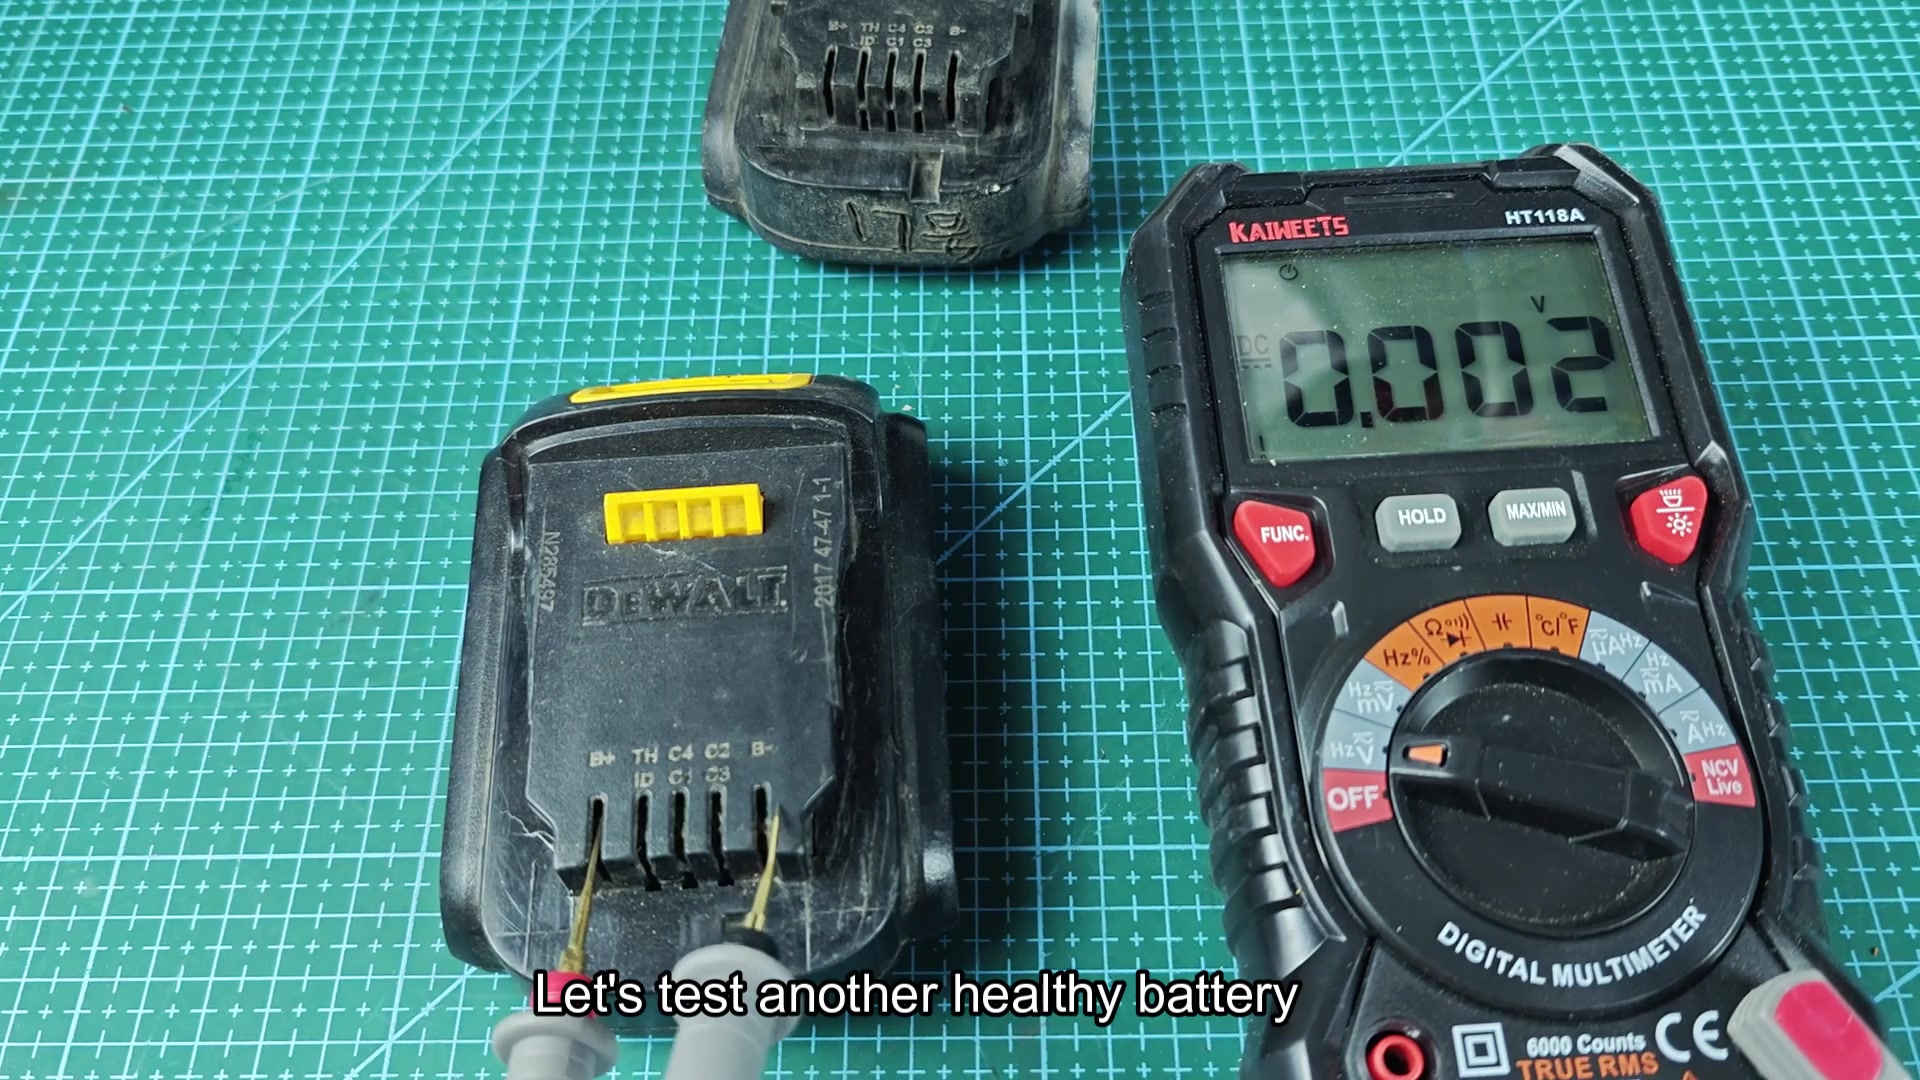
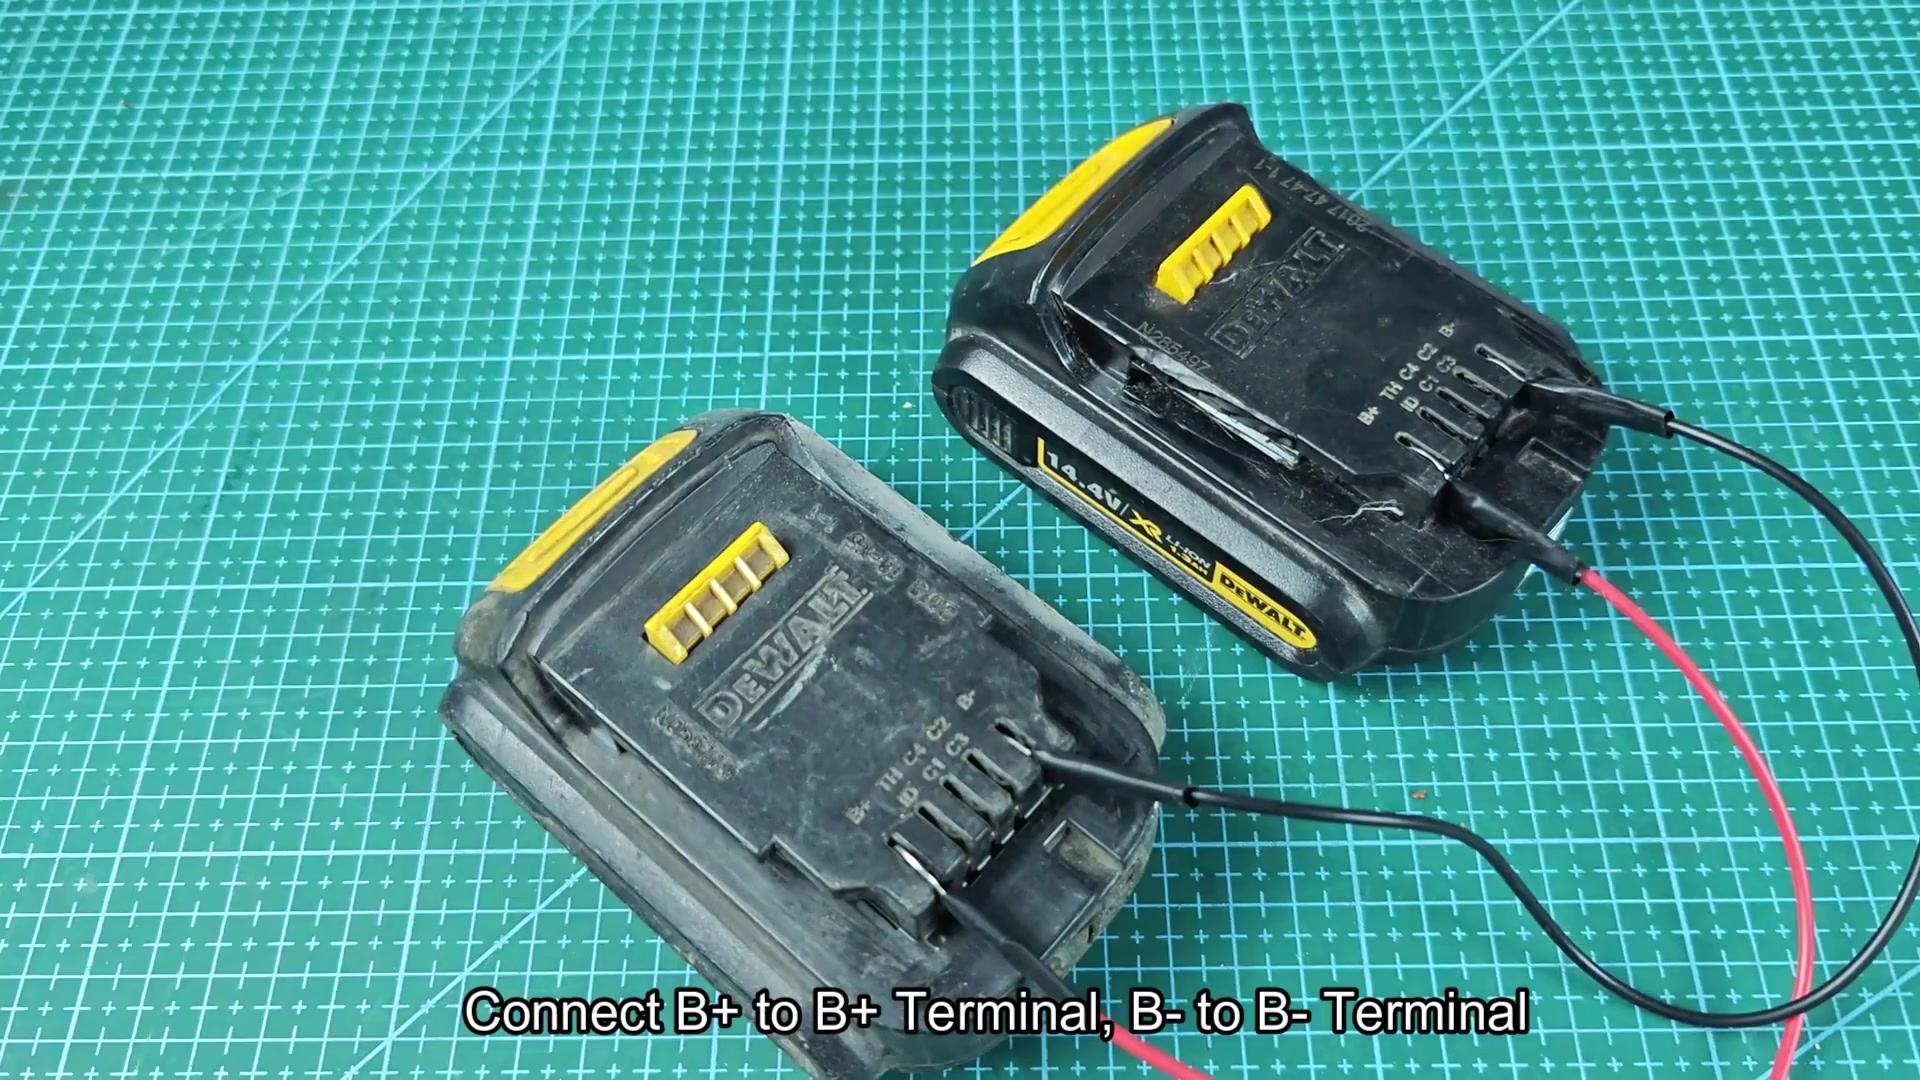
To jump start your battery, simply connect the positive terminal of your good battery to the positive terminal of your bad battery. Do the same with the negative terminals. I used short wires with exposed ends to connect the two batteries. I held one end of a wire to the B+ terminal of each battery and connected the negative terminal in the same fashion.
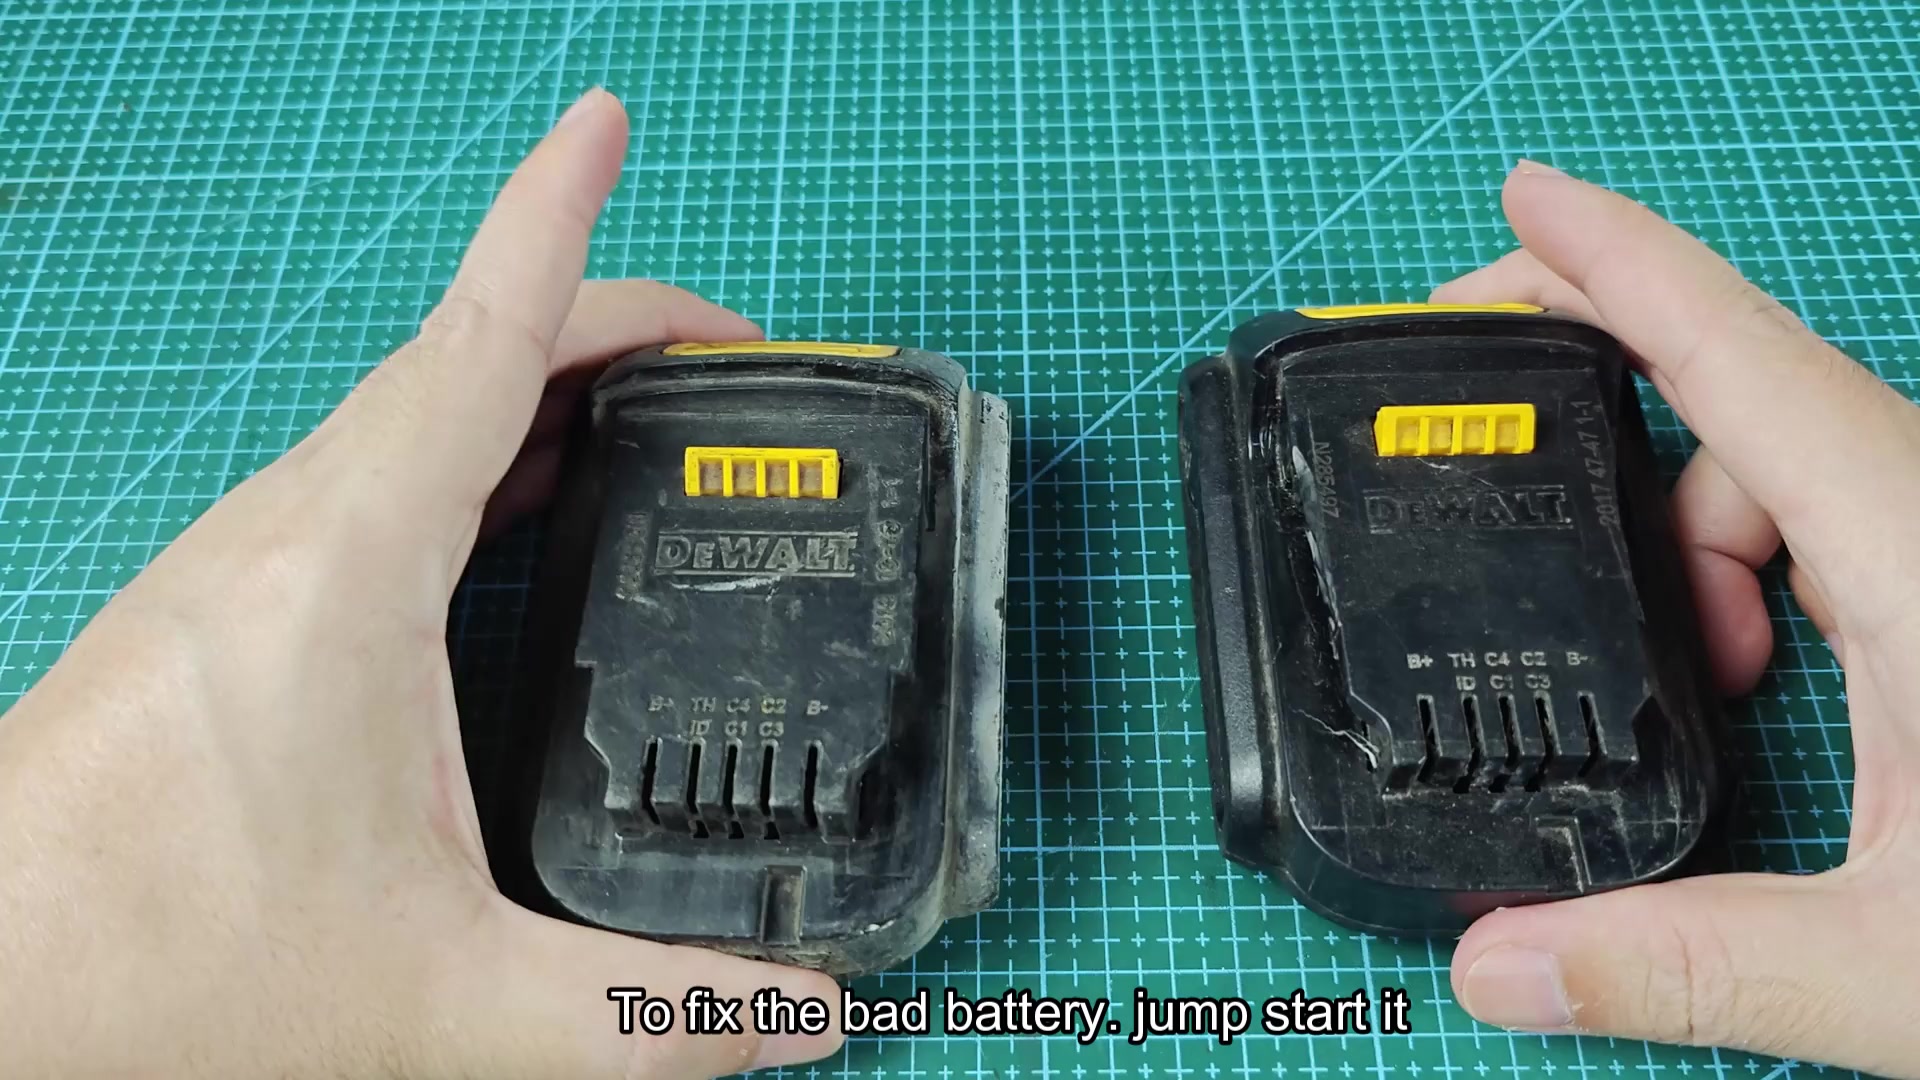
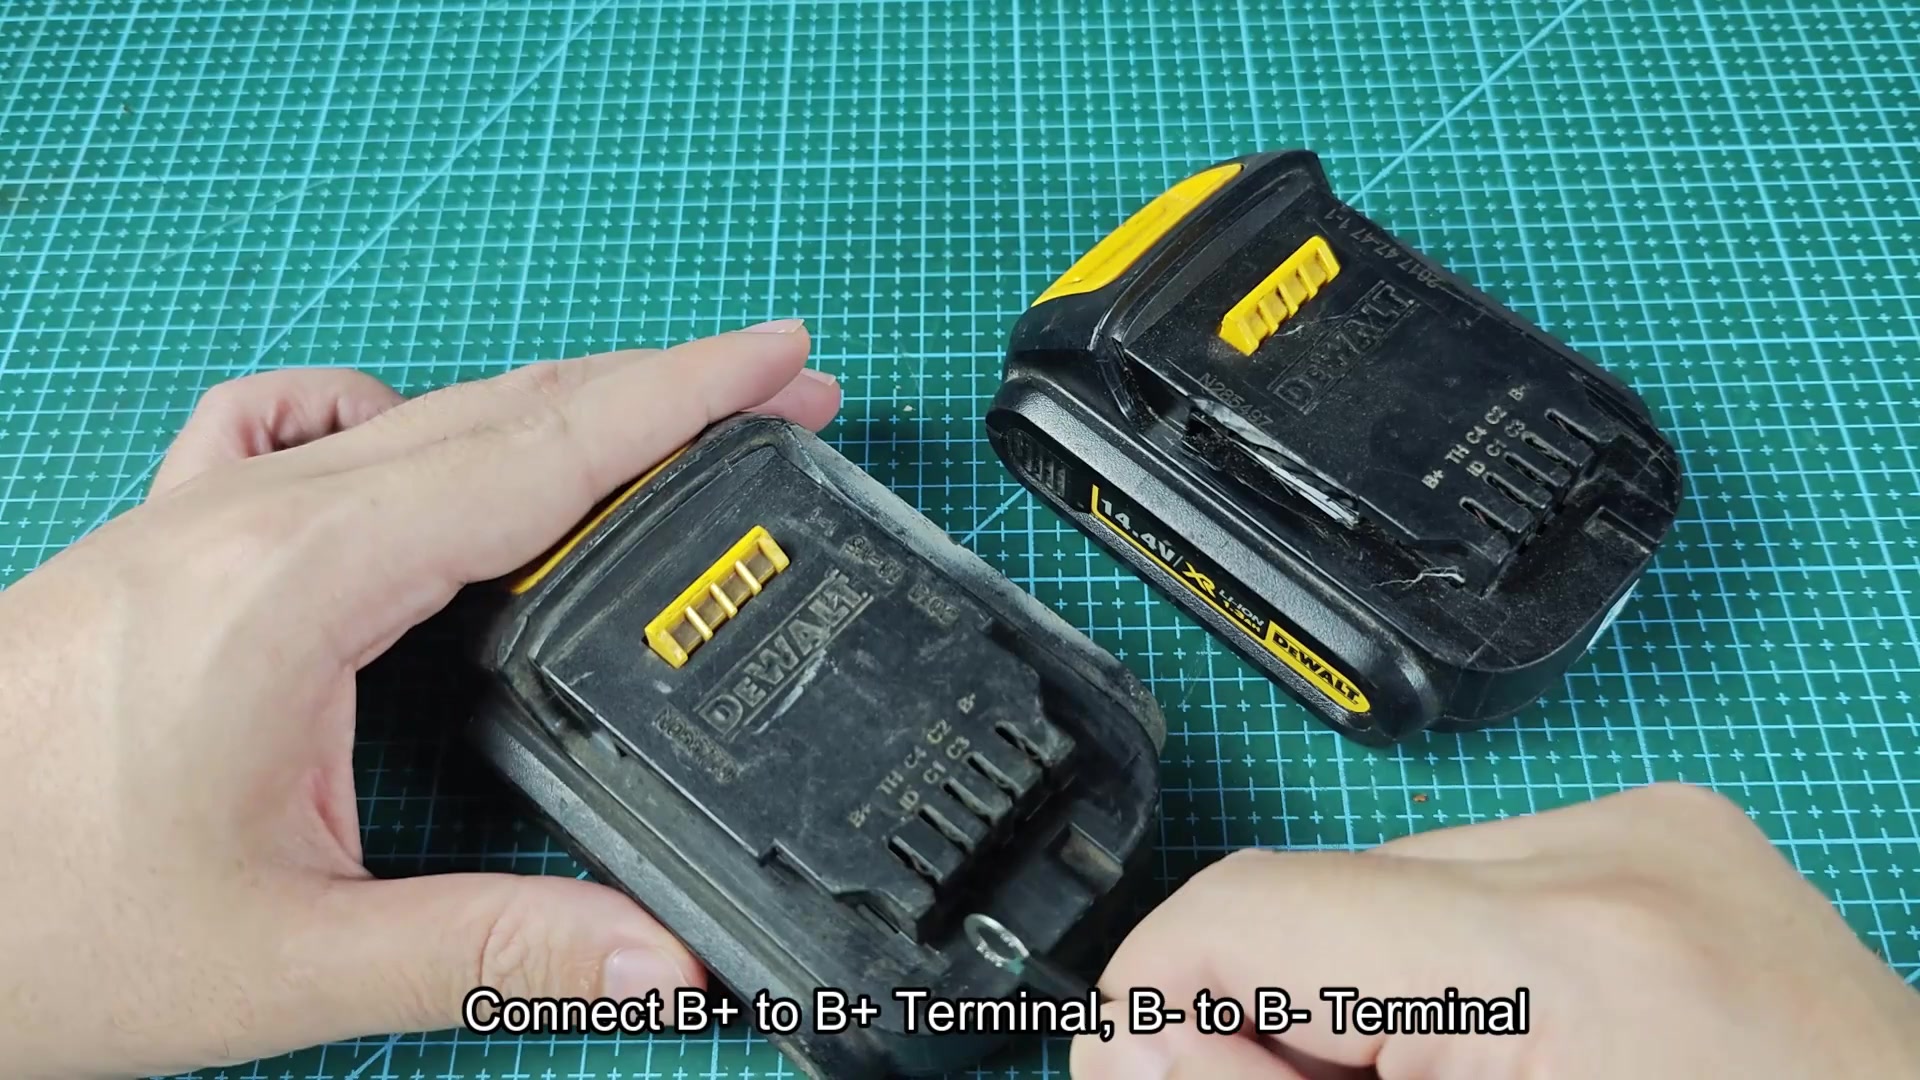
Allow the batteries to remain connected for around 15 seconds. Do not connect for too long or else you will overload the dead battery. Five seconds should of been enough but I connected for the full 15 seconds.
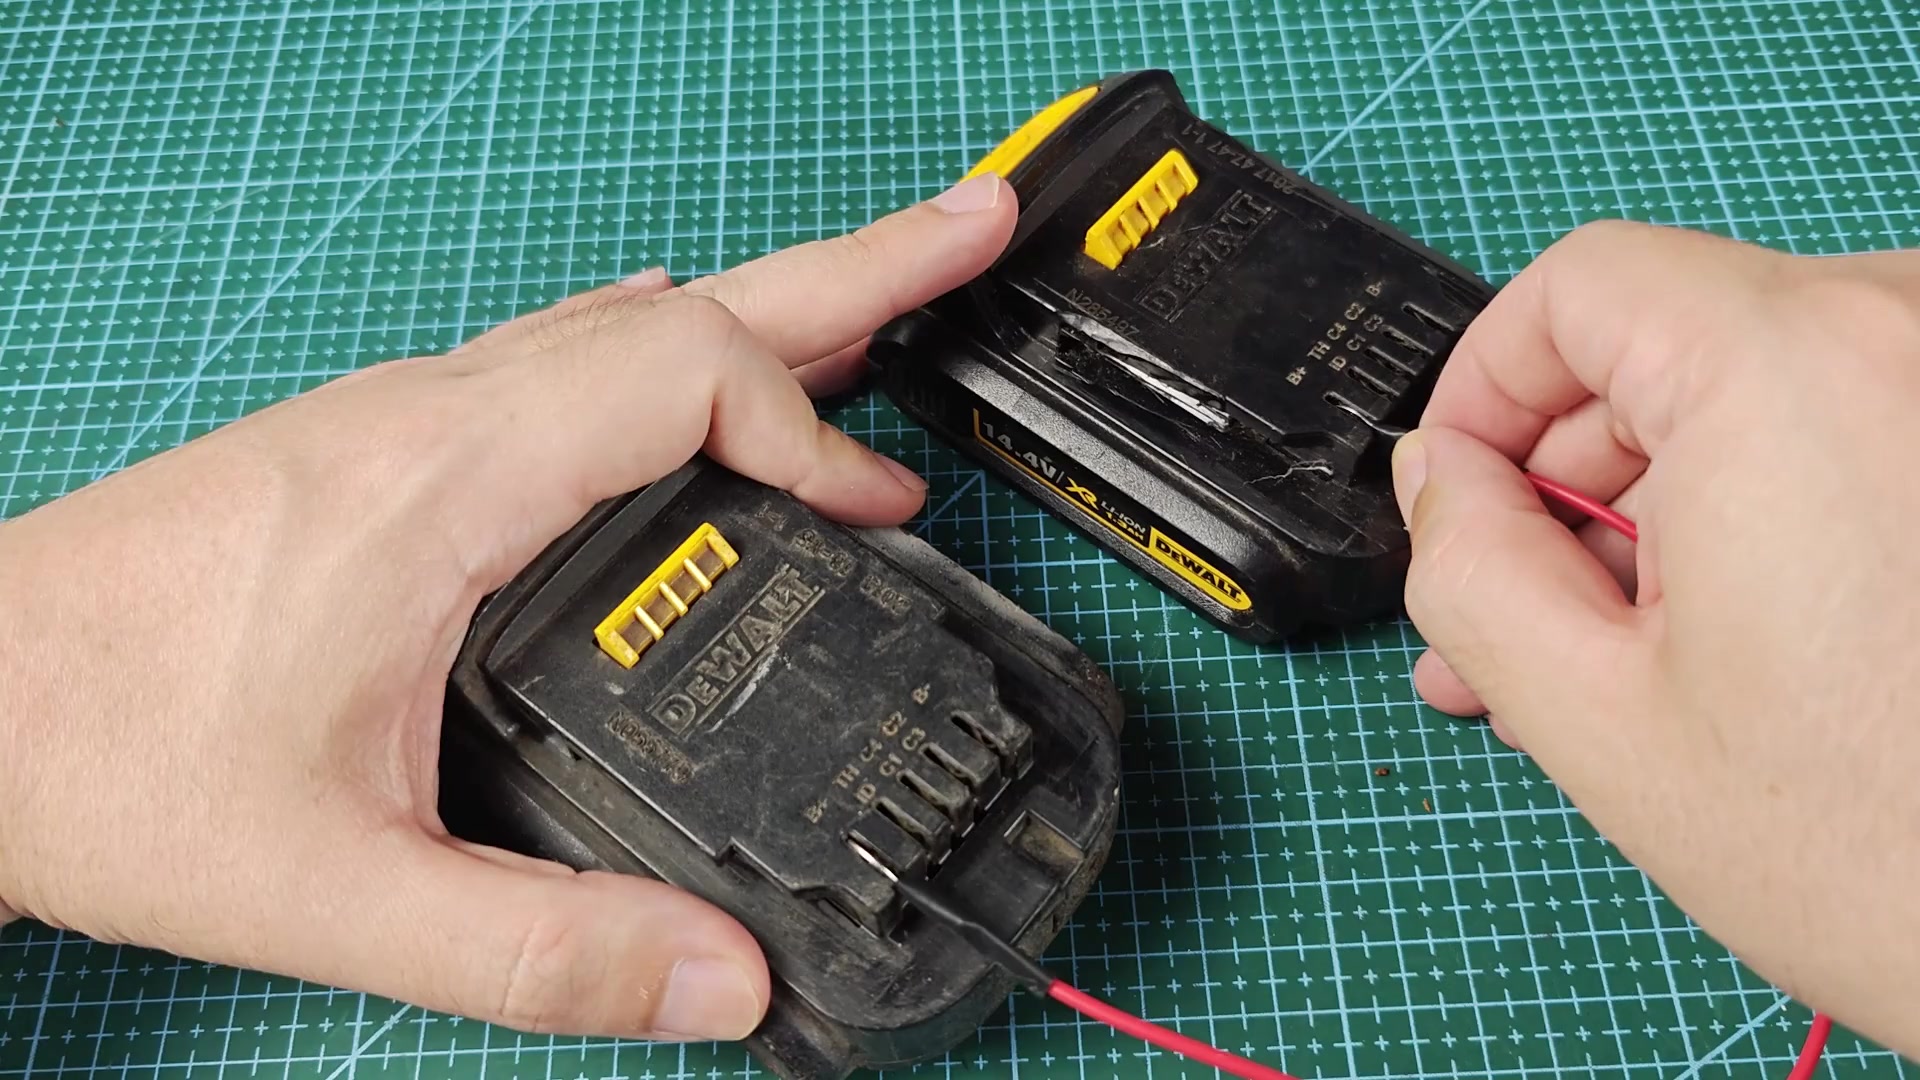
Remove the wires from the battery terminals. Place the battery with dead voltage onto the DeWALT battery charger. The charger should start blinking red indicating that it has recognized the battery and is about to begin normal charging cycle.
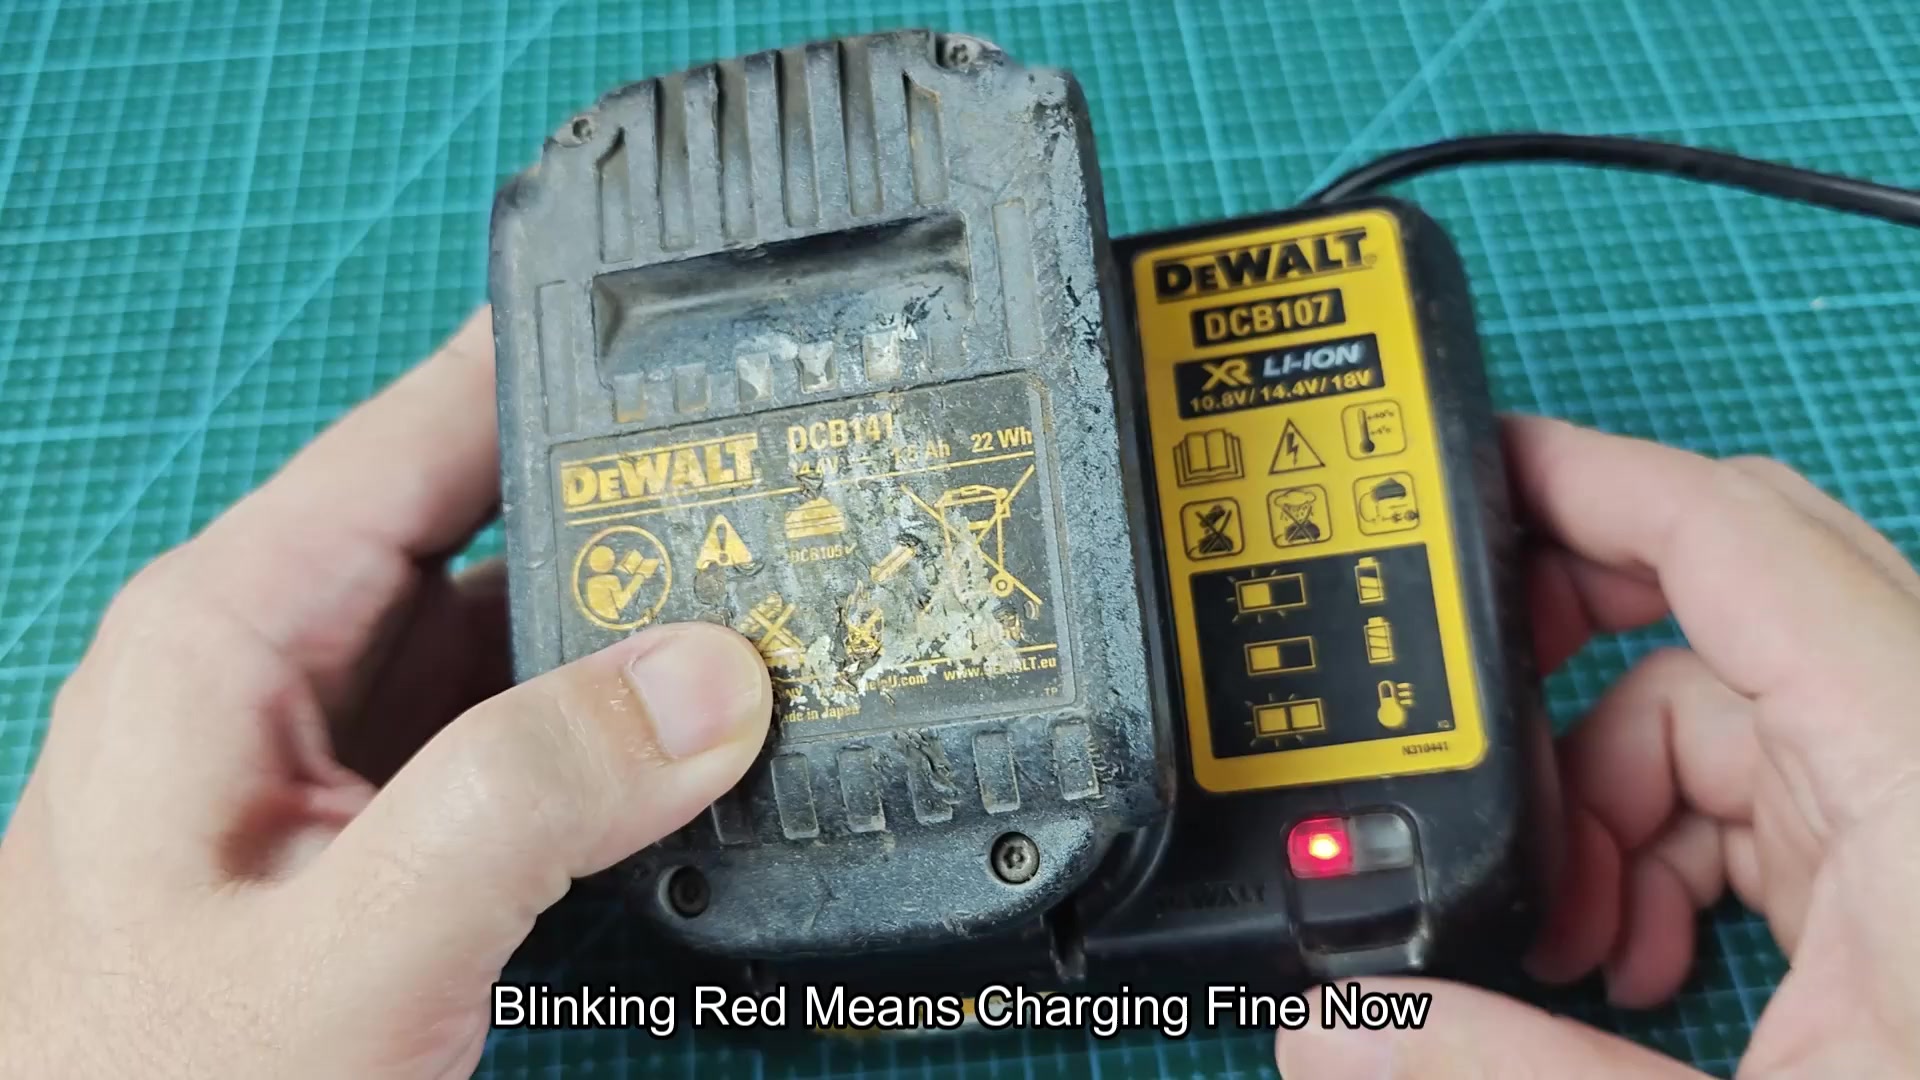
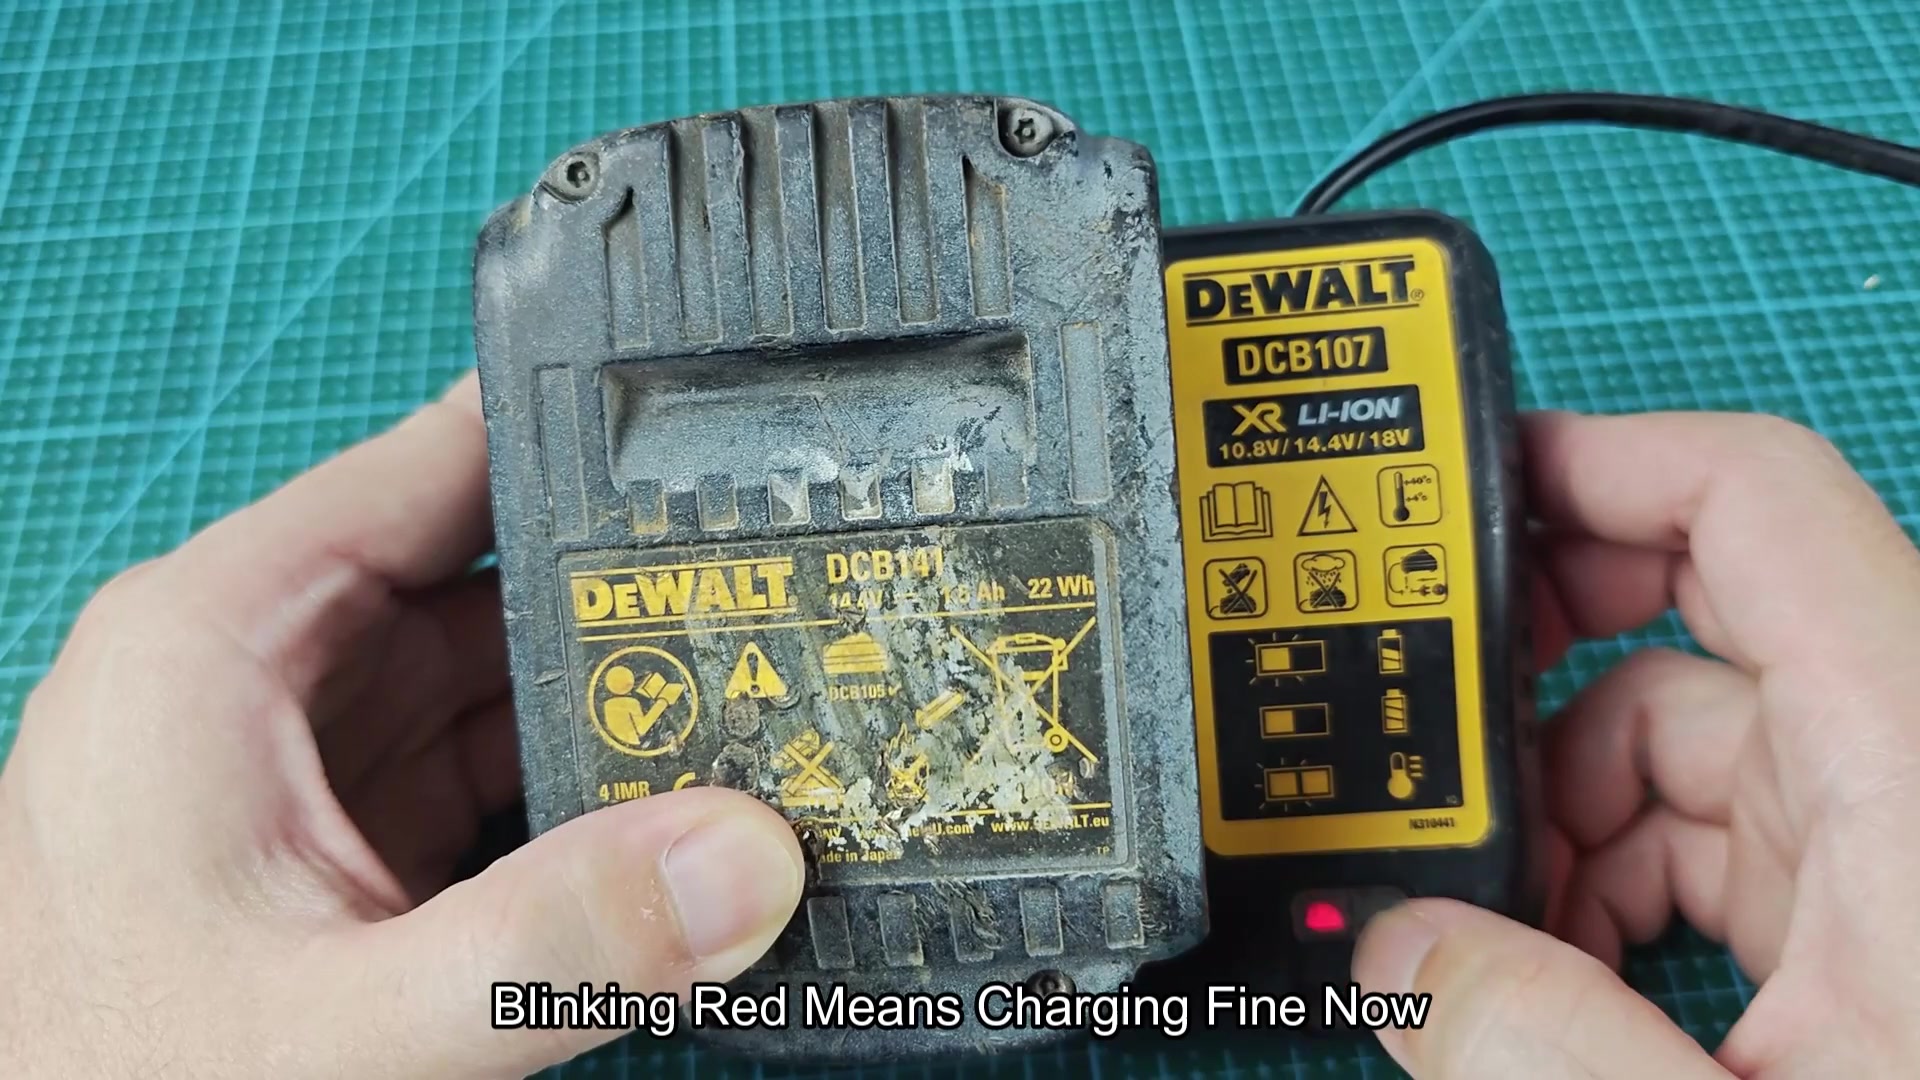
Allow the battery to charge for a few minutes. The blinking red light indicate that the battery is being charged. Once the battery is fully charged it will no longer blink. After the charge cycle was complete, the battery was ready to use once again.
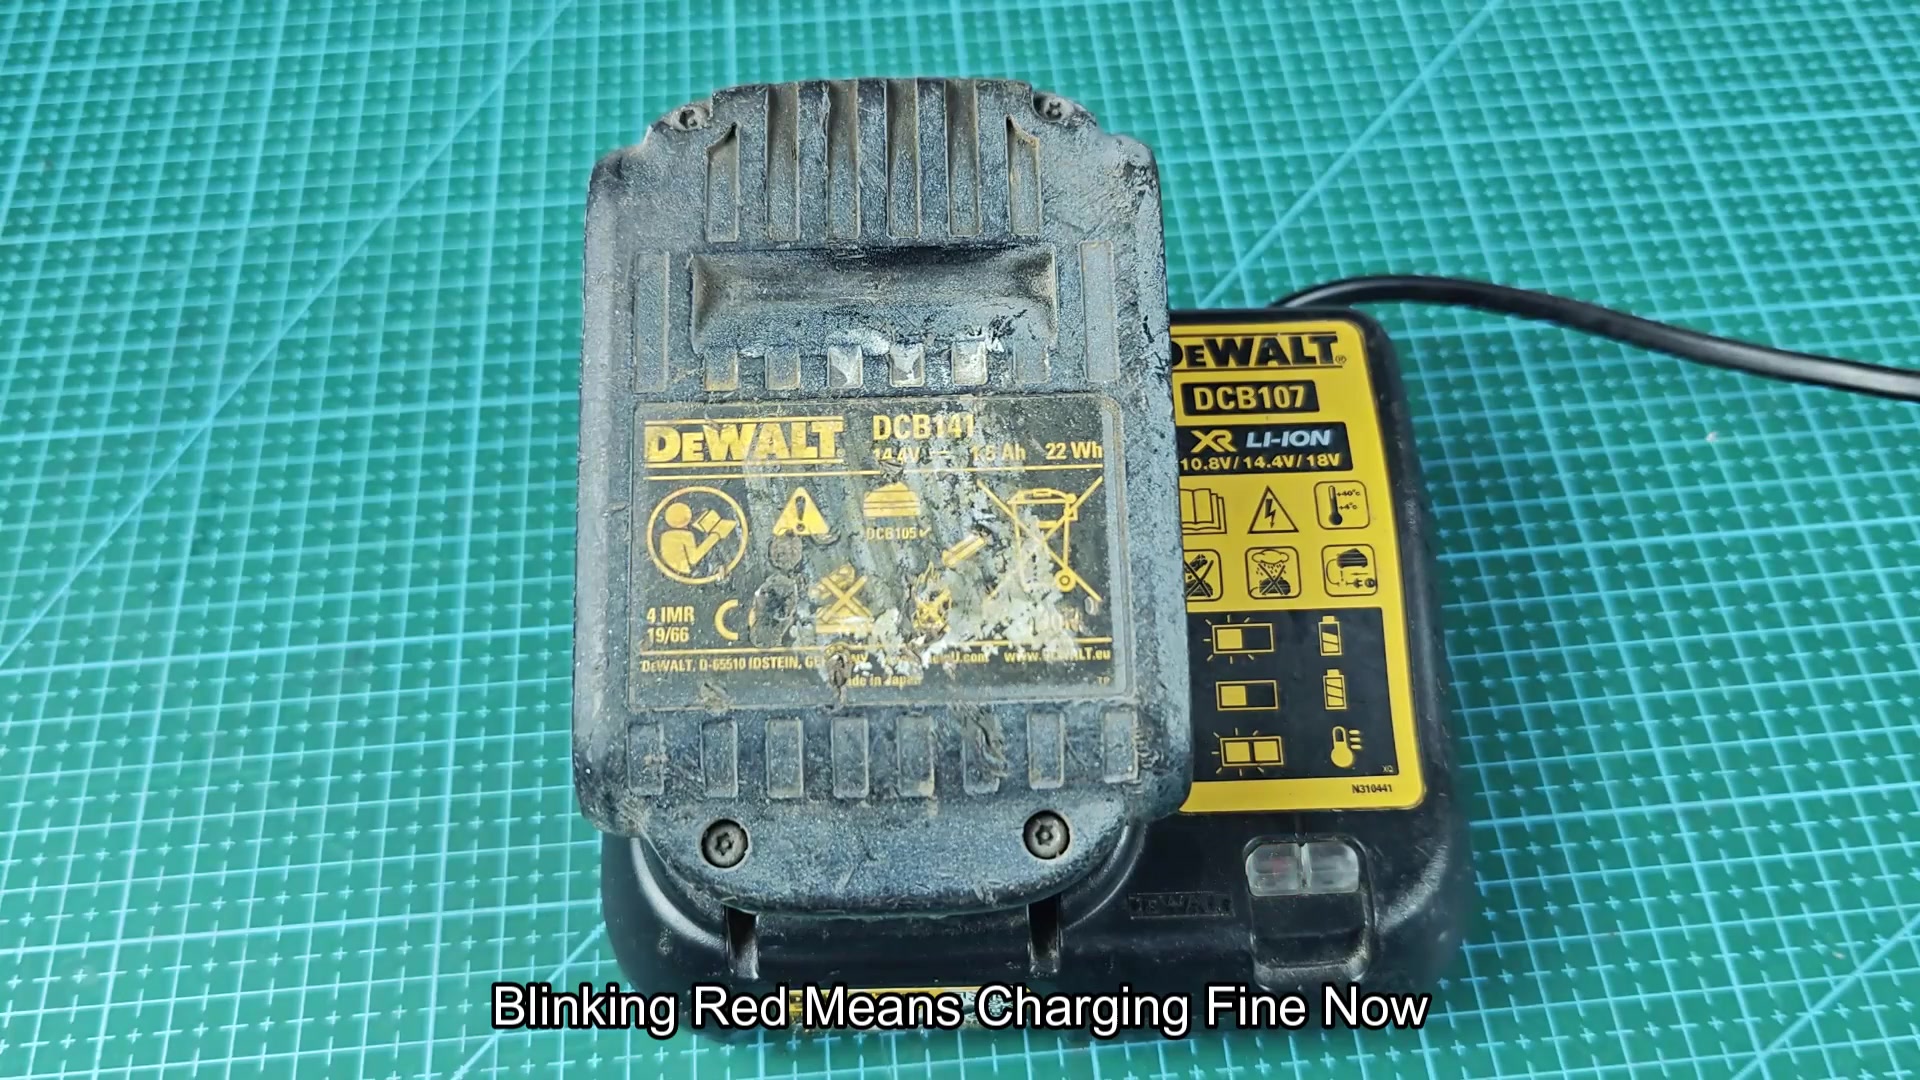
The jump-starting process take around five minutes to complete. It is an easy fix rather than buy a new battery. This saved a battery from going into the trash. Thanks to jump starting it worked more normaly ever since the problem occurred.
