Concrete Calculator for Slab
Estimate slab concrete volume, ready-mix order size, bag count, reinforcement, compacted base, control joints, and wet slab load from actual slab dimensions.
Slab estimate
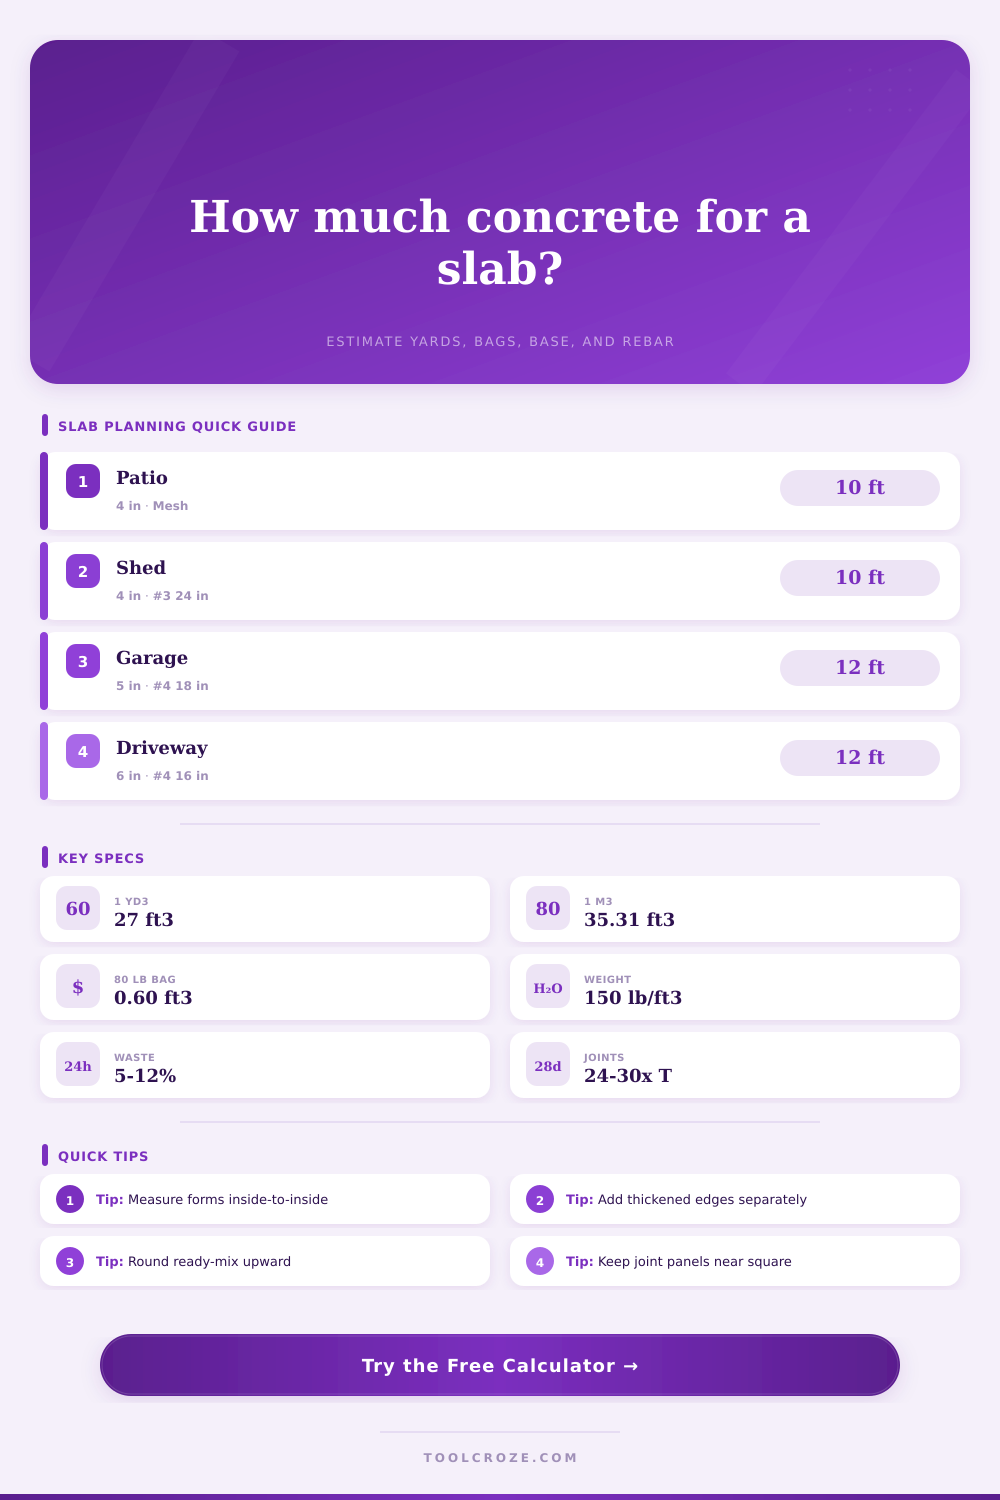
| Slab application | Typical thickness | Common reinforcement | Base layer |
|---|---|---|---|
| Patio, walk, mower pad | 3.5 to 4 in | Mesh or #3 bars at 24 in | 3 to 4 in compacted granular base |
| Shed or light storage | 4 in | #3 at 18 to 24 in or mesh | 4 in compacted crushed stone |
| Garage slab | 4.5 to 5.5 in | #4 at 18 in each way | 4 to 6 in compacted base |
| Residential driveway | 5 to 6 in | #4 at 16 to 18 in each way | 4 to 8 in compacted base |
| Hot tub or equipment pad | 5 to 6 in | #4 at 12 to 16 in each way | 6 in compacted base where soil allows |
| Concrete quantity | Cubic feet | Cubic yards | 80 lb bag equivalent |
|---|---|---|---|
| Small landing | 12 cu ft | 0.44 cu yd | 20 bags |
| One cubic yard | 27 cu ft | 1.00 cu yd | 45 bags |
| Half truck load | 121.5 cu ft | 4.50 cu yd | 203 bags |
| Full planning truck | 243 cu ft | 9.00 cu yd | 405 bags |
| Slab thickness | 24x rule | 26x rule | 30x rule |
|---|---|---|---|
| 4 in slab | 8.0 ft | 8.7 ft | 10.0 ft |
| 5 in slab | 10.0 ft | 10.8 ft | 12.5 ft |
| 6 in slab | 12.0 ft | 13.0 ft | 15.0 ft |
| 8 in slab | 16.0 ft | 17.3 ft | 20.0 ft |
| Reinforcement type | Typical spacing | Lap planning | Best-fit slab use |
|---|---|---|---|
| 6x6 welded wire mesh | 6 in grid | One full square minimum | Patios and light flatwork |
| #3 rebar grid | 18 to 24 in | 18 to 24 in lap | Sheds, walks, and light pads |
| #4 rebar grid | 12 to 18 in | 24 to 32 in lap | Garage, shop, driveway slabs |
| Fiber reinforcement | Mix dosage | No bar lap by itself | Shrinkage control with proper joints |
The main cause of most failed DIY pours is underestimating material needs for amount of ground the pour will cover. It’s not so much about “spreading” concrete as it is about math, weight distribution, and patience. Having nice forms doesn’t mean jack if you don’t understand volume below the surface or what holds everything together.
The calculator above does all this math for you when you input your dimensions and will save you from having to guess at any conversions or waste coefficients. Begin with thickness. Concrete slabs: For some reason, people think that “four inch” means four inches all around. No. Rarely so. Edges needs thicker sections (for support), forms move, sub-grade heaves, etc., etc… And if you have beams or turned down edges, those also requires additional volume. You can set an overall slab thickness and include additional volumes for those details.
Key Steps for a Successful Concrete Pour
Why? Because footings for the edges takes much more per linear foot than do footings in middle of a slab. Not accounting for those few extra inches along the edges leads to running out of concrete long before truck gets back into the yard. It is a tiny bit of difference, but it sinks a lot of weekend.
People disagree, and it costs money (on what kind of reinforcement to use). Depending on who you talk to, they’ll say either rebar or mesh grid will do the job, but not exactly alike. For light loads like patios, use a welded wire mesh grid to help prevent cracks from forming. If you’re building a driveway or garage designed to withstand vehicles, then you want some tensile strength (rebar) for structure.
On page there’s a handy reference table that cross-checks application type with bar size. So a simple walkway may call for welded wire mesh alone; an average two-car garage would be reinforced by a number four bar spaced every eighteen inches, etc. While going with the wrong choice doesn’t mean instant doom, it does invite cracking over time that means costly repairs down the road.
Don’t forget: what’s under concrete matters. A slab needs a good solid foundation. If soil shifts with freezing and thawing, concrete (which handles being pushed well but handles pulling or sliding poorly) will crack. Good granular base also ensures water drains away from underside of the slab and gives you a stable footing that doesn’t move around. To calculate how much loose base material you’ll need, the calculator assumes a compaction factor based off your desired finished thickness; since gravel shrinks as you ram it down, this takes that into account. Underestimate (or skip!) and you’ve got air pockets and, eventually, slab failure.
Nobody wants to account for waste, but they always regret it later. Forms aren’t ever perfectly true; concrete sets fast. You spill stuff. Things gets rough around the edges. So there’s an input for adding a waste allowance to your total volume with this tool, enter a percentage buffer to make sure you don’t run out. Five percent may be enough if you’re mixing small bags. Twelve percent or more would of been safer on a ready-mix truck delivery. Better to order a little too much and leave some over for patching than to scramble for a second load as you see the mixer drive off into sunset. Fixing a shortfall costs more in labor then extra material does.
Another pro-am difference is how close their joints is spaced. As concrete cures, it shrinks. And if it has nowhere to shrink, it’ll do so in random spots, cracking up as it goes. Control joints establish weak planes, the places the slab WANTS to break. So cracks remain straight and out of sight. Standard industry rules of thumb set joint spacing according to slab thickness; thicker slabs can stretch farther between cuts. Mastering the rhythm makes for a clean-looking finish, no matter how much the slab expands over the years.
So if you understand those inputs then it helps you think about what goes into that pour. It isn’t about simply pouring in a hole. It’s constructing a steel/concrete/base composite system. The tool provides the numbers, but it’s up to you to make sure the conditions at your site align with those assumptions. Make allowances for the edges, measure twice, and recognize that this stuff has some serious weight when wet.
After walking away from a cured slab, it feels like it belongs there; level and solid enough to support whatever you want to place on it. And that begins by making sure you get volume correct before placing the first batch on ground.