Concrete Footing Design Calculator
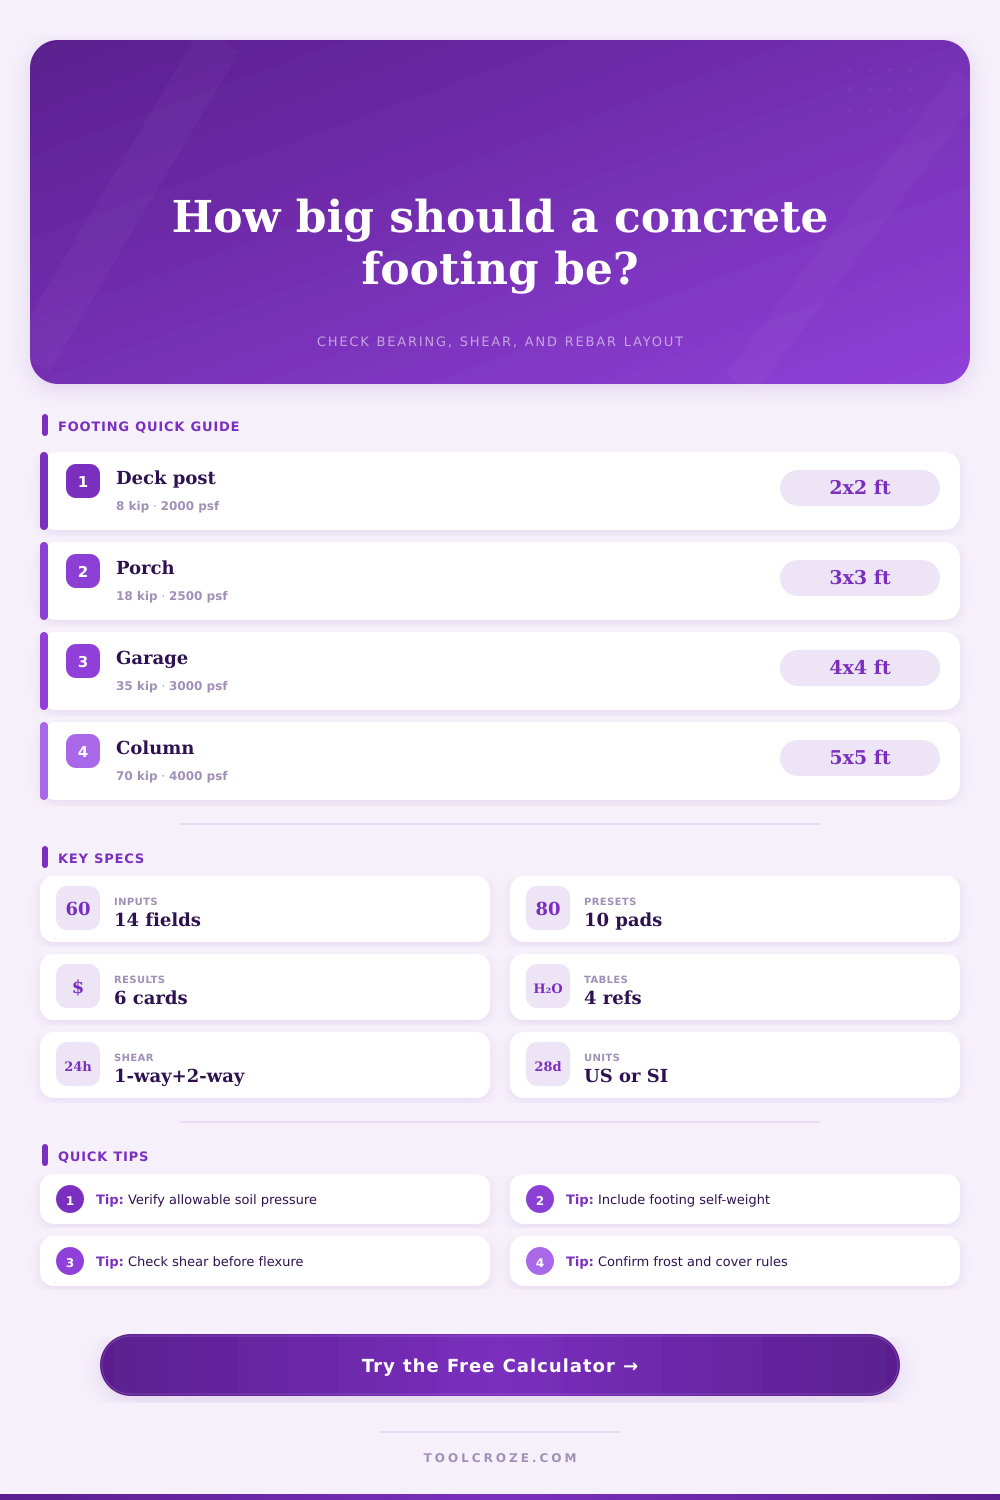
Estimate spread footing bearing pressure, footing dimensions, concrete depth, rebar quantity, one-way shear, punching shear, and practical safety factors for preliminary pad footing checks.
| Soil description | Typical allowable bearing | Design caution | Common use |
|---|---|---|---|
| Soft clay or loose fill | 1,000 to 1,500 psf | Needs investigation | Light posts only |
| Firm clay or sandy clay | 1,500 to 2,000 psf | Watch settlement | Porches, small pads |
| Dense sand or gravel | 2,500 to 4,000 psf | Check groundwater | Residential footings |
| Weathered rock | 4,000 to 8,000 psf | Level bearing surface | Heavy column pads |
| Footing type | Starting size | Depth range | Typical reinforcement |
|---|---|---|---|
| Deck or patio post pad | 2 ft by 2 ft | 10 to 14 in | #4 at 12 in each way |
| Porch roof column footing | 3 ft by 3 ft | 12 to 16 in | #4 at 10 to 12 in |
| Residential column footing | 4 ft by 4 ft | 14 to 20 in | #5 at 10 to 12 in |
| Light steel column base | 5 ft by 5 ft | 18 to 24 in | #5 or #6 at 8 to 12 in |
| Concrete strength | Use case | Shear note | Cover note |
|---|---|---|---|
| 2,500 psi | Small nonstructural pads | Lower shear margin | Use code minimum cover |
| 3,000 psi | Typical residential footings | Common baseline | 3 in against earth |
| 4,000 psi | Higher column loads | Improved punching capacity | Protect bars from soil |
| 5,000 psi | Compact heavy pads | Verify detailing limits | Engineer review advised |
| Bar size | Area per bar | At 12 in spacing | Common footing role |
|---|---|---|---|
| #3 / 10M | 0.11 sq in | 0.11 sq in per ft | Very light pads |
| #4 / 13M | 0.20 sq in | 0.20 sq in per ft | Small footings |
| #5 / 16M | 0.31 sq in | 0.31 sq in per ft | Residential columns |
| #6 / 19M | 0.44 sq in | 0.44 sq in per ft | Heavier spread footings |
When you begin a construction project, what do you think about? Steel posts? Timber beams? Not many of us go immediately to the dirt. That lack of thinking is where DIY construction goes wrong. A beautiful building won’t stand straight (or maybe even stay above ground) if the ground isn’t strong enough. The foundation isn’t simply concrete. It’s all about knowing how much weight the ground can support vs how much weight you put on it.
There are physical realities that DIY manuals don’t realy talk about. A note about dirt: It is not all created equal. It changes depending on its location, the time, and even with a single inch of change within it.
Why You Must Check the Ground First
The calculator then uses this figure (the bearing pressure) taken from the type of soil you specify. This matters more than anything else here. All other numbers don’t mean nothing if you incorrectly estimate your soil. For instance, loose fill or moist clay may support only 500 lbs per sq ft. Whereas dense gravel could support as much as 4,000.
So do yourself a favor and find out what’s beneath you before accepting these equations as truth. For major loads like retaining walls etc., get a geotechnical report. For a post for your porch, probably just need a soil test or check the building codes locally.
Once you know the soil’s limit, you size the area. To find the minimum square footage, divide the load by the bearing capacity. Simple math, yet folks seem to overlook weight of concrete. There’s an option on the tool to account for self-weight of footings. Concrete is heavy. Adding thickness to the pad increases the load on the soil. This additional weight require more area. And it’s a feedback loop that expands until the design stabilizes. Failing to consider this create a margin of error which almost never works in your favor.
Another hidden variable is depth. A large footprint doesn’t help unless it’s not too shallow. The calculator runs a couple of other tests, one way shear and punching shear. These indicate how the concrete can fail, either by having its load punch right through it or slice down and off. And these tests rely on effective depth (ED) of the concrete. ED is total depth minus half the rebar diameter and the concrete cover. In other words, you want enough depth that the concrete can function structurally as a beam. It should not be like a delicate plate that cracks easy. When the shear ratio falls below one, the footing won’t settle, it’ll crack first.
Folks focus on width for looks. To save themselves some concrete volume, they skimp on depth. The tension gets reinforced Concrete’s good in compression. It’s bad in bending. Steel bars handle the stretch. How much tension can it handle? That’s based off bar size and spacing. That’s based on its surface area. Bar size and spacing. Typical setups can be found in reference tables. A common one for small pads is #4 bars spaced 12 inches apart. It is not a rule, just a baseline. You may need bigger bars. Use tighter spacing. The load is heavier. Weaker soil.
The calculator tells you what number of bars to expect. It gives you a visualization ahead of time. Do this before you pour.
In cold regions, frost depth is another big concern. When water freezes, it expands and pushes up on the soil. To maintain stability, footing must extend beneath the level where freezing occurs, i.e., the frost line. It doesn’t matter what your math suggests; if the frost line is 40 inches deep (as per your local code), and calculations indicate a six-inch slab, dig down to 40 inches. And go from there. No exceptions.
The calculator figures out where it keeps you in the safe zone. But you are still the engineer. Think like one. Look at your soil. Respect the depth. Build for the load, not just for convenience. Your building’s days will be decided by the strength of its foundation. Begin with the dirt; then everything else will fall into place. You should of checked it first.