Concrete Floor Slab Calculator
Estimate slab concrete, thickened edge volume, gravel base, reinforcement, control joints, delivery trucks, bag counts, and finished concrete weight.
Concrete slab estimate
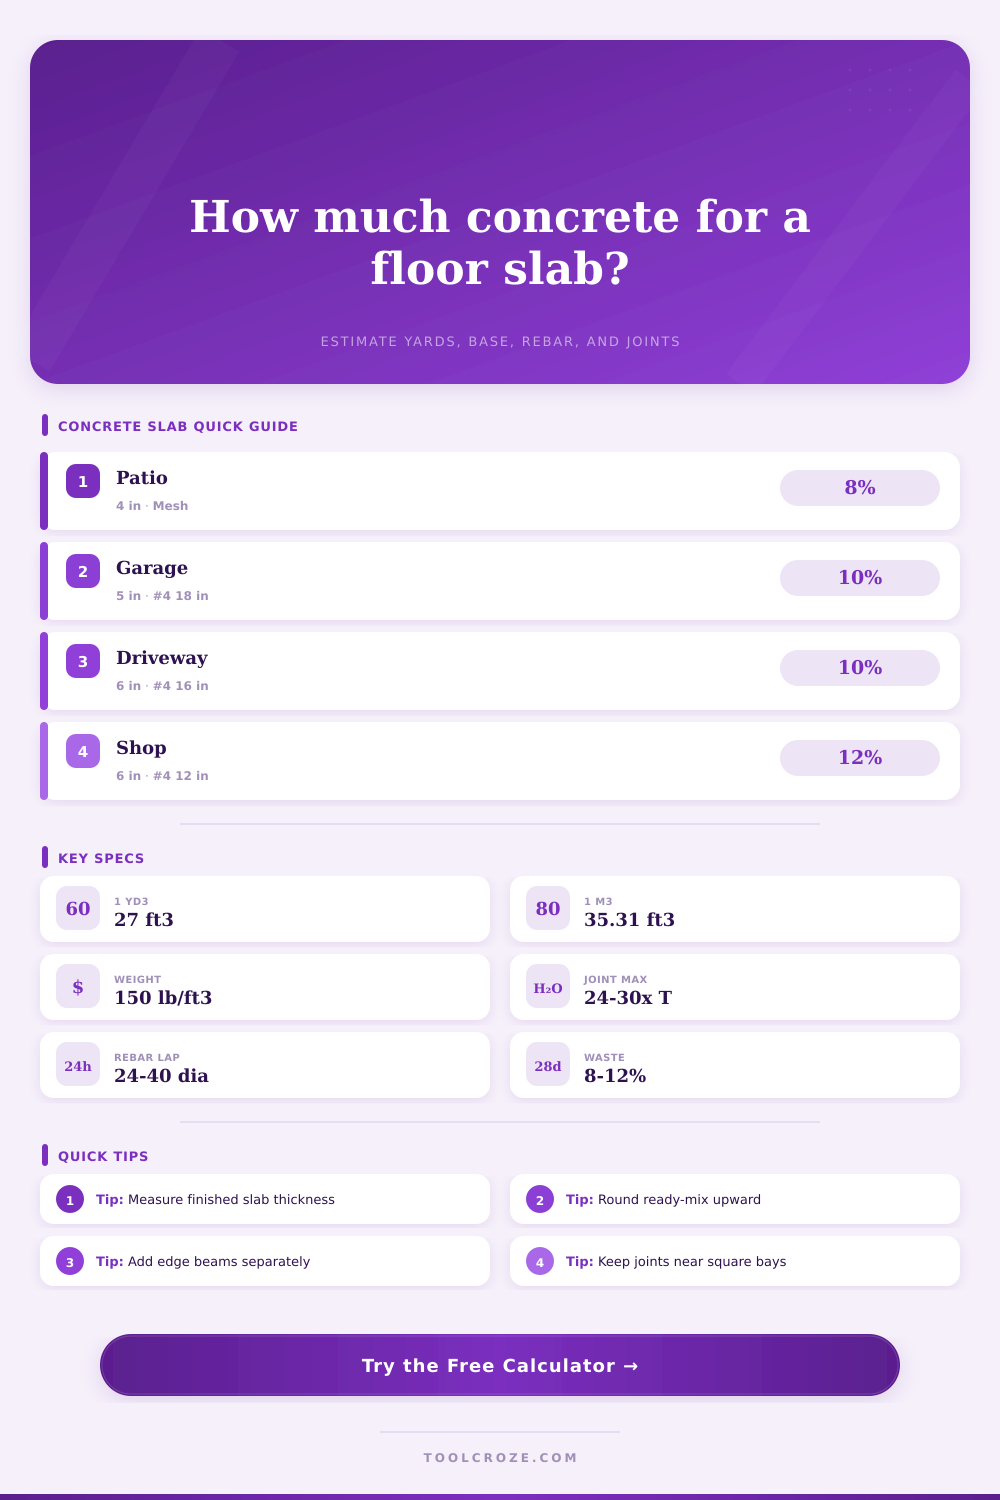
| Slab use | Common thickness | Typical reinforcement | Base depth |
|---|---|---|---|
| Walkway or light patio | 3.5 to 4 in | Mesh or fibers | 3 to 4 in compacted gravel |
| Shed, porch, or utility pad | 4 in | Mesh or #3 at 18 in | 4 in compacted gravel |
| Garage floor | 4 to 5 in | #4 at 18 in or mesh | 4 to 6 in compacted gravel |
| Driveway slab | 5 to 6 in | #4 at 16 to 18 in | 4 to 8 in compacted gravel |
| Workshop floor | 5 to 6 in | #4 at 12 to 18 in | 6 in compacted gravel |
| Light warehouse bay | 6 to 8 in | #4 or #5 at 12 in | 6 to 8 in compacted gravel |
| Reinforcement | Spacing or sheet | Best fit | Estimating note |
|---|---|---|---|
| 6x6 W1.4 mesh | 5 x 8 ft sheets | Patios and floors | Add 10% for overlaps and trim |
| #3 rebar grid | 18 to 24 in | Small pads | Lighter grid for non-vehicle slabs |
| #4 rebar grid | 12 to 18 in | Garages and driveways | Common slab reinforcement size |
| #5 rebar grid | 12 in | Heavier shop floors | Use when load or soil demands it |
| Perimeter bars | 2 continuous bars | Thickened edges | Add laps at corners and splices |
| Area | 4 in slab | 5 in slab | 6 in slab |
|---|---|---|---|
| 100 ft² | 1.23 yd³ | 1.54 yd³ | 1.85 yd³ |
| 250 ft² | 3.09 yd³ | 3.86 yd³ | 4.63 yd³ |
| 500 ft² | 6.17 yd³ | 7.72 yd³ | 9.26 yd³ |
| 1,000 ft² | 12.35 yd³ | 15.43 yd³ | 18.52 yd³ |
| 2,000 ft² | 24.69 yd³ | 30.86 yd³ | 37.04 yd³ |
| Slab thickness | 24x spacing | 30x spacing | Saw cut depth |
|---|---|---|---|
| 4 in | 8 ft | 10 ft | 1 in minimum |
| 5 in | 10 ft | 12.5 ft | 1.25 in minimum |
| 6 in | 12 ft | 15 ft | 1.5 in minimum |
| 7 in | 14 ft | 17.5 ft | 1.75 in minimum |
| 8 in | 16 ft | 20 ft | 2 in minimum |
Pouring a concrete slab sounds simple: shovel some gray sludge into a hole; hope it hardens flat. If most people thought like that they’d have a cracked driveway looking more like a shattered mirror within three summers. It isn’t much fun, but that is great news for your wallet if you get it right before the truck shows up.
Pouring a slab require thinking about everything under your feet, all the layers that make up the stack you’re putting down. It requires accounting for the edges that take the brunt of wheel loads. You must also account for reinforcement that resists tension and the gravel base that keeps things draining. Once you input your dimensions, the calculator do the math for you. This lets you focus on actual design choices that matter. You won’t have to wonder how much stuff you need by guessing at volume conversions and coefficients.
Key Steps for Pouring a Concrete Slab
First, let’s look at thickness. This is where durability (and money) meets your choice. Four inches may work fine as a garden path, but not so much when an SUV park on it. In general, plan for five inches for a garage floor and six if cars drive over it regularly. The deeper you go, the more weight, and that’s considerable, since concrete weigh approximately 150 pounds per cubic foot. A few extra fractions of an inch, multiplied by many square feet, quickly adds up to a lot of volume and weight. Best to pour a little thicker than anticipated; once you add height, you’re screwed… Literally, and has to start from scratch.
Mostly it’s all about prevention of cracks, and that means reinforcement. Concrete shrinks, rebar or wire mesh doesn’t prevent shrinkage, it merely maintains its shape if (and when) that happen. What is the separation between those bars (or mesh) compared to their size? For most house construction, about 18 inches on center is a good trade-off: enough to be effective, but not too expensive. Laps, the overlaps required where two lengths of bar meet, is another consideration. Allow about ten percent for them so you don’t run out of reinforcing steel halfway through your pour.
The other key factor influencing crack formation are control joints. Wherever there’s concrete, it will crack (no matter what), but with some careful planning you can direct the location of those cracks by scoring grooves into the new concrete. A general guideline is to keep panel sizes small, smaller then 24. 30 times the slab thickness. With a typical six inch thick slab, that translates to having a joint line every dozen or so feet. To help spread out the stresses evenly, try and maintain roughly square bays. Panels with long rectangular shapes are more likely to crack in random spots along their length. The proportion of length vs width (the “aspect ratio”) isn’t good for strength of material.
Beneath all of the above, do not forget subgrade! A well compacted gravel base is non-negotiable if you plan on having any sort of slab that will be trafficked. It will give the slab stability and drain water away instead of letting the concrete sink into soft ground during heavy rain or freeze-thaw cycles. Order enough stone to cover area at the appropriate thickness (typically four to six inches) and some additional for compaction settlement.
And lastly, account for waste factor in your total amount. The subgrade isn’t always perfectly level; there will be bulges in some areas and spills here and there. Giving yourself a bit of extra (ten to fifteen percent) means you wouldn’t of needed to order another load. This prevents you from running out of concrete halfway through mixing and placing it when there is no time to order more. It is better to have a few bags left over at the end rather than halfway through and suddenly having half a yard too much.
These little things make all the difference between getting decades of service from your slab or having to replace it come next winter.