Concrete Block Material Calculator
Estimate concrete blocks, mortar, grout fill, vertical rebar, horizontal bond beam steel, sand, and waste for CMU walls, fences, piers, and partitions.
⚙Masonry presets
📏Wall dimensions and CMU inputs
Material takeoff results
🧱Material and specification grid
📚Concrete block reference tables
| Nominal CMU | Typical actual face | Modular face | Approx blocks per 100 sq ft |
|---|---|---|---|
| 4 x 8 x 16 partition block | 3-5/8 x 7-5/8 x 15-5/8 in | 8 x 16 in with joint | 113 blocks |
| 6 x 8 x 16 fence block | 5-5/8 x 7-5/8 x 15-5/8 in | 8 x 16 in with joint | 113 blocks |
| 8 x 8 x 16 standard CMU | 7-5/8 x 7-5/8 x 15-5/8 in | 8 x 16 in with joint | 113 blocks |
| 8 x 4 x 16 half-high CMU | 7-5/8 x 3-5/8 x 15-5/8 in | 4 x 16 in with joint | 225 blocks |
| Block thickness | Typical use | Approx core grout per block | Common filled-cell approach |
|---|---|---|---|
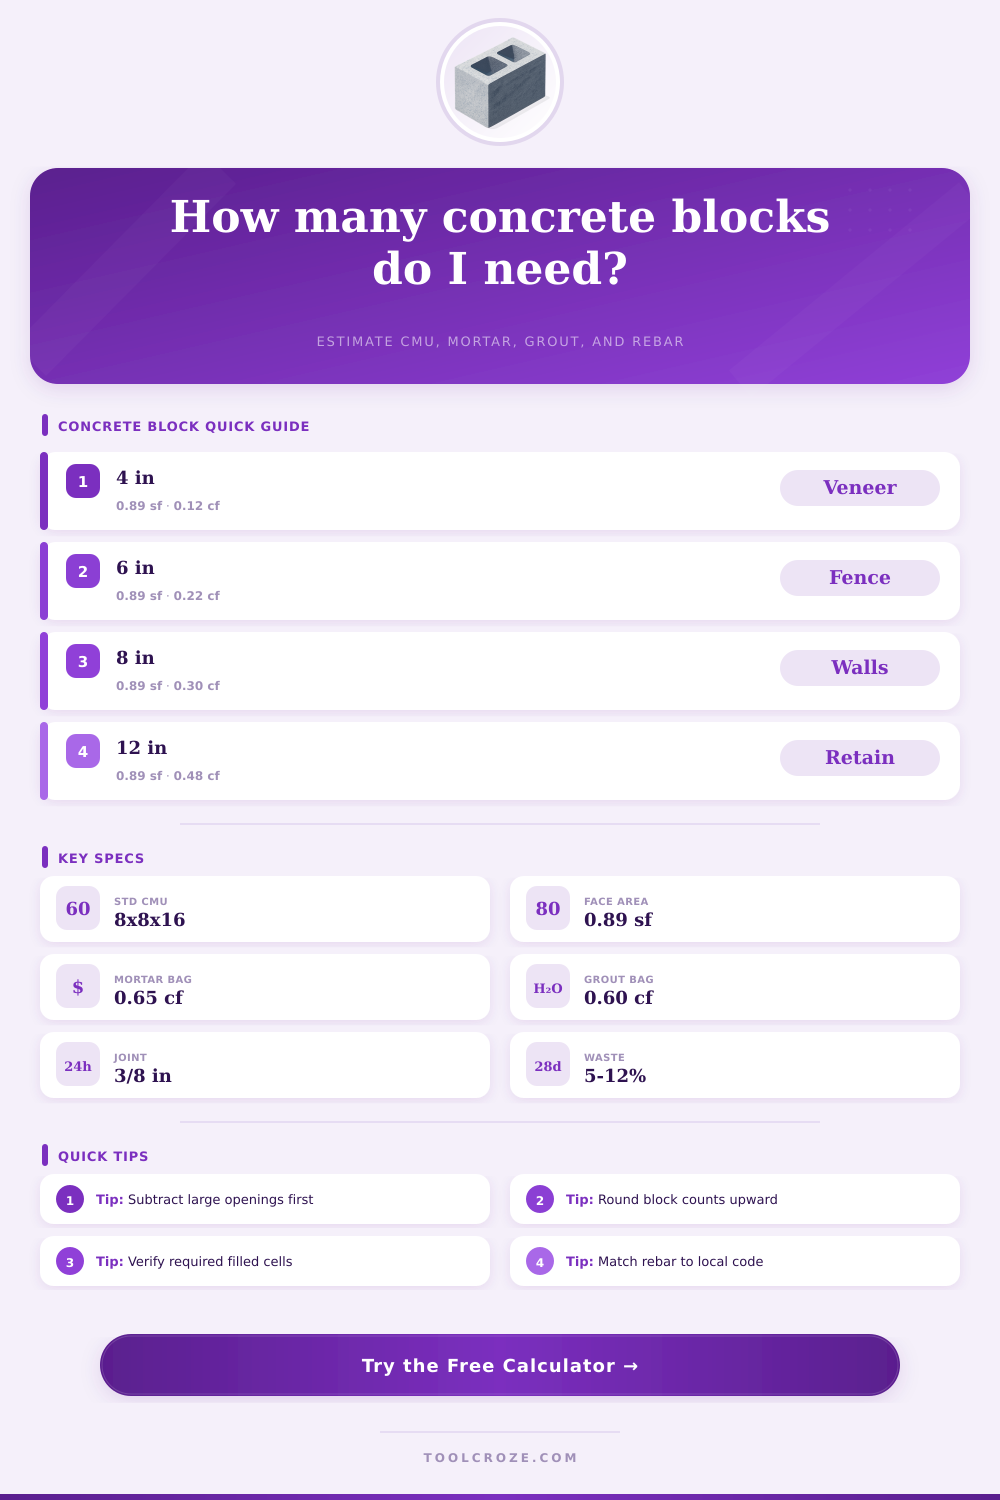
| 4 in | Nonbearing partitions and veneers | 0.12 cu ft | Usually ungrouted unless detailed |
| 6 in | Garden walls and light fence panels | 0.22 cu ft | Grout bars, ends, and piers |
| 8 in | Foundations, garages, and site walls | 0.30 cu ft | Partial or fully grouted by design |
| 12 in | Structural or retaining walls | 0.48 cu ft | Often heavy reinforcement |
| Material | Calculator default | Field check | Why it matters |
|---|---|---|---|
| Mortar bag yield | 0.65 cu ft per 80 lb bag | Read the bag label | Yield changes with mix, water, and joint tooling |
| Fine grout yield | 0.60 cu ft per 80 lb bag | Use the selected grout product | Core fill volume drives bag count quickly |
| Mason sand | 0.24 cu ft per mortar bag | Needed only for site-mixed mortar | Preblended mortar may already include sand |
| Concrete block weight | 22 to 55 lb each by thickness | Confirm with supplier | Useful for staging and delivery handling |
| Project condition | Suggested waste | Filled cells | Takeoff note |
|---|---|---|---|
| Straight partition with no openings | 3% to 5% | 0% to 10% | Clean layout, few cuts |
| Garage or foundation stem wall | 5% to 8% | 20% to 40% | Bars at corners, ends, and intervals |
| Fence wall with piers | 8% to 10% | 30% to 60% | Extra pier block and grout cores |
| Retaining wall or heavy structural wall | 10% to 12% | 75% to 100% | Use project drawings for final steel |
ℹMasonry takeoff tips
When most folks begin a masonry job they envision clean lines and roughly estimate their truckload capacity based on the number of blocks. Unfortunatley, reality set in soon after a trip to the home improvement store. Estimating concrete block isn’t as simple as counting; it’s all about managing volume. You have to fill grout cores. You also has to account for waste from cuts around door frames and mortar joints.
Enter the calculator: Input your wall dimensions and let it crunch the numbers (no need to make any guesses at coefficients or other conversions).
Why You Need a Block Calculator
So first: Nominal size doesn’t mean what you think. A block labeled as “8x8x16” isn’t realy going to be quite that big; there’s an inch or two lost to mortar joints. This is important because it sets the number of courses you can stack into your wall height. This calculation include the joint thickness, which is typically three-eighths of an inch. If you don’t include the joint thickness when calculating your block requirements, you’ll be inaccurate. But the tool already takes into account the fact that each row tacks on additional height over the face of the block itself. It also assume that your block sizes will be spaced out according to some kind of modular system. That’s why I said your wall height/length input should be exact.
The place most DIYers go wrong is in their waste allowance. It’s easy to figure one block can be cut down, but then multiply that by six window openings and twelve corner. All those cuts equal waste. And the calculator allow you to change your estimate accordingly. If you’re working on a straight garage wall, you might use just five percent waste, but a curved retaining wall with pilasters may be up to fifteen. It’s always better to buy a little extra than to run out halfway through a course because an extra bag or two of concrete cost less than another trip to the supplier.
There’s also an invisible factor: Grout volume. Not all walls are solid blocks; many include cores that require grouting with vertical rebar for added strength. To adjust your grout bag requirement, you must add cell fill percentage to the calculator. Setting this to zero will result in a bare-bones partition estimate, but setting it higher (I’ve seen up to seventy-five percent used on structural walls) will greatly alter your material list. Instead of merely purchasing blocks, you’re now picking up heavy bags of sand-cement mix and steel, which can have a significant price difference than what you expected. It pays to know what your design requirements are upfront.
It’s also difficult to get a handle on how much mortar you’ll use. The amount of mortar that comes from an 80-pound bag isn’t standardized in reality. The ratio of mixing water used can change things, as can the sand’s moisture content and other factors. How much mortar you lay down depends on how you apply it, too. The chart on the page shows the expected yield under normal circumstances, but these are only approximations. Chances are that you’ll end up using slightly more than the theoretical minimums. Premixed mortar saves time and hassle, but tends to be more expensive by the cubic foot compared to making your own with Type S cement and sand. You should of ran the math before committing: know what you’re comfortabley doing (and at what price).
Everything is tied together with rebar. The vertical bars goes up the cores. The horizontal bond beams lock the layers into place. Local building codes dictate how wide you space them; the tool calculates the total linear footage of steel required for any given interval. This is only a takeoff for planning purposes; it’s not stamped by an engineer. Check local building codes for minimum bar size and lapping length. One wrong number can result in a wall that fails inspection or doesn’t meet seismic standards.
At the end of the day, knowing what we’re ordering and why will keep us all sane. It turns a jumble of building materials into something more manageable: a shopping list. We’ll know in advance how much of every item we need, and we won’t get frustrated sitting around waiting for stuff to arrive before finishing up. Once you break it down, it’s not complicated mathematics. The hard part comes in knowing what you’re measuring. That’s where we start. You figure out your net wall area by starting with the perimeter and accounting for openings, then you leave the rest up to the tools. That is realy the only way this will work if you want it to be the foundation for anything.