Concrete Beam Size Calculator
Preliminarily size a reinforced concrete beam from span, tributary load, beam width and depth, concrete strength, rebar area, cover, stirrup spacing, moment, shear, and deflection utilization.
📌Real Reinforced Beam Presets
⚙Beam Inputs
Preliminary Beam Check
Full Breakdown
🧱Concrete and Rebar Spec Grid
📐Preliminary Span and Depth Guide
| Beam condition | Starter depth ratio | Use case | Calculator check |
|---|---|---|---|
| Simply supported beam | h about L/16 | Single-span floor, roof, and lintel beams | Depth utilization card compares h to L/16 |
| Continuous interior span | h about L/18.5 | Multi-bay frames and continuous girders | Uses reduced moment and deflection coefficients |
| Cantilever beam | h about L/8 | Short balconies, canopies, and brackets | Uses cantilever moment, shear, and deflection coefficients |
| Heavy transfer girder | Often deeper than L/12 | Columns, walls, or stacked framing above | Review moment, shear, and deflection together |
📊Beam Preset Reference
| Preset | Span and load | Preliminary section | Reinforcement starter |
|---|---|---|---|
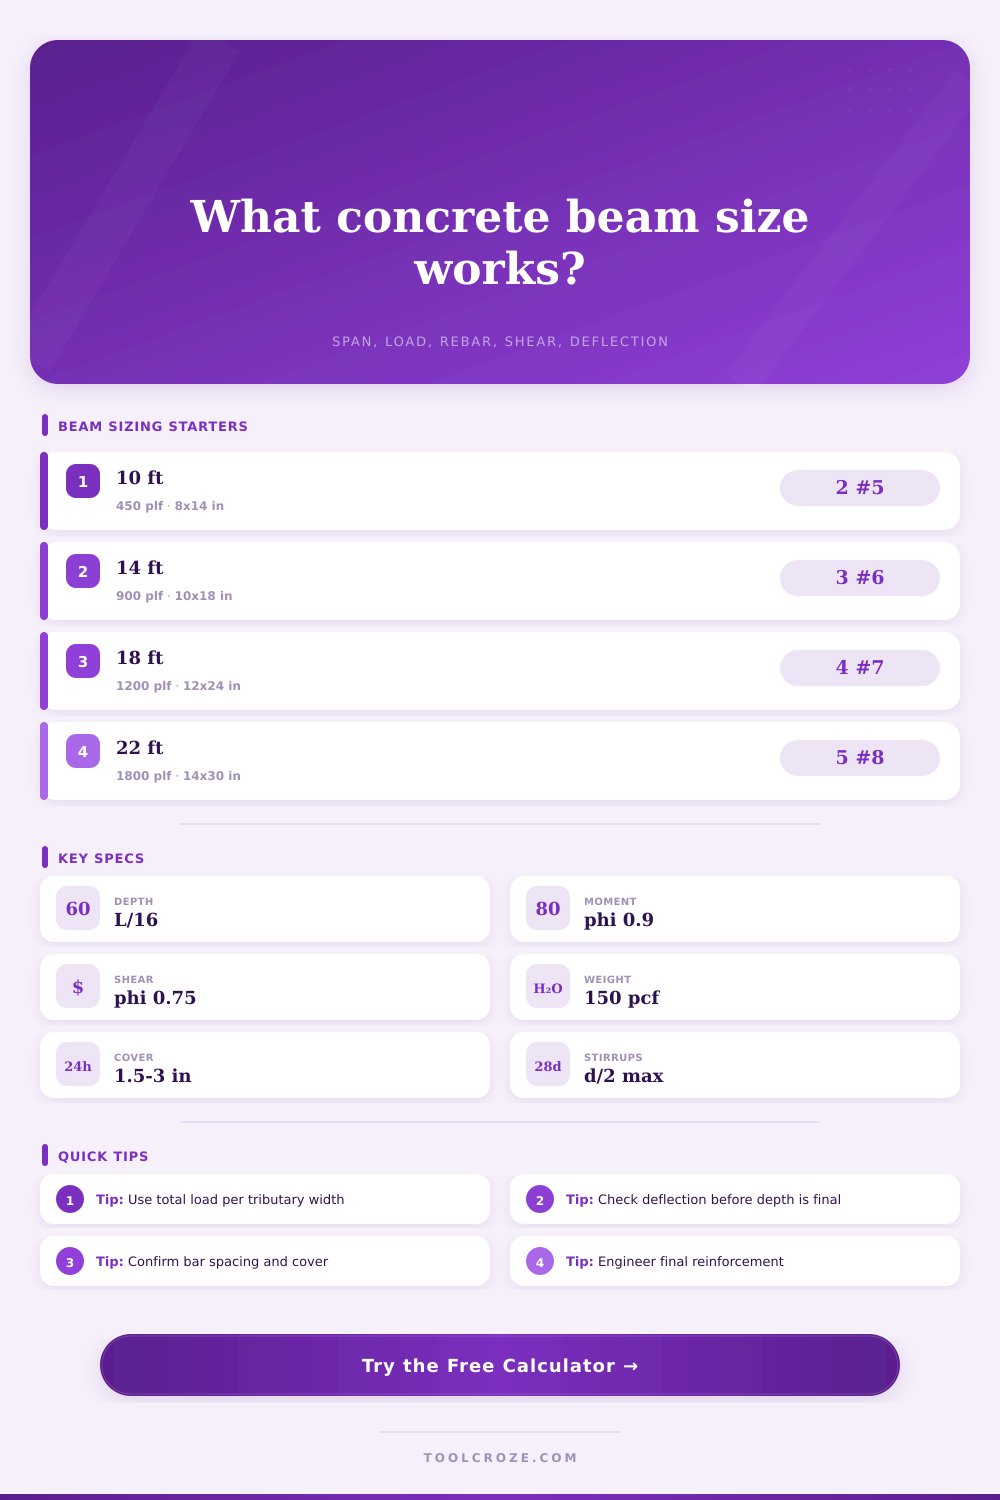
| Porch Header 10 ft | 10 ft span, 6 ft tributary, 55 psf | 8 in x 14 in beam | 2 #5 bottom bars, #3 stirrups at 8 in |
| Garage Opening 14 ft | 14 ft span, 10 ft tributary, 80 psf | 10 in x 18 in beam | 3 #6 bottom bars, #3 stirrups at 8 in |
| Parking Garage Beam | 20 ft span, 12 ft tributary, 145 psf | 14 in x 28 in beam | 5 #8 bottom bars, #4 stirrups at 6 in |
| Light Transfer Girder | 22 ft span plus 850 plf line load | 16 in x 32 in beam | 6 #8 bottom bars, #4 stirrups at 5 in |
🔧Rebar Area and Cover Reference
| Bar size | Diameter | Area | Typical beam use |
|---|---|---|---|
| #4 / 13M | 0.500 in / 12.7 mm | 0.20 in² / 129 mm² | Small beams, temperature bars, tight cages |
| #5 / 16M | 0.625 in / 15.9 mm | 0.31 in² / 199 mm² | Residential beams and moderate spans |
| #6 / 19M | 0.750 in / 19.1 mm | 0.44 in² / 284 mm² | Common main bars for floor beams |
| #7 / 22M | 0.875 in / 22.2 mm | 0.60 in² / 387 mm² | Higher moment beams with wider cages |
| #8 / 25M | 1.000 in / 25.4 mm | 0.79 in² / 510 mm² | Girders, transfer beams, heavy framing |
| #9 / 29M | 1.128 in / 28.7 mm | 1.00 in² / 645 mm² | Large beams where spacing and cover allow |
⚖Concrete Strength and Serviceability Reference
| Input | Common value | Formula use | What it affects |
|---|---|---|---|
| Concrete strength fc | 3000 to 5000 psi | Compression block, shear, Ec | Moment, shear, and deflection capacity |
| Steel yield fy | 60 ksi or 420 MPa | As x fy for tension force | Flexural and stirrup capacity |
| Normalweight concrete | 145 to 150 pcf | b x h x unit weight | Self-weight added to service and factored load |
| Deflection limit | L/240 to L/480 | Delta from elastic Ig estimate | Serviceability utilization and depth screen |
| Stirrup spacing | d/2 and 24 in screen | Av x fy x d / s | Shear utilization and cage practicality |
💡Beam Sizing Tips
For most people, it begins with the span. You take out a tape measure, you figure out how far apart two walls are, and you think arithmetic must be easy.
It isn’t. A concrete beam isn’t simply a piece of stone propping up a floor. It’s a carefully balanced mix of tension and compression: for each inch in depth, each bar of steel battle against bending, and gravity battles against them all. Get the geometry wrong and structure collapses. Get the reinforcing wrong and concrete will crack by the time you put down a coat of paint. Until then, unless you know what to look for, you can’t see any difference at all, but it’s too late.
How to Design a Concrete Beam
You can use the calculator above to punch numbers through, but it helps to know what it’s doing. Typicaly, a good place to start on simple beams (meaning those without uneven loads) is a depth equal to one-sixteenth of the span. This set your basic section. Next comes the loads. And this is where things get interesting.
This is where you must adds the dead load of the slab plus the self-weight of the beam itself, plus the live load of furnitures and people. That last item. The self-weight of the beam, is the silent killer in early design. A deeper beam are stronger in bending, yes, but it’s heavier too. A heavier beam mean more load. This creates a greater need for strength, which may require an even deeper beam. This pattern continue. It’s a feedback loop that stops only when numbers stabilize.
The tool then verifies that moment capacity is sufficient for your total load. Because concrete is good at resisting compressive loads but poor at resisting tensile loads, the tension side has to shares with steel doing most of the work. The calculator compares the applied moment to the plastic moment limit of selected concrete section and rebar. Utilization near 1 means you’re pushing it hard; add some bars to fix that issue (but you’ll reach a practical limit as to how many will fit in one layer). Congestion complicates the pour and reduces bond between the concrete and steel. Increasing depth increases distance between forces so that you can get away with fewer and bigger bar.
Another issue is shear. That one usually peaks at the very end, the point where the beam connects with the wall (or column) support. This is compared to both the natural shear capacity of the concrete itself and the extra strength the stirrups add. Stirrups are those tiny loops that secure primary bars in place. Without them, cracks can spreads diagonally. Tighter stirrup mean better shear. Bigger stirrups also means better shear. It is a small detail, but it protects the entire member from a sudden collapse.
In residential stuff it’s often all about deflection. Sure, a beam might be plenty strong, but it might sag enough to crack drywall beneath it. The serviceability check will compare your predicted deflection to a limit value such as L/360. Miss the mark? Then you must use a stiffer section. Typicaly, you do this by making it deeper (not necessarily stronger) because depth adds stiffness. Rebar doesn’t come close.
And you’ll notice that on the page there are reference tables of common concrete strengths and common bar sizes. Why? It isn’t just made up; using combinations outside those standards makes construction and detailing more complicated. Those standard concrete strengths such as four thousand psi work hand-in-hand with standard rebar sizes: number six or number seven bars. The variables changes as the size changes, as you can see in the presets from parking garage beams to porch headers. What is heavy on one scale (a transfer girder) is very different than what is light (a residential beam).
And that’s the actually point: the design of beams is negotiable. It falls between height and depth requirements. It’s a choice between concrete cover and steel quantity. It falls between serviceability and strength. Between span and load, you begin. And from there you allow the laws of physics to guide you toward what will fit.
It is a process of elimination. Strip away the non-viables till all that’s left is the safe, buildable solution. It is the one without the cracks. You should of checked everything twice.