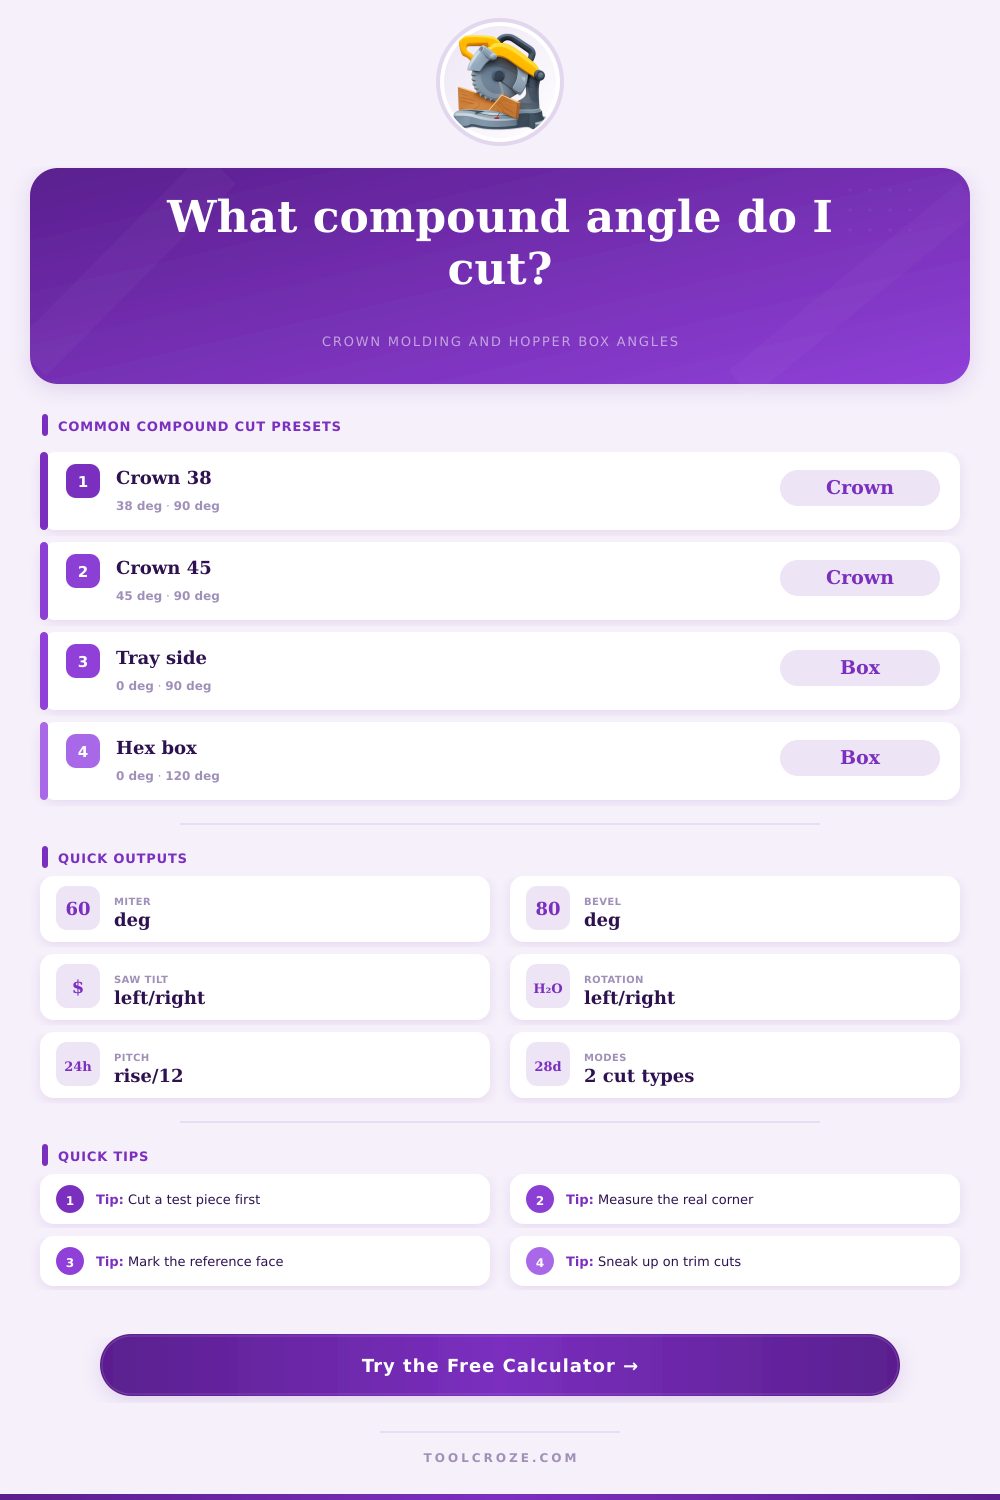
Compound Angle Calculator
Calculate miter angle, bevel angle, crown molding spring settings, hopper and box side cuts, roof pitch adjustment, saw tilt, and saw rotation before making the cut.
Cut Settings
| Crown spring | Square corner miter | Square corner bevel | Typical use |
|---|---|---|---|
| 38° | 31.6° | 33.9° | Most wall crown and trim kits |
| 45° | 35.3° | 30.0° | Cabinet crown and equal back profiles |
| 52° | 38.0° | 26.6° | 38/52 crown with tall ceiling projection |
| 0° nested | 45.0° | 0.0° | Crown held at installed angle against fence |
| Hopper / box side | Plan corner | Miter reference | Bevel reference |
|---|---|---|---|
| Square straight box | 90° | 45.0° | 0.0° |
| Square hopper 10° | 90° | 44.6° | 7.1° |
| Hex planter 12° | 120° | 59.2° | 10.4° |
| Octagon tray 8° | 135° | 67.1° | 7.4° |
| Material | Cut behavior | Useful blade | Setup note |
|---|---|---|---|
| Finger-joint pine | Soft, chips at paint film | 80T trim | Back up small returns |
| MDF molding | Dusty, brittle edge | 80T or 96T | Support the whole profile |
| Poplar / maple | Clean but grain-sensitive | 60T to 80T | Test for exit splintering |
| Cedar / plywood | Soft or layered faces | 60T fine crosscut | Mark show face before cutting |
| Cut position | Inside corner | Outside corner | Reference face |
|---|---|---|---|
| Left piece | Rotate left, tilt right | Rotate right, tilt left | Keep bottom edge toward fence when nested |
| Right piece | Rotate right, tilt left | Rotate left, tilt right | Keep marked face up for flat cuts |
| Table saw | Miter gauge follows rotation | Reverse gauge direction | Blade tilt matches bevel direction |
| Box sides | Pair mirrored sides | Keep all show faces consistent | Cut test pair before batch work |
Most shop mistakes happen in that second millimeter. You turn your saw to forty-five degrees (or whatever number appears), make the cut, and then hold up the two pieces of trim…and notice there’s enough room between them to fit a coin. It’s not your fault. Compound angles don’t work the way we’re used to seeing things work.
If you have ever tilted your miter saw’s blade, you’ve been trying to fight all three planes at once, the plane of the cut across the board, the plane of the blade’s vertical tilt, and the plane of the corner angle. That’s why you can’t use basic trigonometry and forget about slope of your roof or the spring angle of your molding. But then again there’s nothing worse than entering some variables into a calculator only to wonder if numbers is correct.
How to Cut Trim Without Mistakes
So while I’ve saved you from having to look up conversions and coefficients, here’s what each of the input fields should represent: First, there is the spring angle. This is the angle between the back of your crown molding and the wall plane. This is the part hidden under the baseboard relative to the wall plane. A typical stock piece of trim are going to be 38-degrees, while cabinets is typically forty-five. But even though a difference of seven degrees doesn’t seem like much on paper, apply this offset to the length of your crown molding (say six feet long) and suddenly you’re looking at an incorrect bevel by several degrees.
And then there’s height of your walls, which is self explanatory. Once the tool spits out that rotation number, the trick is to know what it’s really measuring. Your trim doesn’t matter to the saw. It doesn’t care about shape. It only cares how the stock relate to the blade. So when the calculator wants the cut position it’s looking to see whether you’re doing an outside or inside joint on one side of the corner or the other. An inside right cut gets rotated differently from an inside left cut, even though both might be making same angle at the corner. That’s what they mess up. They think everything has to be symmetric but sometimes it just isn’t.
You have to mark off your reference face prior to the cut. If you accidental turn the stock upside down then the bevel becomes a valley rather than a peak and the two joints won’t ever match up. The other wrinkle that makes things more complicated is when you add some of these other shapes like a tray or a hopper box which has sloped sides. Here we need a simple 45 degree miter and no bevel on our square sided box. Add a ten degree taper to the sides of your hopper box, and now you have a compound angle situation and the bevel will compensate for the slope. So there is a bit of a rotation value and a tilt value the calculator separates out so you can set your machine exactly. Enter in how many sides, what’s the slope and it figures out adjustment needed. Spherical trigonometry applied to woodworking, not magic.
What I take away from this is that the bevel angle is seldom going to match up directly with side slope. Not equal, but related. Material choice matters more then you might think, and using different types of wood can change how much error you can get away with. With soft woods like finger-jointed pine, you can nail it down and it’ll forgive some mistakes (it will actualy compress a bit). But hard maple? Zero mercy. Even the slightest misalignment will appear as a glaring white line going against the grain. That is why the tool includes allowances for kerf width and stock thickness. This allows you to plan ahead so you don’t run out of good stock halfway through project.
Also, cut a test piece from leftover scrap lumber to match whatever species and thickness you’re planning to use in the final product. Solid wood chipping out behaves much differently than MDF tearing out, and your blade selection should of take this into account. Don’t believe what you see when checking the fit while the glue is wet. You think it’s square under the bright light of the shop? Try putting it up on the textured wall and you’ll cringe.
Before you cut anything, measure real corner in the room. Assuming ninety degrees is wrong; out-of-square walls are the norm, not the exception. There will be gaps at both ends of the room unless you adjust your miter slightly each time you go around. It is a little thing, but it makes a difference. When you get those two pieces together and they join seamlessly, you’re going to feel a quiet satisfaction from having gotten the geometry correct. And then that gap goes away. It is just like that coin at the start.