Troubleshooting any tool can be tough work. It all comes down to the specifics of what exactly is wrong, and when/how it started. It’s easier with a helping hand, though!
I want to lend that hand by talking about common Milwaukee M12 SDS rotary hammer drill problems and their troubleshooting. Just check these 4 tips out if you ever run into a snag with the tool.
Troubleshooting 4 Common Milwaukee M12 SDS Rotary Hammer Drill Problems
- How New Is The Tool…?

Before you do any troubleshooting, I think this first point is the most important one. I strongly advise not doing anything with the tool if you only got it recently.
A new Milwaukee M12 SDS rotary hammer drill that’s giving you problems is just faulty. You likely didn’t do anything to make it that way.
One of the biggest reasons for these tools being so reliable is because of the warranty that comes with them. It’s great for situations like this one, where you can cash in on it.
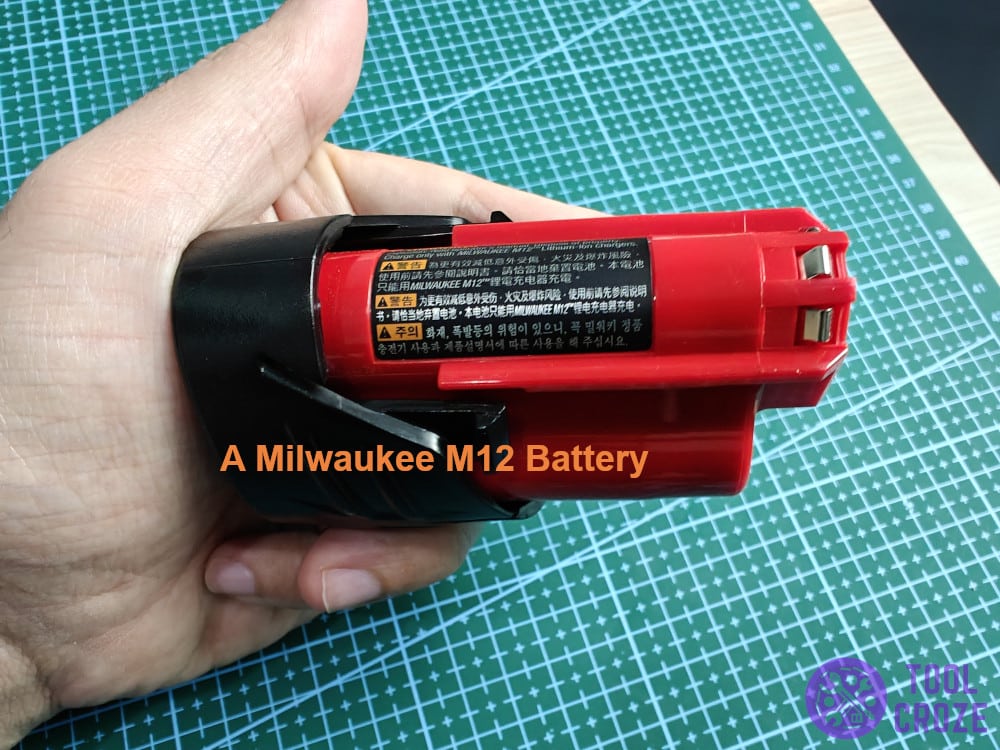
But, if you try to do any troubleshooting of your own, that can cause trouble. Tinkering with the tool or opening its covers, as I’ve done in the image below, will void the warranty.
There’s a reason why I’m mentioning all of this. You see, whenever the Milwaukee M12 SDS rotary hammer drill stops working, it’s due to something wrong internally.
Troubleshooting an internal complication will require opening the tool up. Since that voids the warranty, I want you to avoid making that mistake.
Don’t worry about any hassle and contact Milwaukee for help. Cash in on your warranty if it’s there instead of looking to repair the tool yourself. It’s risk-free and will resolve the matter.
- Battery Acting Up
The battery is one of the most common reasons for people running into trouble with their Milwaukee M12 SDS rotary hammer drill. That’s due to how sensitive these are.
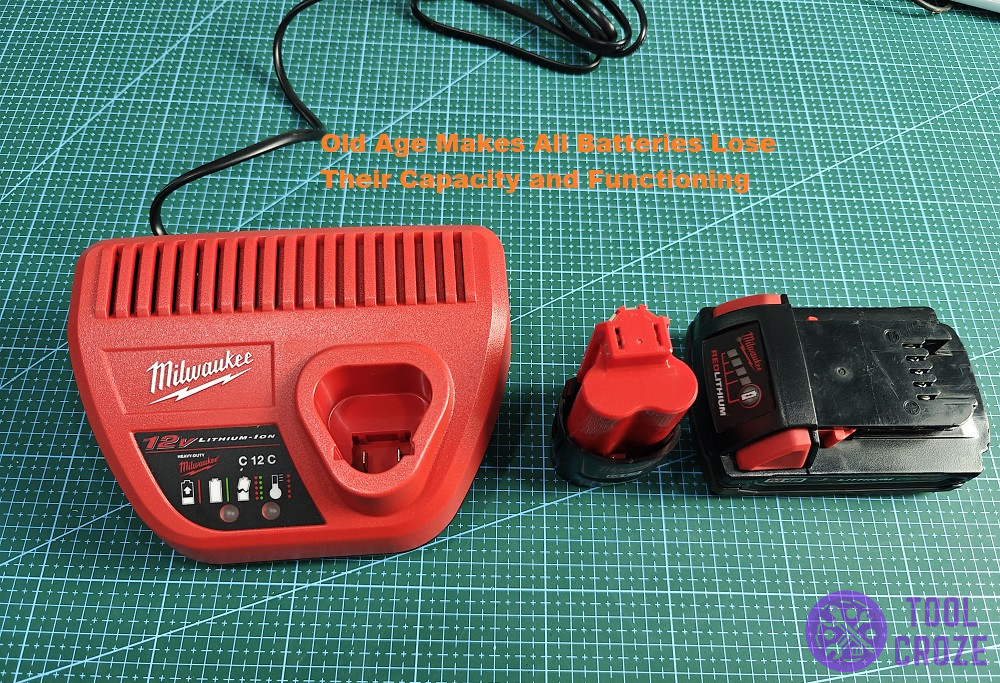
Batteries in general, not just Milwaukee M12 batteries, aren’t built to last forever. Sure, they last a long time. However, they’re susceptible to damage, and always get worse with age.
I have a video below which shows how you can identify a bad Milwaukee battery cell.
In my Milwaukee M12 battery, one of the cells is bad because when I checked its voltage using multimeter, it only registered an output of around 8V. Obviously, one of the three battery cells isn’t healthy anymore.
To identify the bad battery cell, I used a multimeter again to check the output voltage of each cell. One of the them did not output any voltage, so I was able to identify it as the bad battery cell.
That’s the main thing to consider. Is the battery in question just too old? If so, it might just need replacing as it can’t hold enough charge to power the drill any longer.
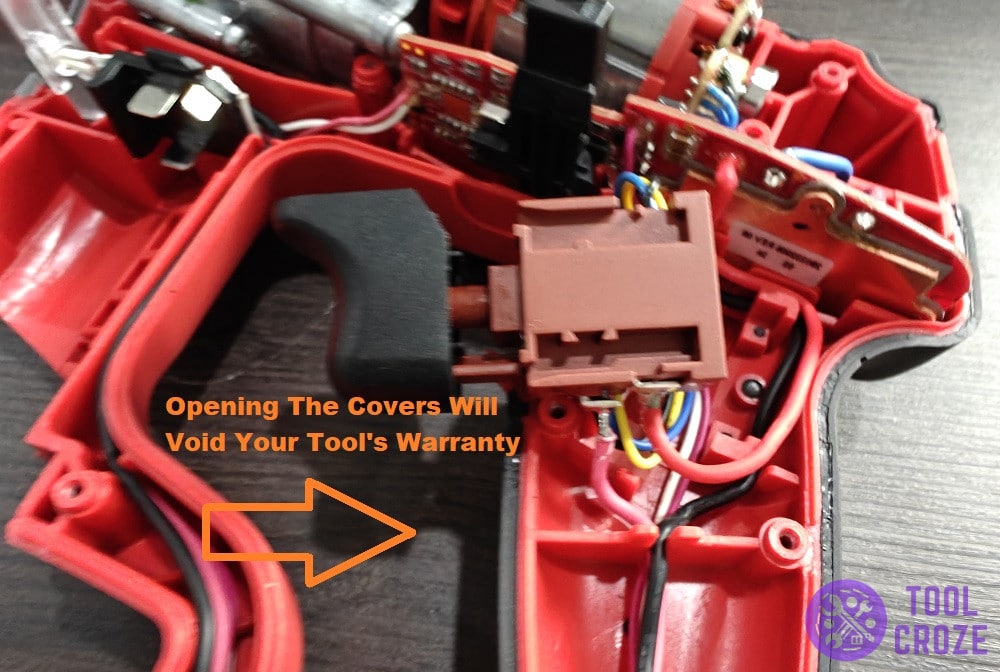
Issues with charging may be due to the charger. The Milwaukee M12 battery charger could have gone bad and can’t provide charge to batteries any longer.
Another reason for this could be dirty prongs on the charger or battery. Clean those often to avoid dirt covering them and stopping the flow of charge to or from the battery.
If you’ve tried all those possible solutions and none of them worked and is now thinking of buying a new Milwaukee M12 battery, hold on a second because there’s still one way to fix your batteries and that’s by rebuilding them.
I have a video below which shows how you can rebuild an old Milwaukee 12v lithium battery. The steps are very simple to follow.
First, open the battery cover and take out the battery. Then, use a multimeter to identify bad battery cell. After that, take out the bad battery cell and prepare a new 18650 battery.
Use a spot welder to connect the batteries together. Then, measure the C1- and C3+ terminals of the Milwaukee M12 battery (the output voltage should be around 12V).
Lastly, insert the batteries back to the battery cover.
- Milwaukee M12 SDS Rotary Hammer Drill Not Spinning and Hammering
Just in case you don’t know; never press down on power tools like this one when in operation. Any unaware user might think it’s logical to hold the drill down when using it.
That’s not true, however. Holding the tool down just adds more friction to it, which stops it from spinning and hammering. So, ensure you aren’t doing that if this is happening to you.
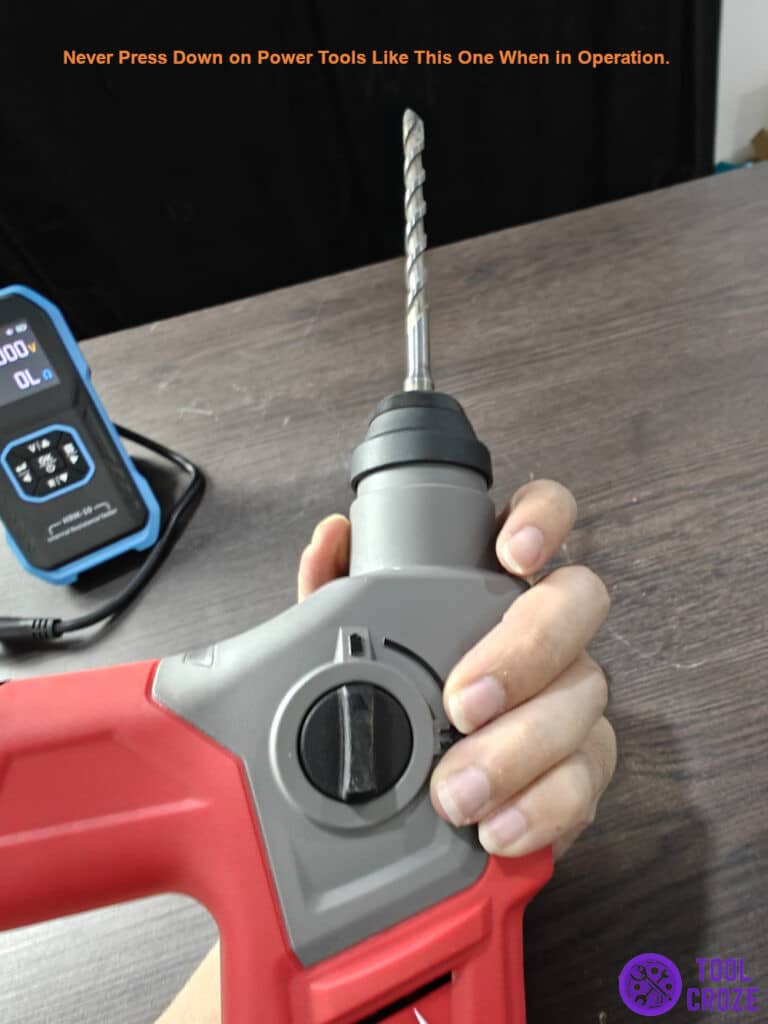
It’s a common beginner’s mistake to make. It doesn’t harm the tool (most of the time), but it does stop its movement. Just hold it in place instead of pushing down on it.
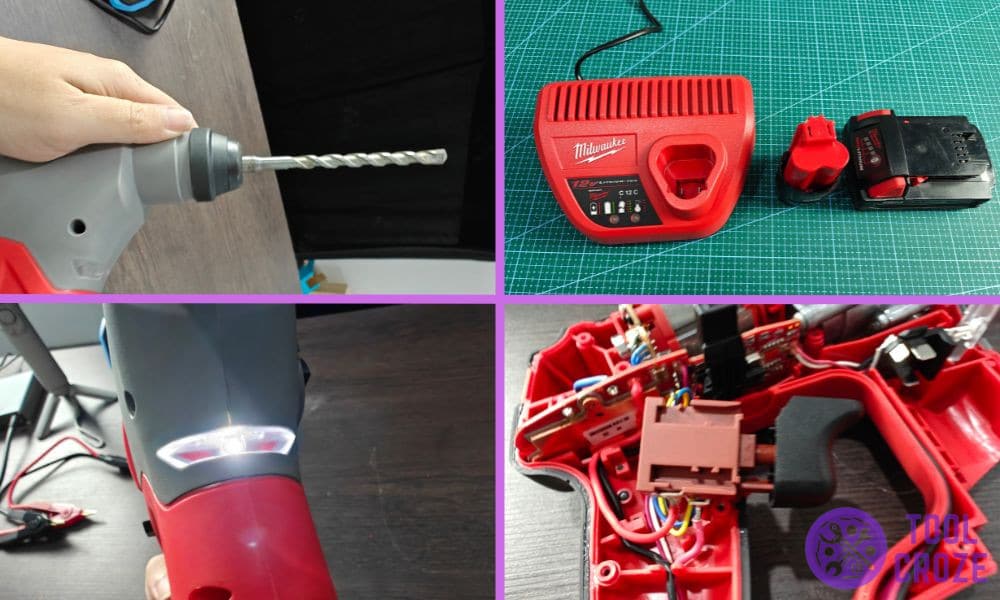
Keep track of the SDS drill bits you’re using as well. Are they hanging loose off of the drill chuck? Adjust them properly like I have in the picture below and ensure they’re never wobbling.

Loose bits won’t spin and hammer right. Plus, they’re a safety hazard since they might come out of the chuck during operation and harm the user. Always keep it in place tight.
Never use drill bits that are of bad quality either. Those can also cause issues with the drill chuck and stop the whole tool from spinning and hammering.
I have here a video which shows a perfectly working Milwaukee M12 Rotary Hammer SDS Drill used drill a concrete. The drill bit I used here is of good quality and made specifically for concrete surface.
- Light Not Turning On During Operation
There’s a light on Milwaukee M12 SDS rotary hammer drills that’s so helpful depending on the circumstances. When you’re working in dark spots or tight corners, it can be a lifesaver.
That’s only if the light is working, though. Lights on tools like this one shouldn’t stop working if everything else is working fine. In case it does, though, the light might just be blown.
Confirm this by opening the covers to check the light I highlighted in this image. Is the little LED behind the light panel isn’t burnt out or shattered? If so, you have to replace it.
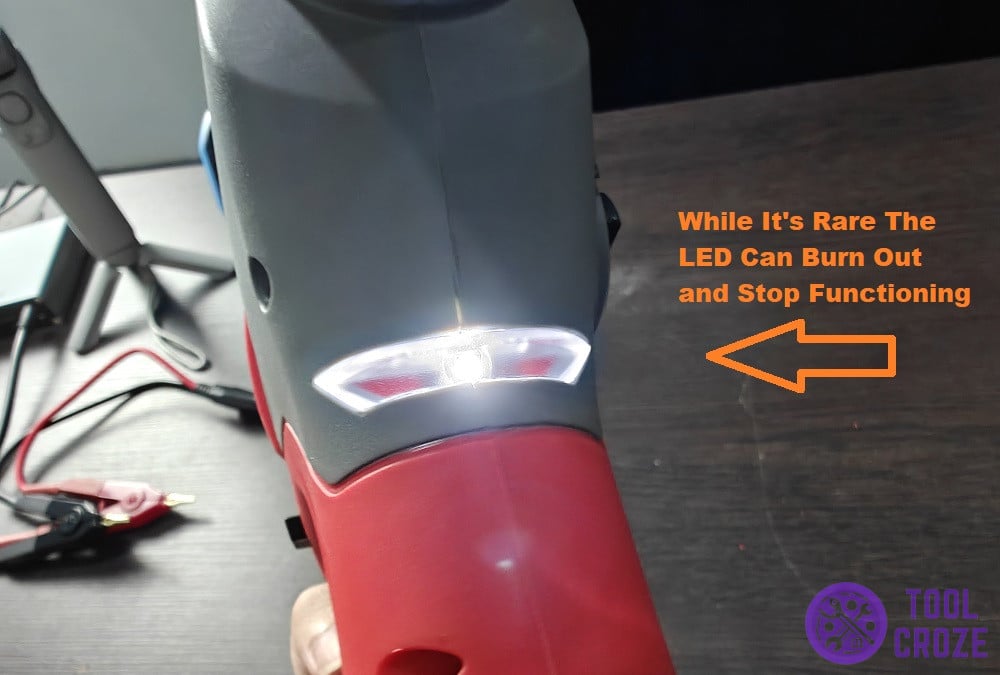
If the LED seems fine, one of the boards it connects to may be problematic instead. You’ll have to use a multimeter on the points that the light connects to in order to see which one isn’t functioning.
Repairing the faulty board will get the light back on, but you might need a repairman’s help with that!
