A Craftsman drill is a handy tool to have at home. After all, every now and then a task that involves drilling comes up, even if it’s just making simple holes.
The problem is that after using the drill many times, the jaws of its chuck begin to wear out. You can tell something is not right with the chuck when it stops gripping drill bits properly.
Whenever I see a drill bit slipping out of the chuck or wobbling around and missing its target, I know it’s time to change the chuck.
Using a worn-out chuck is dangerous especially when you are drilling at a high speed. You can begin your drilling and then just see your drill bit flying off. Personally, when I notice a problem with my drill chuck, I prepare to change it immediately.
I also have a video which shows how I replaced the chuck on my Craftsman drill and you can watch it below.
The steps are very simple to follow. However, you really need to know when you’ll rotate it the clockwise or anti-clockwise direction because if not, you might damage the tool.
Read: How I Repaired My Craftsman Drill Motor Not Working
A Detailed Instruction on How to Change Chuck on the Craftsman Drill
Since I started using a Craftsman drill, I’ve changed its chuck a couple of times, and I can say with confidence that it’s an easy process. This is how I do it.
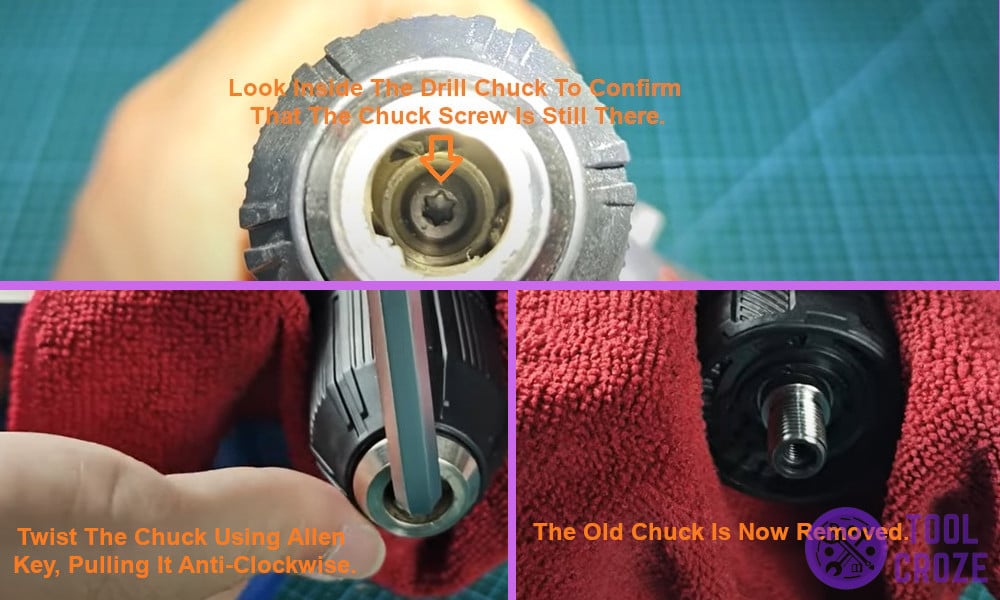
I begin by looking inside the drill chuck to confirm that the chuck screw is still there. Then I begin the process of removing that screw.
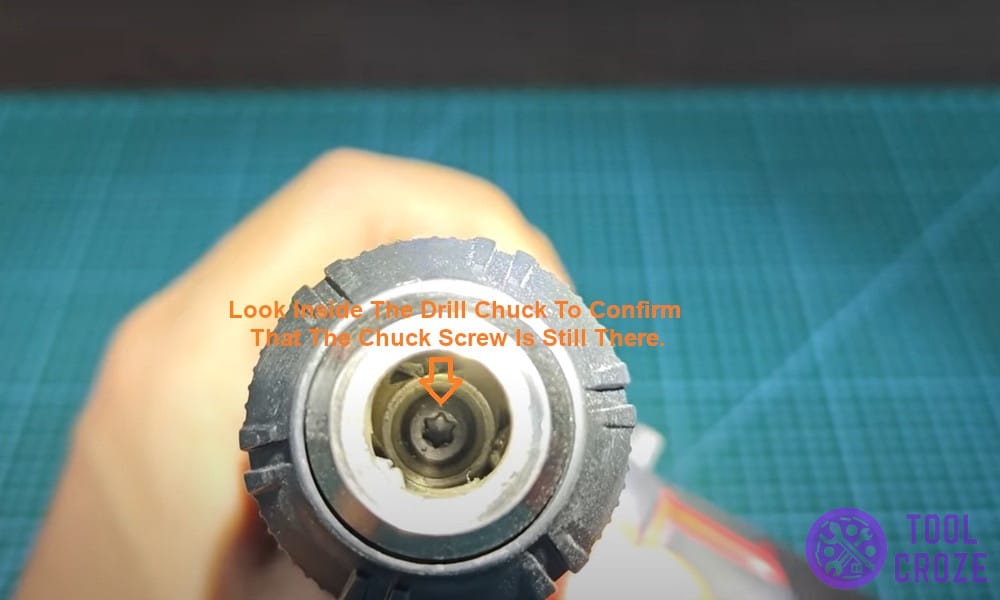
This is easy because I just need to grip the screw and rotate it in a clockwise direction. The screw becomes loose with every rotation, and within no time I have it out of the chuck.
It is now time to remove the chuck. I begin by setting the drilling speed to 1, and that’s because I want the chuck to have the greatest resistance. To ensure the chuck doesn’t develop scratches from my firm grip, I find a thick piece of cloth and wrap it.
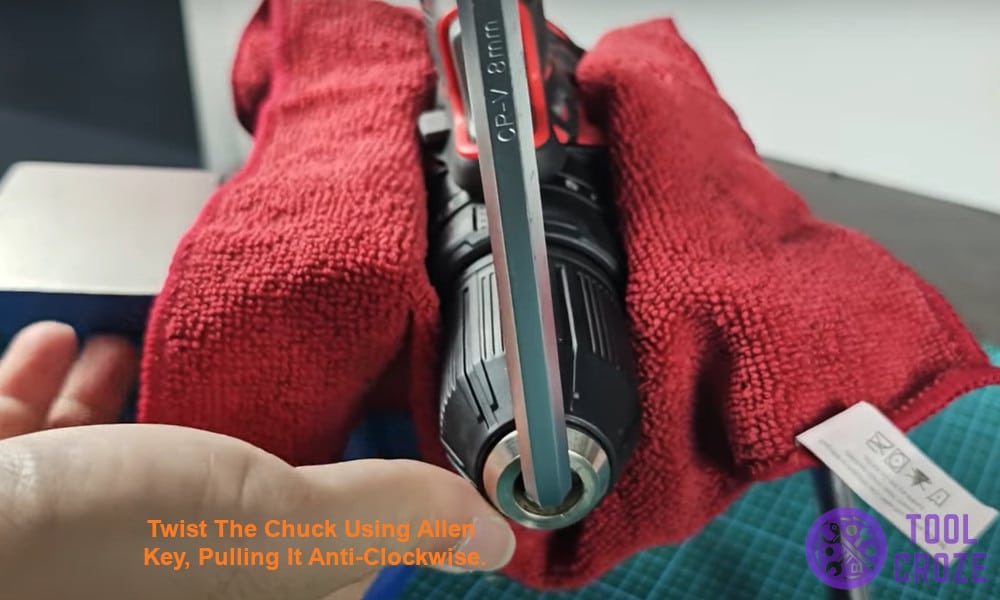
Then I grip the chuck grooves and begin to twist the chuck using allen key, pulling it anti-clockwise. I’m thinking to myself that the work should now be easy, as I maintain a firm grip on the chuck grooves.
However, the chuck proves to be a little too firm at first. So, I choose to use a hammer as well. It only takes two hits of the hammer and the chuck begins to move smoothly anti-clockwise. At this point, I’m able to use my hand to remove the chuck.
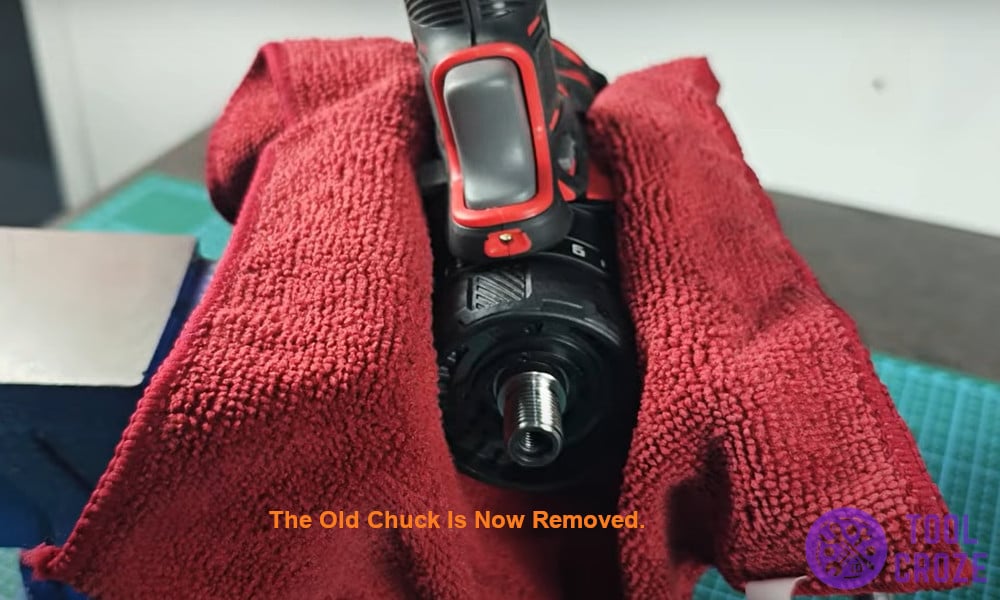
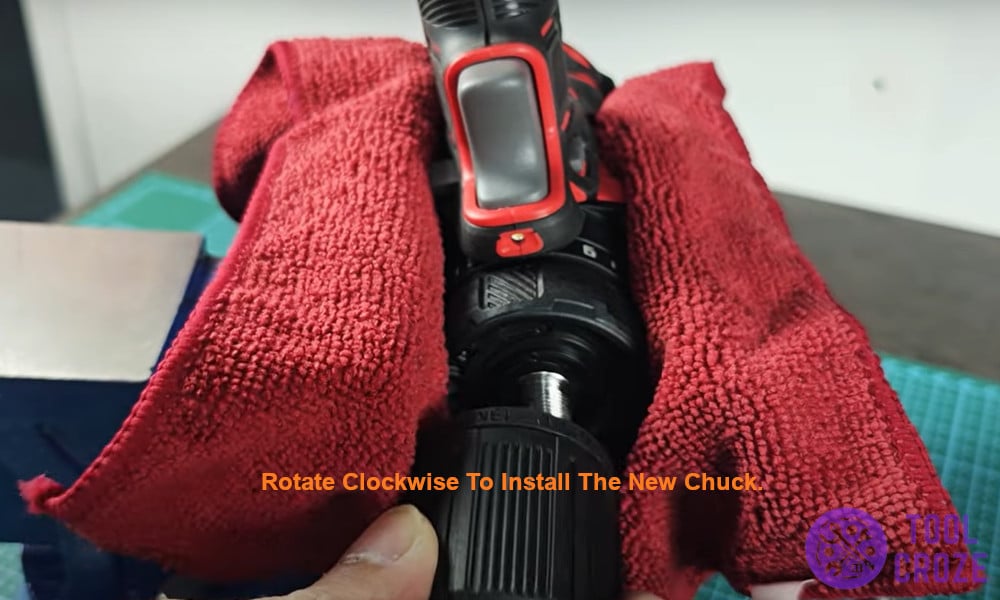
With the old chuck out, it’s time to install a new one. So, I pick the new chuck and fit it where the old one was, this time rotating it clockwise. Next, I throw in the chuck screw and rotate it anti-clockwise, until it is tightly held in its place.
I can now test if the Craftsman drill is ready for use. I want to test that it is not only working, but that there is no likelihood of the drill bit falling off once I fit it in.
To begin my testing, I proceed to switch on the drill. Then I watch the chuck rotate. I’m satisfied that my Craftsman drill is ready for use, therefore all that remains is for me to fit in a drill bit.
