Chain Length From Center Distance Calculator
Calculate roller chain pitch length, exact links, even-link length, sprocket wrap, center distance after rounding, and take-up allowance from sprocket teeth and shaft spacing.
Chain length result
Calculation breakdown
| Chain series | Pitch | Typical small sprocket | Common drive use |
|---|---|---|---|
| ANSI #25 | 0.250 in / 6.35 mm | 12 to 18 teeth | Light mechanisms, small robots |
| ANSI #35 | 0.375 in / 9.525 mm | 14 to 20 teeth | Mini bikes, jackshafts, compact drives |
| ANSI #40 / 420 | 0.500 in / 12.70 mm | 17 to 24 teeth | Go-karts, conveyors, shop machines |
| ANSI #50 / 520 | 0.625 in / 15.875 mm | 17 to 25 teeth | Motorcycle, agricultural, medium machinery |
| ANSI #60 | 0.750 in / 19.05 mm | 19 to 28 teeth | Mixers, elevators, heavier drives |
| ISO 08B / 10B | 12.70 to 15.875 mm | 17 to 25 teeth | Metric industrial chain drives |
| Check | Preferred range | Why it matters | Calculator flag |
|---|---|---|---|
| Center distance in pitches | 30 to 50 pitches | Balances wrap, chain weight, and adjustment room | Short / good / long |
| Small sprocket wrap | 120° or higher | Low wrap reduces engaged teeth and load sharing | Warns below 120° |
| Engaged small teeth | 6 teeth or more | More engaged teeth lowers pressure on each tooth | Warns below 6 teeth |
| Center change after rounding | Inside slot travel | Even-link rounding changes the final shaft spacing | Compares to slot travel |
| Take-up allowance | 1% to 5% of chain length | Allows installation, wear stretch, and tensioning | Shows travel target |
| Quantity | Formula | Inputs | Output |
|---|---|---|---|
| Pitch diameter | D = P / sin(180° / T) | Pitch P, teeth T | Sprocket pitch diameter |
| Exact chain links | L = 2C/P + (T1+T2)/2 + (T2-T1)²/(4π²C/P) | Center C, pitch P, teeth | Pitch count before rounding |
| Rounded pitch length | Length = even links × P | Rounded even links, pitch | Cut chain length |
| Adjusted center | C = P[(A + sqrt(A² - 8B))/4] | A = L - (T1+T2)/2, B = (T2-T1)²/(4π²) | Center after rounding |
| Open-drive wrap | Small wrap = 180° - 2 asin((DL-DS)/(2C)) | Pitch diameters and center | Small sprocket contact angle |
| Preset | Chain | Sprockets | Typical center |
|---|---|---|---|
| #420 kart final drive | 0.500 in pitch | 12T to 60T | 12.5 in |
| #40 conveyor shaft | 0.500 in pitch | 17T to 34T | 18.0 in |
| 520 motorcycle drive | 0.625 in pitch | 15T to 45T | 24.5 in |
| 08B metric reducer | 12.70 mm pitch | 19T to 38T | 450 mm |
| #60 mixer drive | 0.750 in pitch | 21T to 63T | 32.0 in |
Now you’ve got two sprockets and a measurement for shaft spacing. How do you know what size chain to pick? It’s not an easy thing to know; it’s more dependent off geometry than gut instinct, so unless you want to risk leaving yourself with a loose drive or one that jams, you’re stuck trying to guess. That is, of course, until you use the chain calculator above.
All you need to do is input tooth count for each sprocket and center distance between them, and then let the tool crunch numbers. Once again, chain drives seem pretty straightforward until you find out they really requires accurate measurements in order to work.
How to Choose the Right Chain Size
The problem with that is that roller chain is sold only in whole numbers of links, and while you can use specialized tools to cut a half link, an odd link count require a special connecting link that weakens the chain. So, in practice, there isn’t always a theoretical perfect length available. Because standard chain joins the inside plate to the outside plate in a pair, you have to round up to an even number of pitches. If you need an odd number, you have to pay extra and use a special connecting link that’s weaker. The tool rounds to an even number of pitches automatically for you so that you’re not given a part number that’s some decimal fraction that no one actualy sells, just something you can use.
It’s a tiny restriction, but it drives everything else about your drive layout. When the link count reaches an even number, the center distance change a little which doesn’t matter much until it’s time to mount the shafts. Normally those slots in the base will allow some amount of tension on the shaft. Sometimes the amount needed to adjust the center distance more than the slot provides means you need to either select another length chain or redesign the mount. You’ll see that adjusted center distance on the calculator so you know if there’s enough room in your frame to make it work without purchasing anything. More often than not folks don’t do this and then discover their drive won’t tension right because the shafts is too tight against each other.
Another quiet killer for a chain drive is sprocket wrap. If the small sprocket wraps less than 120 degrees, you lose traction significantly. If the chain wraps less than 120 degrees around the small sprocket, it engages fewer teeth. This creates enormous stress on every single link during acceleration or other shock loads. Contact angle needs to be greater to spread the load over more links. In fact, the tool measures the wrap angle given your tooth differences and spacing. Move the shafts apart and that will help if it gets down to low, but then you risk having too much sag on the chain on long runs. It’s a give and take: tooth engagement versus tension stability.
Take-up allowance often causes premature failure, but it is frequently forgotten until Maintenance Day. The drive will wear and become loose over time as bushings and pins wears down and chains stretch. A static fit today can be loose tomorrow. Give two to three percent slack allowance for adjustment to keep it tight throughout its service life without constantly re-tightening. More slack is needed in dusty environments and with heavy shock loads. The calculator factors this in by suggesting a target travel range. It suggests a target travel range to maintain functionality as parts degrade. Forget wear and you’ll have broken links flying around the floor. It suggests a target travel range to maintain functionality as parts degrade. Forget wear and you’ll have broken links flying around the floor.
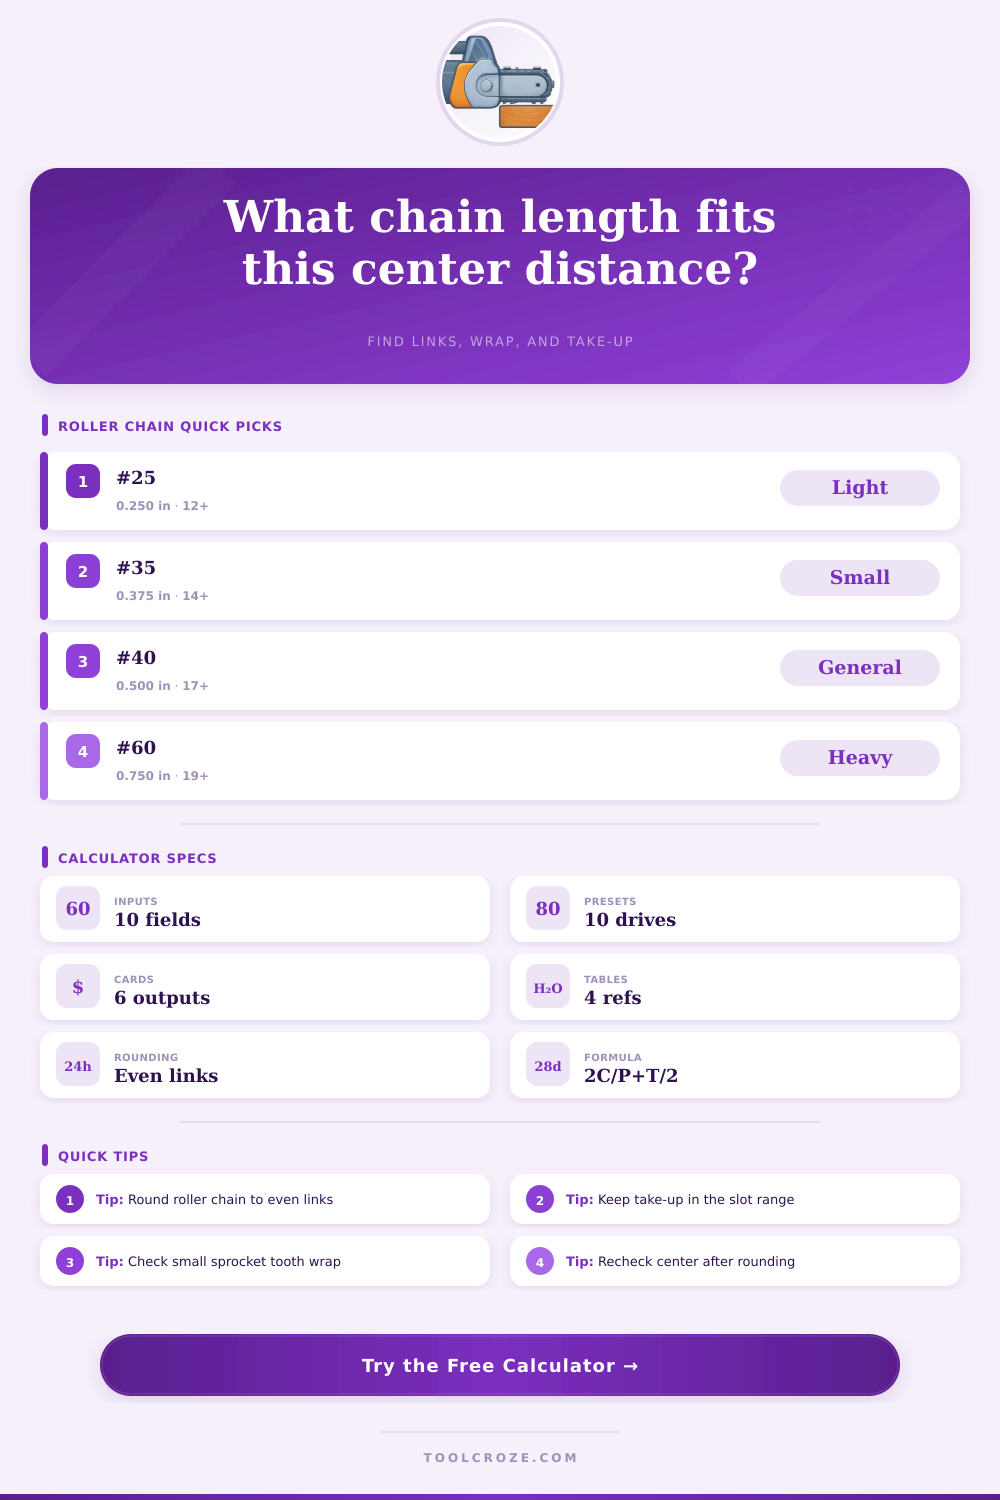
The size of the chain (series) is as important than its length. For example, thin #25 chain would be used for light duty machines, and the heavy #60 type would be used on heavy mixers. Chain mesh should also fit nicely onto the sprocket teeth. To do that, you want a small pitch number and a high tooth count. This ensures quiet, vibration-free operation and good power transfer. This is easily shown in the reference table on the page which matches commonly available sizes with typical applications. A chain that’s too big will waste both money and space, but one that’s too small will stretch quickly under load.
It is practical physics. There has to be some slack when installing to snap the master link in place. If it’s too tight, it won’t work. If it’s too loose, then that chain will hang like crap. This little gap allows for that and then your last cut length is realistic to assemble with the tool. It is precision engineering. But also fitting metal parts together on a boat in the real world where there are tolerances.
One thing of greatest importance: Chains should never be run without guards on them; they’re a potential danger. Before adjusting or measuring tension, make sure you lockout the power. Be sure to check for alignment thoroughly. Skewed sprockets will eat up the edge of your chain fast, making it jump off track quickly. The math provides the numbers, and executing it correctly ensures longevity. Once laid out, use the calculations to double-check your layout. Finally, ensure everything is in place mechanically before operating the machine. A calculated fit is only as good as the installation that follows it.