Caulk Joint Calculator
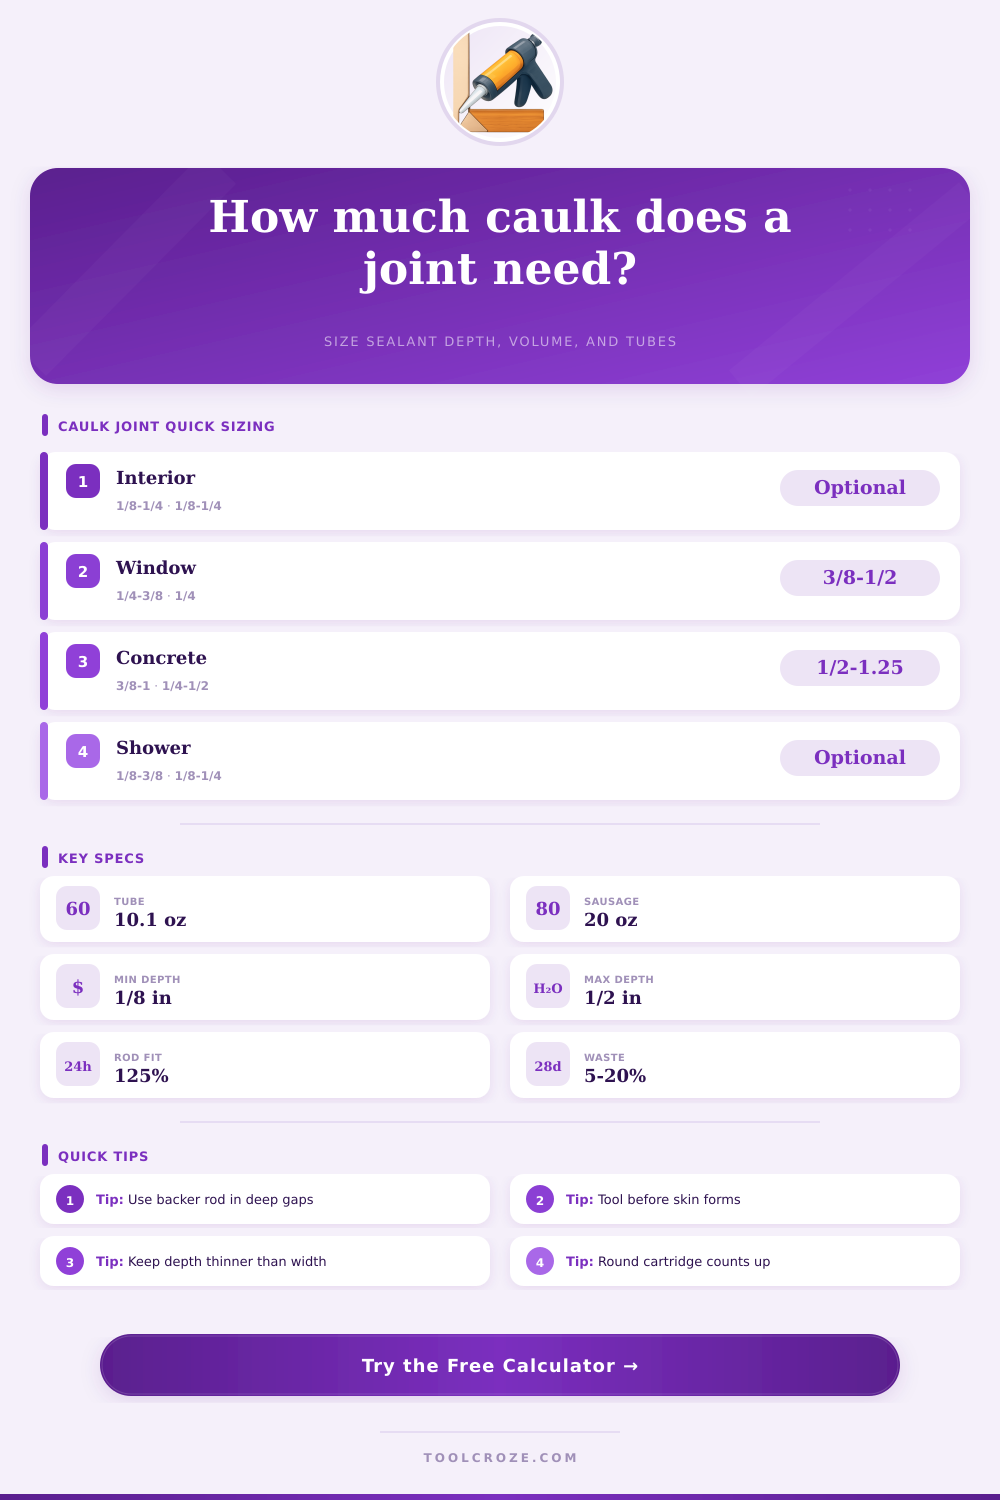
Size sealant joints by width, depth, profile, material movement rating, total run length, package size, backer rod compression, and waste allowance.
⚒Project Presets
📏Joint Sizing Inputs
🧰Caulk Joint Comparison Grid
📋Sealant Family Reference
| Sealant family | Typical movement rating | Depth target | Common joint use |
|---|---|---|---|
| Paintable acrylic latex | Low to moderate movement | 1/8 in to 1/4 in | Trim, baseboard, crown, interior gaps before paint |
| 100% silicone | Moderate to high movement | 1/8 in to 3/8 in | Showers, tubs, sinks, glass, tile, and non-painted wet areas |
| Polyurethane | High movement and abrasion resistance | 1/4 in to 1/2 in | Exterior windows, masonry, concrete, siding, and expansion joints |
| Hybrid MS polymer | Moderate to high movement | 1/8 in to 1/2 in | Exterior trim, doors, panels, metal, vinyl, and mixed substrates |
| Butyl flashing sealant | Low to moderate movement | 1/8 in to 3/8 in | Flashing laps, roof penetrations, gutters, and metal details |
| Firestop sealant | Listing-dependent movement | Follow tested system | Annular gaps, rated wall joints, and service penetrations |
📐Joint Geometry And Volume Reference
| Profile | Area formula | Calculator factor | Best use |
|---|---|---|---|
| Rectangular movement joint | Width x depth | 1.00 | Expansion joints controlled with backer rod or bond breaker tape |
| Tooled concave bead | Width x depth x shape factor | 0.85 | Trim, window edges, and tooled perimeter joints |
| Triangular fillet bead | One half x width x depth | 0.50 | Inside corners where the bead bridges two surfaces |
| Cove or corner bead | Approximate rounded corner area | 0.79 | Tub, shower, counter, sink, and tile corner joints |
| Self-leveling horizontal joint | Width x depth with overflow allowance | 1.10 | Concrete slab saw cuts, driveway joints, and horizontal gaps |
🔧Backer Rod And Joint Depth Reference
| Measured gap width | Recommended sealant depth | Backer rod diameter | Planning note |
|---|---|---|---|
| 1/8 in to 3/16 in | 1/8 in to 3/16 in | Usually not needed | Use a fine nozzle cut and avoid smearing the bead too wide |
| 1/4 in | About 1/4 in | 5/16 in to 3/8 in | Backer rod can help prevent three-sided adhesion in moving joints |
| 3/8 in | About 1/4 in | 1/2 in | Depth is normally kept thinner than the face width |
| 1/2 in | 1/4 in to 3/8 in | 5/8 in | Use closed-cell rod where water exposure is likely |
| 3/4 in to 1 in | 3/8 in to 1/2 in | 1 in to 1-1/4 in | Large gaps need careful substrate prep and a compatible sealant |
🏗Common Caulk Project Size Table
| Project | Common width | Typical profile | Calculator caution |
|---|---|---|---|
| Tub or shower corner | 1/8 in to 3/8 in | Cove or concave bead | Extra corners and overlaps make one small room use more than the straight length suggests |
| Painted trim gap | 1/16 in to 1/4 in | Concave bead | Acrylic beads are often shallow, so nozzle control changes coverage a lot |
| Exterior window perimeter | 1/4 in to 3/8 in | Rectangular or concave | Use backer rod where the gap is deep behind the face seal |
| Concrete expansion joint | 3/8 in to 1 in | Rectangular or self-leveling | Depth and backer rod drive cartridge count more than surface length |
| Countertop backsplash | 1/8 in to 1/4 in | Cove bead | Small beads are sensitive to over-tooling and tip size |
ℹCaulk Sizing Tips
To calculate a volume of the gap that you are caulking, you can use a caulking calculator. The caulking calculator will ask you for dimension of the gap to calculate the volume of caulking needed to complete your project. You can use this calculator to determine the volume of the gap you are caulking.
However, using a caulking calculator will prevent you from running out of caulking sealant for your projects. One of the most common mistakes that people makes when caulking is adding more caulking sealant than they needs to create a good seal. Using too much caulking sealant in deep gaps can actualy cause caulking sealant to fails.
How to Work Out How Much Caulk You Need
Caulking sealant has some flexibility to allow for expansion and contraction in the materials that it seal. However, caulking sealant cannot stretch if it is also bonding to the bottom and the side of the joint that is being sealed. If caulking sealant is also bonding to the floor of the joint and the side of that joint, caulking sealant becomes a rigid material.
Caulking sealant that cannot expand and contract will eventually tear at the point of expansion or contraction of the materials being sealed. To prevent caulking sealant from bonding to the floor and the sides of the joint, use a backer rod. A backer rod is a foam rope that you insert into deep joint that are to be caulked.
The backer rod will act as a floor for the caulking sealant. By using a backer rod, caulking sealant will not have to go as deep into the joint. The backer rod will also ensure that the caulking sealant only bond to the sides of the joint.
Use a backer rod that is more slightly larger in diameter then the width of the joint. Another mistake that many caulking sealant user make is not using the correct type of caulking sealant for there project. There are many types of caulking sealant with different properties.
One of the most common types of sealant is paintable acrylic sealant. This type of caulking sealant is useful for areas such as baseboards where you can apply paint to the caulking sealant. The downside to paintable acrylic caulking sealant is that it dont have much movement capability for the materials it caulks.
If you use it on an exterior window, paintable acrylic caulking sealant may crack due to the movement of the window frame. Another type of caulking sealant is silicone caulking sealant. Silicone caulking sealant is used in areas that are wet such as bathrooms and kitchens because silicone caulking sealant resist mold.
Silicone caulking sealant will remain flexible over time. However, you cant paint over silicone caulking sealant. If you paint over silicone caulking sealant, the paint will bead up and the paint will eventually peel off the silicone caulking sealant.
The other design element that you must account for with caulking sealant is the shape of the caulking sealant bead. A flat, rectangular sealant bead will use a large amount of caulking sealant. A concave sealant bead will use less caulking sealant because there is less volume of the sealant bead.
Creating a fillet bead in the corner of a project will require that you use caulking sealant into a triangular shape. A triangular shape will use less caulking sealant than a rectangular shape. The caulking calculator account for these types of shapes so that you dont purchase more caulking sealant than you need for the project.
When caulking, you must account for waste. Some caulking sealant will remain in the nozzle of the caulking gun. Some caulking sealant may get wiped away with a rag when applied to a project.
Excess caulking sealant may be applied at the start of caulking a project. In order to account for this, add a ten percent allowance to the total volume of caulking sealant that you calculated. For example, if caulking porous concrete, you may have to add more caulking sealant because the concrete may soak up some of the caulking sealant.
It is always better to have caulking sealant that remains in the caulking gun than to not have enough caulking sealant to complete a corner. In order to successfully caulk a project, you must measure the cross-section of the gap that is to be caulked. Additionally, you also must choose the correct type of caulking sealant for the project.
If you measure the cross-section of the joint that is to be caulked, and if you choose the correct type of caulking sealant, you will know the number of cartridges of caulking sealant to purchase for the project. If you know the number of cartridges of caulking sealant to purchase, you wouldnt of had to go back to the hardware store during your caulking project.