8x8x16 Block Wall Calculator
Estimate nominal 8x8x16 CMU block count by course, wall length, openings, bond pattern, half blocks, mortar volume, cap units, and bond beam courses.
▦Wall presets
Start with a common 8x8x16 block wall layout, then tune the openings, waste, cap, and reinforcement details.
⚙8x8x16 CMU wall inputs
Enter combined straight wall length, measured along the block face.
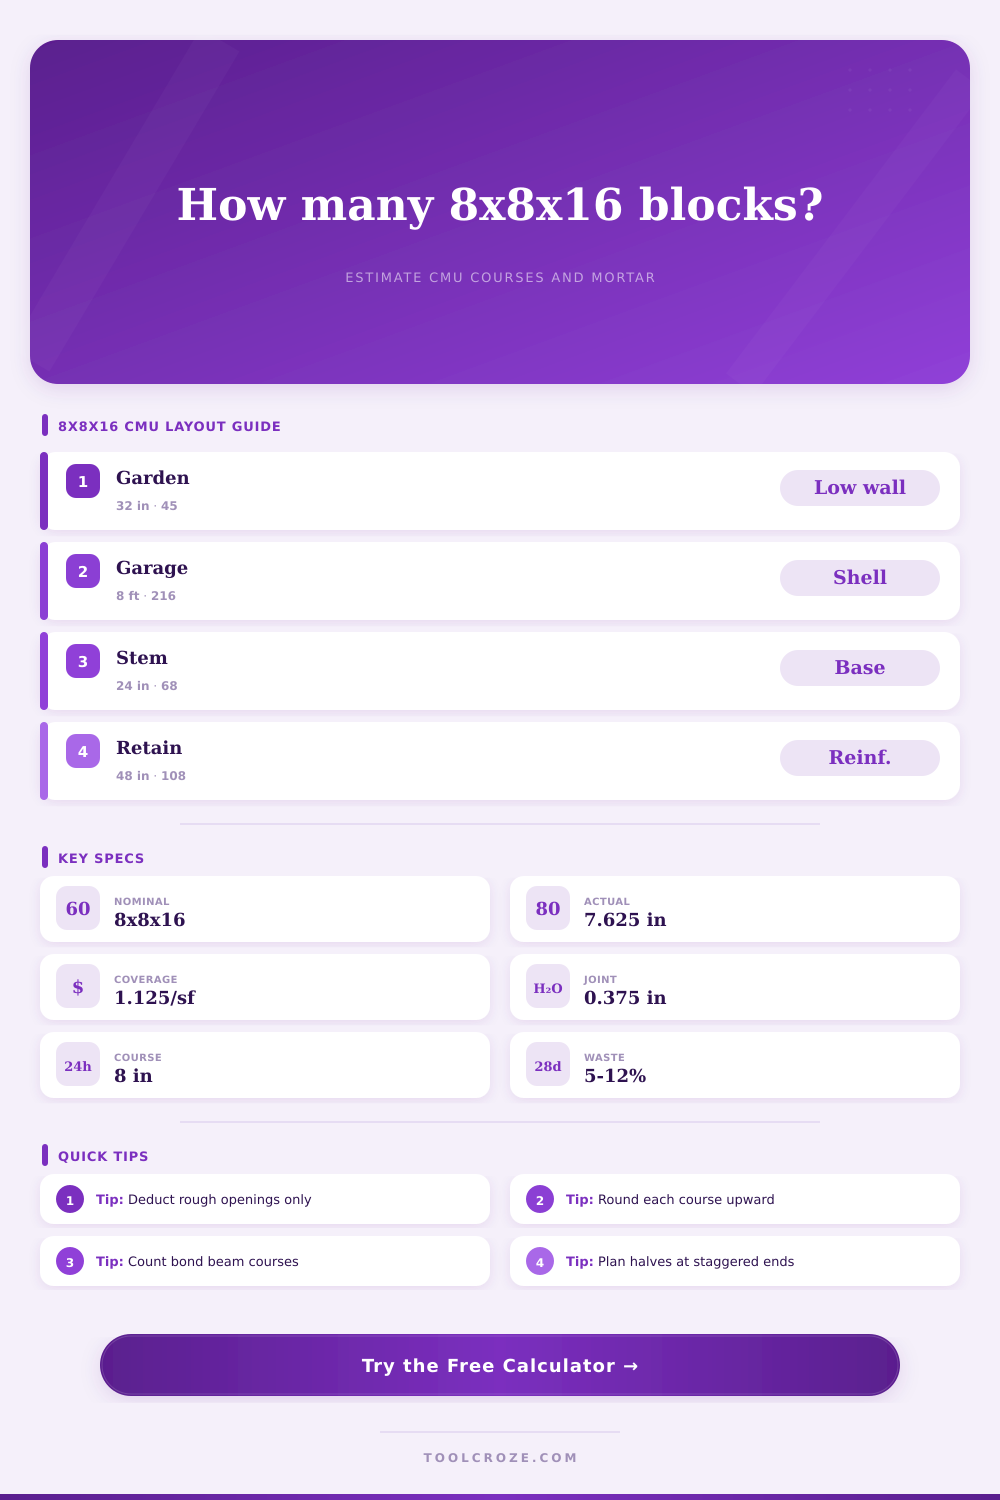
Typical CMU joints are 3/8 in, already included in nominal 8x8x16 layout.
Count top bond beams, lintel courses, and intermediate reinforced beam courses.
8x8x16 block wall estimate
▩Material/spec comparison grid
▤8x8x16 CMU reference tables
Use these tables to compare the calculator output against common block, course, opening, cap, and reinforcement assumptions.
| CMU unit | Nominal size | Typical actual size | Layout use |
|---|---|---|---|
| Standard stretcher | 8 x 8 x 16 in | 7 5/8 x 7 5/8 x 15 5/8 in | Main wall running bond courses. |
| Half block | 8 x 8 x 8 in | 7 5/8 x 7 5/8 x 7 5/8 in | Staggered ends, jambs, and course returns. |
| Bond beam block | 8 x 8 x 16 in | Knockout or U-shaped web | Horizontal reinforced beam and lintel courses. |
| Solid cap block | 8 x 8 x 16 in | Solid or semi-solid top unit | Separate cap course above standard wall blocks. |
| Metric CMU | 190 x 190 x 390 mm | Approx. 7.5 x 7.5 x 15.4 in | Metric layout close to nominal 8x8x16 planning. |
| Wall height | 8 in courses | Adjusted height | Blocks per 10 ft |
|---|---|---|---|
| 24 in stem wall | 3 courses | 24 in | 24 stretchers |
| 32 in garden wall | 4 courses | 32 in | 32 stretchers |
| 48 in screen wall | 6 courses | 48 in | 48 stretchers |
| 72 in privacy wall | 9 courses | 72 in | 72 stretchers |
| 96 in building wall | 12 courses | 96 in | 96 stretchers |
| Opening type | Rough size | Deducted area | Half-block note |
|---|---|---|---|
| Single door | 3 ft x 7 ft | 21 sq ft | Jamb courses often need extra halves. |
| Service window | 4 ft x 3 ft | 12 sq ft | Deduct only the rough masonry opening. |
| Garage opening | 9 ft x 7 ft | 63 sq ft | Lintel or bond beam units remain separate. |
| Vent opening | 16 in x 8 in | 0.89 sq ft | Usually one stretcher module per vent. |
| Feature | Typical spacing | Calculator treatment | Field check |
|---|---|---|---|
| Bond beam | Top course or per plan | Reclassifies full blocks as bond beam units. | Confirm reinforcing steel and grout schedule. |
| Cap block | One or more top courses | Adds separate cap units by wall length. | Match cap size to wall thickness and finish. |
| Vertical rebar | 32 to 48 in common | Counts approximate reinforced cell positions. | Use structural drawings for final placement. |
| Control joint | 16 to 24 ft common | Adds a small half-block allowance. | Coordinate with corners and openings. |
How many times are you frustrated on the jobsite, realizing that your block wall is three inches too short? Your string line’s out, mortar’s mixed, foreman’s looking over your shoulder. What happened? That was probably due to a lack of understanding about how nominal sizes apply to masonry. The so-called eight-by-eight-by-sixteen block isn’t really eight by eight by sixteen inches. In fact it’s more like seven and five-eighths inches on all sides. So where’d that extra quarter-inch on each face go? That’s the space for the mortar.
And that makes a difference, since you don’t just stack up blocks with their raw dimensions, you also account for the mortar when building a wall. By failing to include the mortar width in your mental calculations, you’ll end up with wrong height for your courses by the time you get to top of foundation. After entering the wall’s dimensions (height and length), the calculator does the rest (above).
How to Calculate Masonry Blocks Correctly
You won’t have to guess whether you’ll have half a block at the top or bottom if you end up with an uneven number of course. And you’ll be forced to consider something you don’t think about enough: bond beams. These are courses that run entire length of the wall, holding reinforcing rebar and grout between them. Instead of standard stretcher blocks, they requires special blocks that have U-shaped webs or knockouts to hold the rebar and grout.
The tool splits out those counts; so when ordering, you get appropriate combination of units, instead of putting together structural-reinforcing strength with the odd standard block. The difference is saving a trip back to the supplier, and preventing wasted time and effort.
These are the holes in your wall. Vents, windows, and doors all reduce the block area. However, they also add complexity by creating edges that need to be finished with a cut stretcher or half block to maintain the running bond pattern. You can’t just deduct area of those holes and assume you have right number of pieces to order.
In addition to the frames around these holes, which will always require more than one piece, extra pieces are also needed to frame each hole neatly. The masonry has to run continuously. This is why the reference table on the page shows how often a jamb course demands extra halves compared to what a plain wall calculation would indicate.
Many people mistakenly assume that subtracting the area of the openings from the total number of blocks give the correct amount to order. However, this calculation is hardly ever right when actualy building the masonry.
Another thing that distinguishes professional estimates from amateur ones is waste. Things break. A block is dropped off the scaffold or gets knocked around in transit; cracks appears. No cut is ever flawless, and sometimes we’re left with smallish pieces unsuitable for any face that will be seen. Most contractors account for waste at about 5-10% (more complex layouts may require more).
So if you’re putting up a simple straight wall without any corners, you could of gone to the low side here. Bump it up if you’ve got an irregular opening, multiple returns, control joints, etc. You can enter this % right into the calculator. Better to have five excess blocks laying on your pallet than to make your customers wait three days while someone delivers half a course.
Depending off the bedding material, it also accounts for amount of mortar you’ll need. Less mortar goes into face-shell bedded applications then those done as a full-bed joint. That impacts cost of materials and how fast things go. The tool calculates your bag count by defaulting to an 80lb yield per bag, but you’re free to adjust that number if you’re mixing your own custom blend or have pre-bagged concrete with different density profiles. A proper mix prior to laying units ensure a smooth flow throughout the job.
There’s nothing worse than running out of mortar mid-course or waiting for the next bucket to get it to the right consistency, as both stop your progress.
Understand how each inch of your wall contribute to its overall length and height. That’s right, the eight-inch course module is rigid. It doesn’t compress easily without sacrificing both how it looks and how it stays strong. Visualize your project in terms of layers, not simply surface area. Each layer adds weight and needs support. Each layer also creates possible points of failure if it is not detailed properly.
A good estimate material list keeps you focused on building quality, not scrambling for supplies. You want those blocks there when you need ‘em, not sitting in your yard collecting dust or worse yet, not included on the order at all. Respecting the geometry makes masonry predictable.
The dimensions are made to match the desired bond pattern, and the joint size ensures the blocks simply fall into place. The “nominal” dimension includes the mortar space. Once you know this, everything else make sense. It’s no longer a struggle with the numbers. It’s playing along with the number. Your joints will be consistent, your wall will go up even and your finished project will look good starting on the first course to the cap block on top.
And that’s the benefit of paying attention, doing the math right and planning carefully.