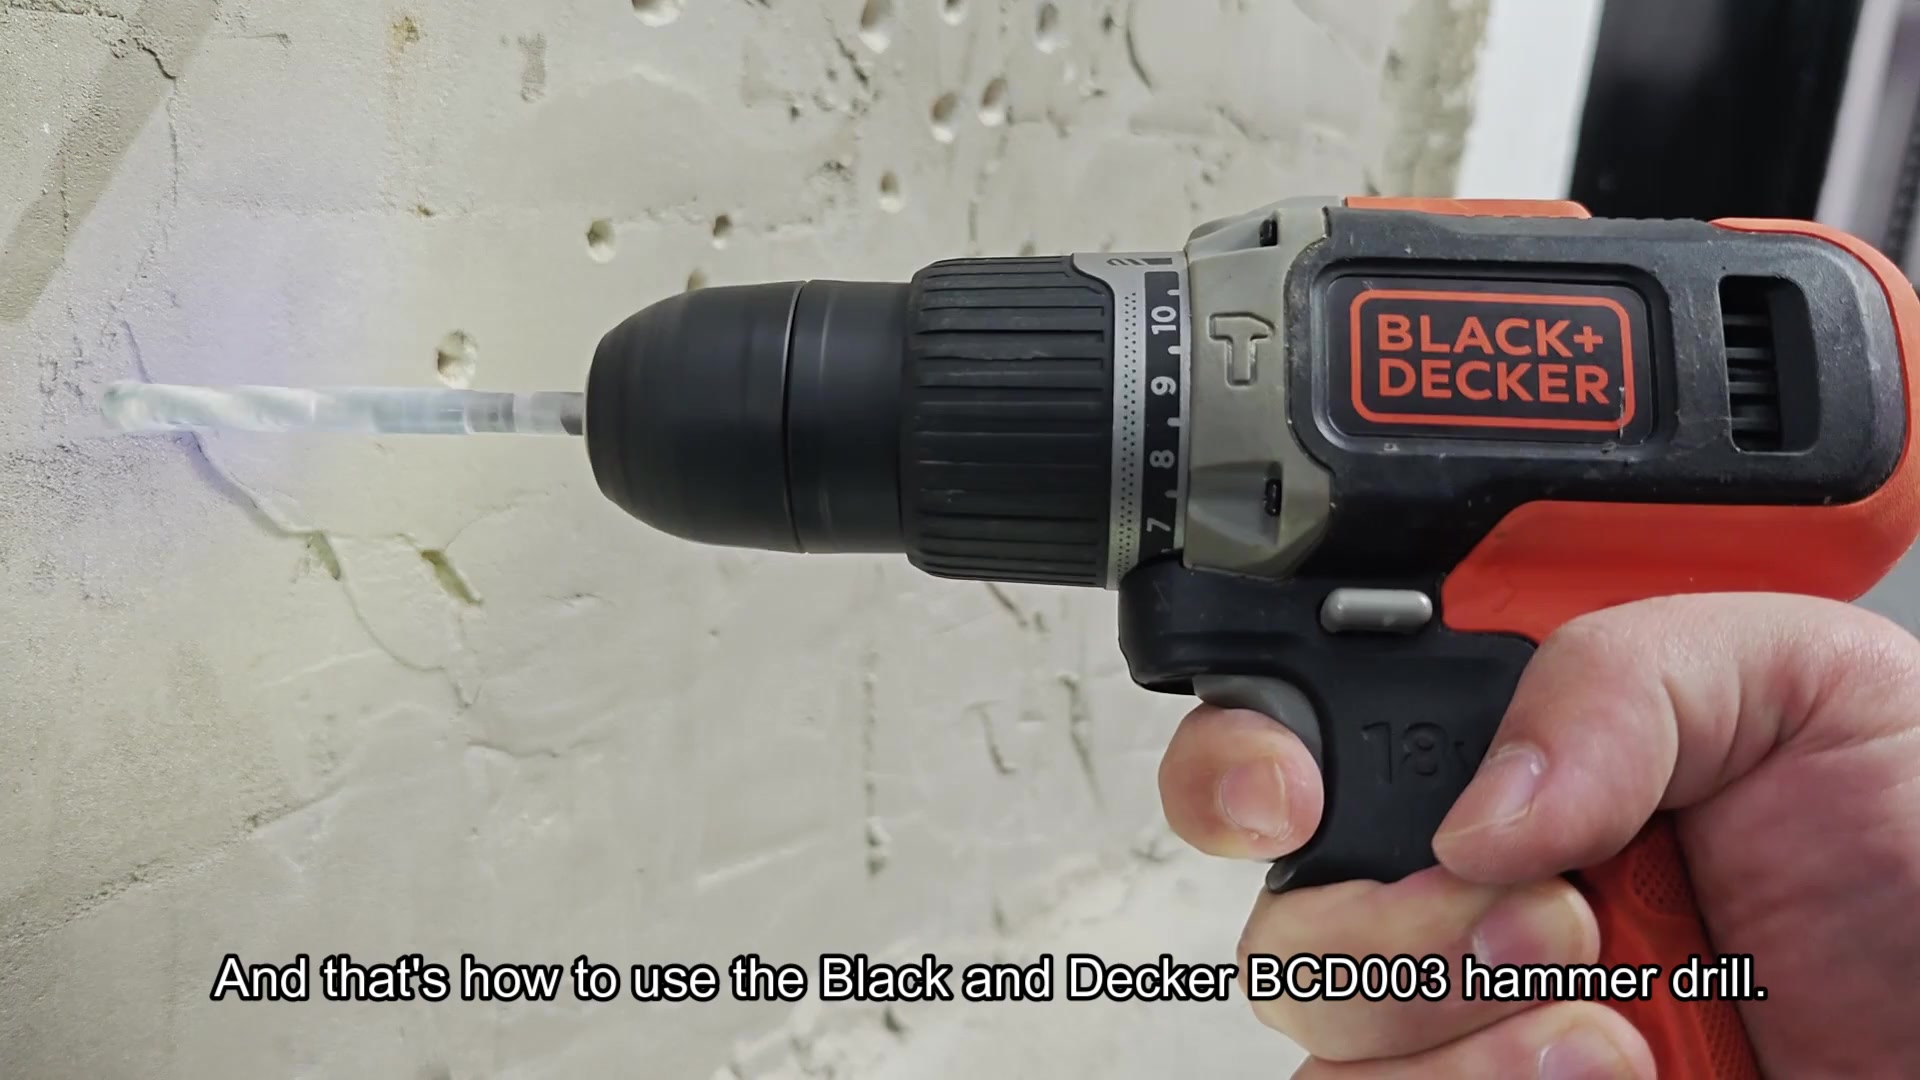
You slide the 20V battery into the base of the Black and Decker BCD003. It connects immediateley and solidly. A look at the charge indicator tells me I’m good to go. A full bar means this thing should of have enough juice to test it.
Compact, the drill feels sturdy in your hand.
You slide the 20V battery into the base of the Black and Decker BCD003. The connection is solid and immediate, so you check charge level indicator to ensure it is ready. It shows a full bar which confirms the tool has enough power for testing. The drill is compact but it feels sturdy in your hand.
Understanding Drill Controls
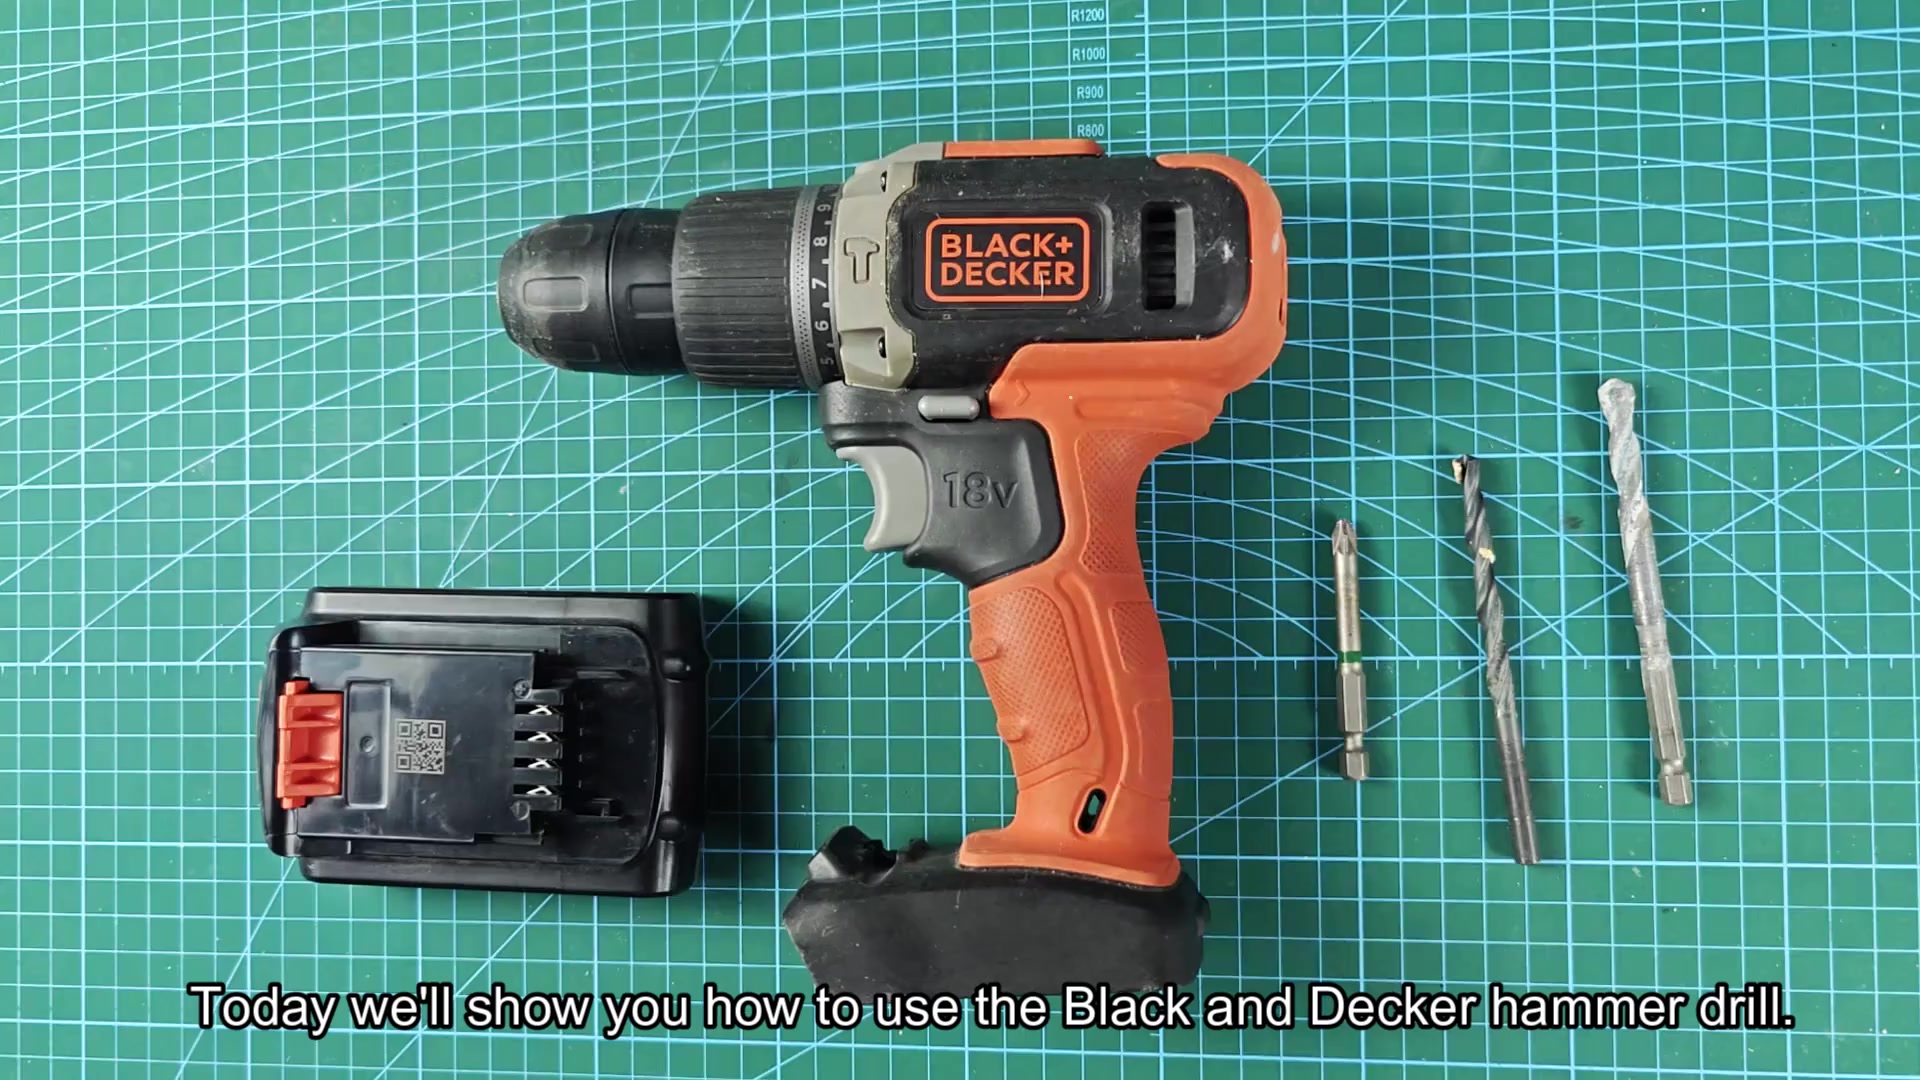
Before they start drilling anything, however, you spend some time learning how the controls work. The controls are laid out simply on top of the drill, which features a two-speed selector switch labeled with numbers 1 and 2.
Speed one applies less force and is used for low torque applications such as screw driving. Speed two, applied for higher RPMs, is used when boring holes in tougher materials. You flip the switch and can feel the mechanism click into place. It’s precise action. You then examine the torque clutch ring around the chuck. It’s got all these numbers on it from 1 up to some other high number and then there’s a drill symbol. Those numbers correspond to how much twisting force you’re giving them.
So you discover that setting it to something low like 6 or 7 works great for screwing. Anything higher and you can have more power, but take care because now you might strip the head off the screw. For your initial trial run, you set the collar to position 10. On the front ring just above the speed switch there’s a mode selector which lines up with one of three different icons. Standard boring mode for metal and wood is represented by the drill symbol. Hammering out a hole in masonry requires the percussion action which is engaged by sliding the mode selector over the hammer icon. To use direct drive (no clutch engagement) slide the mode selector over the screwdriver symbol.
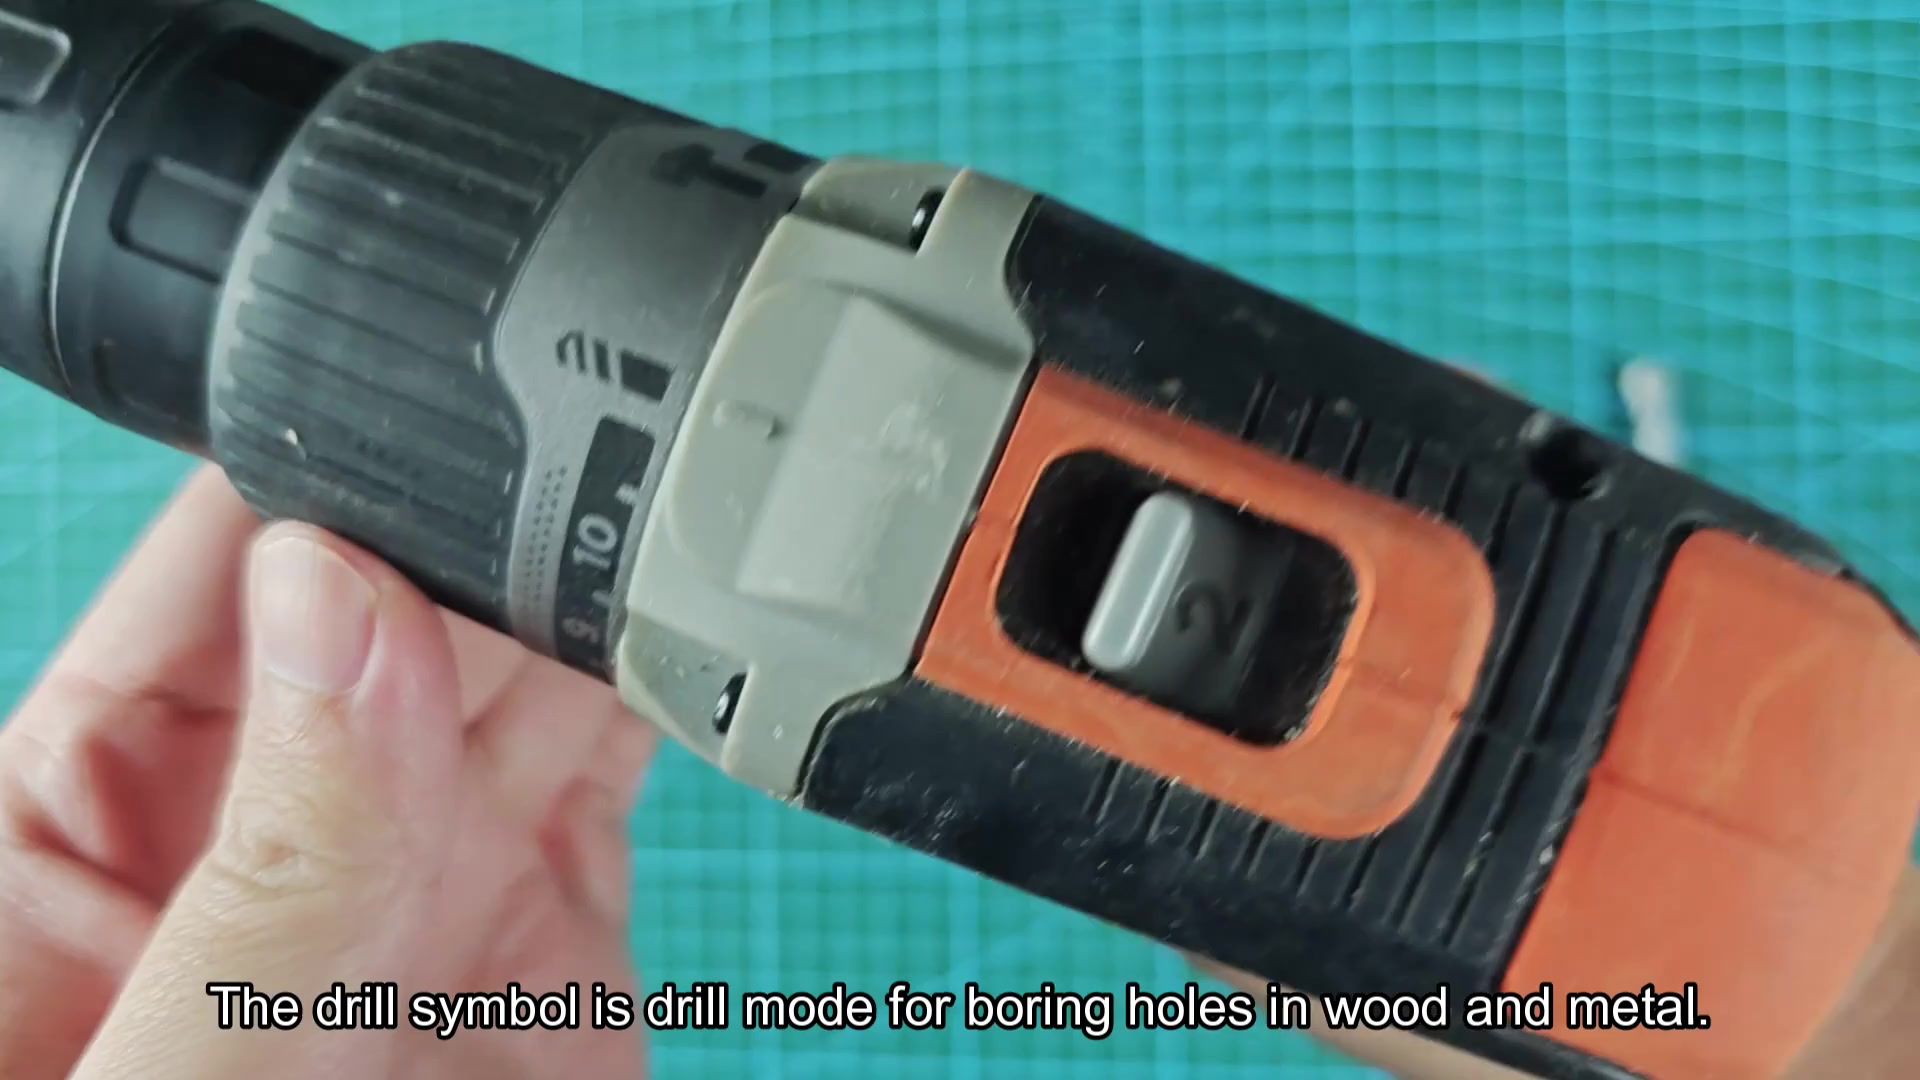
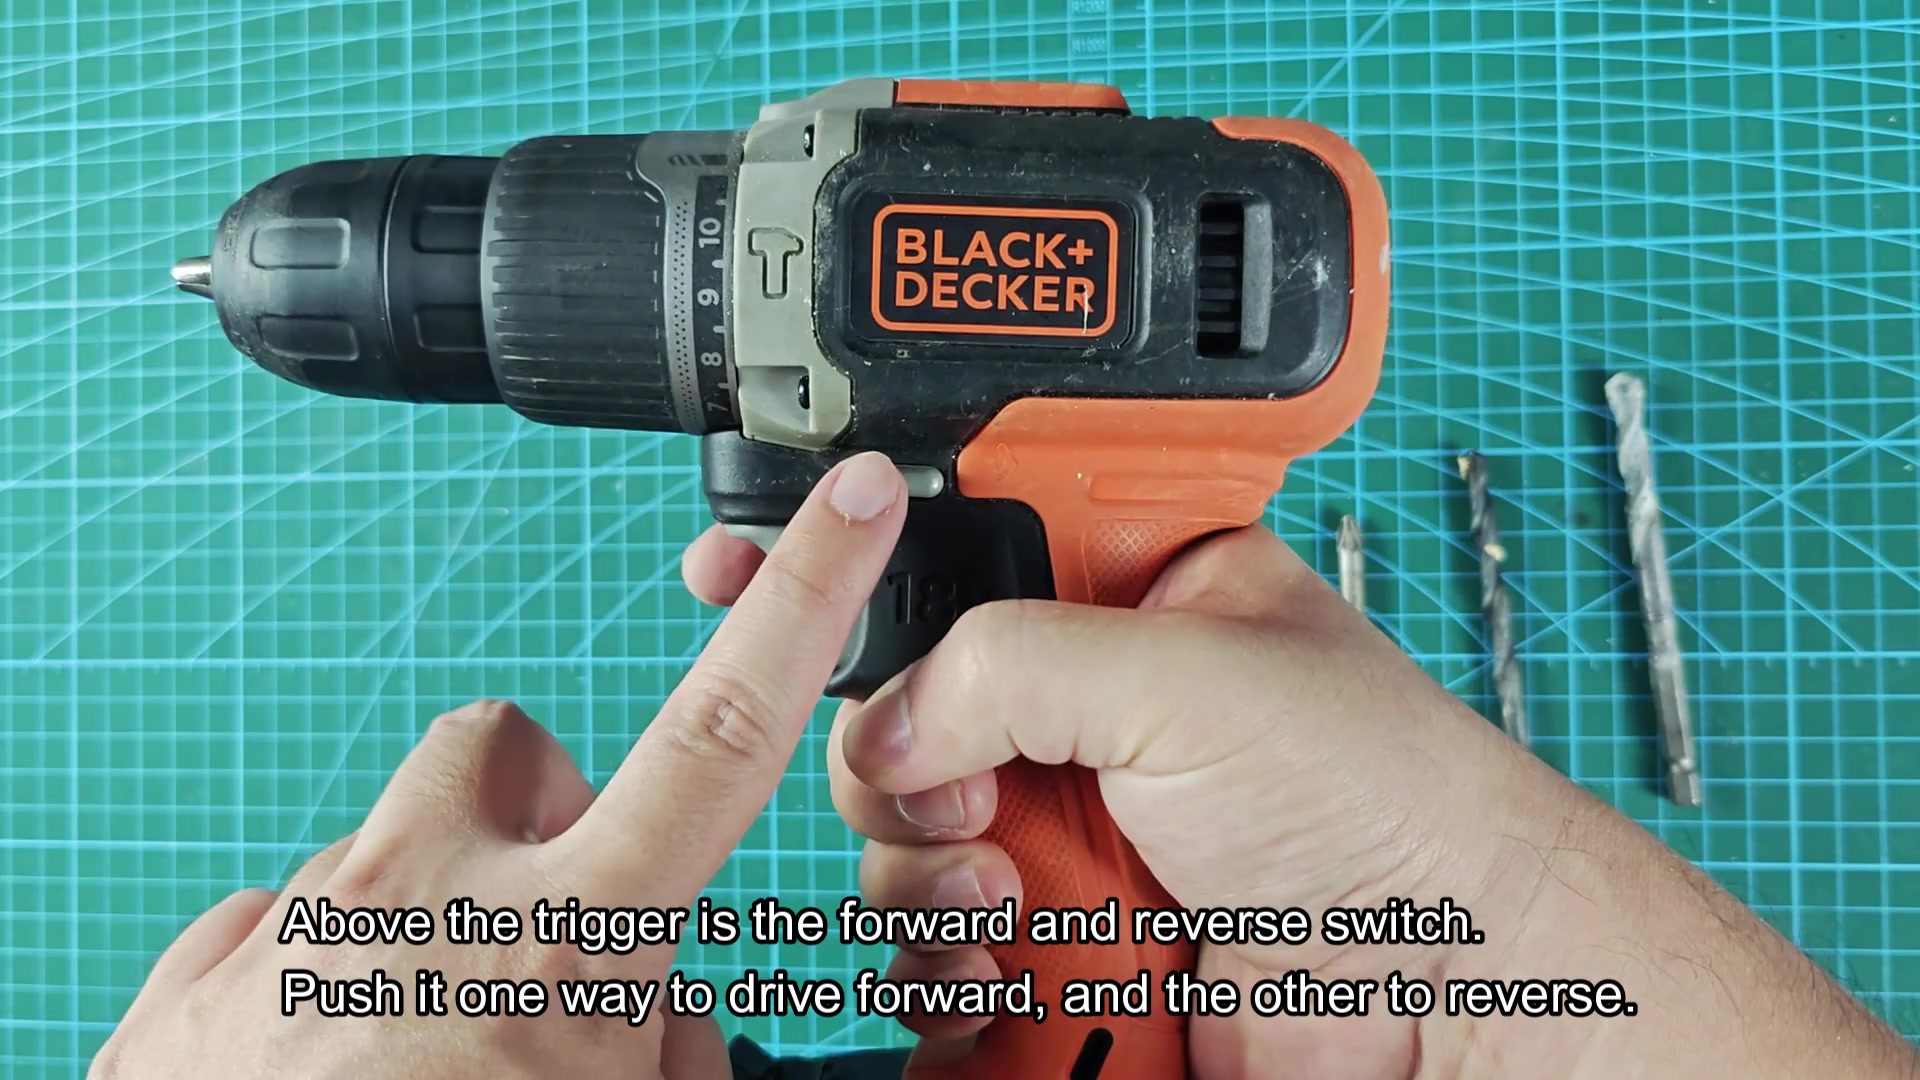
Before performing any task double check that you’re in the right mode, no accidental damage here. Above the trigger, you’ll see the forward and reverse switch. When pushed upward, the drill runs forward to drive screws or drill holes. Pushed downward, it reverses direction which is critical if you’re trying to remove fasteners.
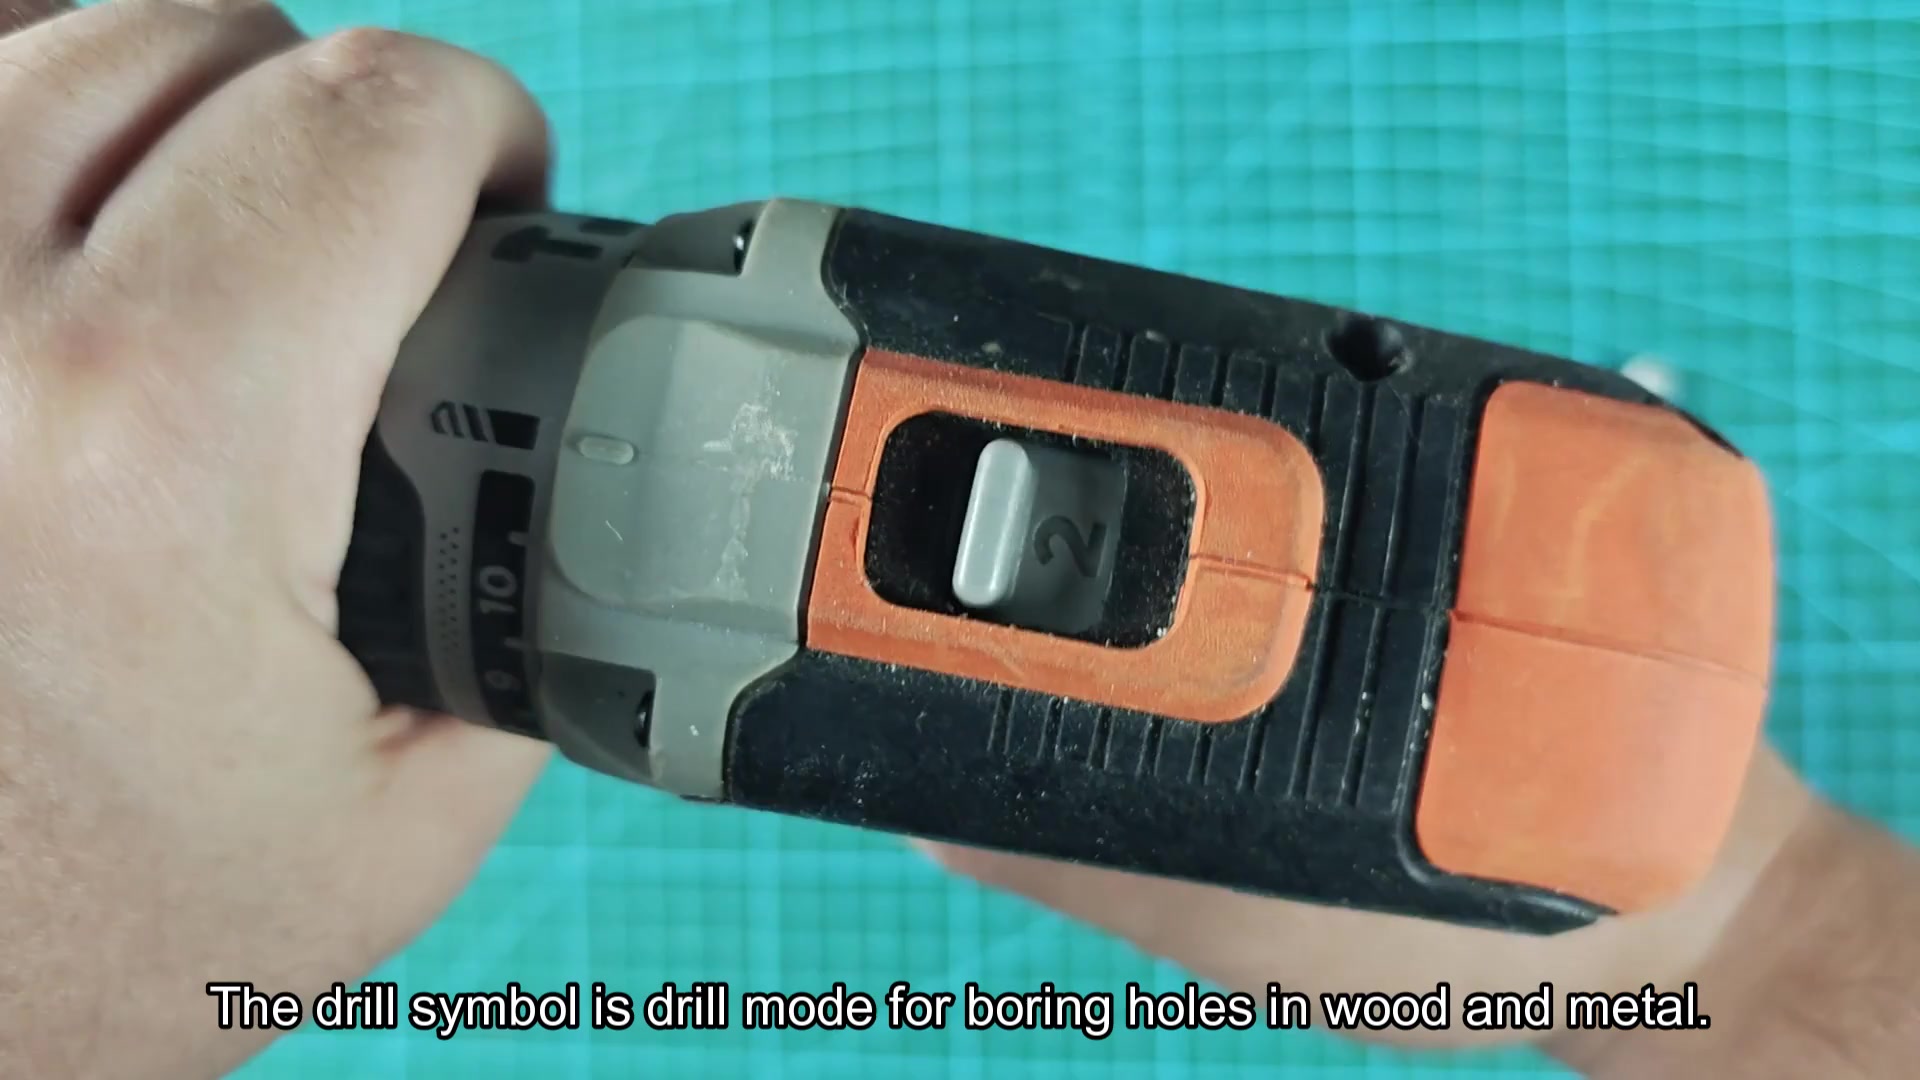
Test it; simply reverse your bit to hear what changes in the pitch of the motor. It’s instant. There is no lag whatsoever between direction switches.
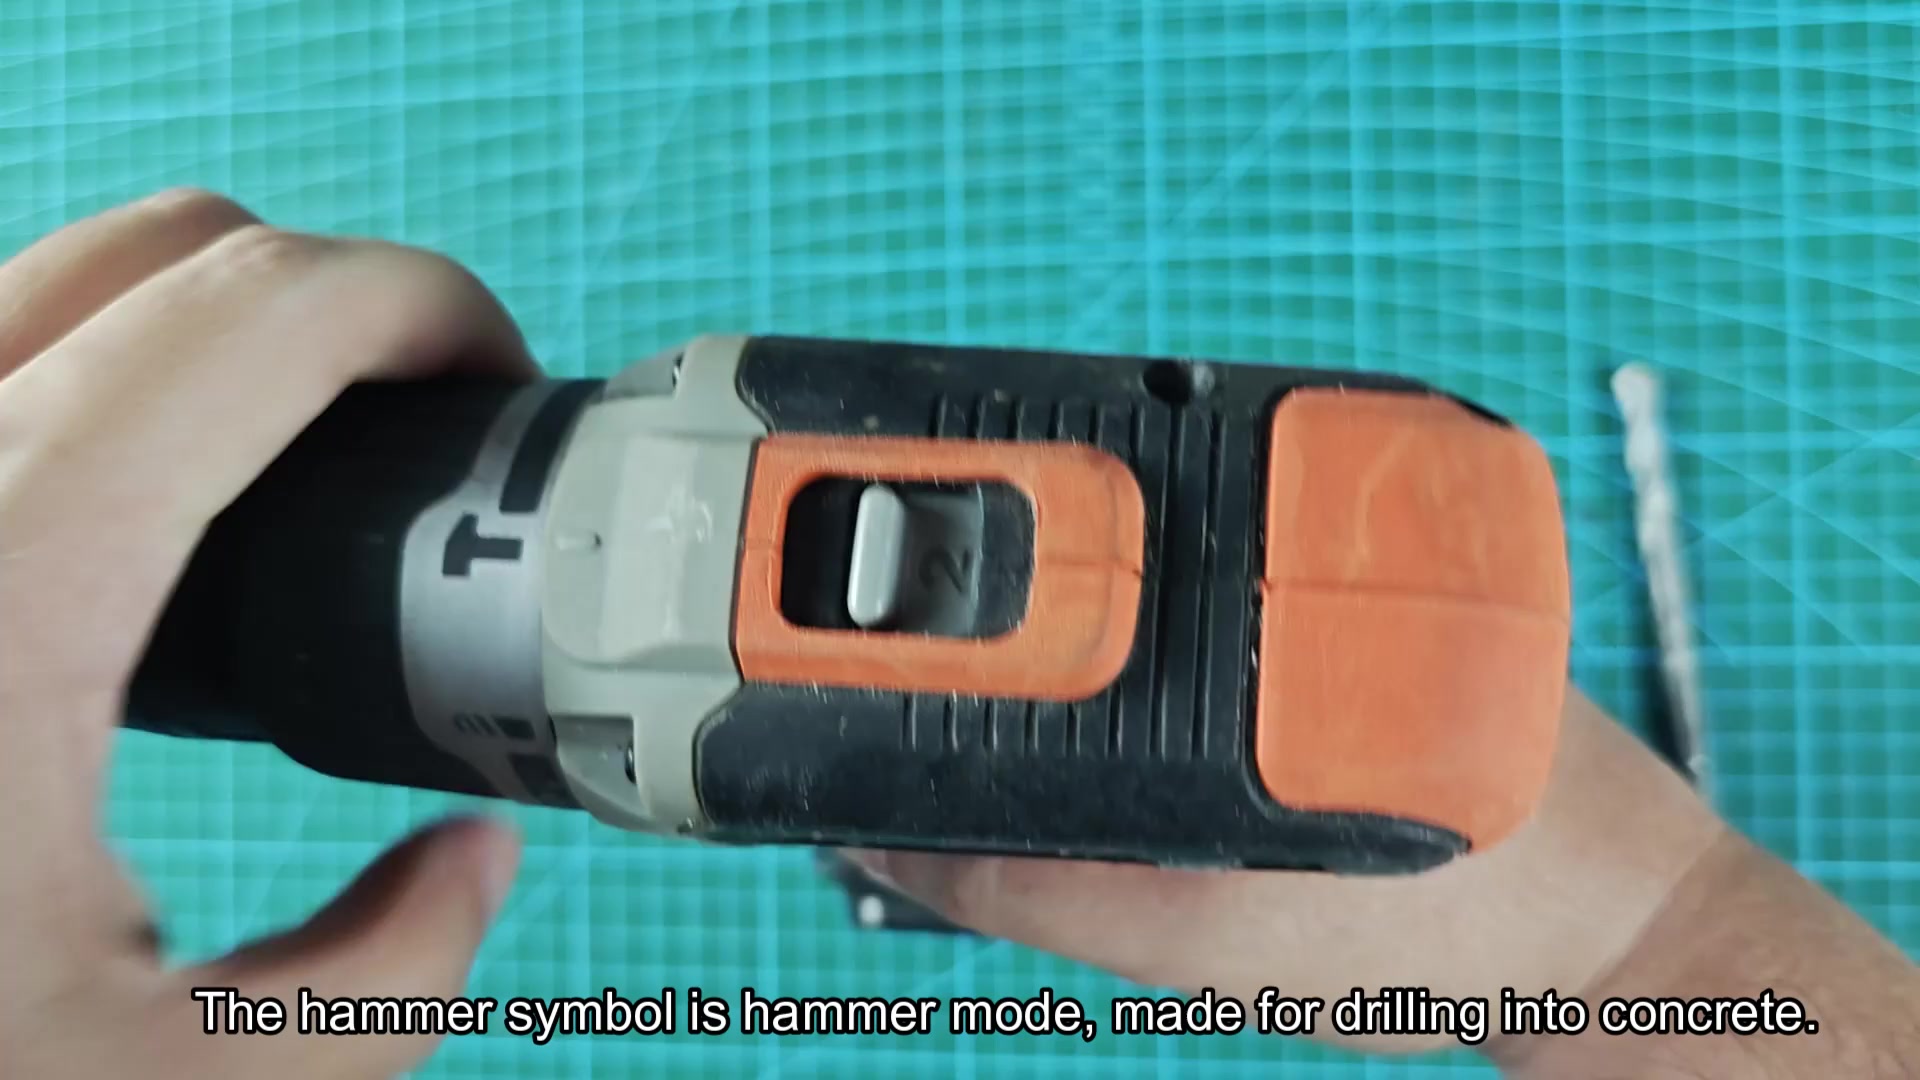
You need to insert a driver bit into the chuck to begin.
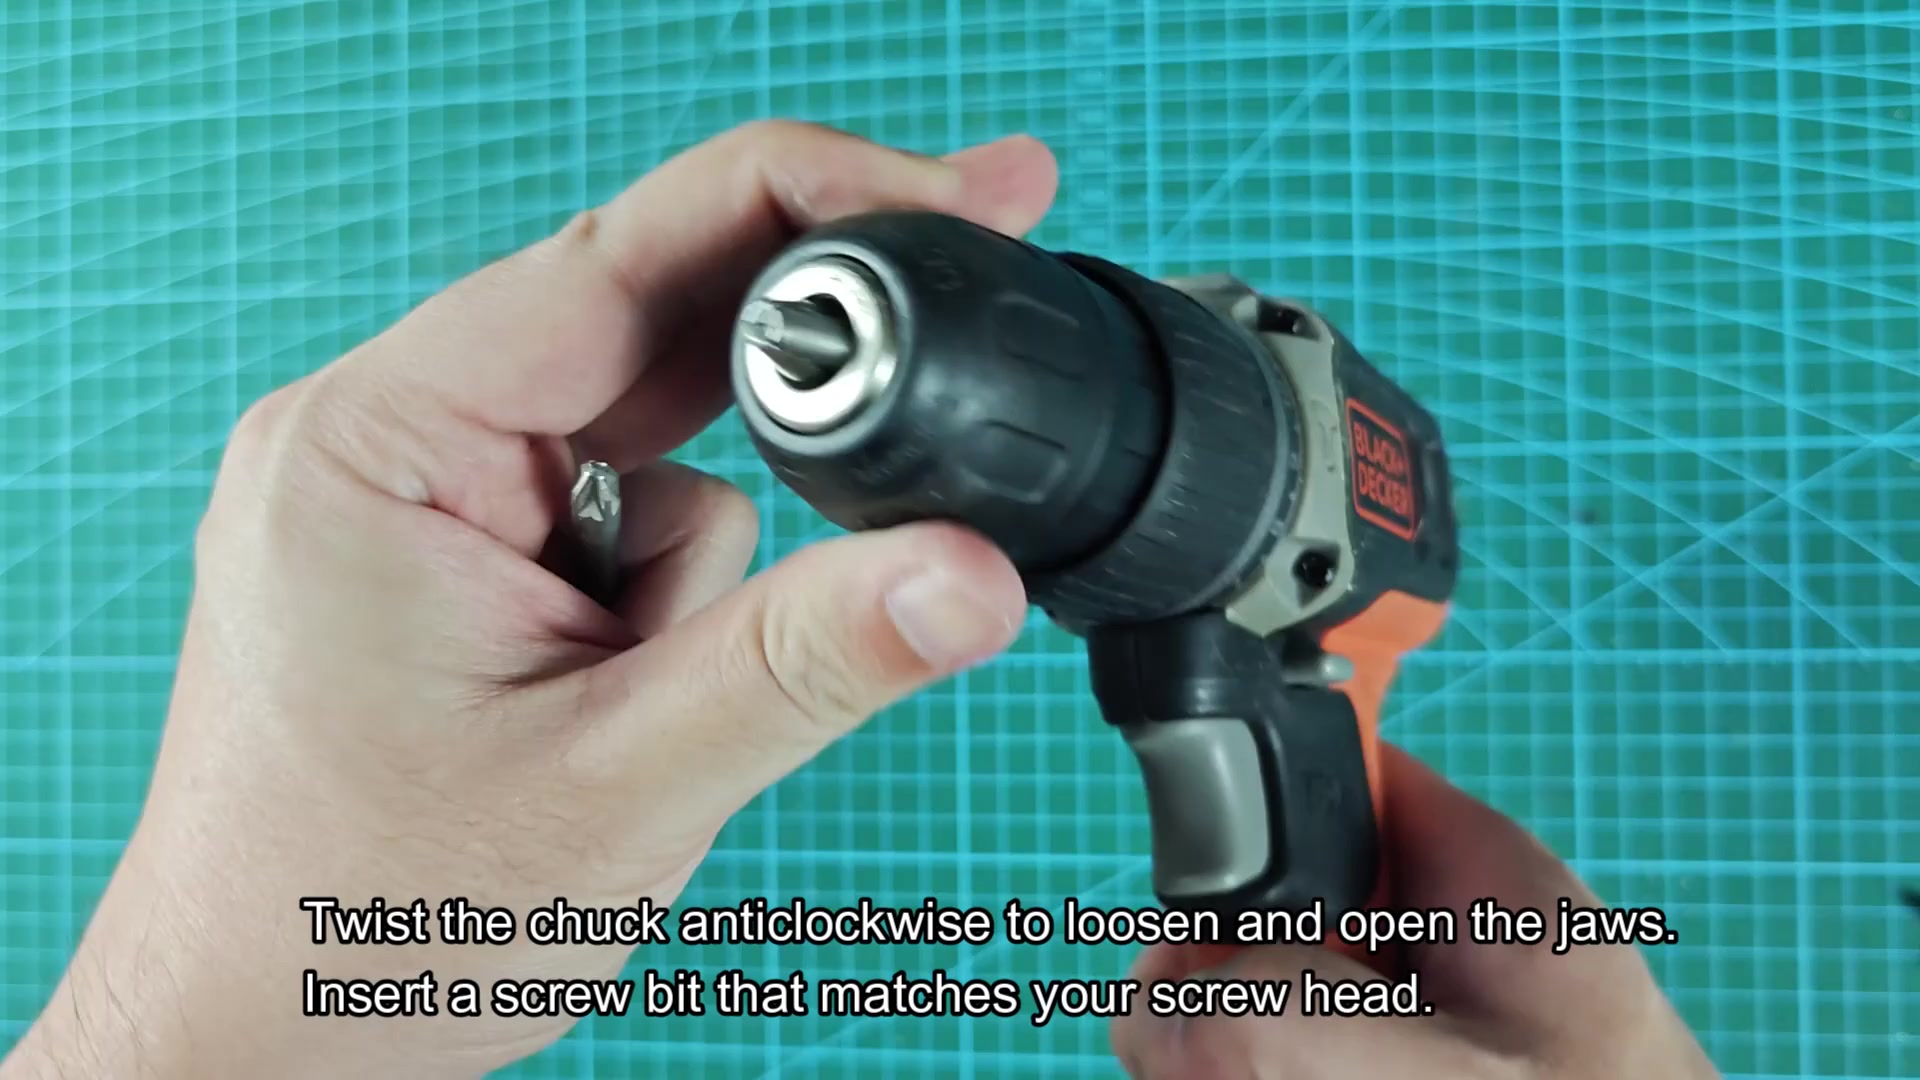
To get started, you place a driver bit in the chuck. Using your left hand, you hold onto the metal collar on the chunk and turn the chuck anticlockwise to open up the jaws.
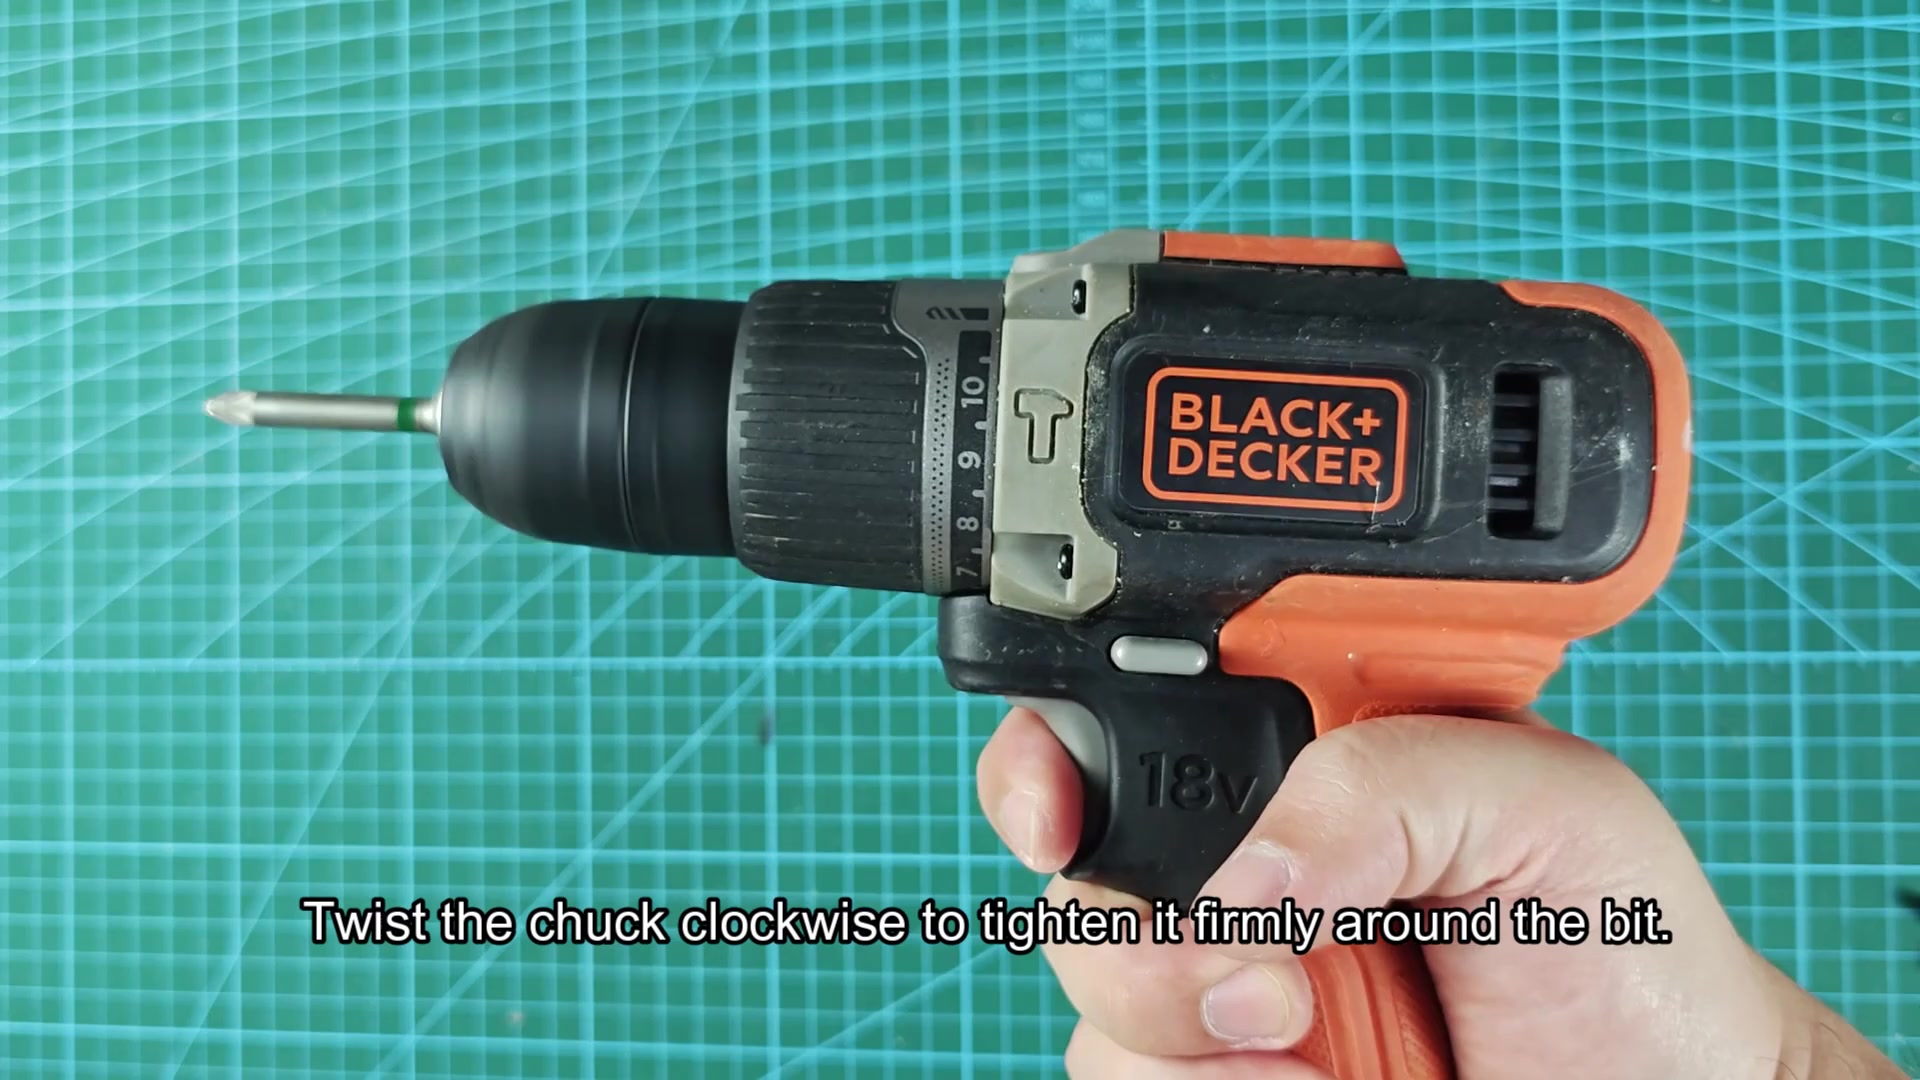
When the jaws become sufficiently loose, you can slide a Phillips head bit (matching what screws you’re testing) into the jaws and then screw the chunk clockwise to lock down the bit firmly. It stays put and doesn’t wiggle around, time to go to work! Then there’s the first practical test, which is driving wood screws into a piece of pine. Set the torque collar at a low setting, say 4 or 5. This prevents you from ripping the head off the screw, but it also won’t let you go too far and overdrive it.
Press down lightly on the trigger as you set the bit on top of your screw head. When the screw is seated, the clutch will slip. Because having control is what it’s all about here, you don’t sink too deep or strip out the threads. So instead of drill mode, you set the collar to a certain number for driving screws. The selector needs to be on the drill icon and off the number ring. That way the clutch automatically slips and saves your project from screw head damage.
Drive a few more screws easily. Its low torque setting makes the action smooth and predictable. It doesn’t cause any frustration. Then you swap jobs to drilling holes in wood. You swap the bit to a standard twist drill bit. You set the mode selector to the drill symbol. That disables the clutch for continuous rotation.
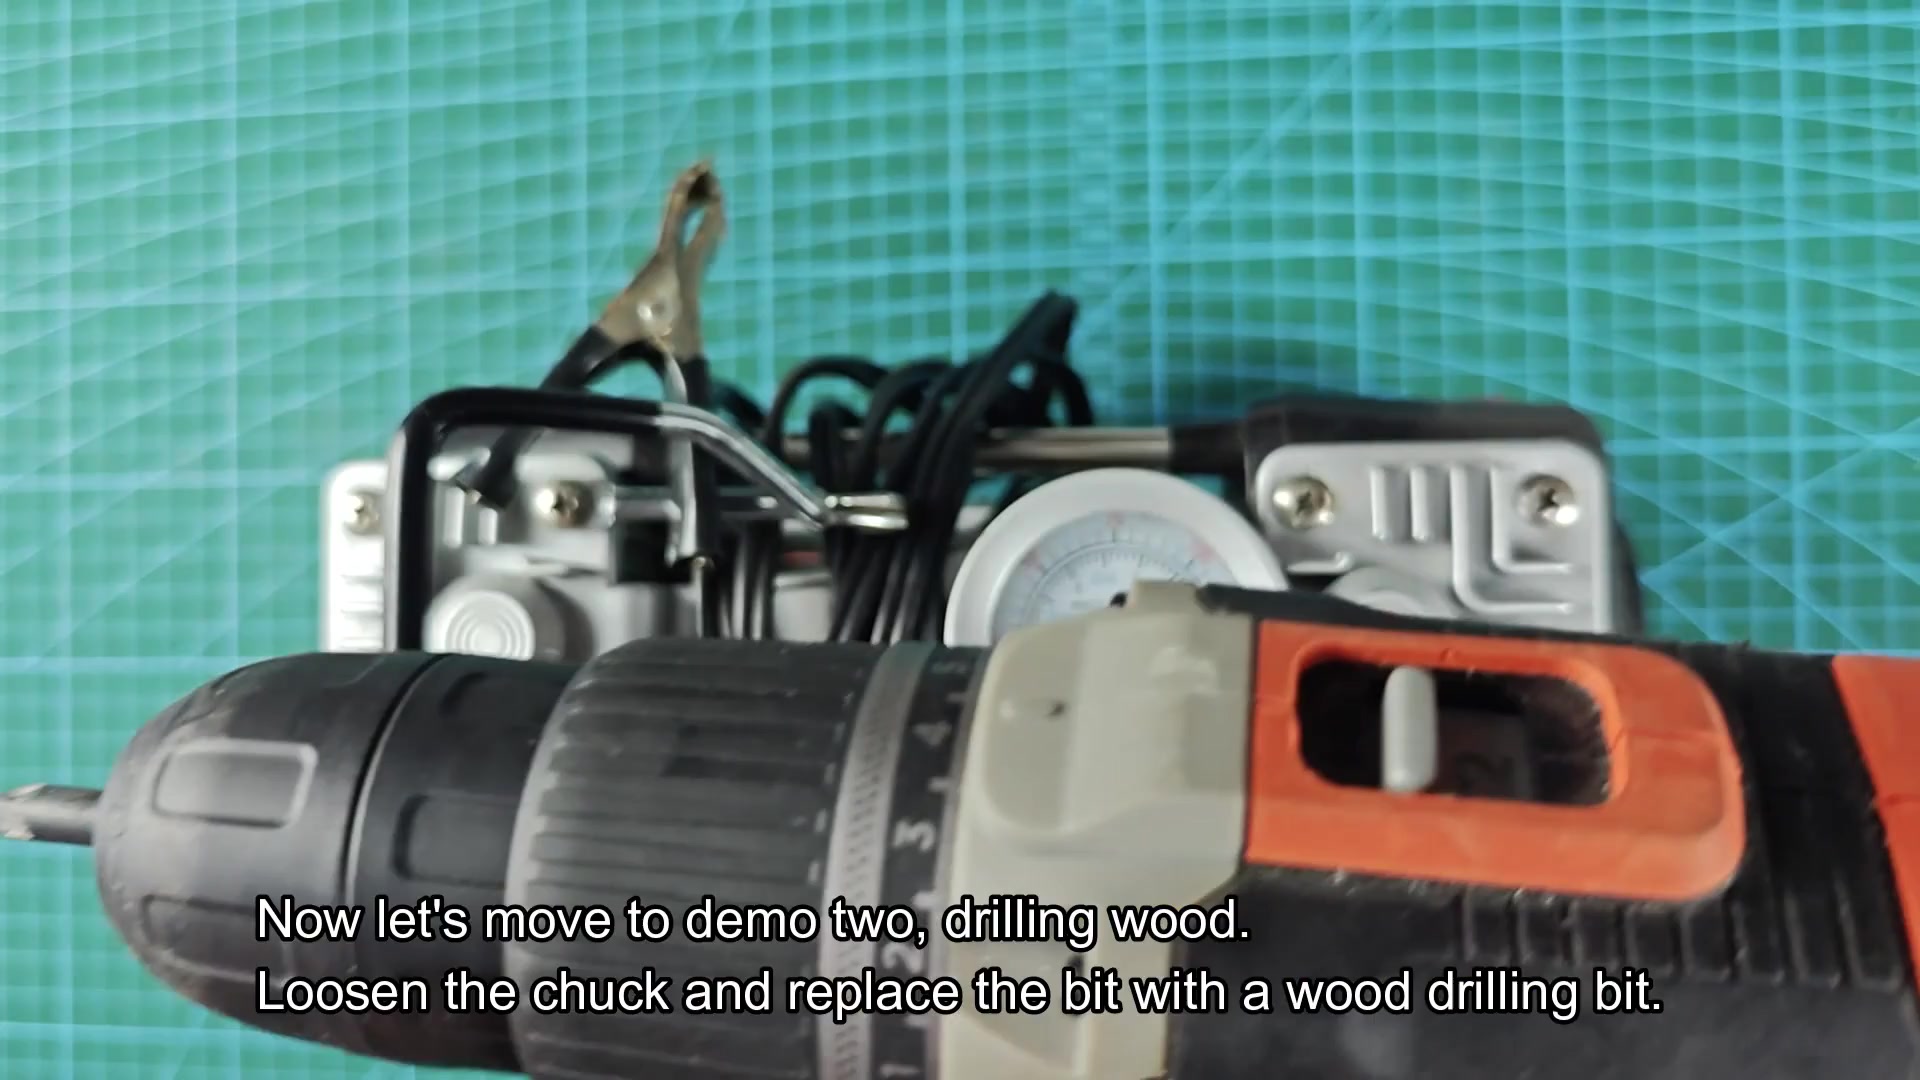
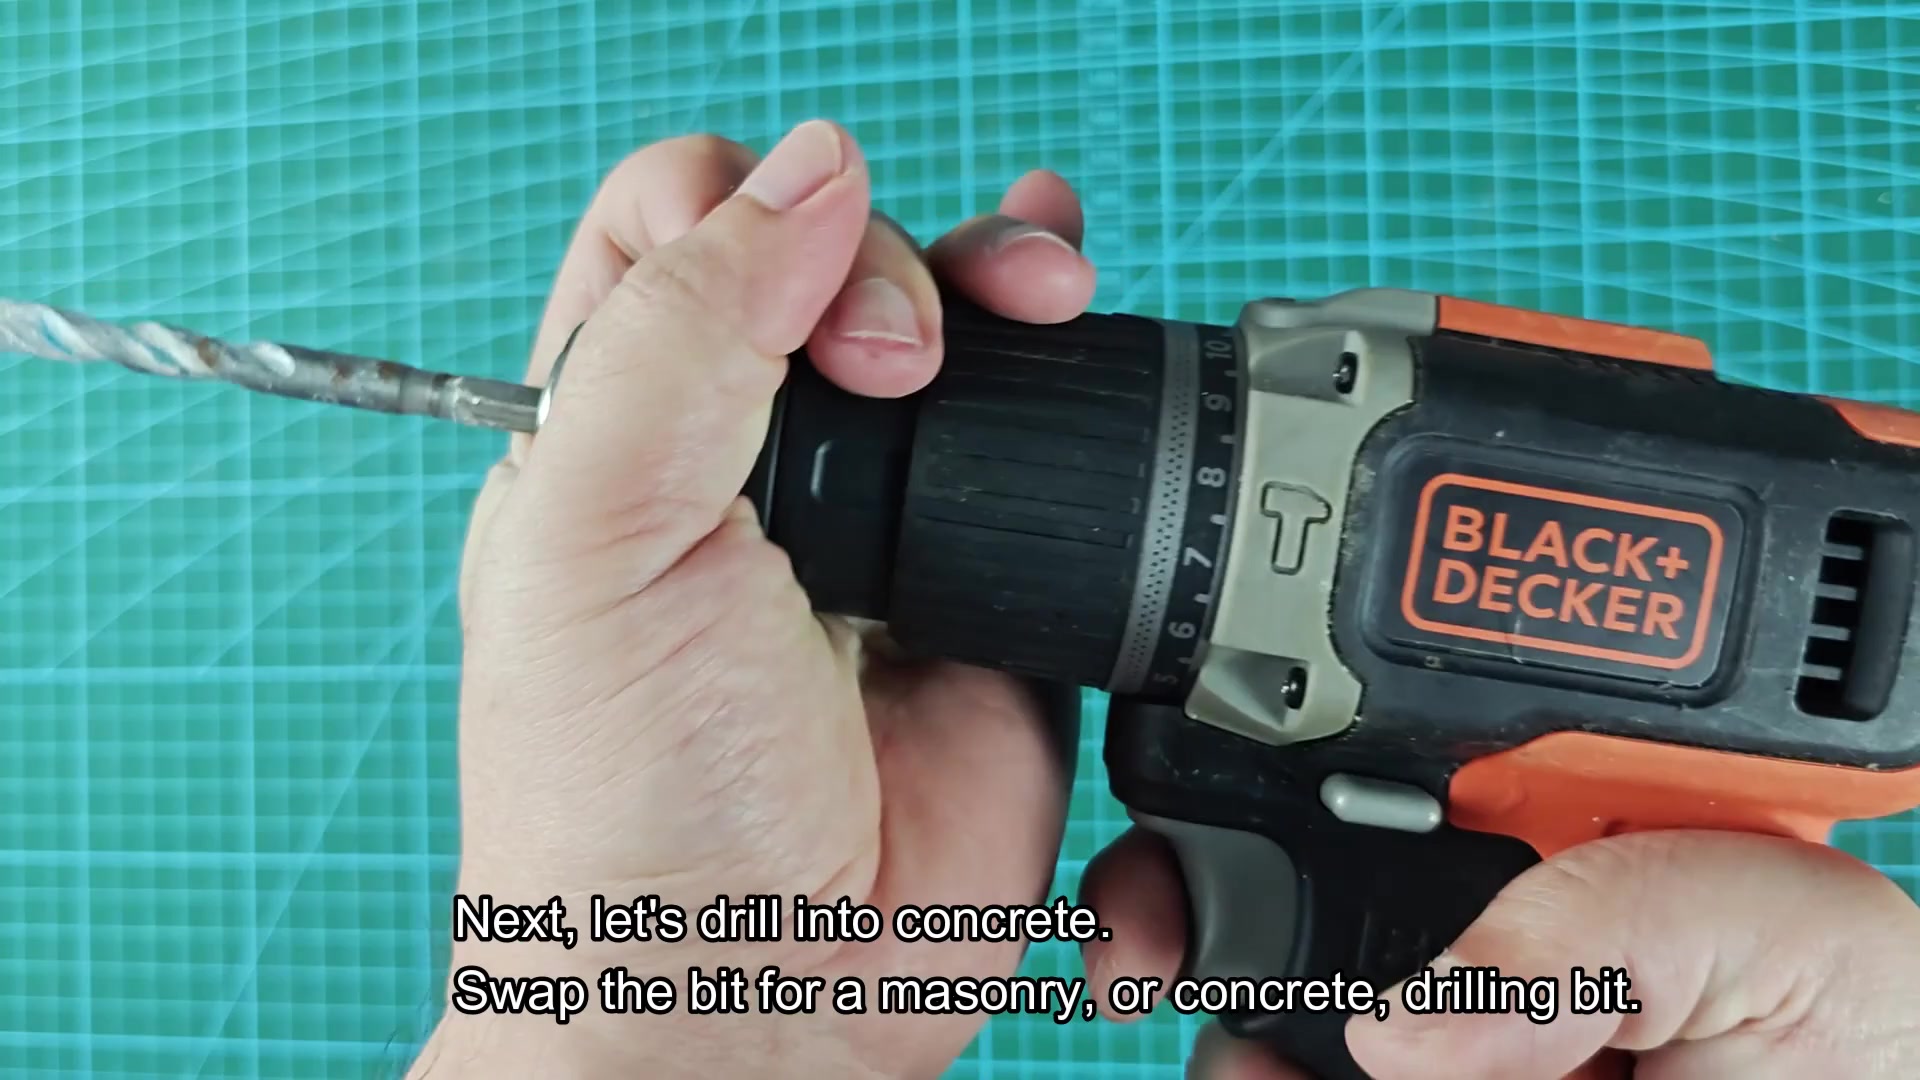
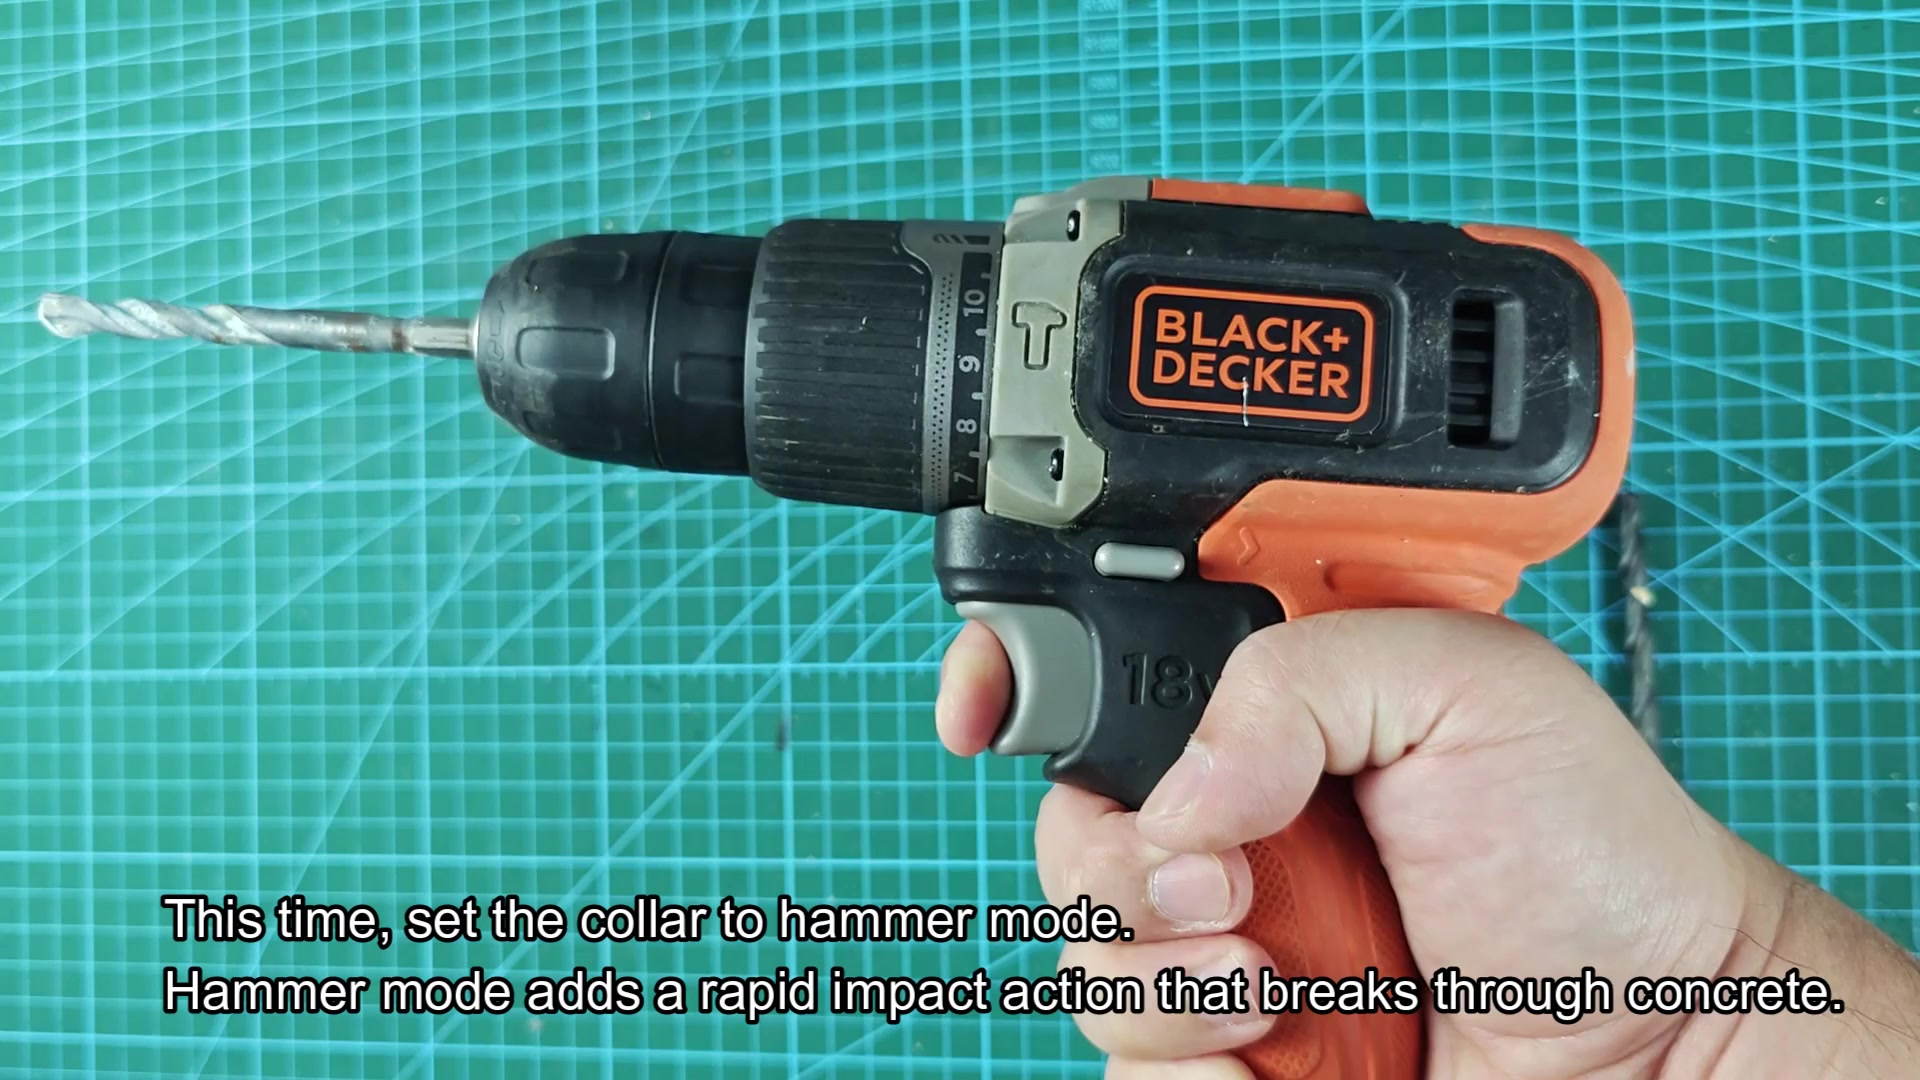
You set the speed to 2 for extra fast cutting action. You put steady downward pressure on the wood block while holding the drill perpendicular. The bit spins smoothly and cleanly through the wood without binding. Chips blow out of the hole cleanly as it cuts a clean path back out. You are drilling through concrete. Here’s where you need a masonry bit and hammer mode. A carbide tipped bit made for stone goes into the drill. Next you move the selector to hammer icon. That engages rapid impacts that help shatter the material being drilled.
You feel it differently in your hand from this. There’s a noticeable vibration as the tool does its work. Position the tip at the concrete wall. You push the trigger and see the bit go into the surface. Drilling wood, this is nothing like that. A regular drill spins out on top of surface.
Turn on the hammer action and it eats its way through the aggregate. You sense the inertia increase with depth. And wow does it drill through concrete quickly for something so light! It is impressive how it cuts through concrete. There you have it, your hands on with the BCD003. It can handle screws, wood, and masonry without the need for additional tools. Battery life has held up nicely across all three tests.
For first time users of a cordless drill, setup is simple. After a minute or so of practice, you’ll find yourself naturaly figuring out what mode you’re in. It’s good enough for most jobs and can be a nice tool to have around the house.