
You may be working on a lower control arm for one hour, and you may find that the ball joints will not move. The hydraulic press may be sitting there in place in your shop, but the ball joint will remain stuck in its seat. This is the specific situation that separate the individuals that complete their job before the sun goes down from those that do not.
The difference between these two types of individuals is almost never the use of brute force to extract the ball joint. The difference between these two types of individuals is the knowledge of which specific method to employ when the usual methods do not achieve the desire result. Ball joints are often quite stubborn and often difficult to extract with a hydraulic press due to the grime that often accumulates on the control arm over time.
The rust that often sets in the ball joint is often as strong a bond as a weld. Heat and patience will usually allow for the ball joint to be extract from the control arm. Sometimes, though, an individual will have to change the approach all together.
The following approaches has worked for individuals when the hydraulic press alone has failed to extract the ball joint from the control arm.
Effective Methods to Remove a Stuck Ball Joint
1. Soaking in Penetrating Oil
One of the first methods that should be used is soak the ball joint in penetrating oil. You should spray the oil onto all visible seams of the joint, and you should allow the joint to soak for at least thirty minute.
Many mechanics will suggest that allowing the joint to soak for overnight is even more better. Through the chemistry of the penetrating oil, the rust can begin to break down and allow the joint to begin to slide out of the control arm. Many individuals rush this process, which is why they experience difficulty using the other methods described in this article.
This is the cheapest and least destructive method for removing a ball joint, so this method should always be the first of the process to be employ.
2. Flattening the Joint Lip
Another common method of extracting a ball joint from a control arm is flattening the lip that can be present on the joint. In many case, the ball joint comes from the control arm factory with such a lip or stake.
In these situation, it is impossible to flatten the lip with a press before attempting to extract the ball joint. In such cases, you will need to use a sharp chisel to flatten the lip, which will allow the ball joint to move within its bore in the control arm. This may seem crude, but it will prevent the press from crushing the control arm.
3. Applying Heat with a Torch
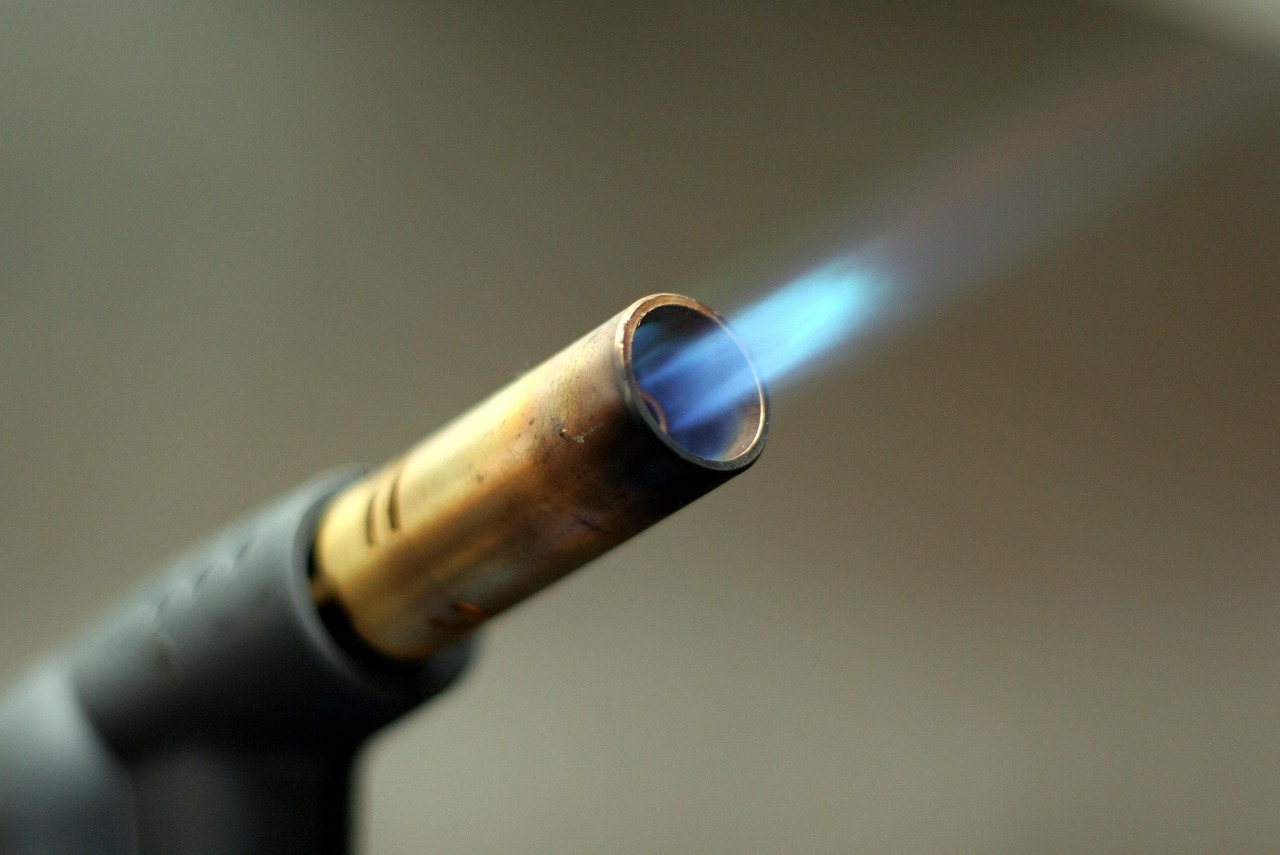
If not performed correctly, the control arm may have a mushroom-shaped piece of metal that is impossible to remove. Heat can be an effective tool to help extract a stuck ball joint, but in the wrong hands, it can cause more problem than solutions. A torch such as a rosebud torch or propane burner can be used to heat the control arm faster then the ball joint will heat.
Heat the control arm to a dull cherry color, ensuring that the oil begin to smoke. Use the press to hit the ball joint while it is hot. There will be a window of time when the ball joint is hot, but the control arm will still be cooler.
Do not allow the ball joint to ever glow red with the heat of the torch. This will destroy the grease that is within the ball joint, as well as destroy any new replacement part for the ball joint.
4. Using a Dedicated Receiver Cup
Sometimes the socket on a hydraulic press is the cause of the problem.
If a generic cup is used for the socket that barely make contact with the ball joint, the force from the press will cause the control arm to flex. You should make or buy a dedicated receiver cup that matches the outer diameter of the ball joint housing. The better the fit, the less the control arm will distort when the ball joint is force apart.
A person might spend forty minutes fighting a seized ball joint only to discover that the receiver cup is riding on the lip of the ball joint instead of the ball joint itself. By using the correct tool for only five minutes, the ball joint will move out of the control arm. You must pay attention to the movement of the force created by the tool.
5. Destroying the Ball Joint
By paying attention to the force, you separate the failure of the mechanic from the success that can be achieve. If the ball joint continues to refuse to move, you should consider destroying the ball joint. Using a drill bit, drill a series of holes through the center of the ball stud.
Then use a cold chisel to split the ball joint housing from inside the control arm. This method will destroy the old ball joint. This method will relieve the press tension that may have built up in the old ball joint over the years.
By splitting the housing from inside the control arm, the housing will collapse and the remnant of the ball joint will fall out of the control arm. This is a violent means of removing a seized ball joint. Use this method only after all non-destructive methods have failed and only when you are planning to buy a new control arm.
6. Using an Air Hammer
This method is still better than staring at a control arm that will not allow the ball joint to move. Use air hammer chisels with the correct attachment to the air hammer to vibrate the seized ball joint free. Set the air hammer on its highest setting.
Hold the air hammer at an slight angle against the lip of the ball joint housing. This method will work for ball joints seized in trucks that operate in areas with heavy salt. The disadvantage of this method is that the aluminum control arm could crack under the force of the air hammer blow.
Use the air hammer on steel control arm. Do not pound the ball joint at the same spot with the air hammer. When the ball joint begins to rock even slightly, the air hammer effort is nearly finished.
7. Increasing Press Tonnage
Consider the setup of the hydraulic press that you will use to separate the ball joint. Many mechanics buy the cheap benchtop press that does not have the tonnage to successfully extract a seized ball joint. If the shop uses a twenty-ton press, a mechanic can remove the seized ball joint much quicker than if they used a twelve-ton press.
The shop can rent a larger press or take the vehicle to a shop with the correct industrial equipment. Either solution is better than struggling with a seized ball joint. The ball joint will come out on the first attempt with a proper hydraulic press.
You will wonder why the mechanic struggled with the seized ball joint for so long. Finally, ensure that you have a clean work surface to perform the operation. The ball joint will come free from the control arm.
You will have to press in the new ball joint. You should wire brush the control arm to ensure that the new ball joint will mate properly. Also, ensure that the thread on any control arm bolts are clean and free of rust.
These details is important so that the ball joint does not become a difficult job during the late hours of the night at the auto repair shop. When the time comes when the ball joint will not move in the control arm, do not just push and force the ball joint to move. Use the method listed in order.
Give each method the time to work. When the old ball joint falls into the work area, you will feel a sense of satisfaction. The hydraulic press is a tool to accomplish a job.
The skill and knowledge of how and when to use the hydraulic press is what complete the job.
