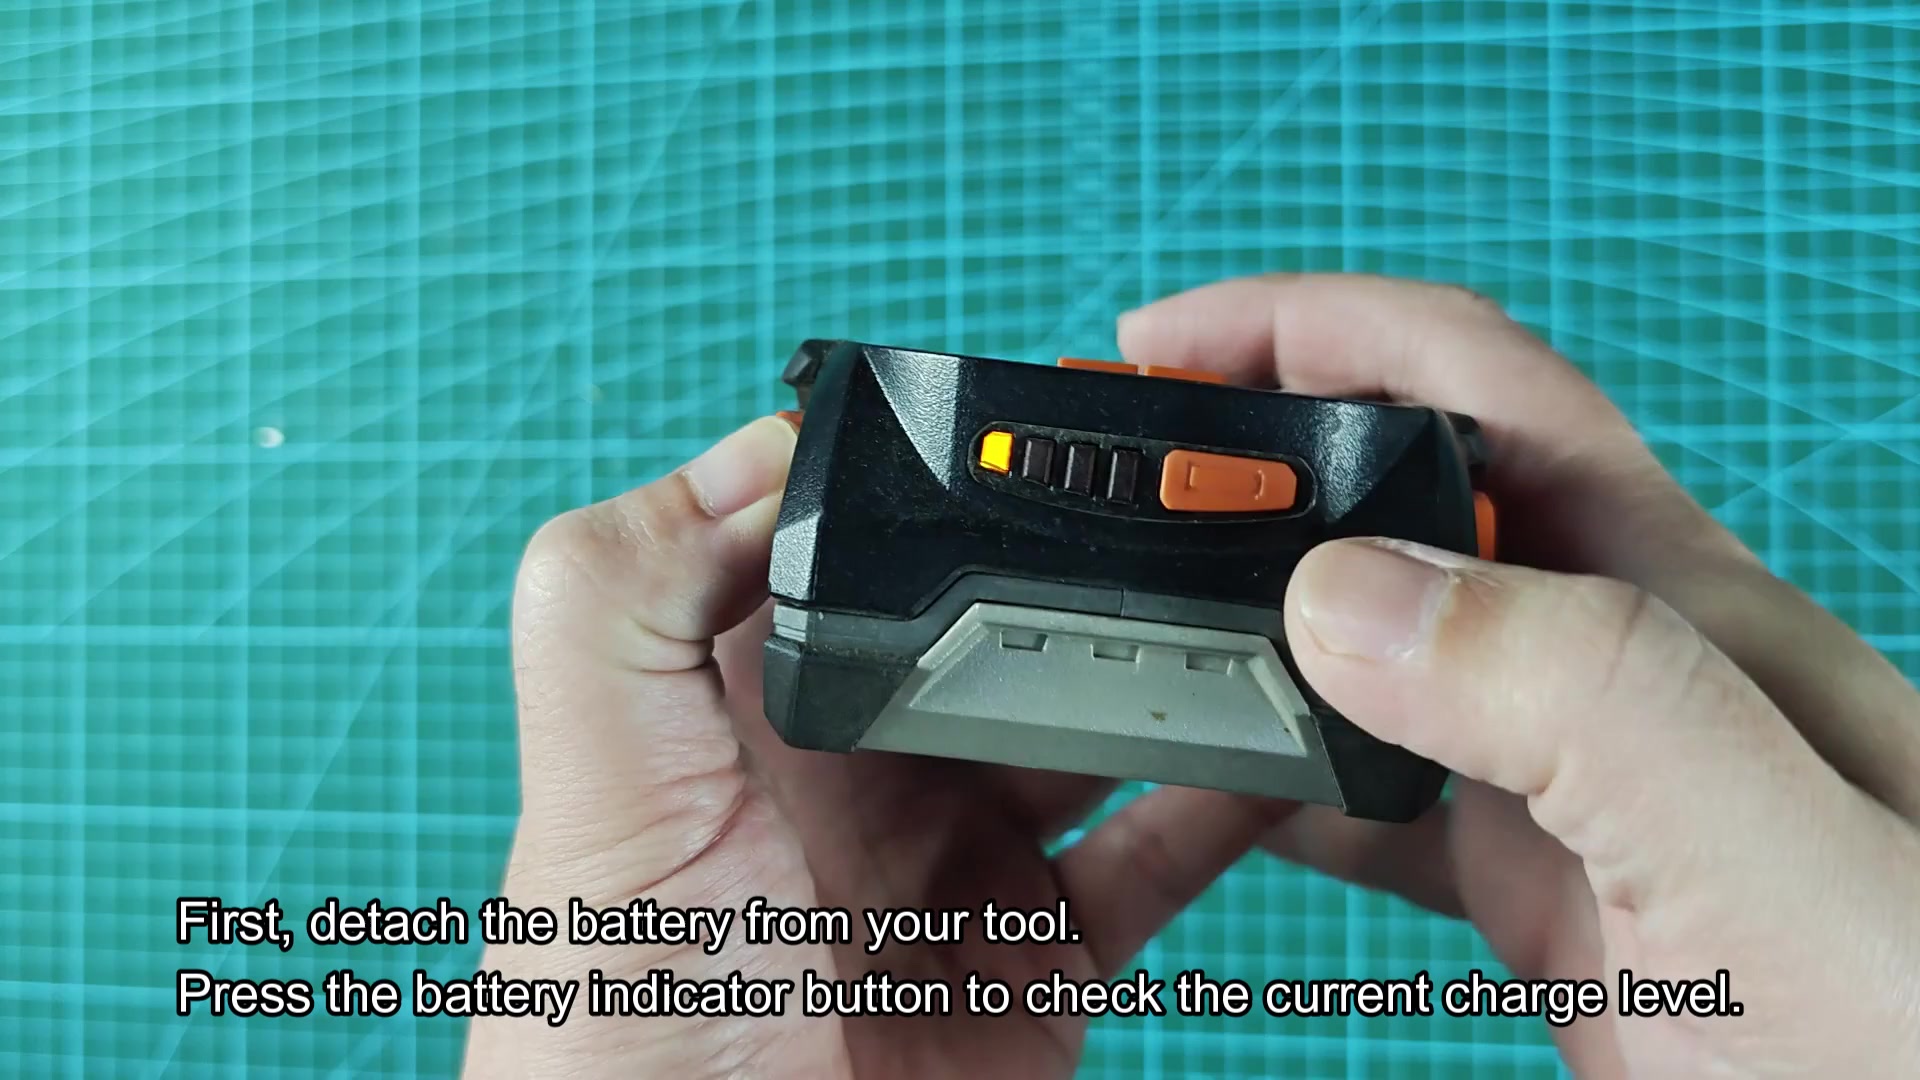
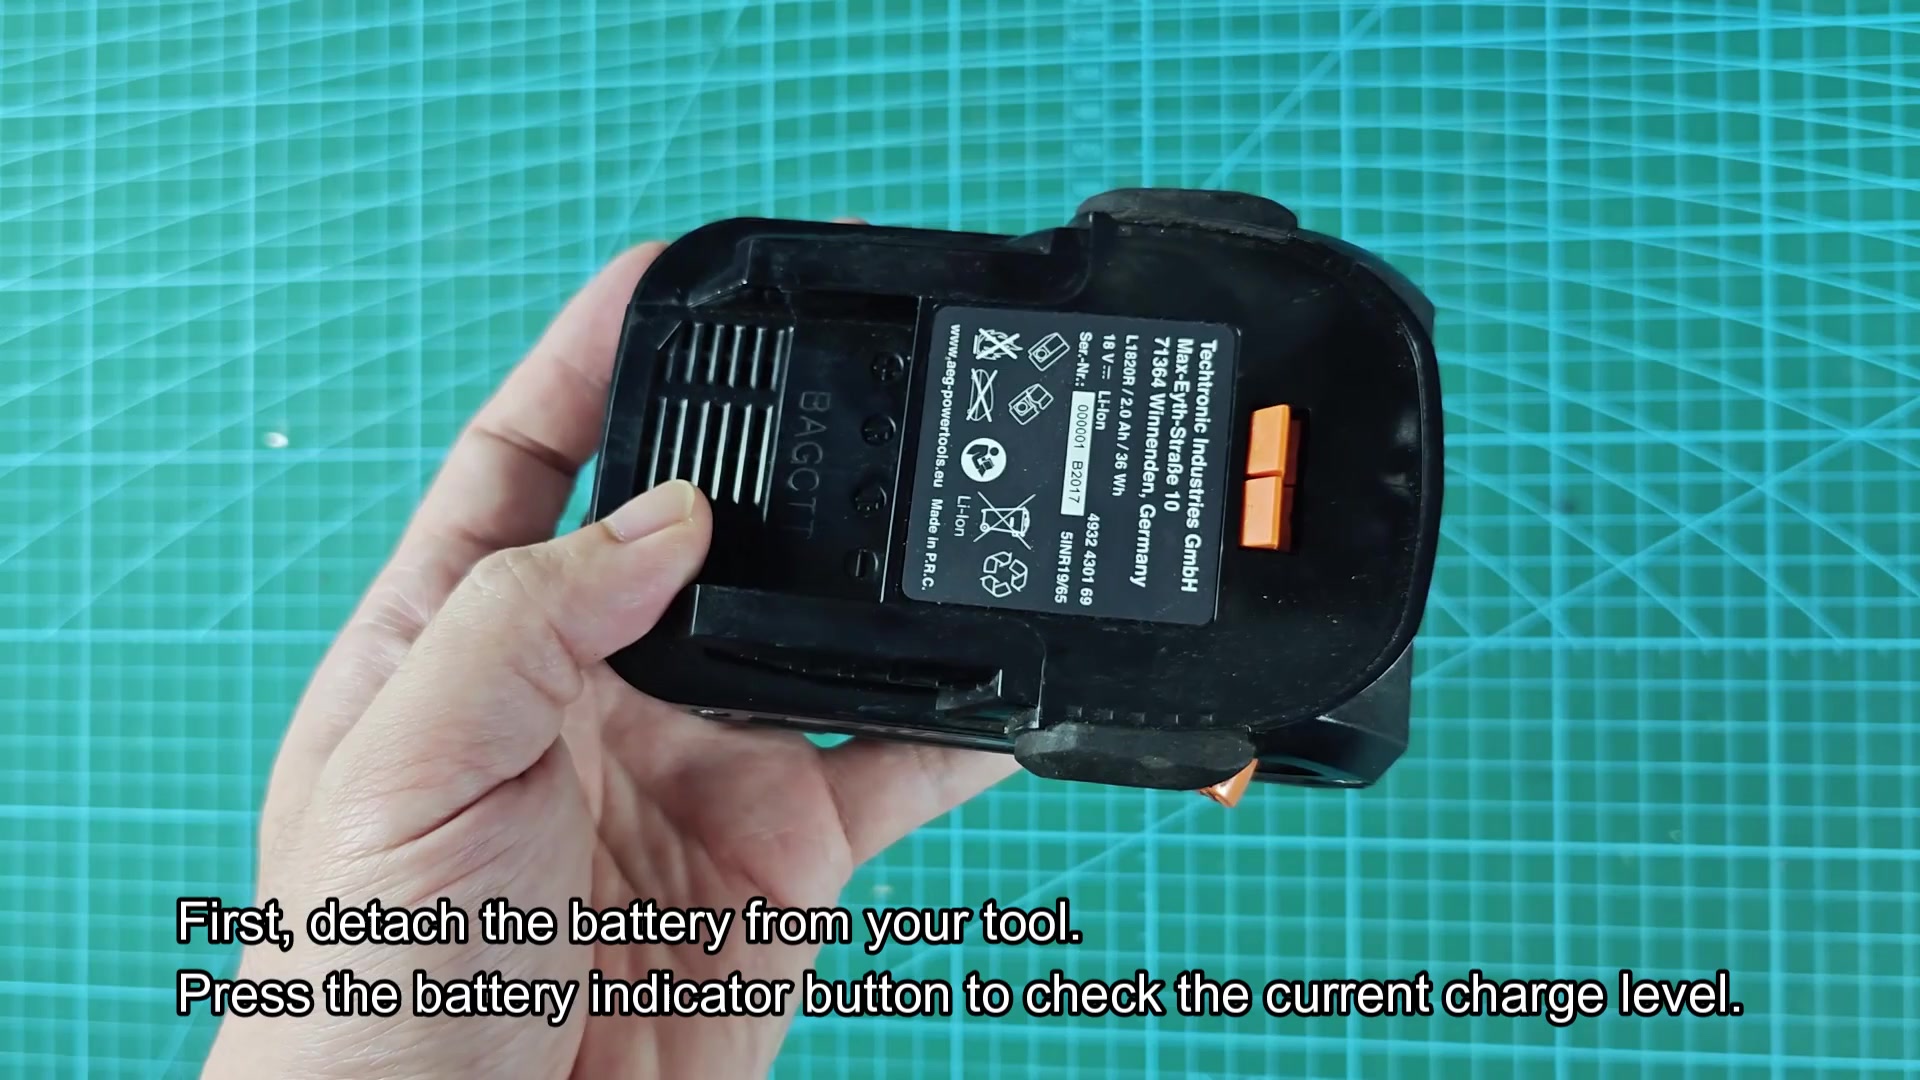
First thing: Take battery off the tool. You want clear access to power source.
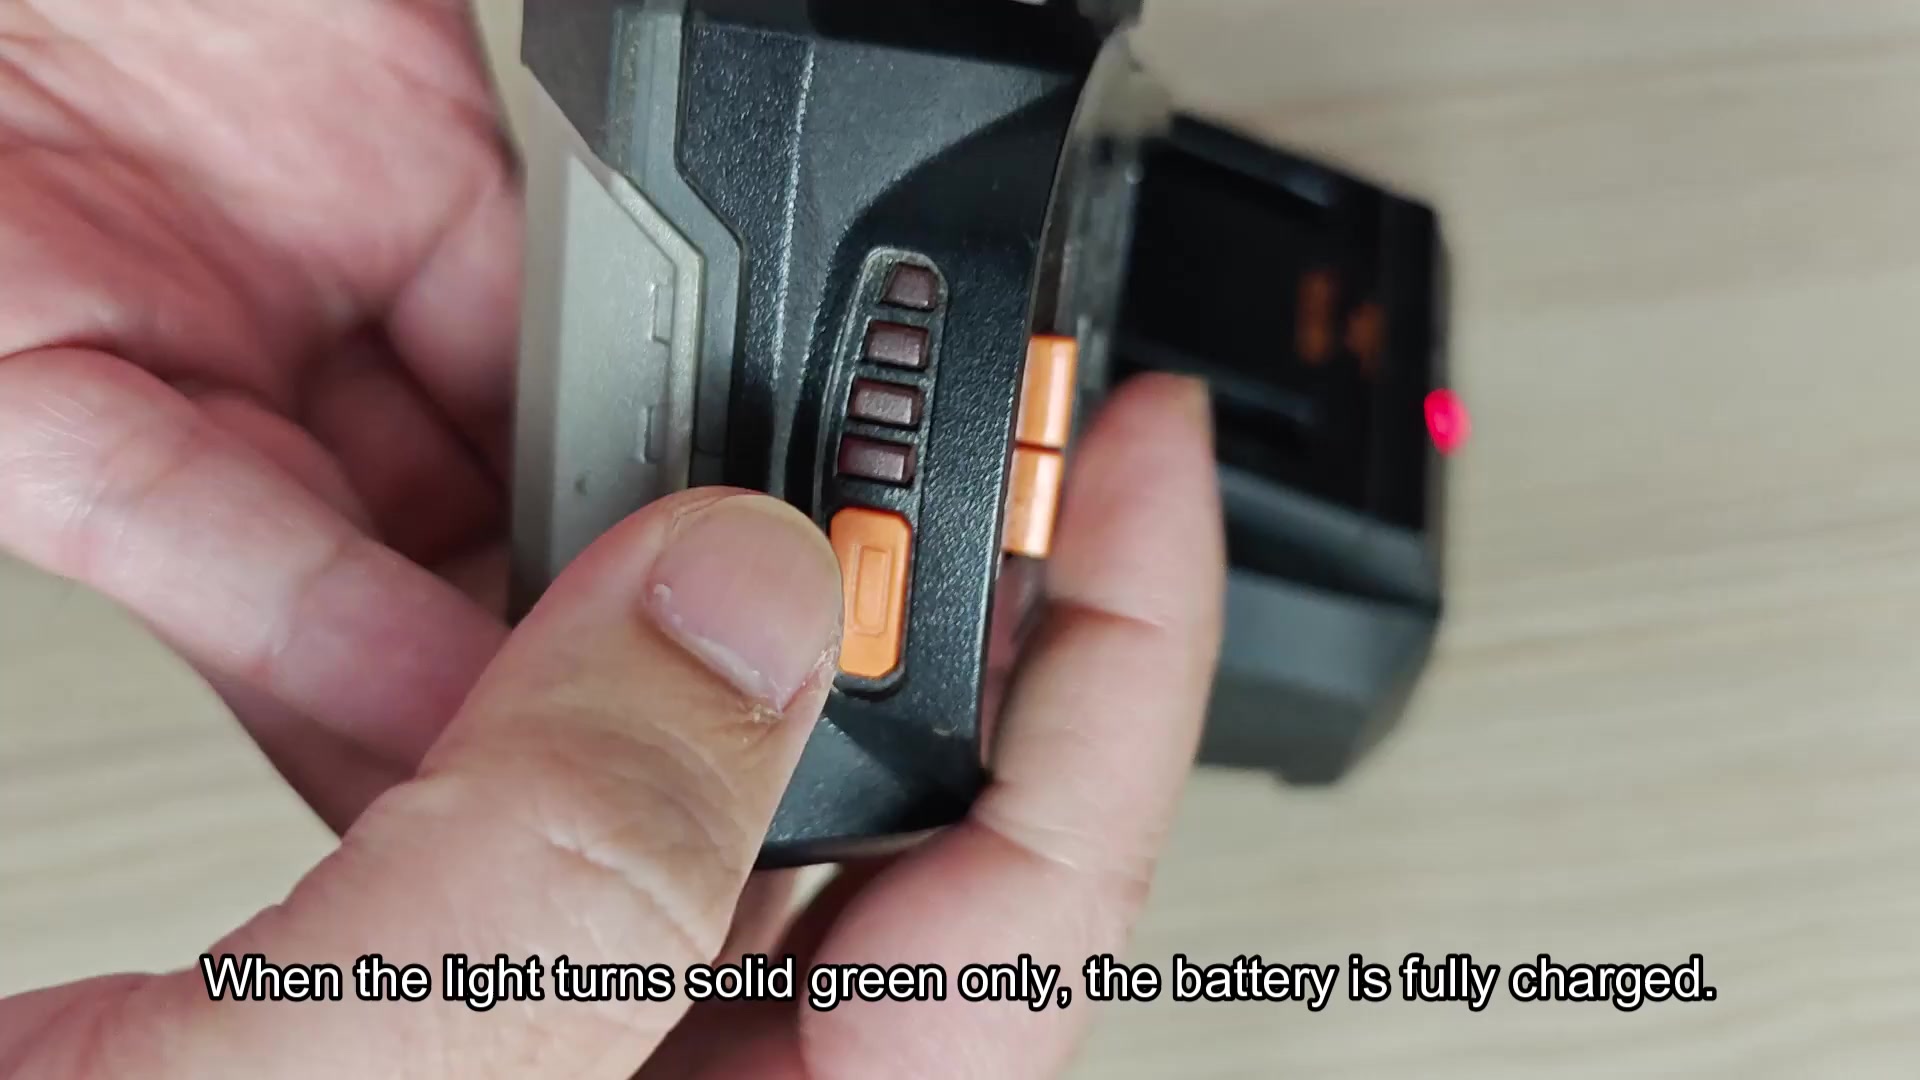
To determine how much juice the pack has left, press indicator button on the pack’s side. If it shows one light, battery is almost dead. Multiple lights? That means more power remain. There’s still a little life in the cell. It’ll help you see how long you can work before needing to plug in.
Understanding Indicator Light Signals
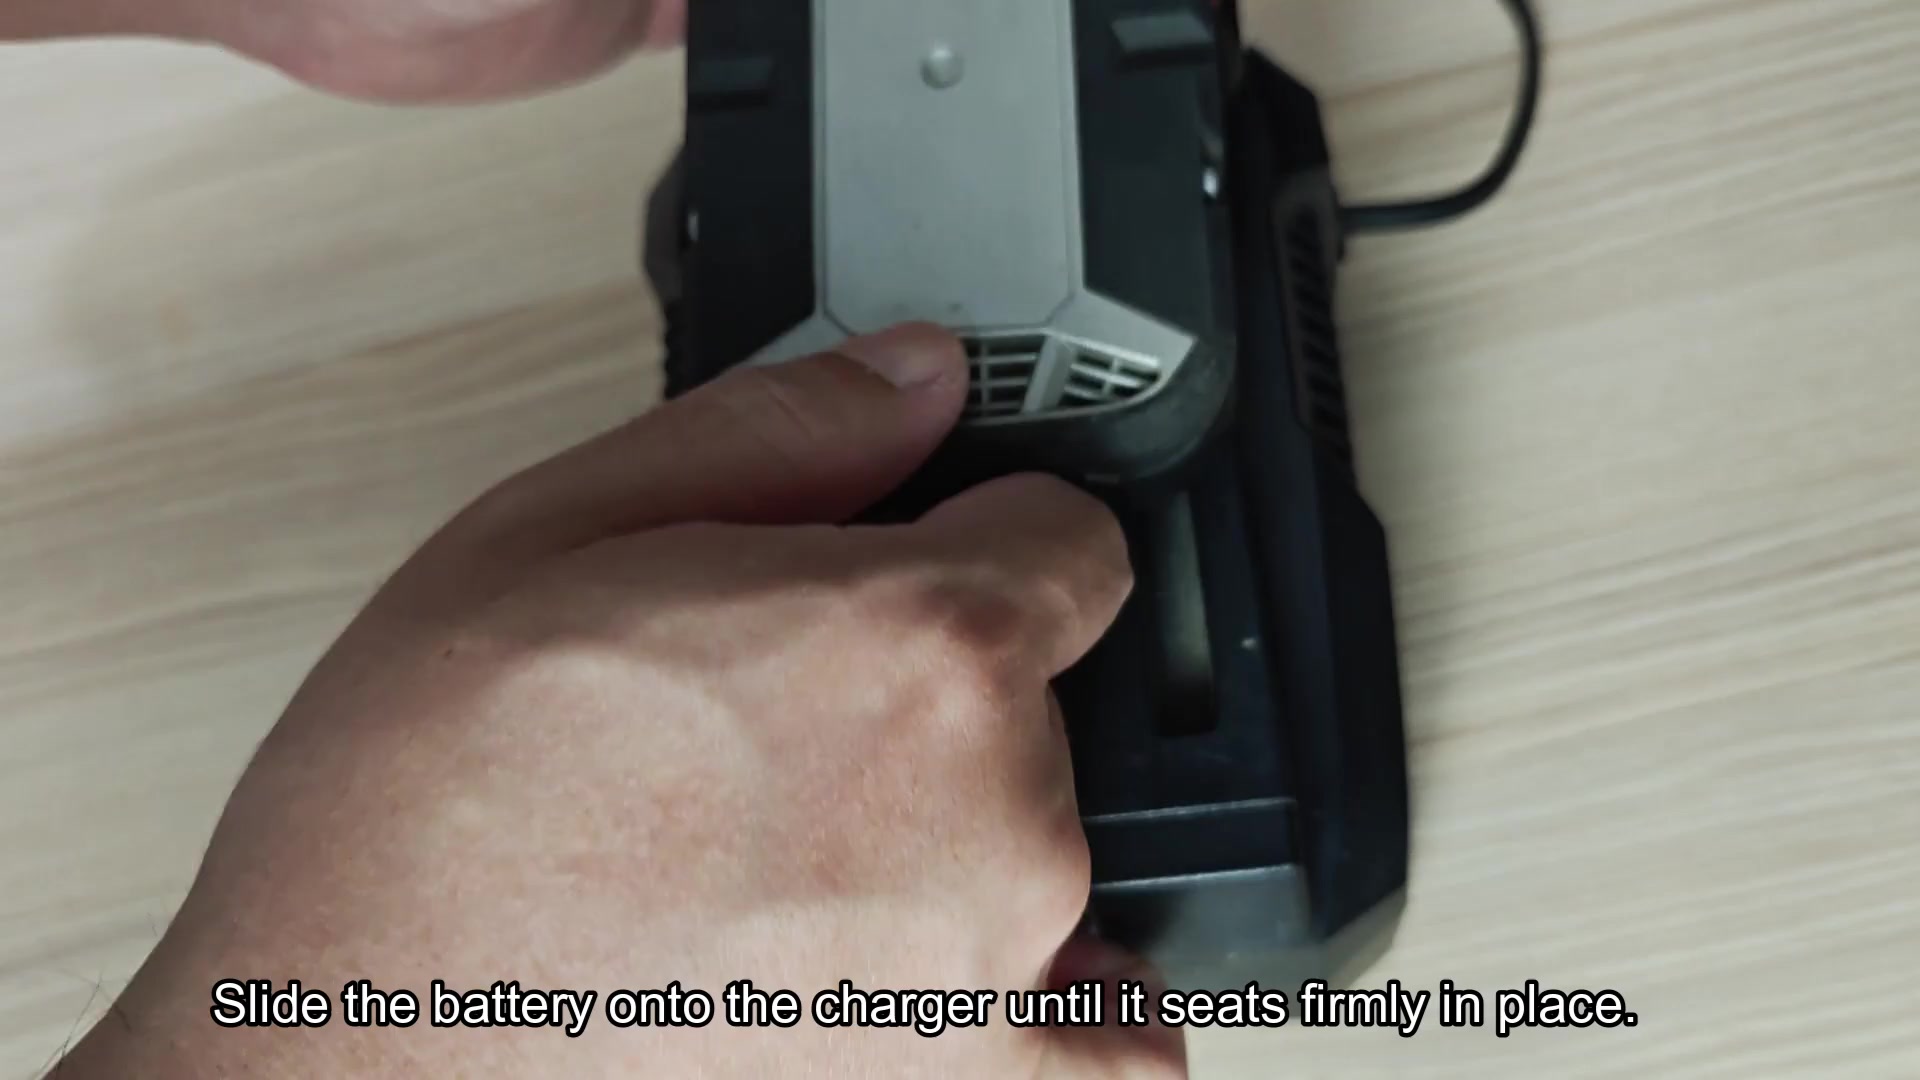
Put battery on charger and check it’s seated secureley. The charger must have a good solid connection before it starts charging. It won’t charge well if there is just loose connection. If you feel like the battery are loose or wobbles, reseat it so it sit nice and firm and power can flows as planned.
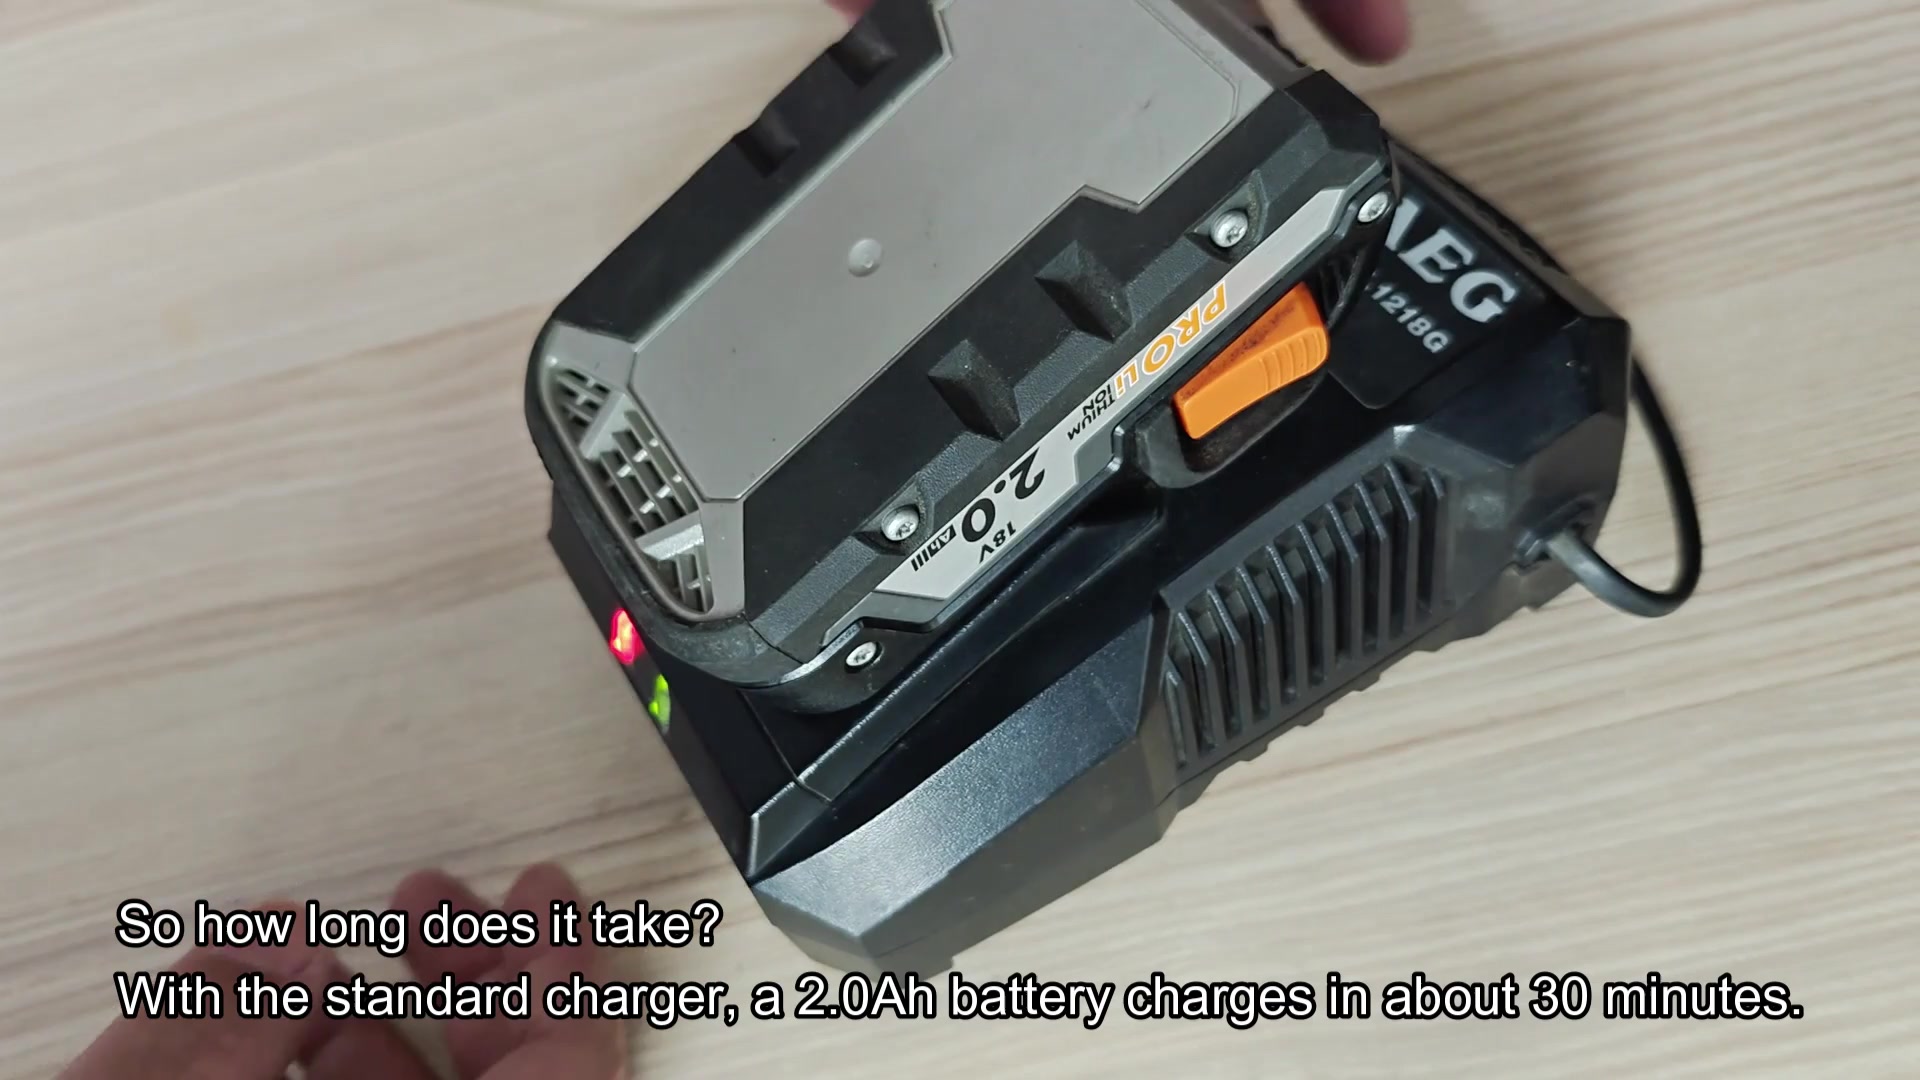
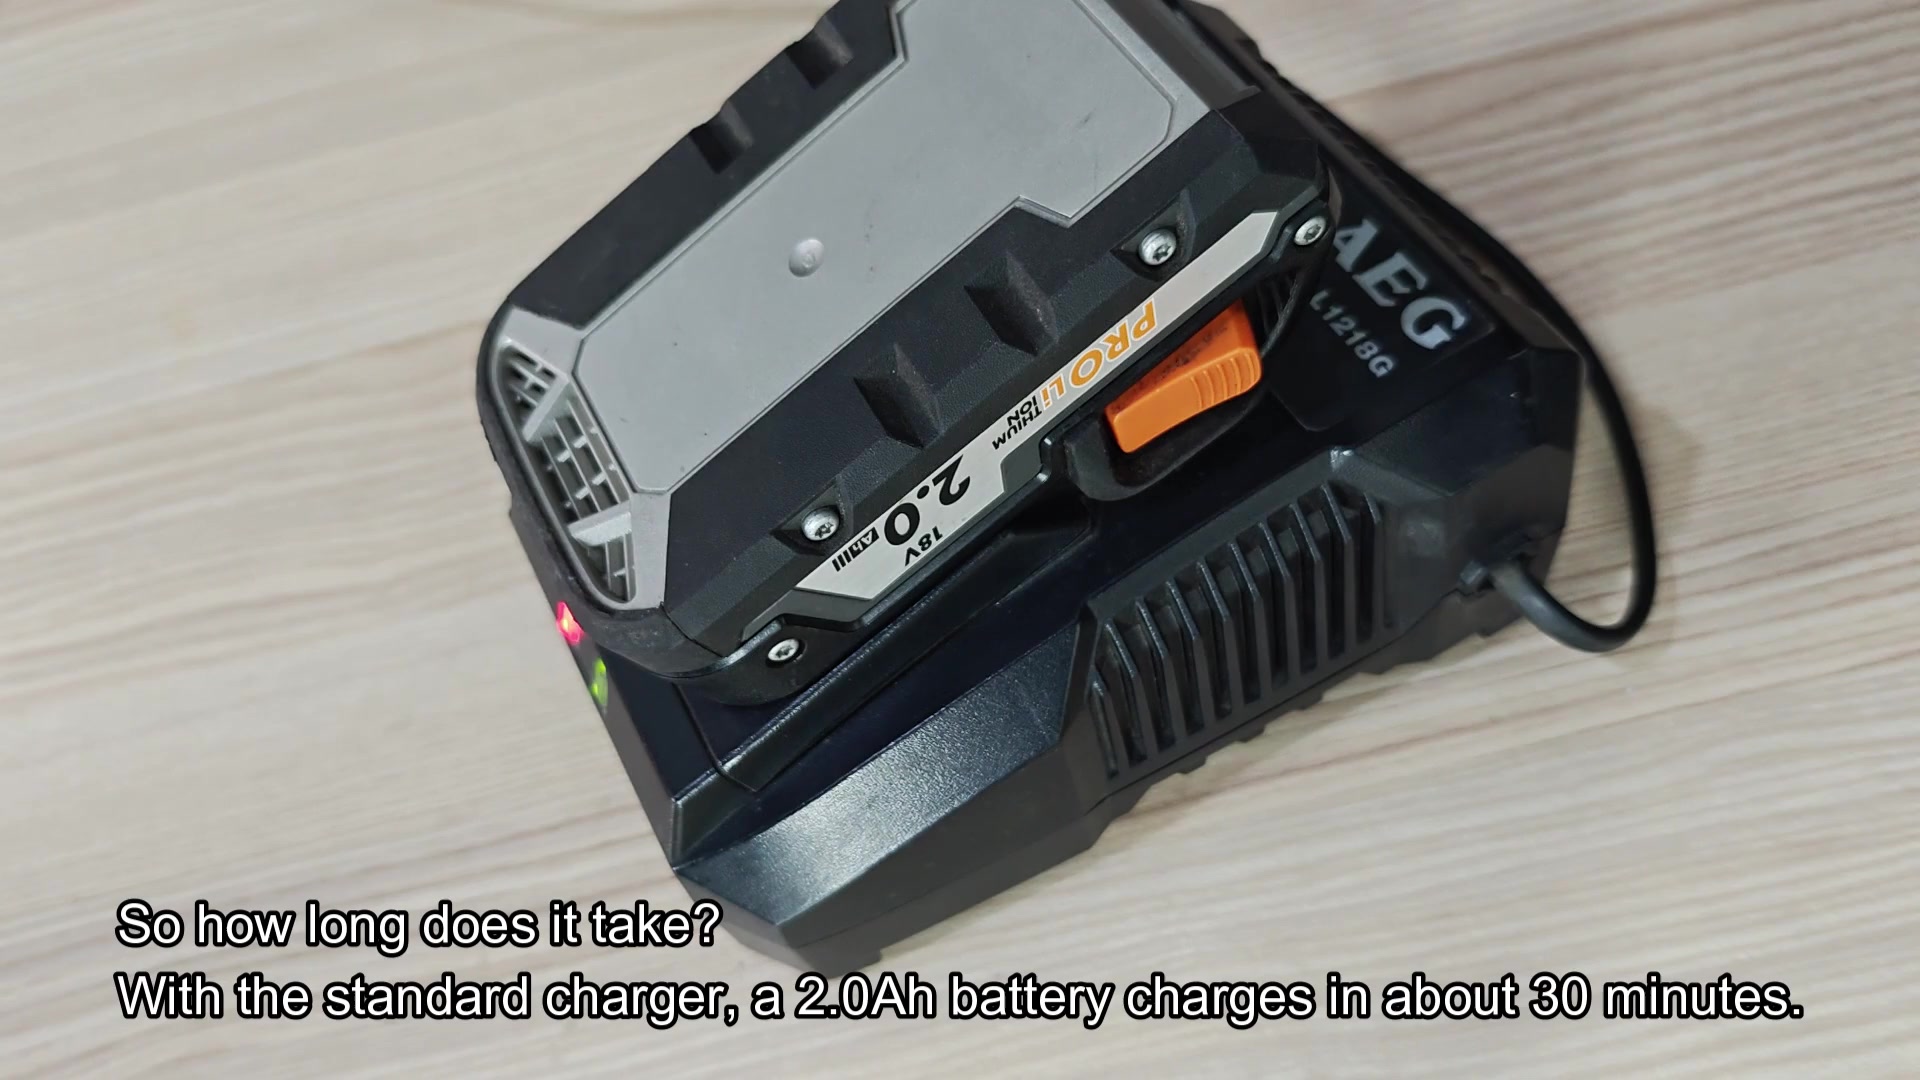
After plugging in, pay attention to indicator lights. If they’re flashing green and solid red, that indicate it’s charging. Don’t freak out when it shows both colors; that’s how this charger operate normally. It’ll do all the work for you, so you can kick back now.
The capacity of battery does determine timing quite a bit as well. Smaller batteries will charge much faster then the larger packs. For example, a standard 2.0 Ah battery take about thirty minutes to charge, which is quick enough for a short break. And those new lithium units are even quicker and get you right back to business faster.
The bigger batteries will also fully charge in considerably more time: about an hour for the 4.0 Ah and two hours for the 6.0 Ah pack, which means waiting twice as long for double the run time. If you’re doing a lot of work, factor that into your planning; it’s not efficient waiting on one big ol’ battery. Spare packs can change things up.
It’s also important to know when to stop charging. It’s important not to keep the battery on charger all day long. When the battery say that it’s done, it turns a solid green. There’s no red in it.
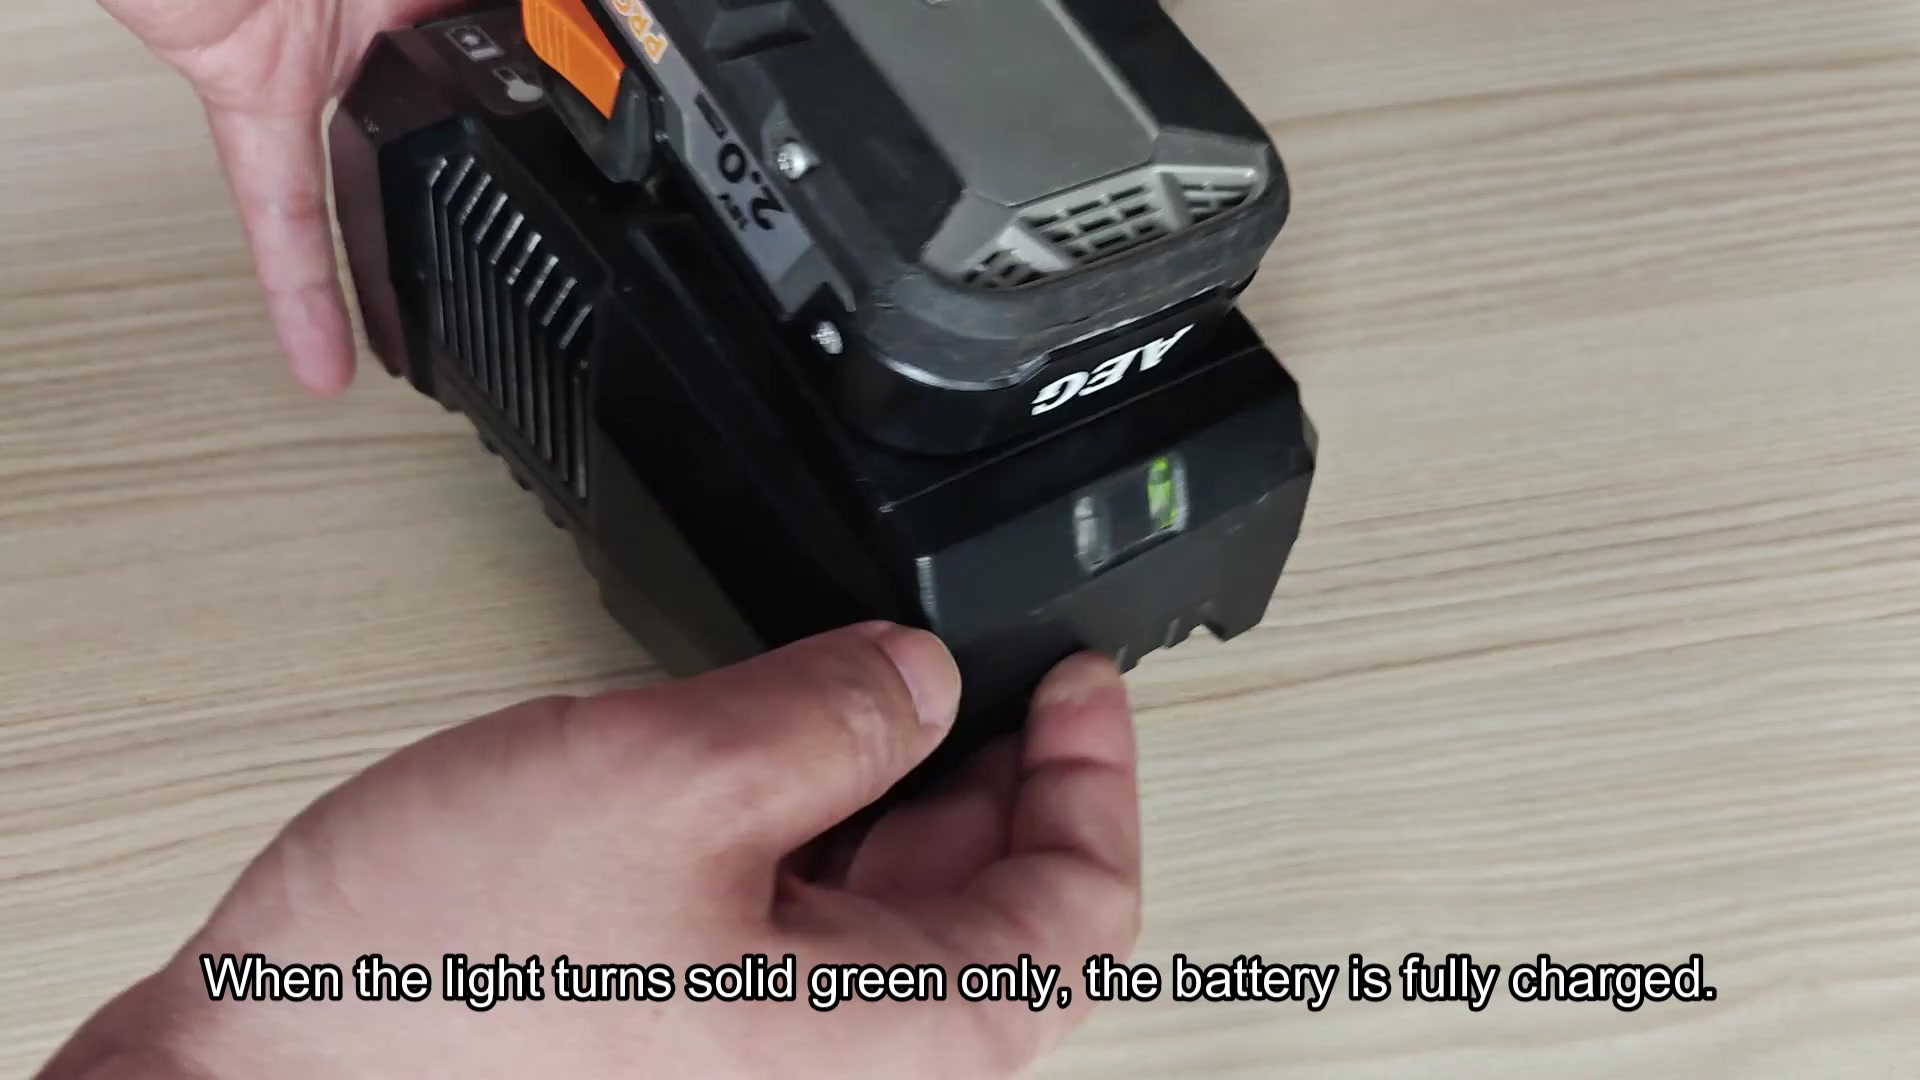
The solid green means take it right off, right now, immediately because that takes up some room for another pack. Once you do that, you’re good to go.
Charging ability is highly dependent on temperature. Neither hot nor cold weather are good for batteries. The system will blink red if there’s a problem. It stops the charge until it stabilizes. This is normaly quick since you just let it warm up or cool off depending on where it is at. Go inside into a normal temp room and it will fix itself.
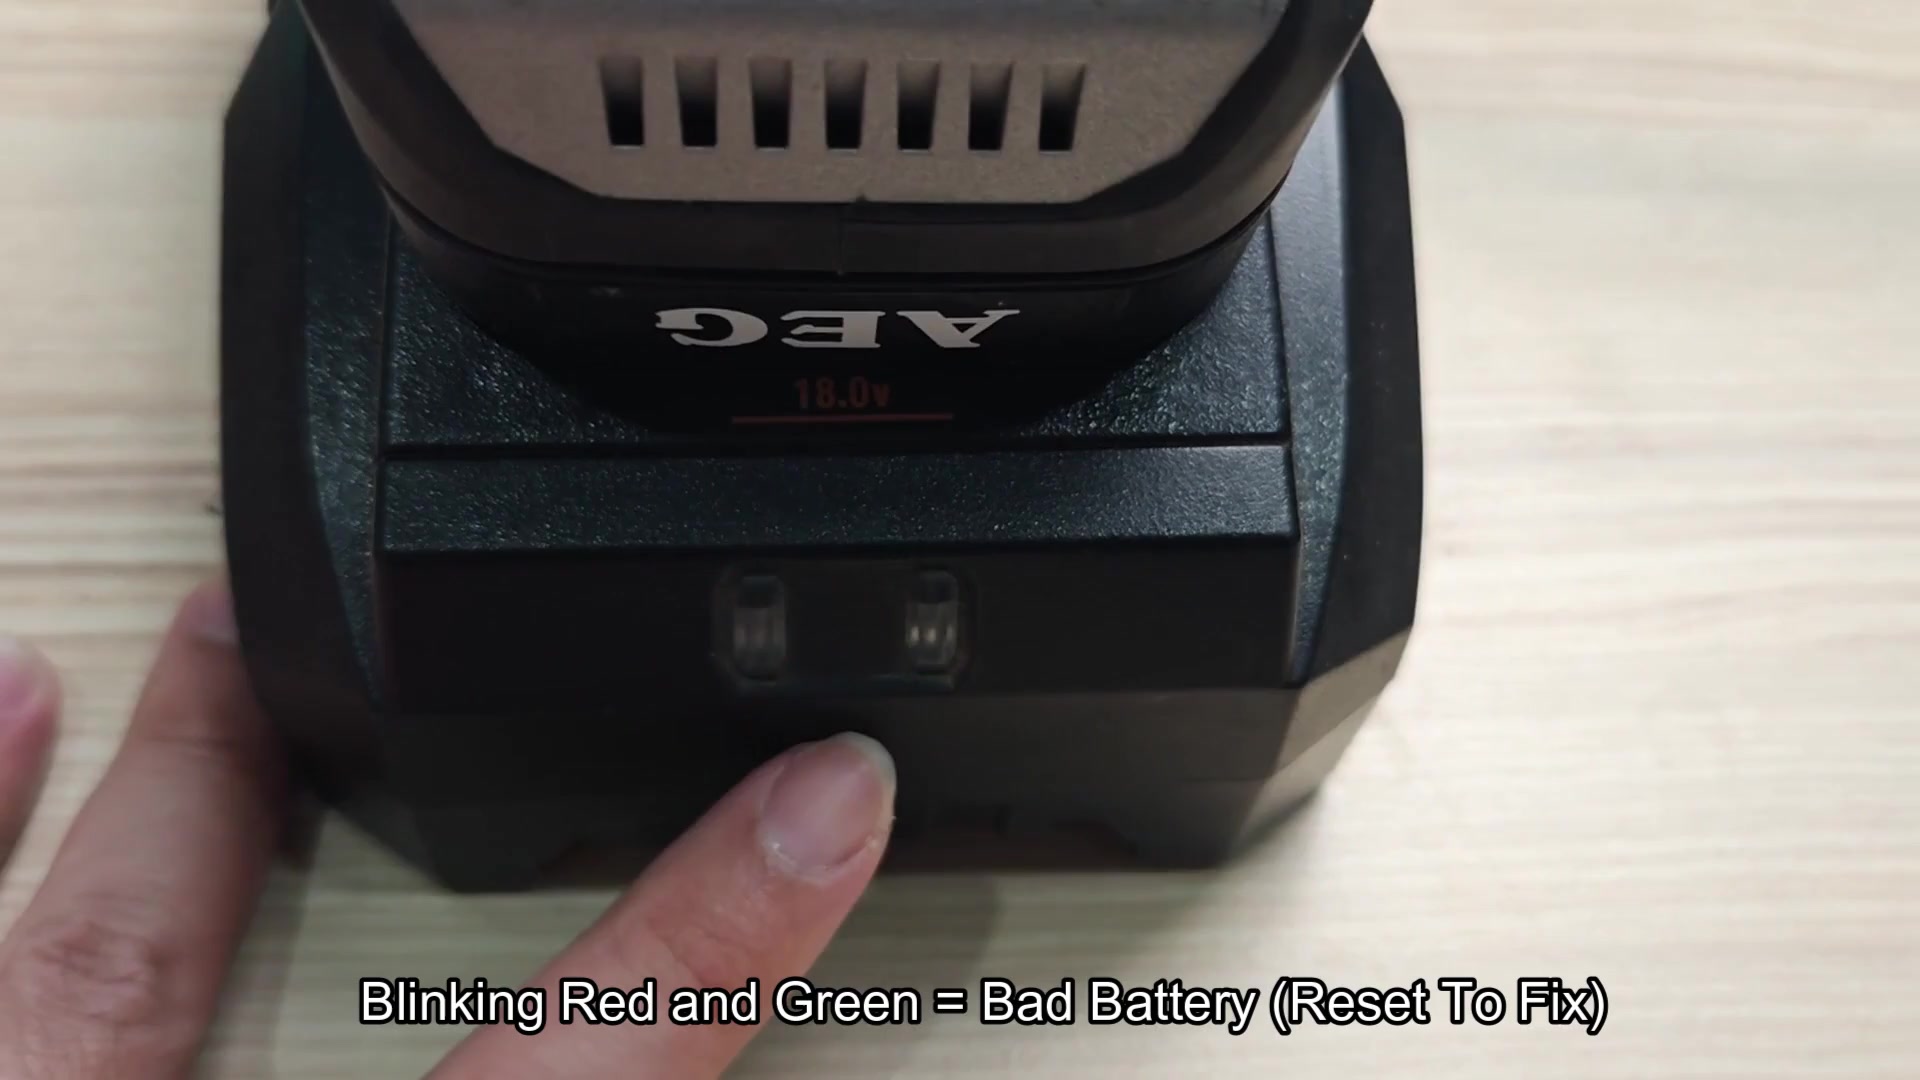
Electronics can also glitch, though there’s no physical cause for it. Data gets read wrong, sensors get confused, etc., and that’s when you see your electronics light up in red/green and blink with a fault code.
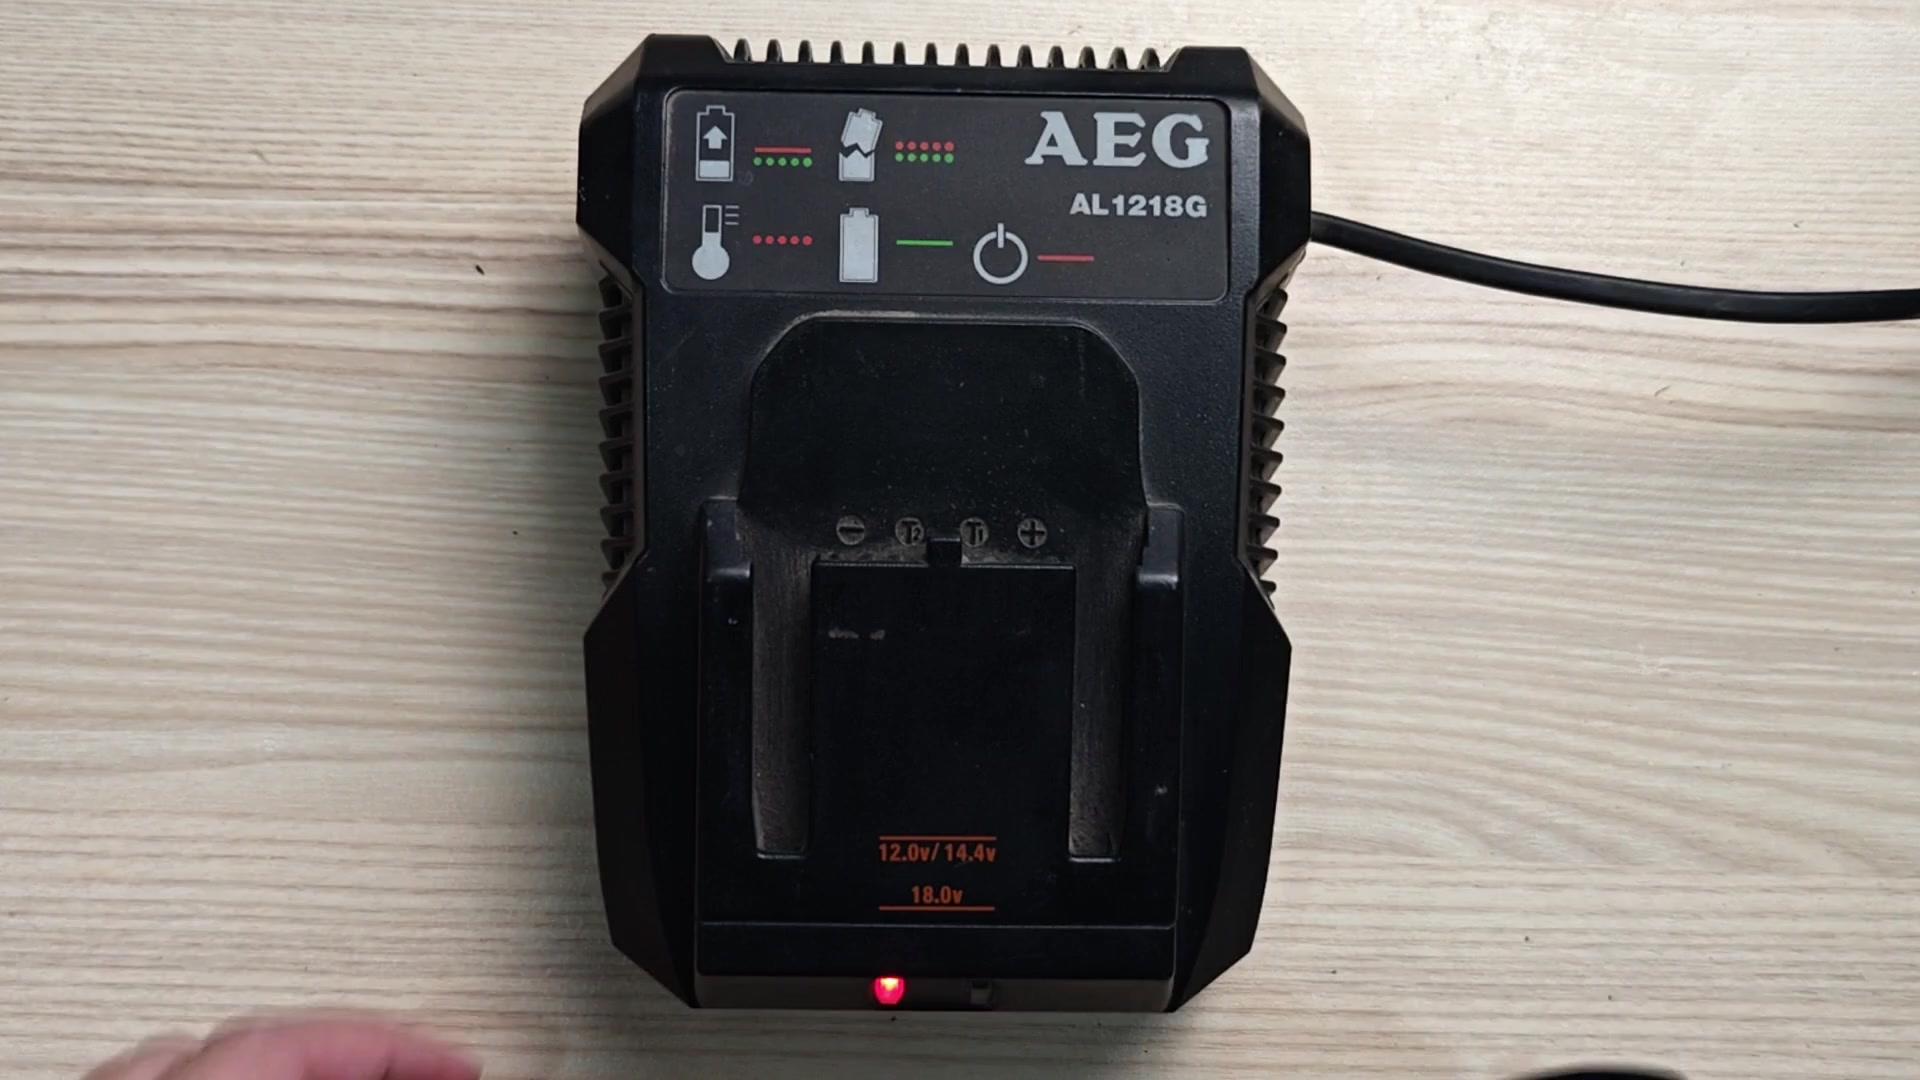
That particular code shows a bad battery state, but doesn’t always mean it can never be fixed. It’s flagged as such by the system to be on the safe side, so disconnect and reconnect to clear the flag.
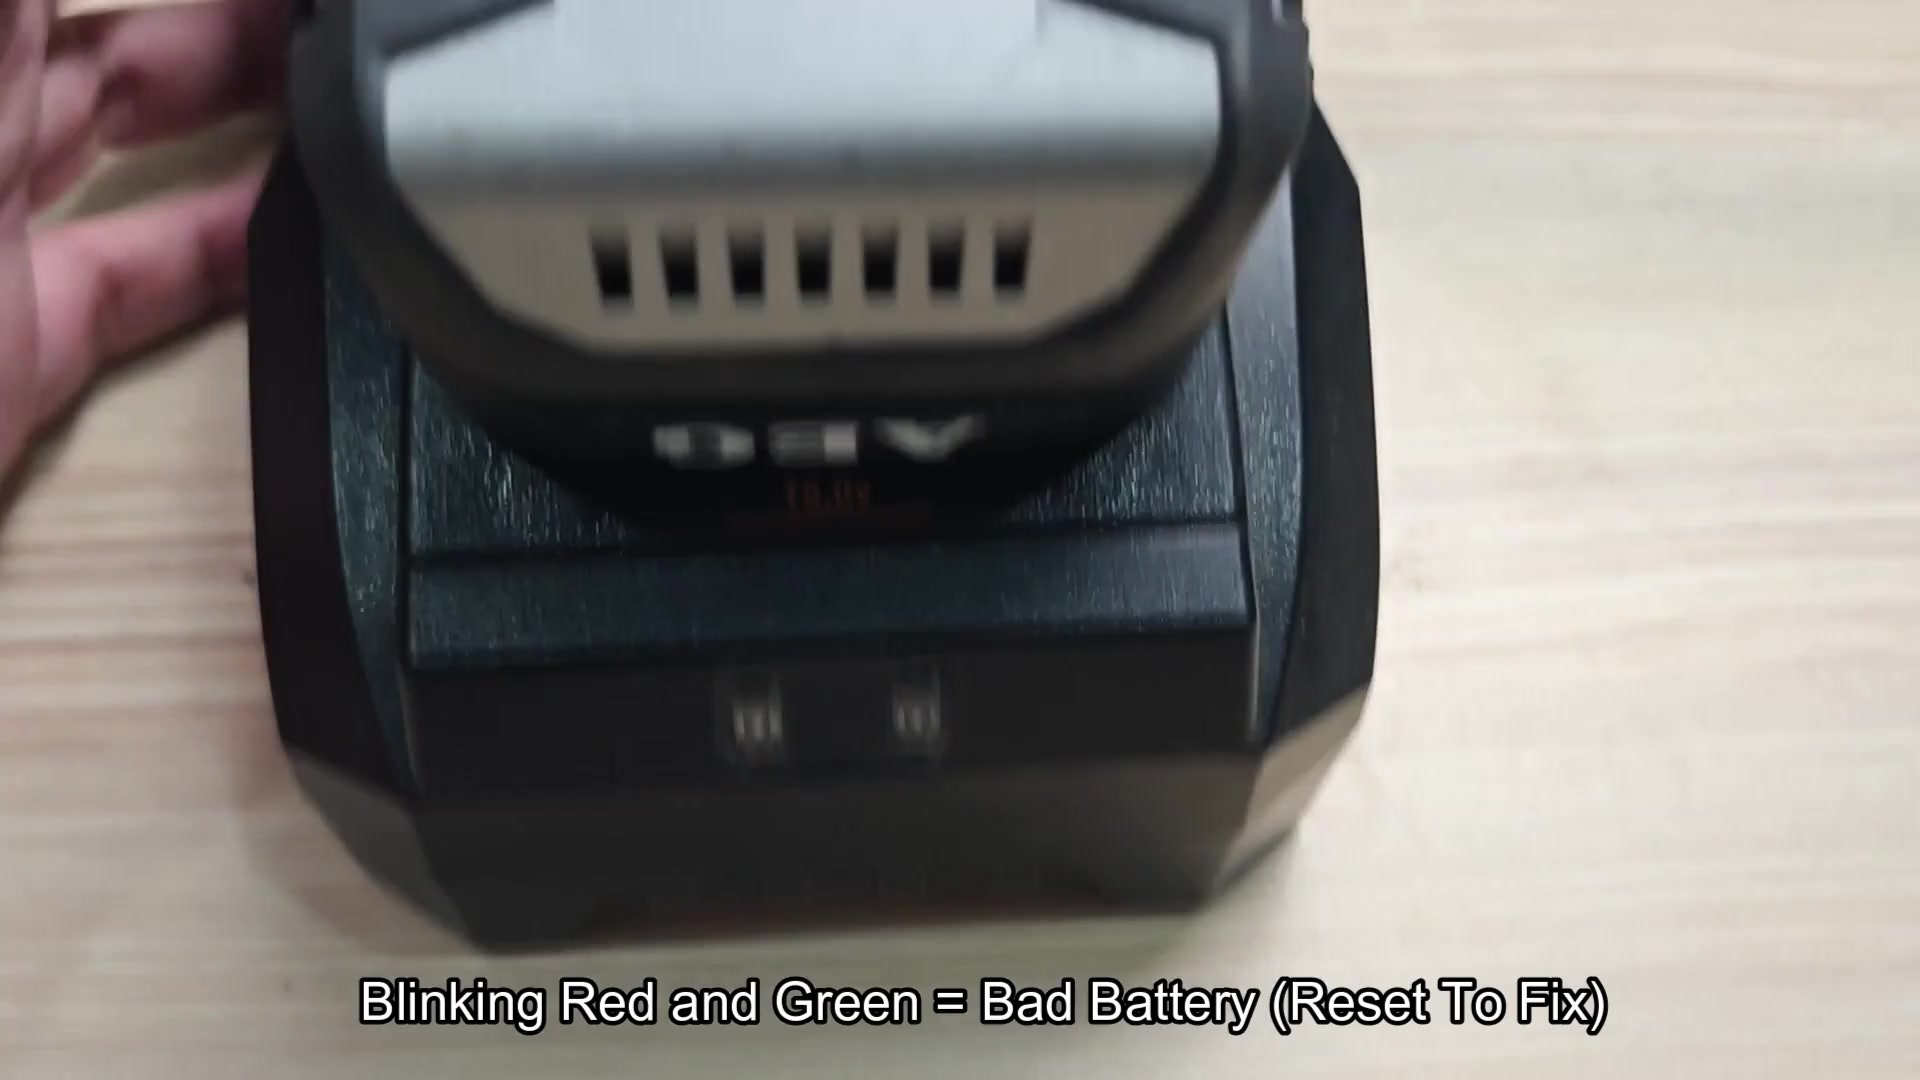
Mostly these are simple things you can do physically to reset. Just pull the battery out of charger completely and let it sit for a few seconds then return it. This effectively breaks the wrong signal loop.
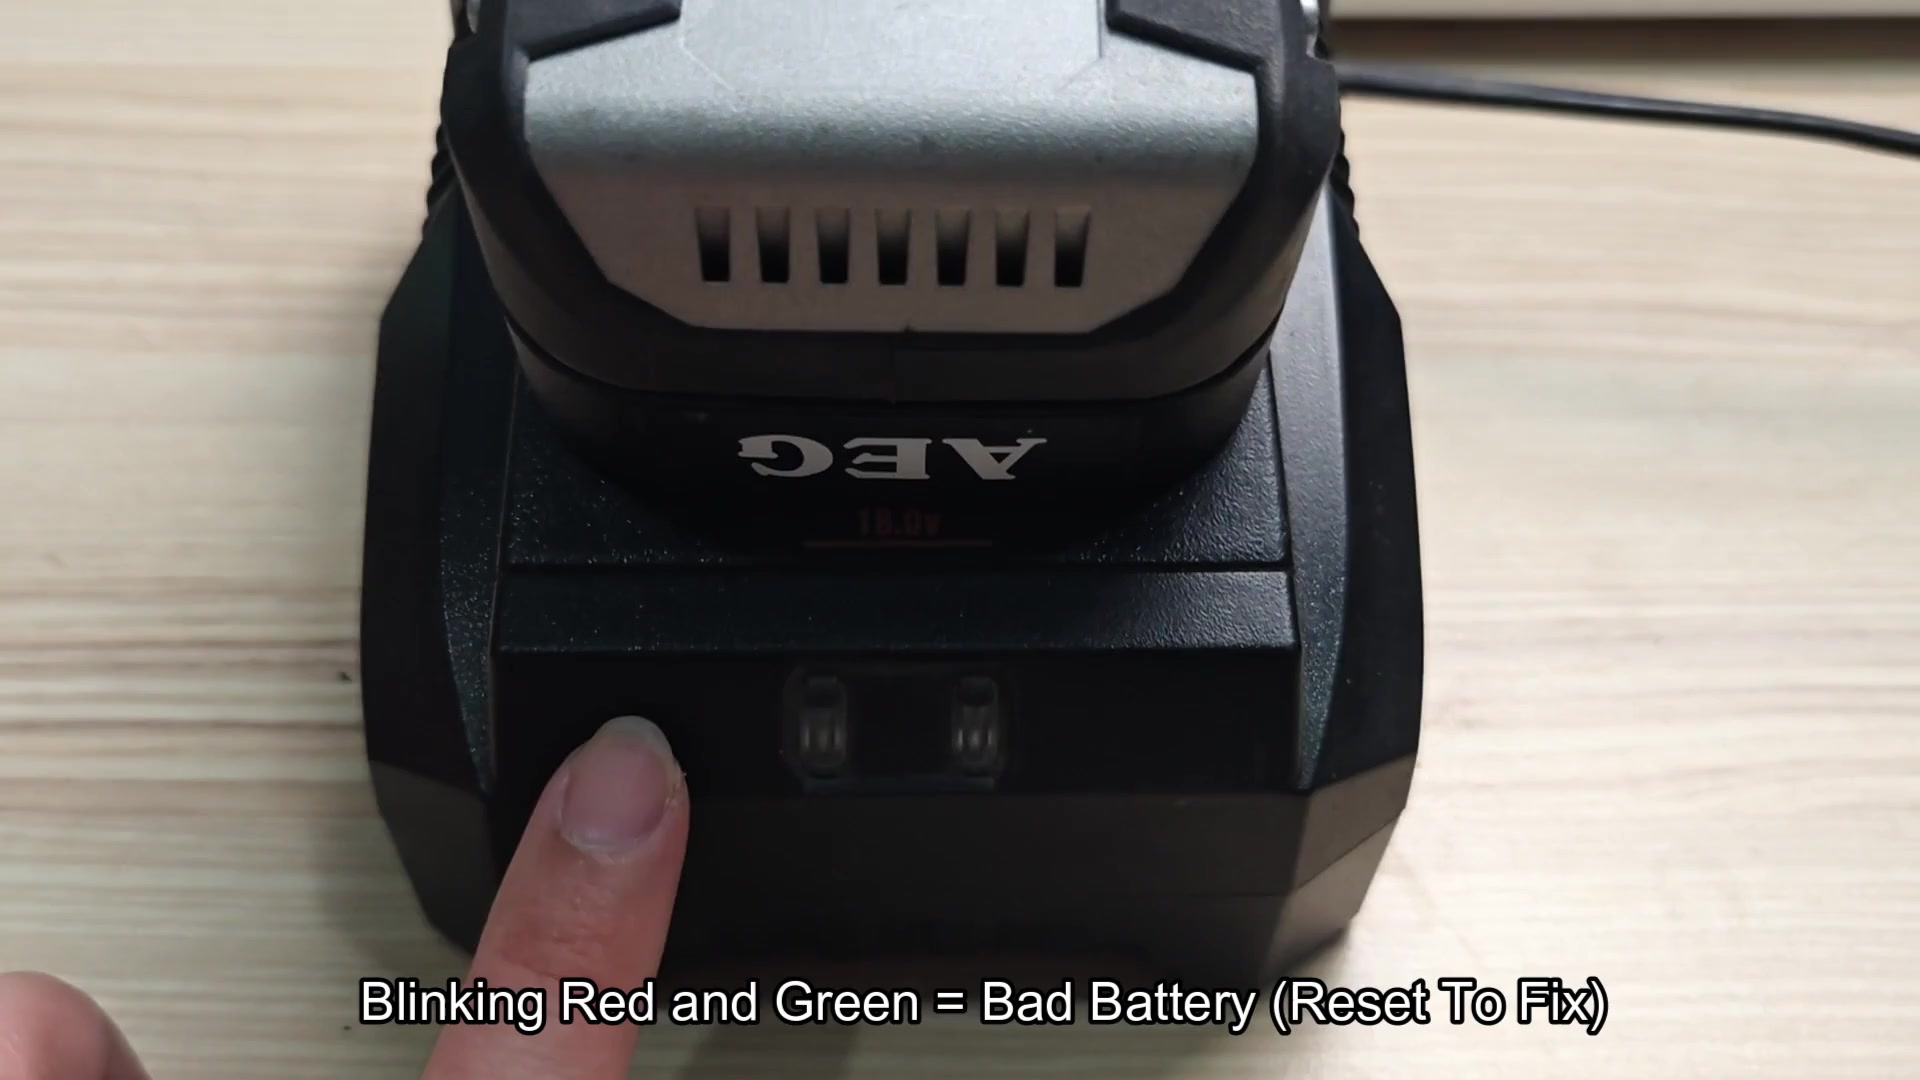
It forces charger to have to establish a handshake protocol again with the pack, which in turn reevaluates status of the battery from scratch. That often will clear up false error codes right away.
Still blinking? Time to get into it. A cleaned contact is a well connected one, so look closely at all your contacts for any build up of corrosion or dirt which greatly impair electrical connections. Most can be wiped away with a soft cloth.
Clear out any physical obstruction in the connection point and make sure loose parts is tightened first. If errors persist, try charging from a different charger to narrow down the issue. Actualy cell failure may be indicated by constant errors.
Knowing more about those lights helps save time and trouble. Red is for wait or stop; green is for go.
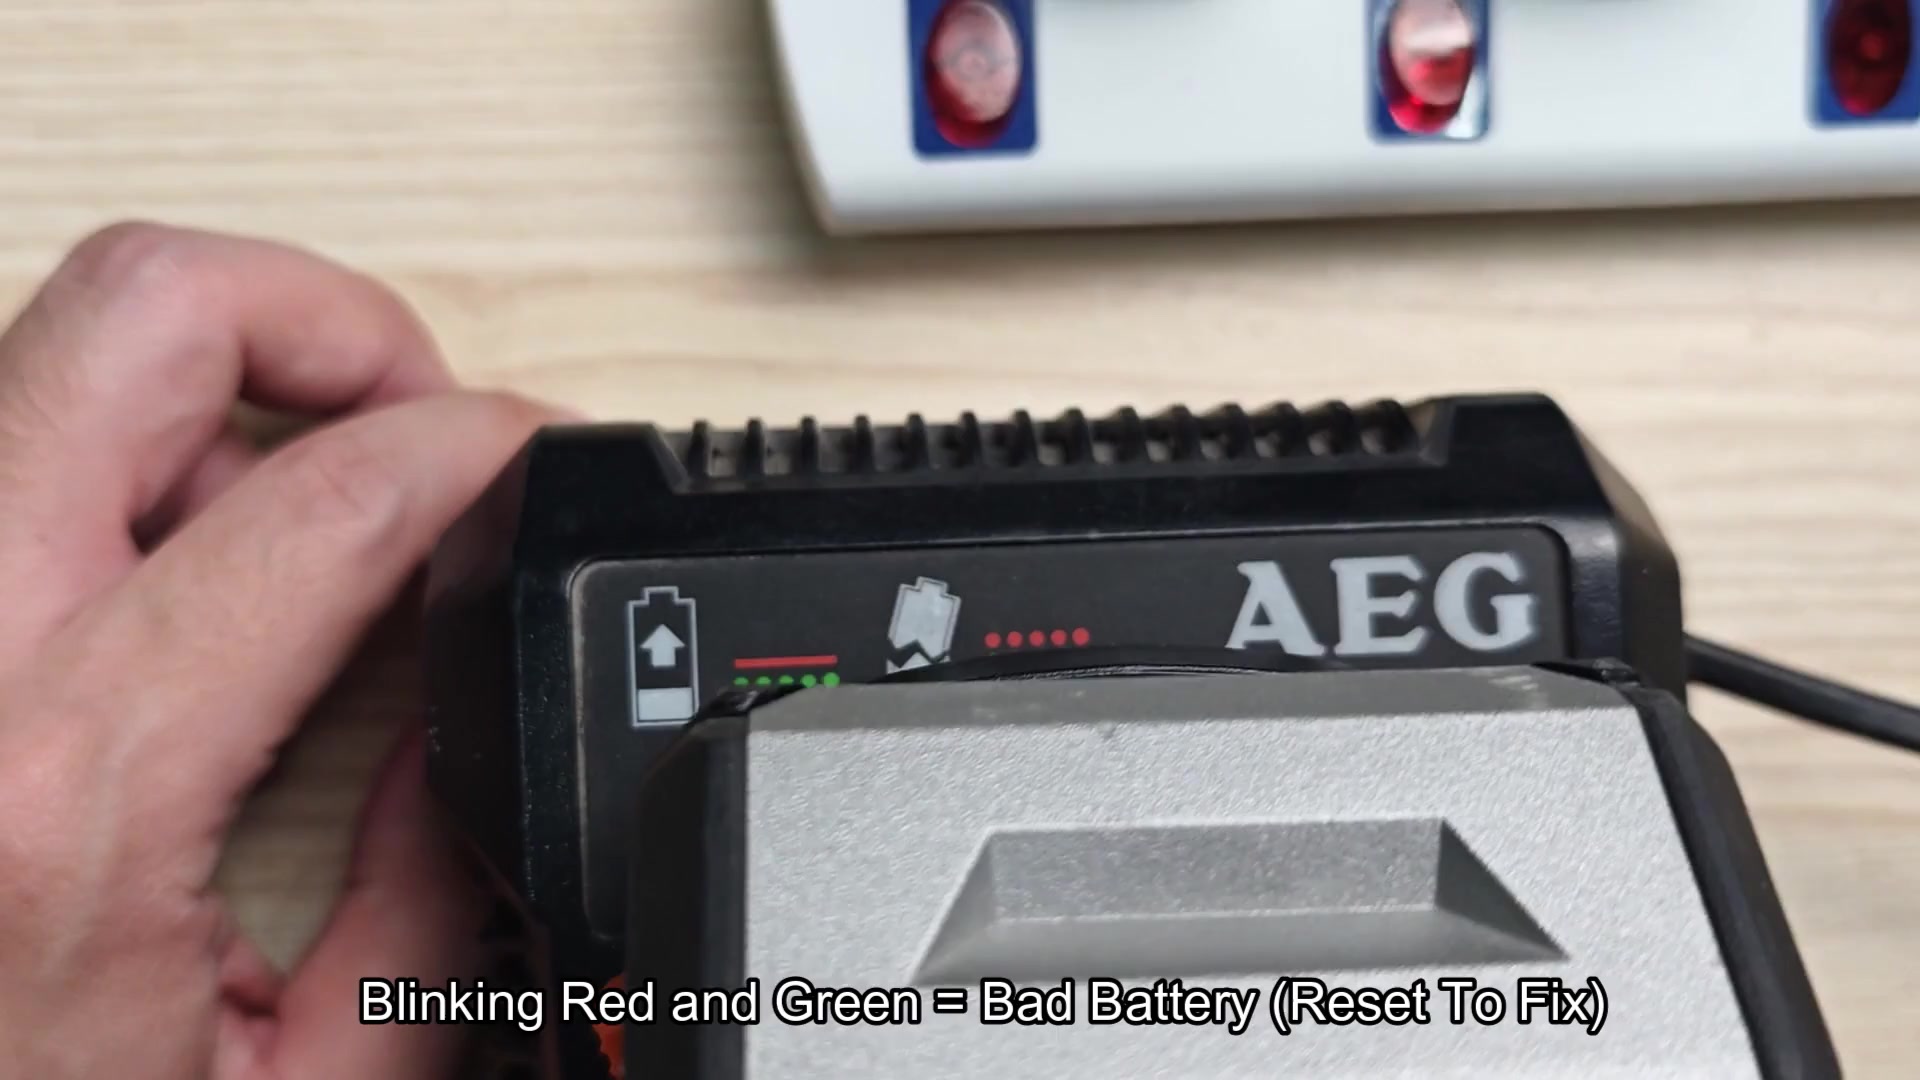
A blink pattern has a story to tell, and if you understand what that story is, you won’t be confused. Let the charger work and go by the lights, you’ll be confident using your power tool every day. It’s simple logic with consistent application that pays off, you should of seen it sooner.