🔥 TIG Welding Settings Calculator
Estimate current, travel speed, heat input, and argon flow for steel, stainless, aluminum, titanium, copper, nickel, magnesium, and chromoly TIG welds.
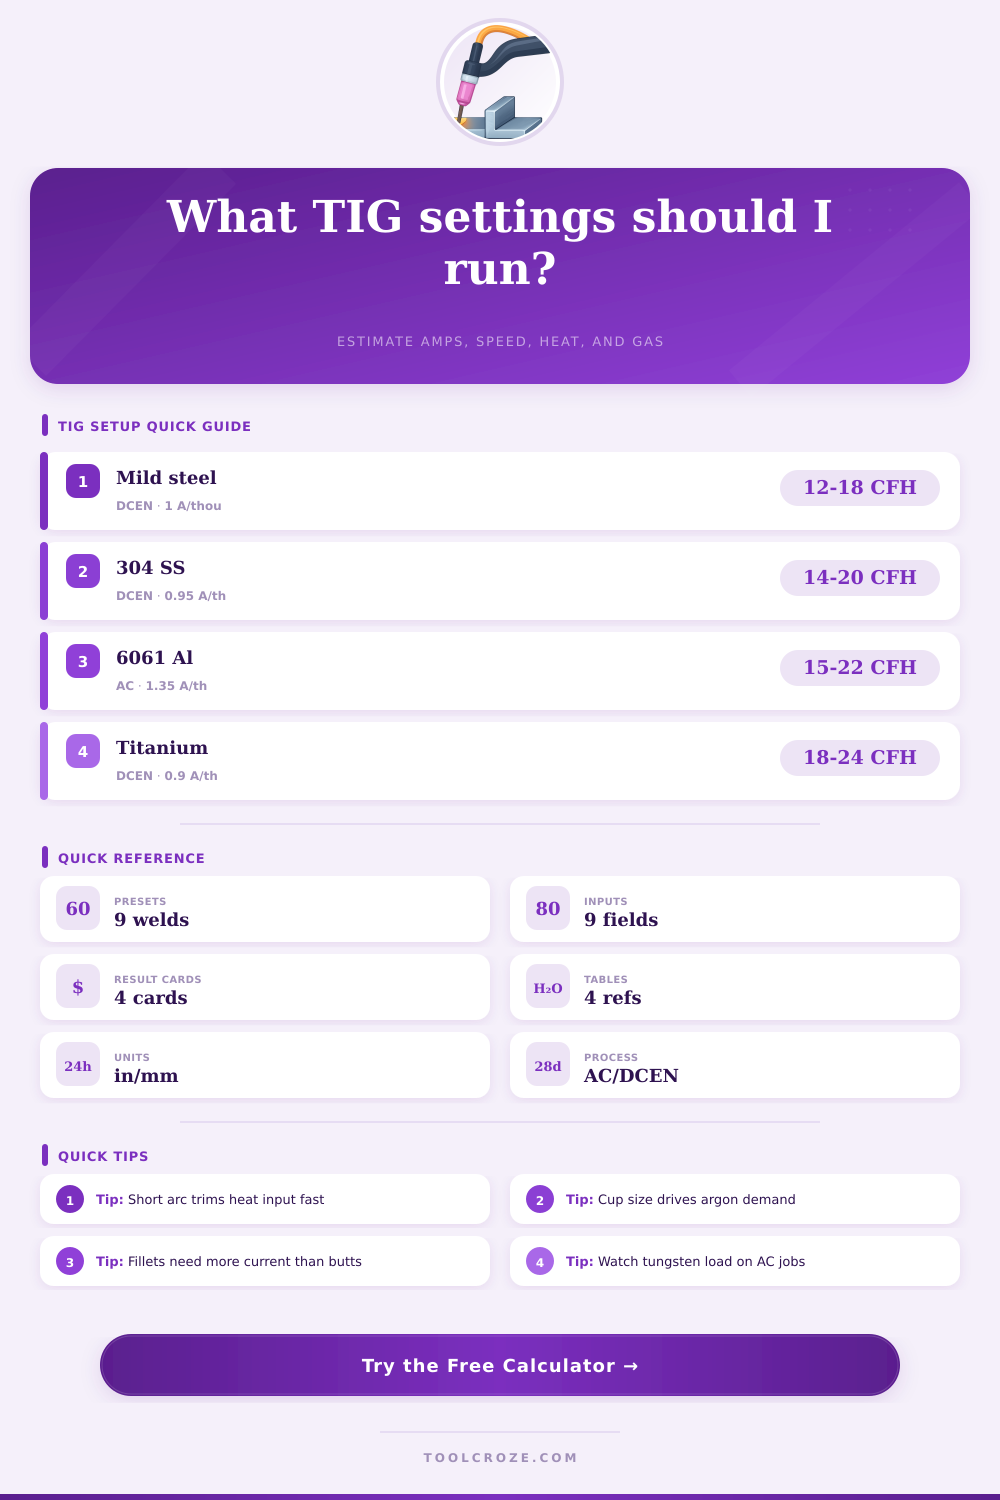
📌 Preset Weld Jobs
⚙ Welding Inputs
🎯 Recommended Results
🧱 Material and Process Grid
📊 Reference Tables
| Material | Mode | Amps per thou | Target heat |
|---|---|---|---|
| Mild steel | DCEN | 1.00 | 9.5 kJ/in |
| 304 stainless | DCEN | 0.95 | 8.0 kJ/in |
| 4130 chromoly | DCEN | 1.10 | 7.8 kJ/in |
| 6061 aluminum | AC | 1.35 | 12.5 kJ/in |
| Titanium grade 2 | DCEN | 0.90 | 6.8 kJ/in |
| C110 copper | DCEN | 1.60 | 16.5 kJ/in |
| Nickel 200 | DCEN | 1.05 | 9.0 kJ/in |
| AZ31 magnesium | AC | 1.00 | 7.2 kJ/in |
| Tungsten | DCEN range | AC range | Typical cup |
|---|---|---|---|
| 0.040 in / 1.0 mm | 15-70 A | 10-45 A | #4 to #6 |
| 1/16 in / 1.6 mm | 50-150 A | 30-100 A | #5 to #8 |
| 3/32 in / 2.4 mm | 90-230 A | 80-180 A | #6 to #10 |
| 1/8 in / 3.2 mm | 150-325 A | 140-250 A | #8 to #12 |
| Cup size | Base argon | Stickout | Best use |
|---|---|---|---|
| #4 | 8-10 CFH | 1/8 in | Tight access |
| #6 | 11-14 CFH | 3/16 in | General steel |
| #7 | 13-16 CFH | 1/4 in | Most stainless work |
| #8 | 15-18 CFH | 1/4 in | Aluminum fillets |
| #10 | 18-22 CFH | 5/16 in | Titanium coverage |
| #12 | 22-28 CFH | 3/8 in | Large gas lens |
| Joint | Current factor | Travel factor | Fit-up note |
|---|---|---|---|
| Autogenous butt | 0.92x | 1.08x | Square edges, tight gap |
| Butt with filler | 1.00x | 1.00x | Light root gap acceptable |
| Lap joint | 1.08x | 0.94x | Watch trapped heat |
| Inside fillet | 1.15x | 0.90x | Aim on thicker leg |
| Outside corner | 0.96x | 1.02x | Keep filler small |
| Edge flange | 0.82x | 1.10x | Favor low heat input |
💡 Practical Notes
This TIG welding settings calculator estimates amperage, travel speed, heat input, and argon flow from joint type, thickness, arc length, cup size, tungsten size, and material behavior.
To perform a succesful TIG weld, it is essential to adjust the settings proper. If the amperage are set too high, the metal will melt through the material. If the welder set the amperage too low, the weld puddle will not tie into the metal.
It is essential to understand the physics of amperage, arc length, and gas flows settings to avoid melting or not fuse the metals properley. The amperage setting for the welder determine how much heat is applied to the metal. Amperage also varies with the metal being welded as different metal have different conductivities and melting points.
How to Set a TIG Welder
For example, mild steel on DCEN will require one amp for every thousandths of an inch of the metal thickness. Stainless steel will require 0.95 amp for every thousandth of an inch of thickness. Aluminum metal will require 1.35 amps for every thousandth of an inch of thickness for AC welding setting.
The joint type will also change the amperage setting need. An autogenous butt weld require no filler metal and will require less amperage than other types of welds. If the joint is an inside fillet weld, it will require more amperage than an autogenous weld as it will have to fuse two different metal surfaces.
In this situation, the welder will have to increase the amperage by 15%. Arc length is the distance between the welding torch tungsten tip and the metals surface. Arc length will determine the voltage for the weld.
Increasing the arc length will increase the voltage and the amount of heat dumped into the metal. An increase in heat will also require an increase in the welding travel speed to avoid overheating the metal. The arc length should be kept to a minimum at 1/16 of an inch to control the heat input into the metal.
The travel speed for the welding torch will determine the heat input into the metal. Heat input is calculate by the volts times the amps times 60 times the efficiency divided by the travel speed. For steel, the heat input should be 9.5 kJ per inch.
For titanium metal, the heat input will be 6.8 kJ per inch to avoid brittleness of the metal. The size of the gas cup on the welding torch will control gas flow. A #7 gas cup will require 13 to 16 CFH of argon gas flow.
The larger the gas cup, the more coverage the weld will recieve but will also use up the shielding gas at a faster rate. Gas flow will protect the weld from air contamination so insufficient gas flow will lead to weld contamination. The size of the tungsten electrode should match the amperage settings.
Using a 1/16-inch tungsten electrode will cause the metal to ball up with amperage settings over 150 amps. For higher amperage settings, a larger diameter tungsten electrode is required. The welder should also grind the tungsten electrode to a point to ensure the arc does not fan out.
Polarity settings will also affect the weld. For most metals, DCEN is used. For aluminum and other metals with an oxide skin, AC welding settings will help to clean the oxide skin on the metal.
Using the wrong polarity will result in metal not being fused proper. The metals properties will also change the welding process. Metals like copper will require more amperage as they dissipate heat more fast.
Metals like titanium are more sensitive to heat and gas flow as the weld will discolor if exposed to excessive heat or gas flow. If the weld puddle freeze too quickly, add more amperage. If the weld puddle is sticky or sloppy, shorten the arc length.
Following these steps would of helped to produce a good quality weld bead.