Wood Floor Glue Calculator
Estimate wood floor glue coverage, pail counts, trowel spread, and working window for glued wood flooring installs.
| Metric | Value | What it means |
|---|---|---|
| Room size | 0.00 x 0.00 | Clear inside dimensions. |
| Cutout area | 0.00 | Closets and recessed areas removed. |
| Base area | 0.00 | Raw floor area before waste. |
| Waste factor | 10% | Pattern and trim allowance. |
| Final area | 0.00 | Area to order against. |
| Coverage per pail | 0.00 | Coverage of one pail. |
| Pails needed | 0 | Rounded up to full pails. |
| Boxes needed | 0 | Rounded up from glue coverage. |
| Pails estimate | 0 | Raw glue demand from area and spread. |
| Working window | 0.00 | Working time before skinning. |
| Notch | Spread | Best use | Note |
|---|---|---|---|
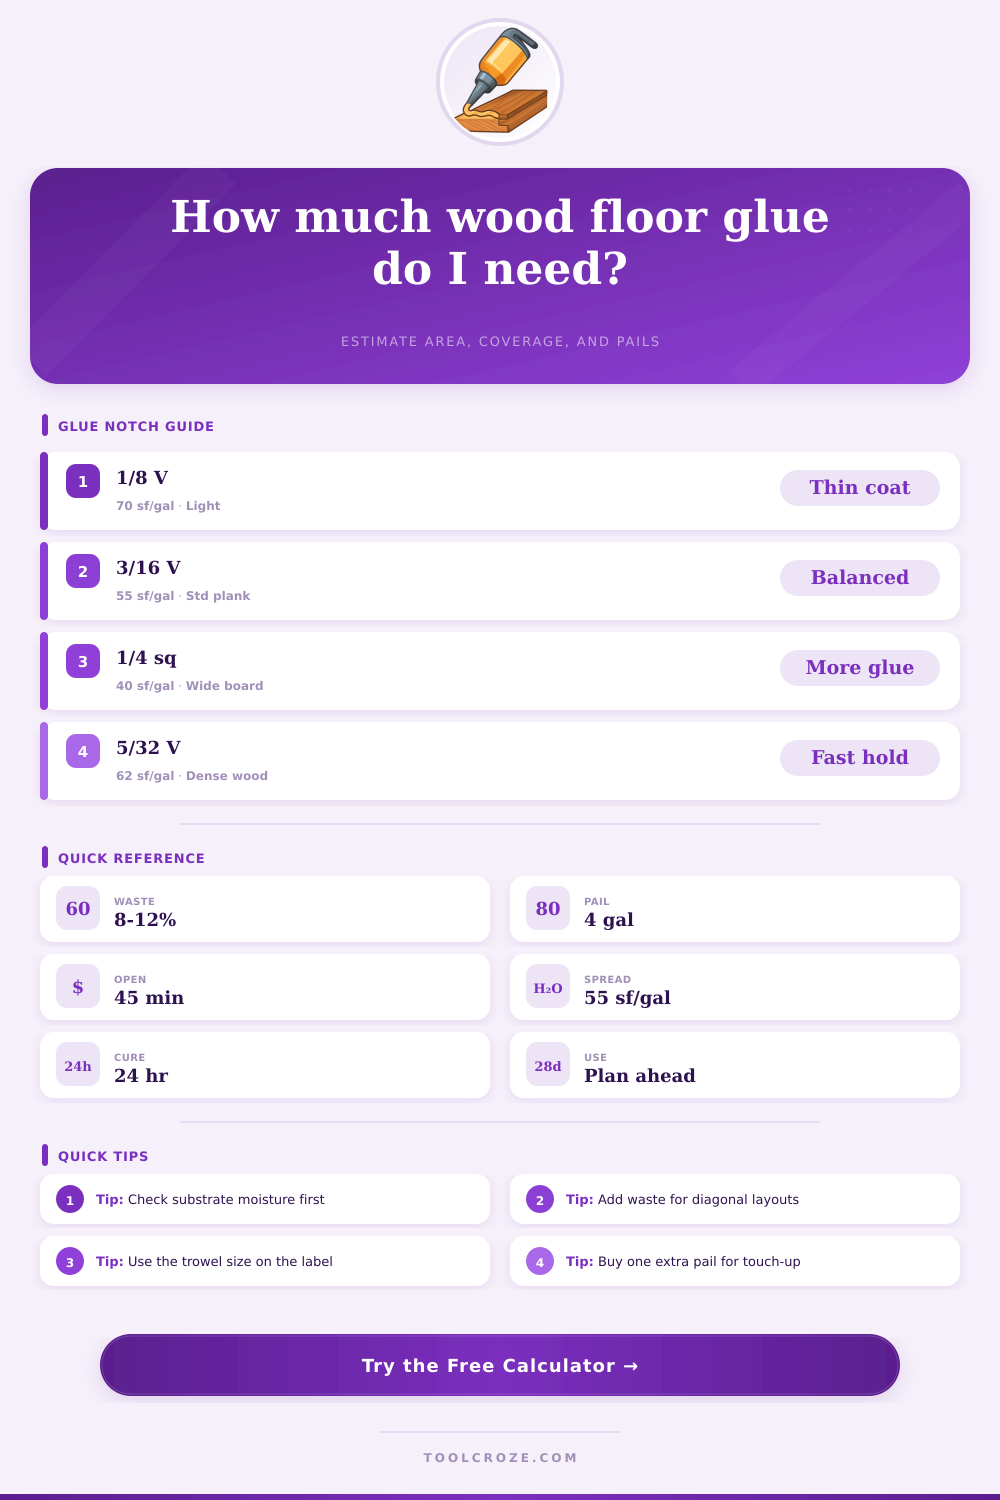
| 1/8 V | 70 sf/gal | Light coat | Thin spread |
| 5/32 V | 62 sf/gal | Balanced | Std boards |
| 3/16 V | 55 sf/gal | Medium coat | Common size |
| 1/4 sq | 40 sf/gal | Heavy coat | Wide boards |
| Layout | Waste | Scrap note | Best for |
|---|---|---|---|
| Straight | 8% | Lowest scrap | Most rooms |
| Diagonal | 12% | Extra offcuts | Showpiece |
| Herringbone | 15% | Pattern losses | Formal spaces |
| Parquet | 18% | High scrap | Custom work |
| Project | Area | Glue | Layout |
|---|---|---|---|
| 10 x 12 | 120 sq ft | 6 | Compact |
| 12 x 14 | 168 sq ft | 8 | Mid-size |
| 14 x 18 | 252 sq ft | 11 | Family room |
| 15 x 20 | 300 sq ft | 13 | Large room |
| Substrate | Factor | Prep | Note |
|---|---|---|---|
| Plywood | 1.00x | Clean | Best base |
| OSB | 0.93x | Seal joints | More porous |
| Concrete | 0.84x | Moisture test | Rough slab |
| Gypcrete | 0.78x | Prime first | Very absorbent |
- The room is treated as a rectangle unless you enter a cutout area.
- Adjusted area includes waste, cuts, and pattern scrap before rounding.
- Pail count uses actual spread coverage, while board count is secondary.
- Pails estimate raw glue demand from the selected spread.
- Metric mode uses meters, millimeters, and square meters for all inputs and outputs.
When installing wood flooring, you must determine the exact amount of flooring adhesive you will need for purchase. If you dont purchase enough adhesive, the plank will lift from the subfloor. Additionally, if you purchase too much adhesive, you will waste money on adhesive that you wont use.
The amount of adhesive needed for installation depend on the size of the room to be carpeted, the type of trowel you use to spread the adhesive to the subfloor, and the flooring pattern that you choose for the installation job. The trowel notch used to spread the adhesive will impact the amount of adhesive you must purchase. A 1/8-inch V-notch trowel will spread the adhesive more thinner than a 1/4-inch square notch trowel.
How Much Adhesive You Need for Wood Flooring
One gallon of adhesive covered with a 1/8-inch V-notch trowel can cover 70 square feet of subfloor area. In contrast, one gallon of adhesive covered with a 1/4-inch square notch trowel can only cover 40 square foot of subfloor area. The notch you choose will impact the amount of adhesive that you consume during installation.
The number of flooring patterns will change the amount of flooring material that you need to purchase. For example, if you install straight planks, you will waste approximately 8 percent of your flooring material. If you install a diagonal floor pattern, you will lose 12 percent or more of your flooring material.
Herringbone and parquet floor pattern create more waste during installation because there is more cuts to the planks when installing these flooring patterns. The dimension of the planks will also affect the installation process. For instance, if you have longer planks, you will install fewer row of planks than if you used planks with a smaller length.
You must leave a half-inch expansion gap around the perimeter of the installation room to allow the planks to expand and acclimate to the environment. The type of subfloor that you use will change the amount of adhesive you use. If your subfloor is made of plywood, it will take the adhesive evenly.
However, if your subfloor is concrete, the concrete may absorbs the adhesive quickly, especially if it isnt primed. Subfloors made of oriented strand board (OSB) are also porous, and they will absorb the adhesive. Therefore, you will need to inspect the subfloor prior to purchasing adhesive to ensure that you buy enough adhesive for your subfloor type.
Another factor to consider when purchasing adhesive is the working time for the adhesive. Most flooring adhesives has a working time of approximately 45 minutes before the adhesive will skin over. If you spread the adhesive too slowly, it will skin over before you place the planks on the subfloor.
You must calculate how many rows of planks you will be able to install within the 45-minute time frame. You should also add 10 to 20 percent more area to your total area calculation to allow for cutouts, defects, and touch-ups to the planks. You also need to consider the temperature of the environment where the installation will take place.
If the subfloor area you will be installing the flooring on is very hot, the adhesive will dry quickly. If the area is very cold, the adhesive will remain tacky for a longer period. You must check the adhesive manufacturer label for specific instruction for this project.
Finally, you should always purchase one extra pail of adhesive for touch-ups to the installed planks. Other steps to follow prior to installing the wood flooring include vacuuming the subfloor to ensure it is lint-free. Testing the subfloor for moisture levels will ensure that the moisture level is under 12 percent.
Additionally, you must ensure that the installation room is well-ventilated due to the volatile organic compound in the adhesive. Following these steps will allow you to calculate the net area to be carpeted, the percentage of waste for the flooring material, and the total number of adhesive pails that you will need to purchase for your installation job.