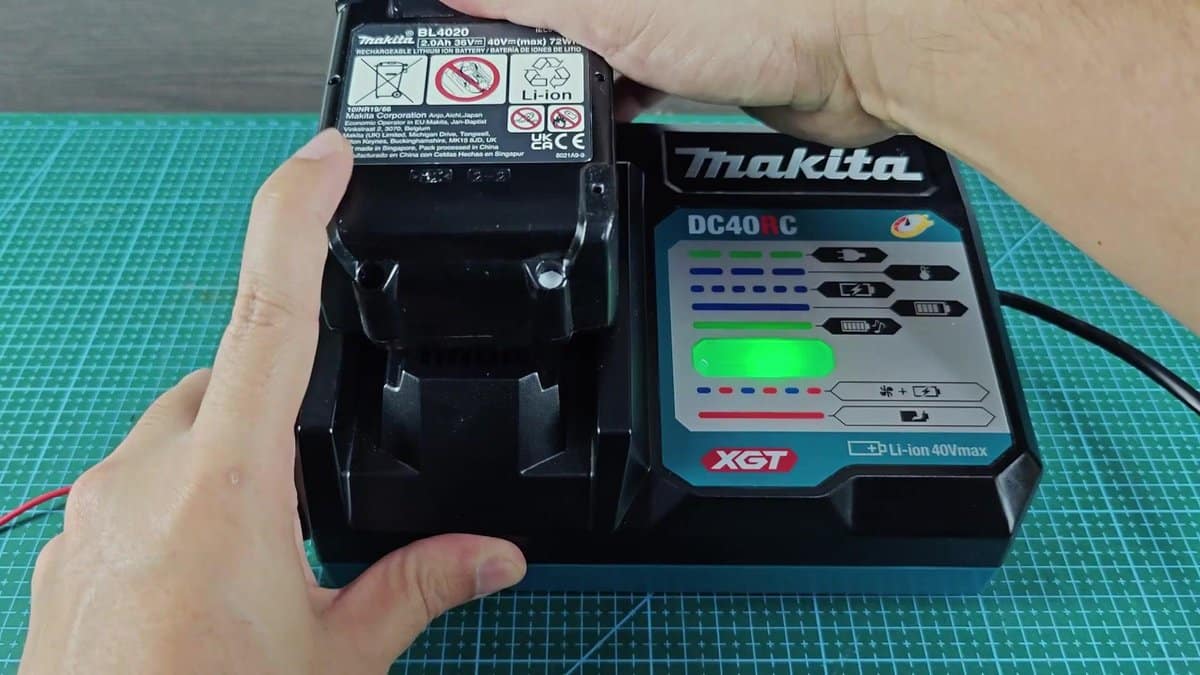
If you find a Makita 40V XGT battery that does not charge, do not think that it is fully dead. After a bit of testing I found that there are some ways that can bring a dead unit back to life. My 2.0 Ah BL4020 battery simply sat there but refused to accept charge.
So with a bit of skill, I managed to reset it fully and restore it to use.
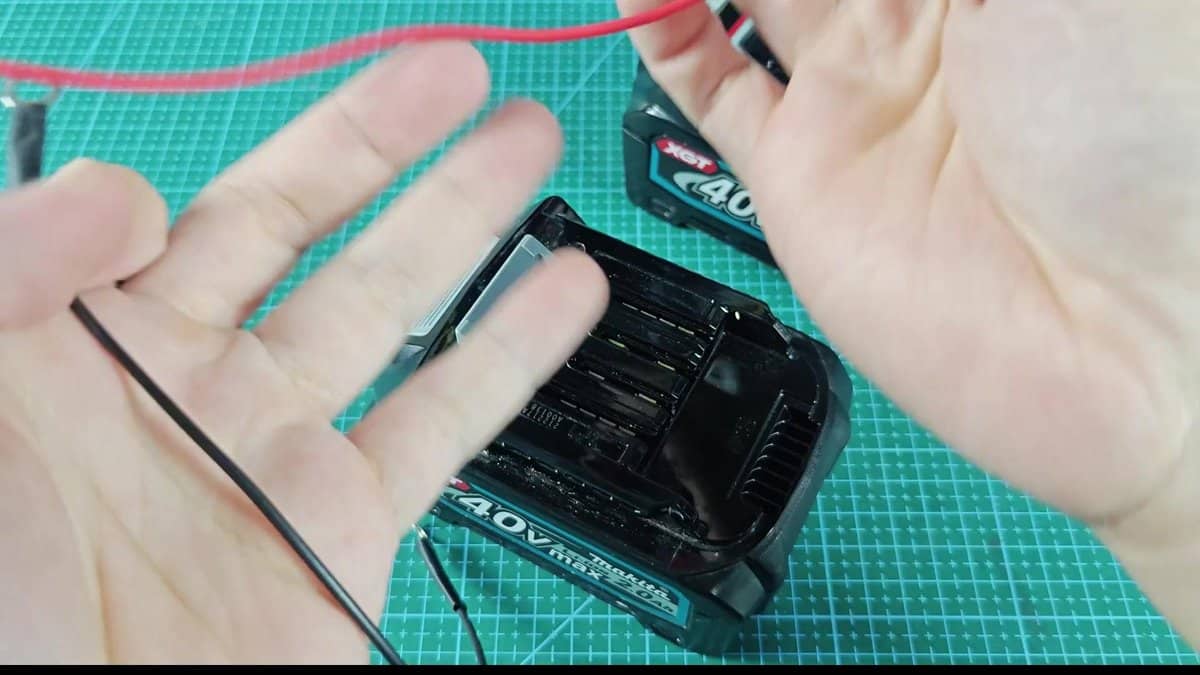
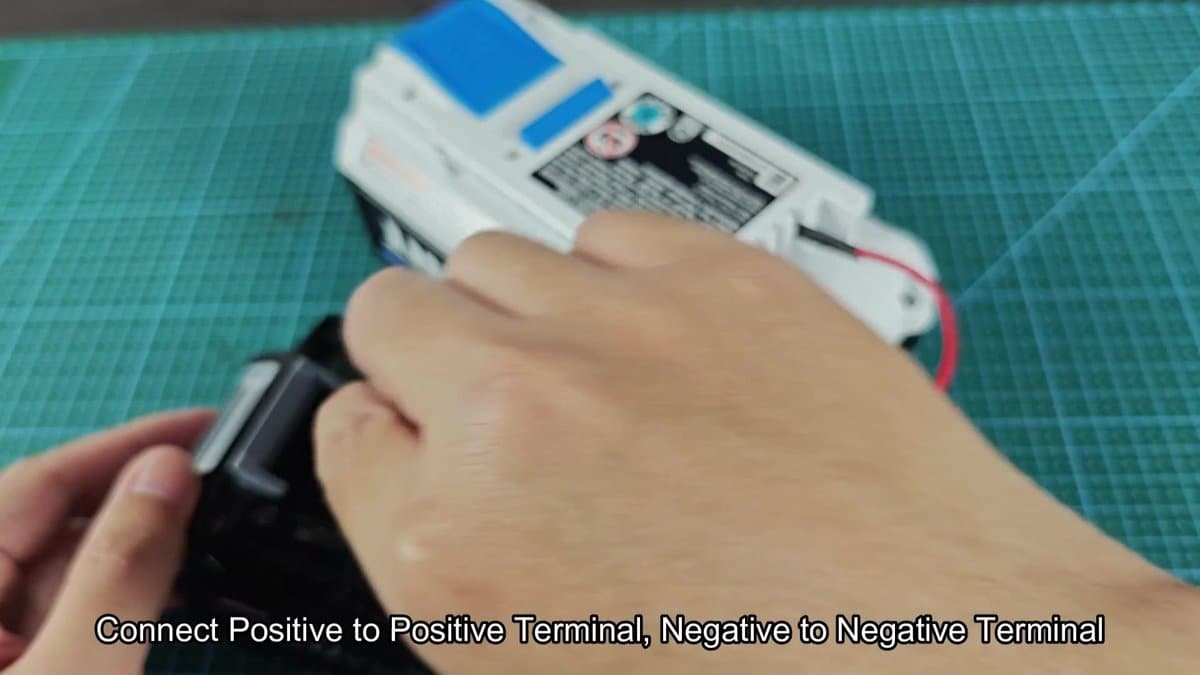
Reviving a dying Makita battery is fairly easy. The positive and negative terminals are easy to see on the top of the battery. Take some jumper wires with ring clips and prepare to charge that unit.
Do it slowly, check the connections and everything should go well.
How to Revive a Dead Makita 40V XGT Battery

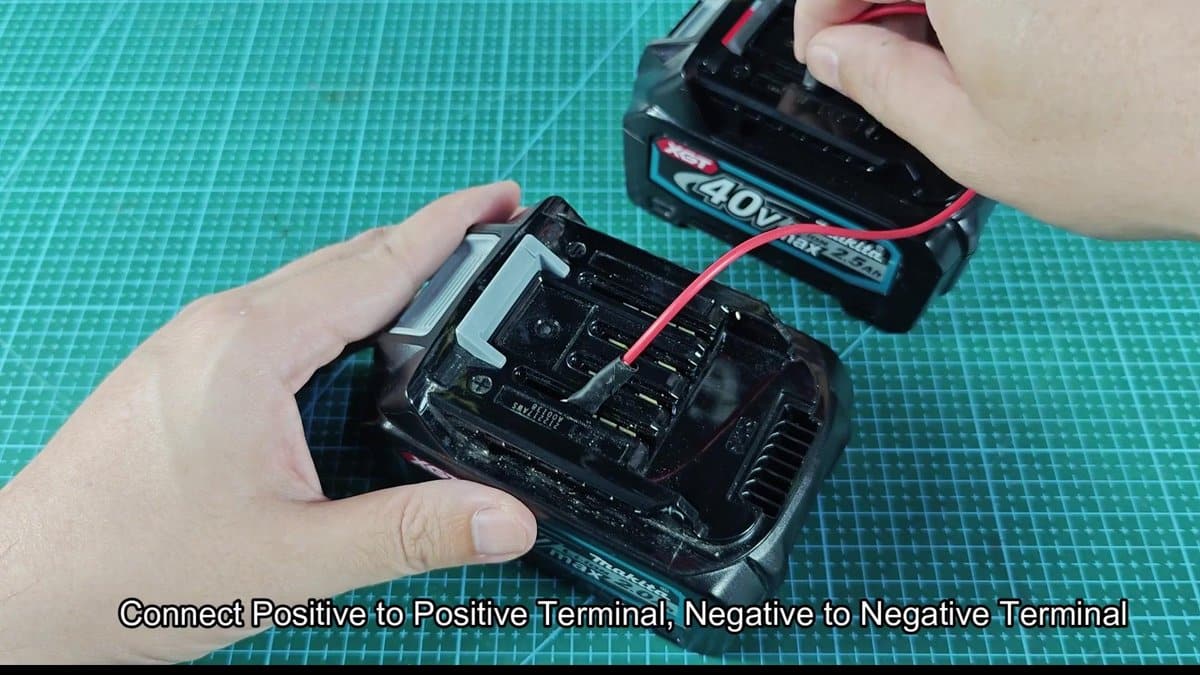
I carefully placed the batteries on the working mat, making sure that their terminals are visible and easily reached. The 2.5 Ah XGT unit that still had enough energy would be useful as the donor battery. I first connected the red wire to the positive terminal of the dead battery, then extended it to the positive side of the good unit and set it flat.
The black wire simply connected the negative terminal of one to that of the other. Setting those ring clips firmly on the contacts was easy, did not require special effort. That gave me confidence that everything is stable and ready for the next step.
With nervous waiting I watched the connected wires, looking for any bad sign. About fifteen seconds passed in total silence, no sparks, any warming, nothing strange.
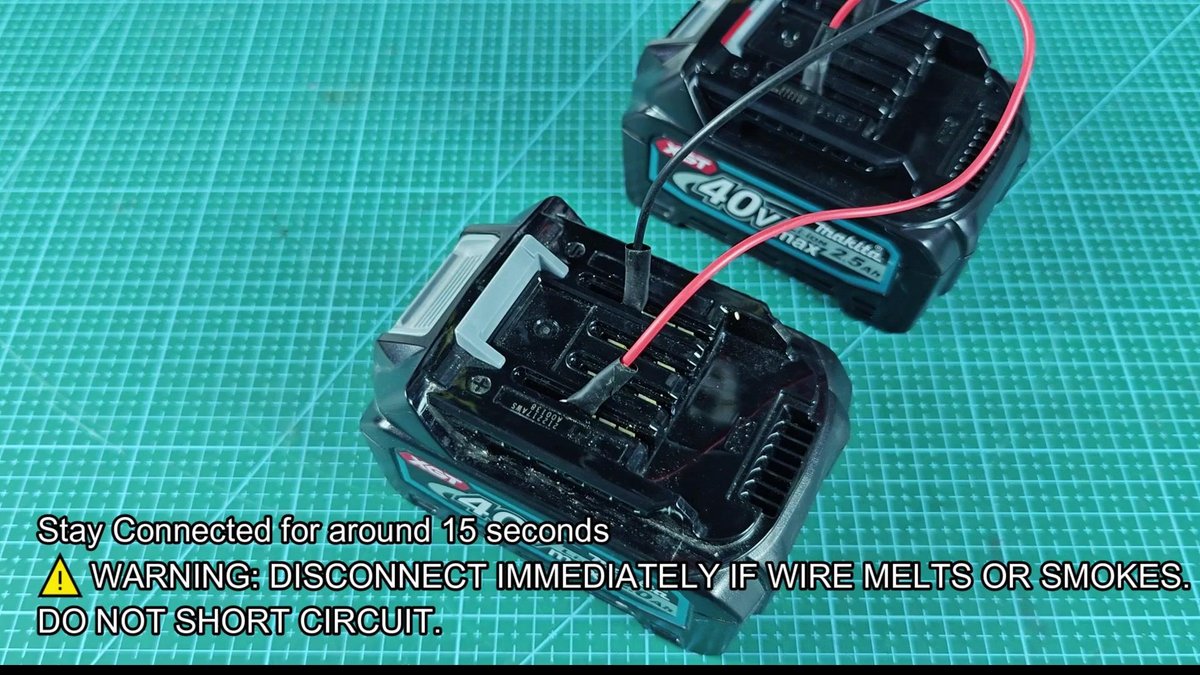
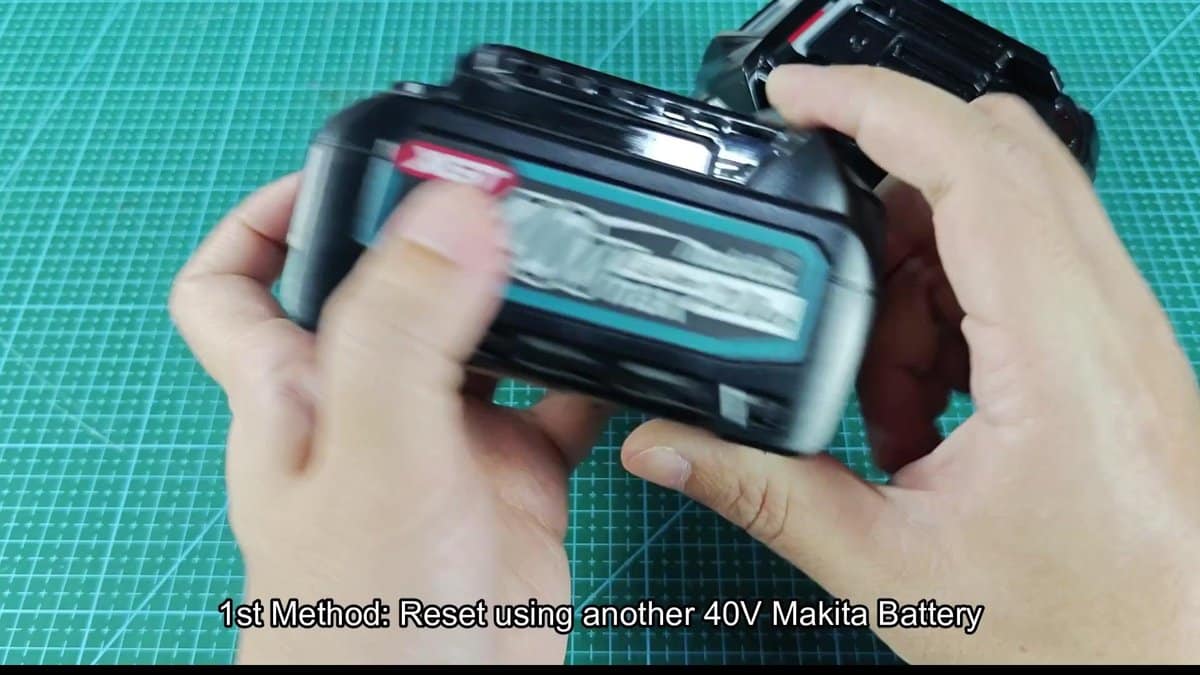
When the waiting ended, I disconnected the wires one by one, first the negative. The dead battery came back to life after that simple trick. This works only if you have another 40V battery available that still keeps energy.
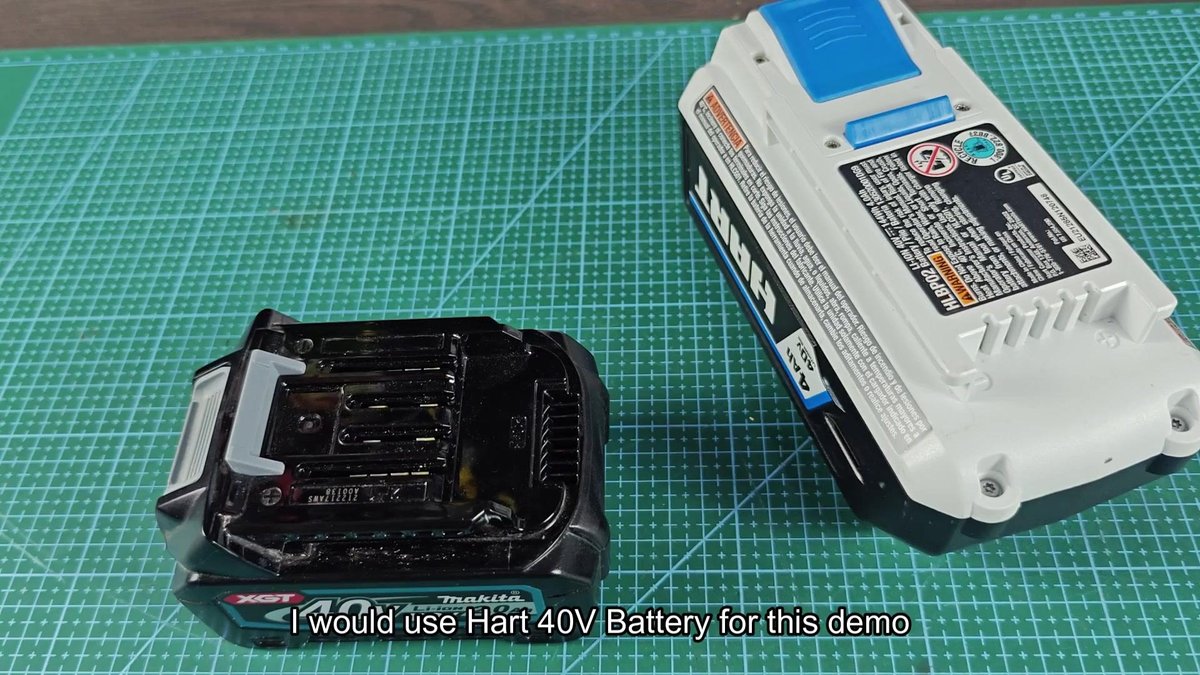
The other way requires use of a 40V unit from another brand. For example I took a Hart 40V 4Ah battery, because it sat in the store. Same basic rules, just match the positive and negative terminals on the Makita unit and on that from the other brand.
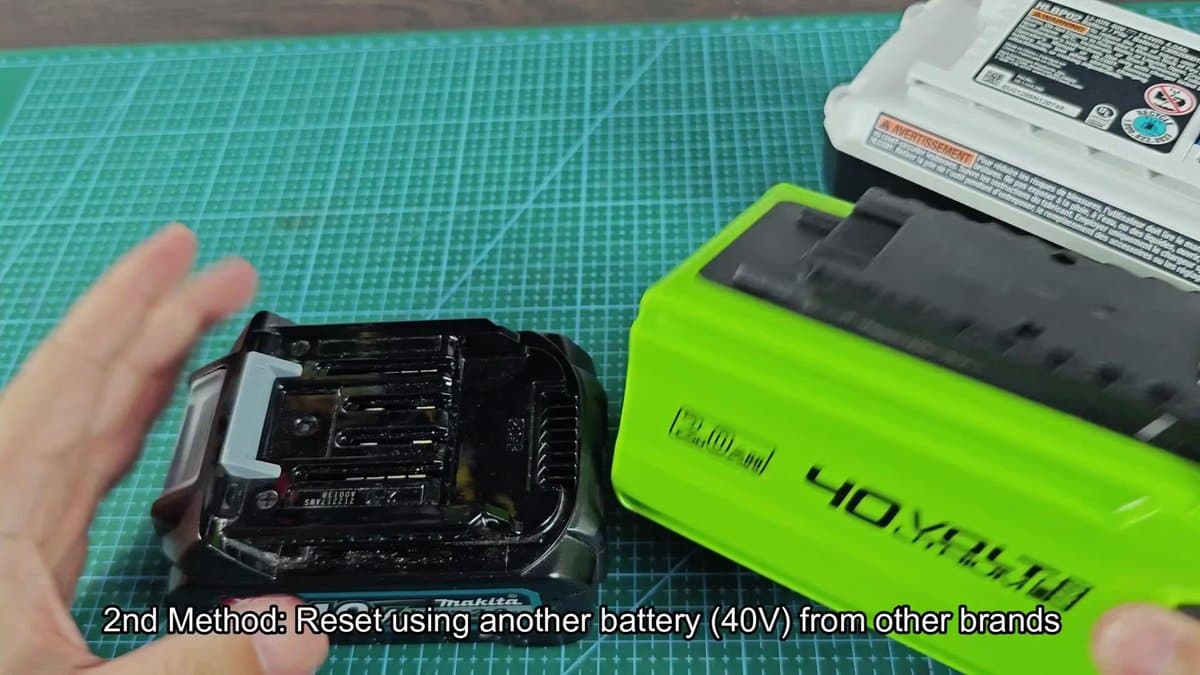
The plus and minus symbols were printed directly beside the terminals, so I checked the polarity before connecting anything. The same reliable jumper wires with ring ends helped in the process.
Connecting those wires required a bit of trial and error. The positive part of the Makita went to the positive of the Hart unit, while the negative connected well. Matching terminals between different brands was tricky, but I managed to set everything correctly.
After a bit of adjusting everything was ready.
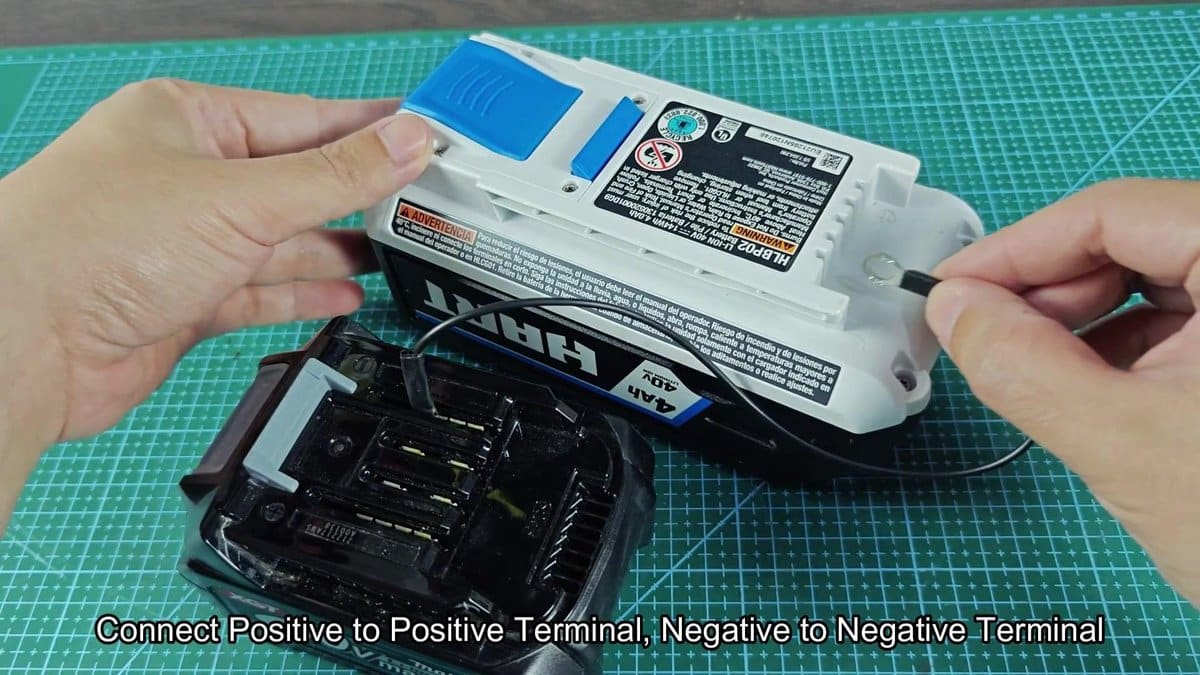
A short contact was enough to revive that Makita battery. No tension, any trouble, simple charging did the job without issues about warming or damage. Really simple, as if charging a car.
It works as new, without problem.
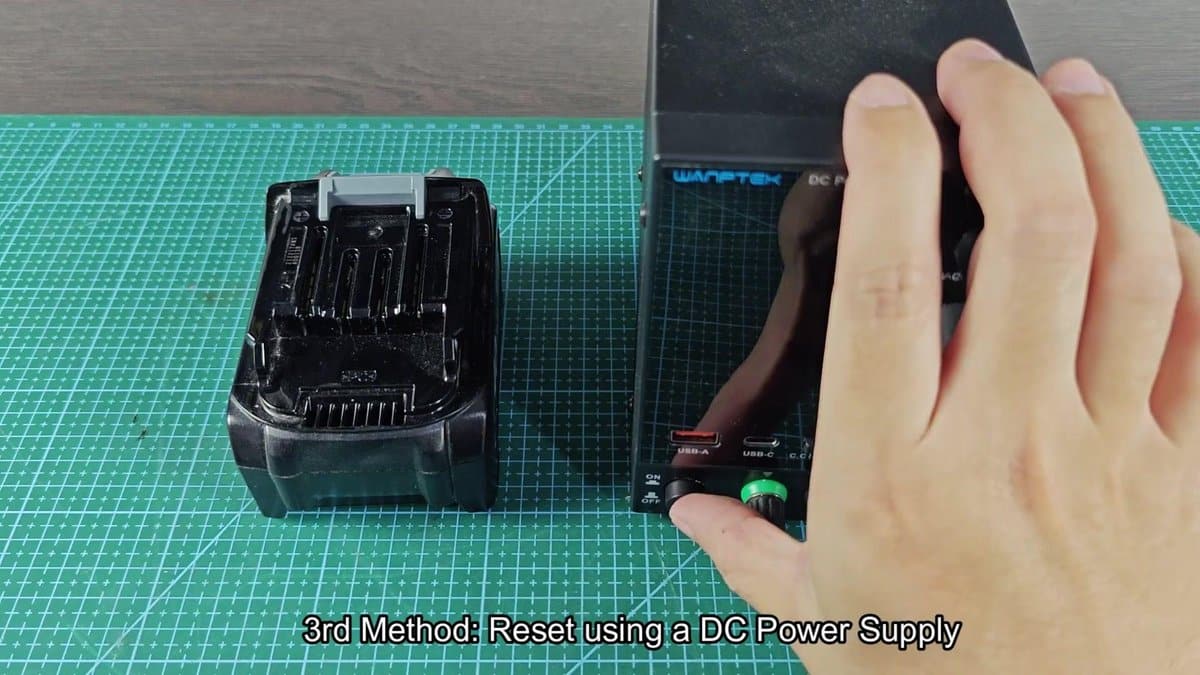
That trick is handy if you have other cordless tools in the workshop. Does not matter what brand the donor battery is, enough that it is 40V with open terminals, and it will serve. The safest way though is using a DC power supply.
Simply put the Wanptek DPS3010U beside the dead Makita battery on your workbench. That will charge your tool quickly, no matter the brand.
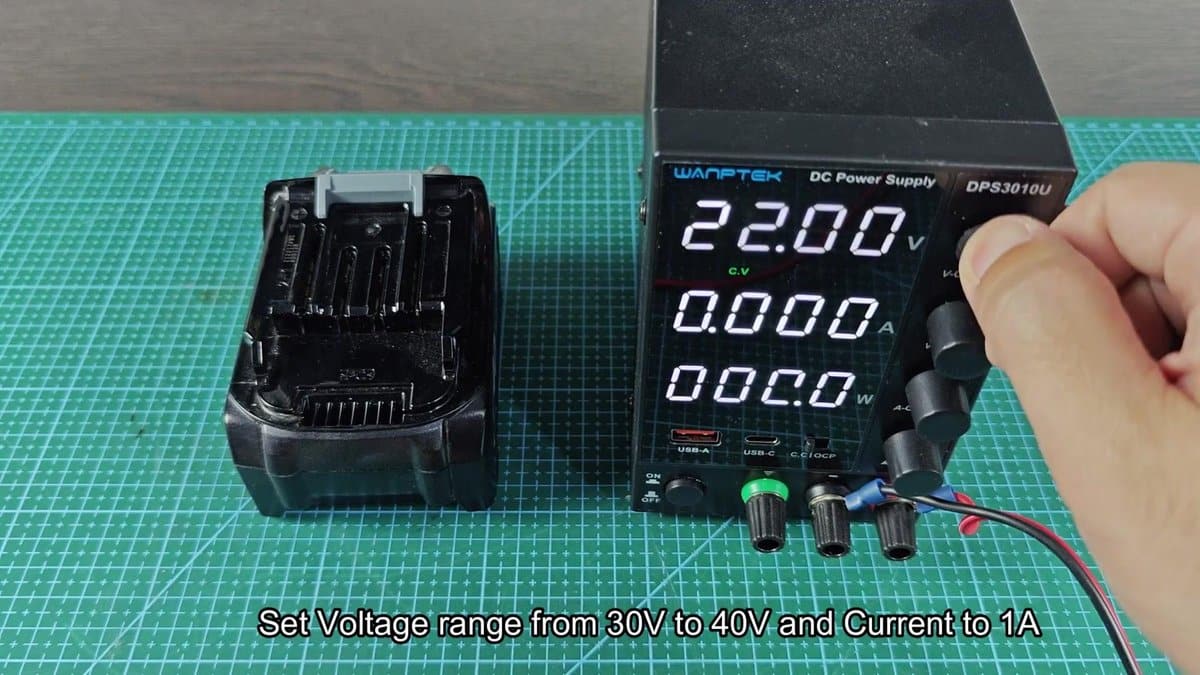
I carefully turned the dial until 30 volts (the directions pointed to 30-40V), so I chose the lower value for safety. Then I set the current to 1 amp and checked that everything looks well.
The red clip made the positive connection easy, and then it was only setting the negative to the other side. Really simple.
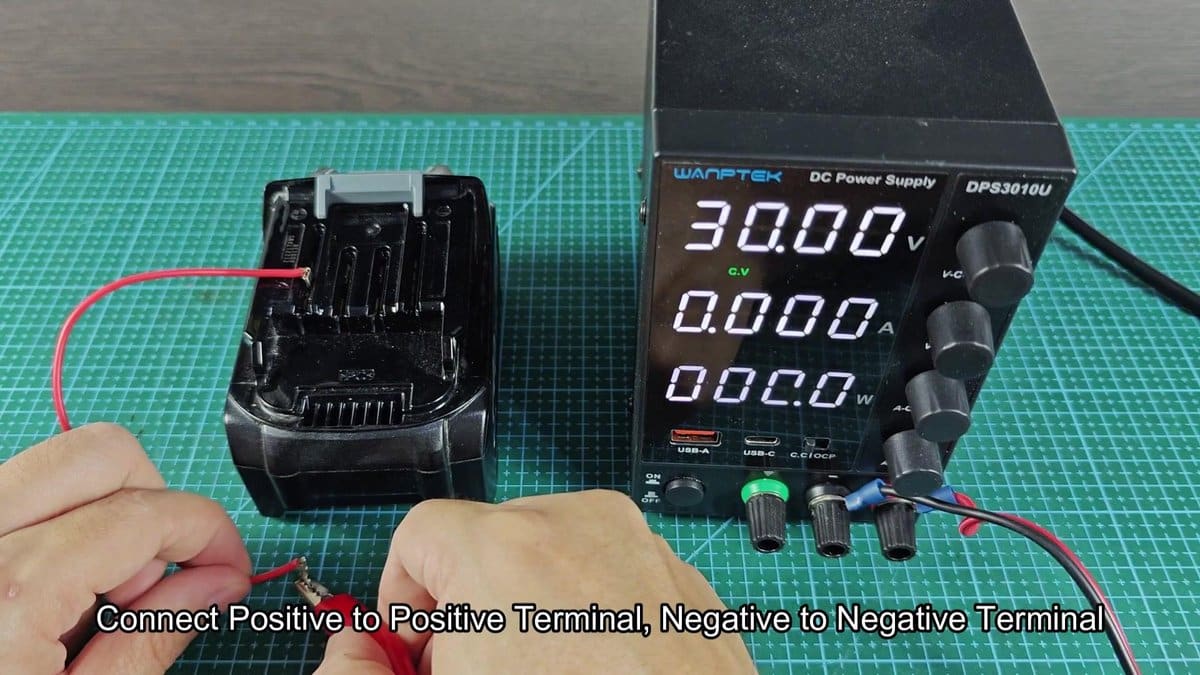
Just after the connection the reading of the power supply jumped from 30 to around 33 volts. I watched the value swing between 32.95 and 32.97 volts as it stabilized. It settled after that first spike, with steady increase.

When the time ended, I disconnected the negative clip first, then the positive. I turned off the power supply and put everything away. Finally the battery was ready for testing in the charger.
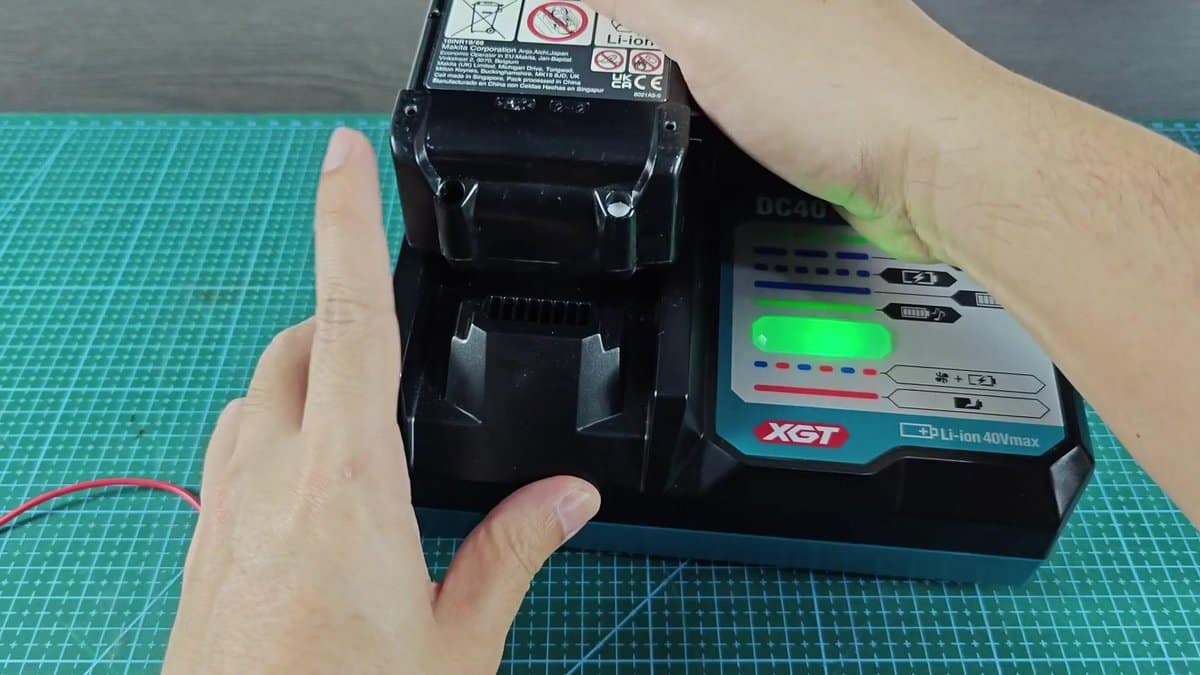
I put the battery in the Makita charger and watched the meter. At the moment of the connection the blue light started to blink, exactly what I expected. Those blinks showed that the revival succeeded and the charge went normally.
In the end I chose the solution that best suited my situation, you must workwith what you have, right?
