The key of my Mazda CX-8 acted strangely as it cannot remote control the car door anymore.
Changing the battery seemed the simplest solution. I succeeded, taking time carefully and ending the work well, without need to bring it to the store.
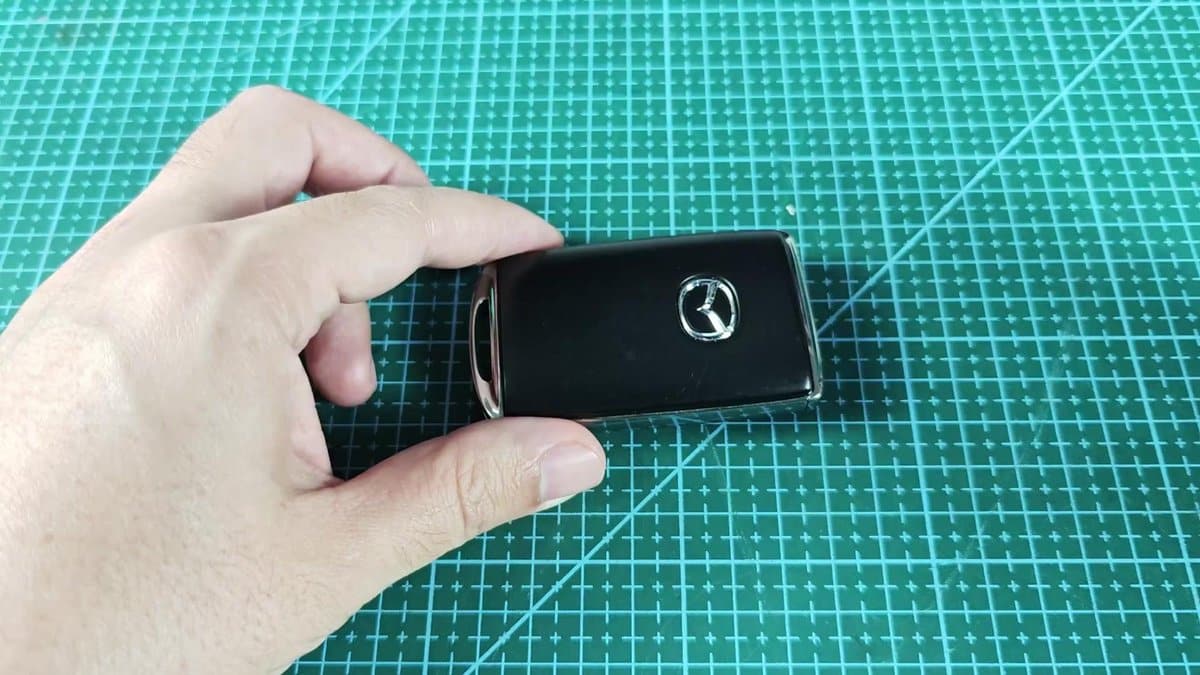
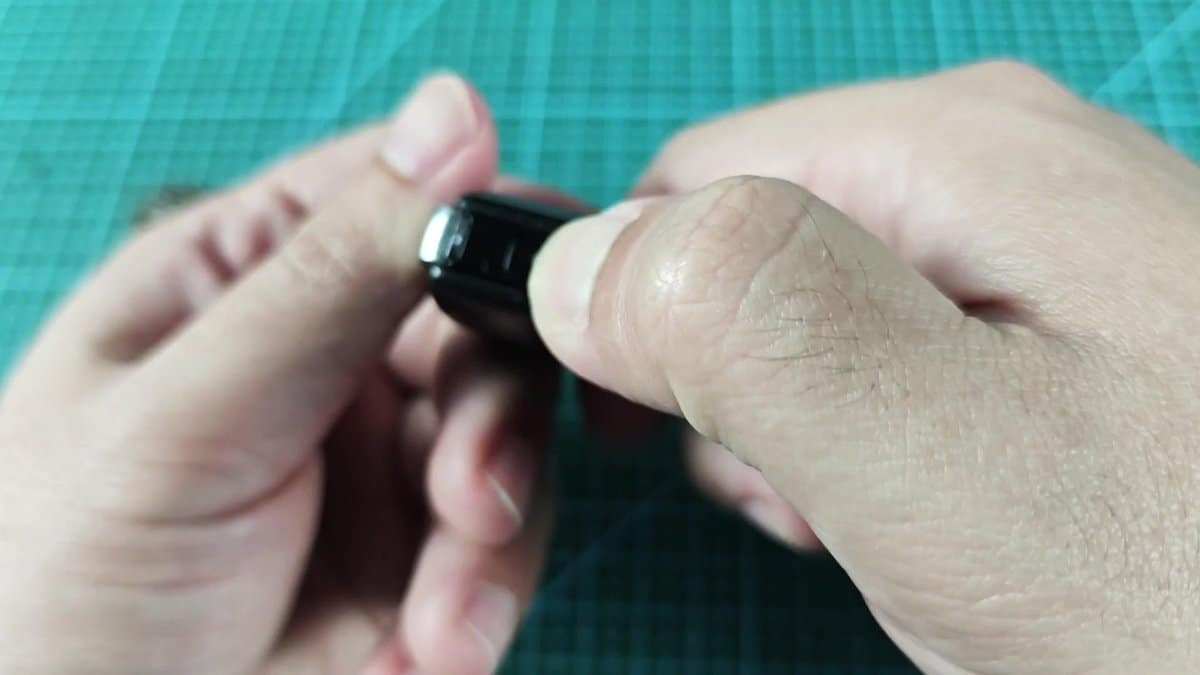
When I want to use the key in the car door, I must first pull the metal key from its plastic case. It has a little chrome slot at one end that holds the open part. Soft pressure and a pull release the key from its spot.
It slips easily out, after which the lock opens, without any trouble.
How to Replace the CR2032 Battery in a Mazda CX-8 Key Fob
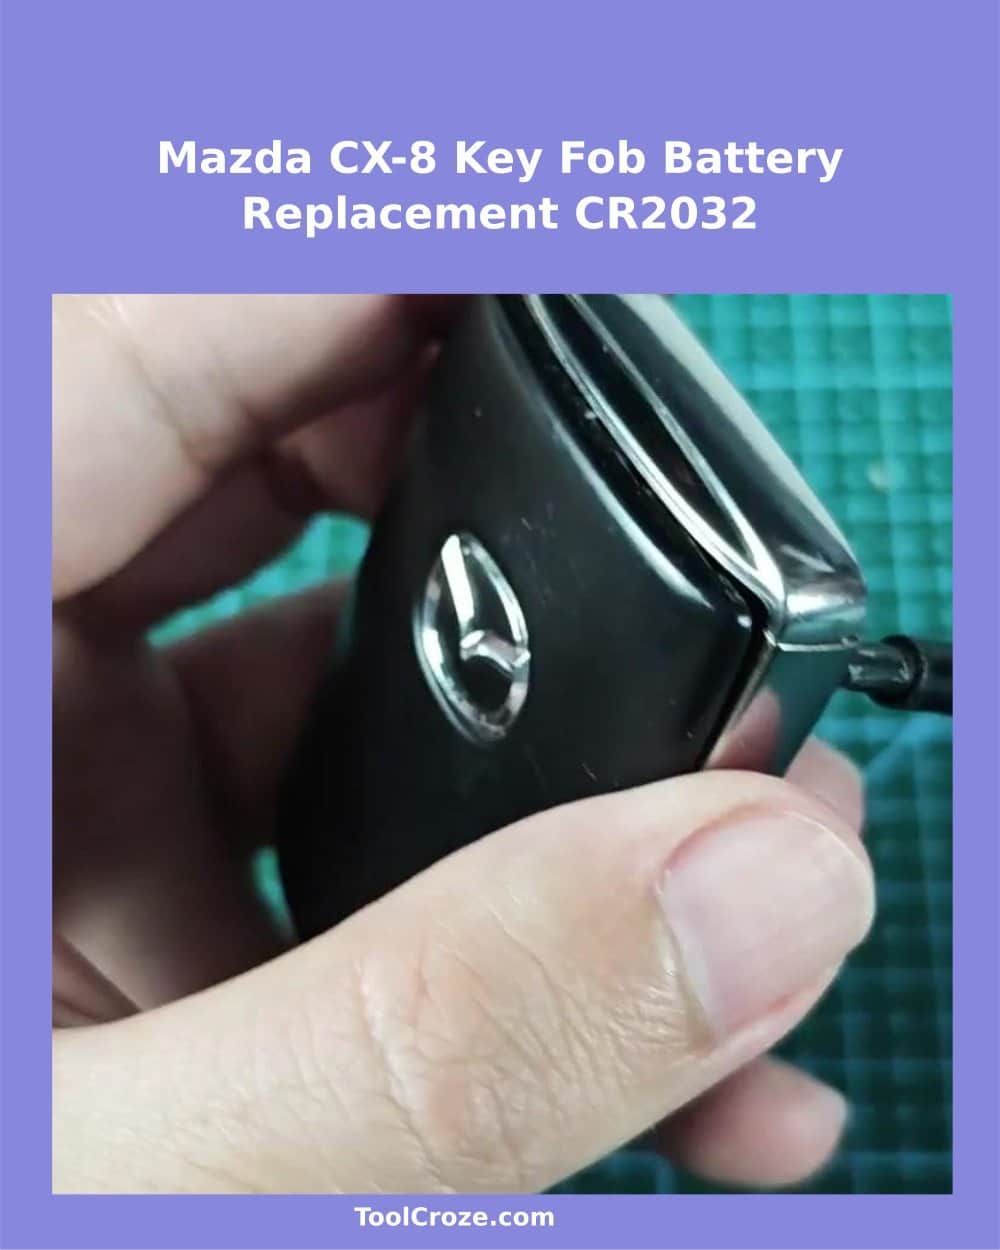
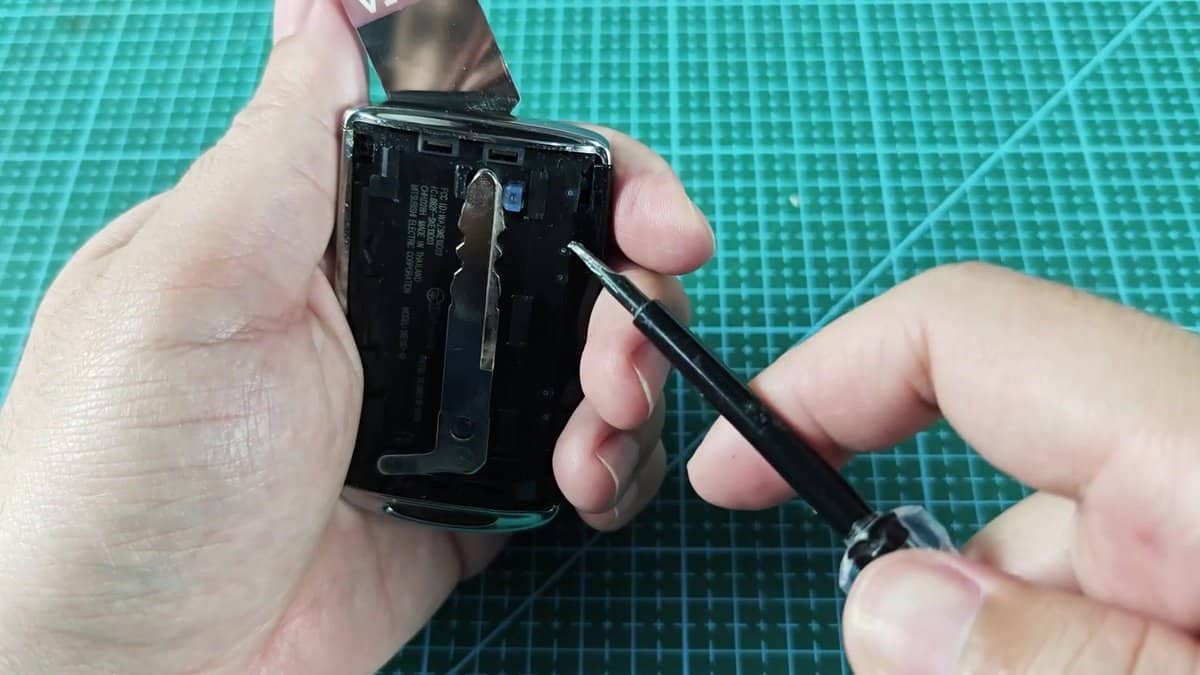
When the key was already out, the main work started. I couldn't get it open with just my fingers. I took a slim metal tool and started to work along the seam, where the two parts meet.
Its slim form entered exactly in the narrow spaces, without breaking the plastic. I started from the chrome edge, where the metal key sat, and carefully moved the screwdriver head around the whole edge.
The case was more stubborn than it looked at first. It required steady, slow pressure along the line to loosen the seals. After the first cover opened, the rest went much more easily.
It felt good, when the whole thing opened at last.
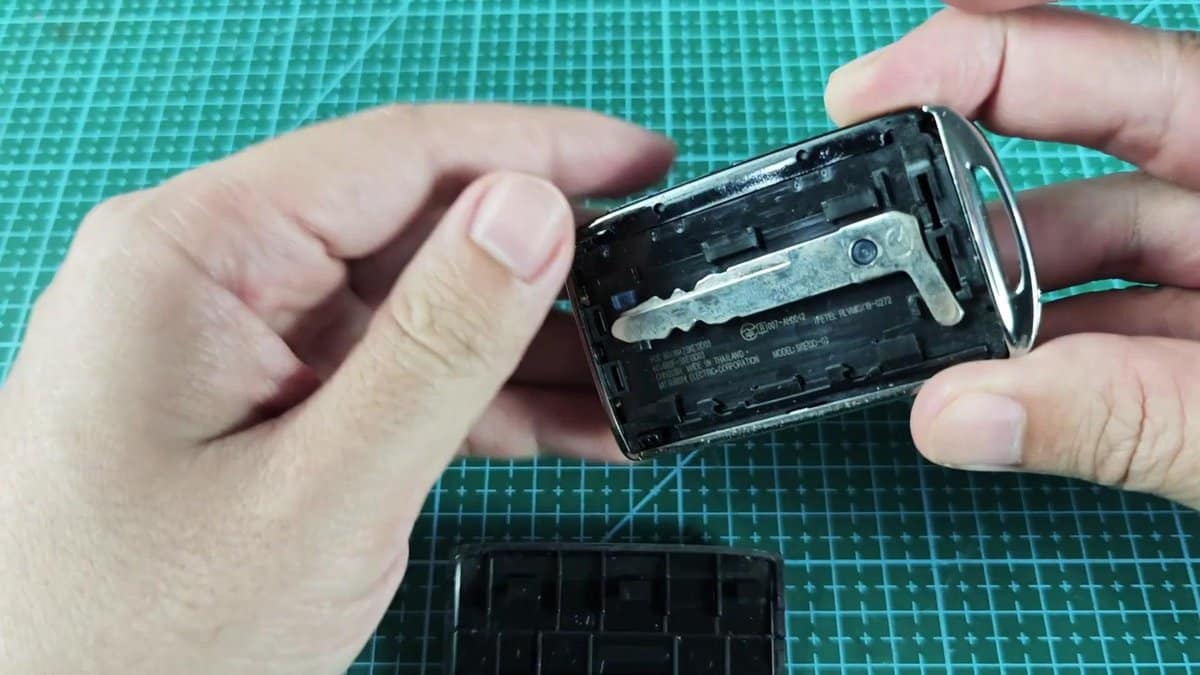
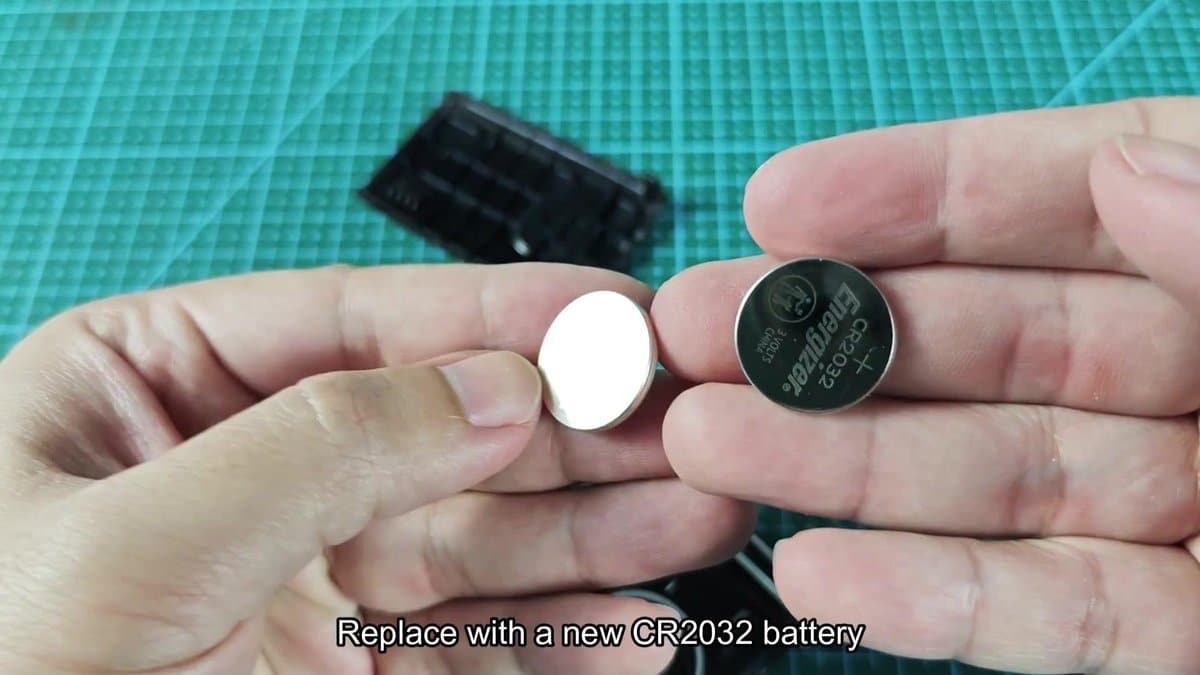
Inside were the internal parts, the circuit and the little battery. In the internal space, we also found that little blue component, the wireless sender. The battery holder clearly showing that it is using CR2032 Battery.
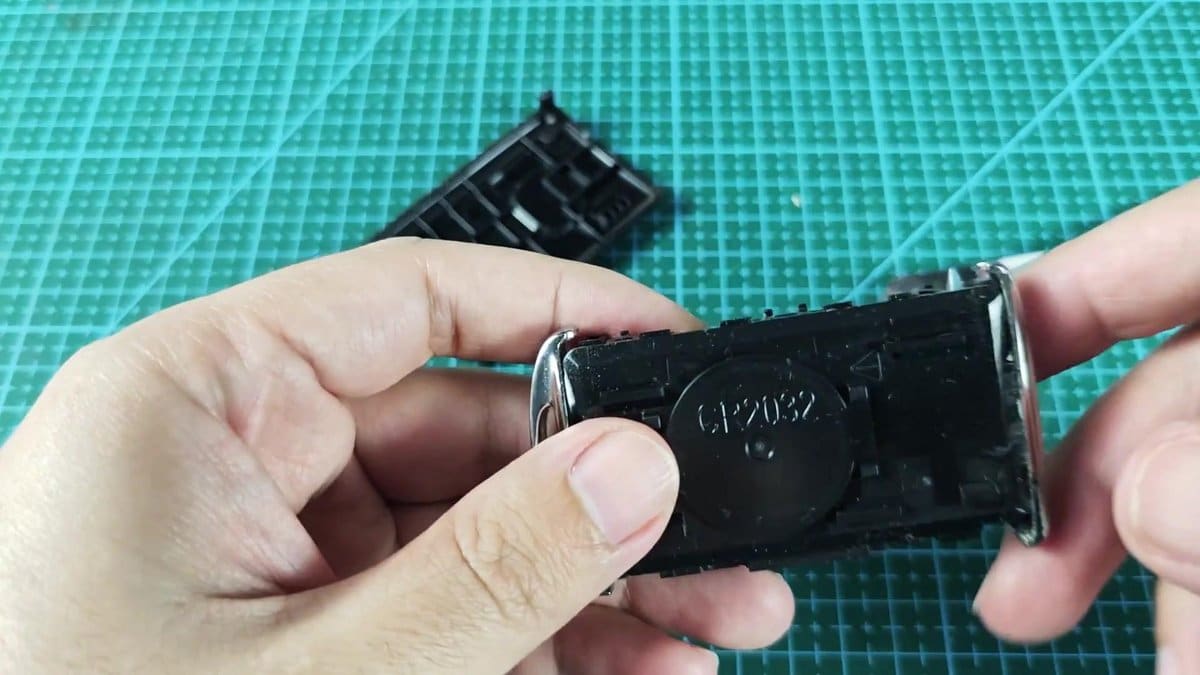
Carefully removing the old battery was important. The holder had a lip that kept it flat, so I used a flat screwdriver to lift one side, until the old CR2032 came out. Good that it came out clean, without corrosion, which shows that the insides of the key are still in good state.
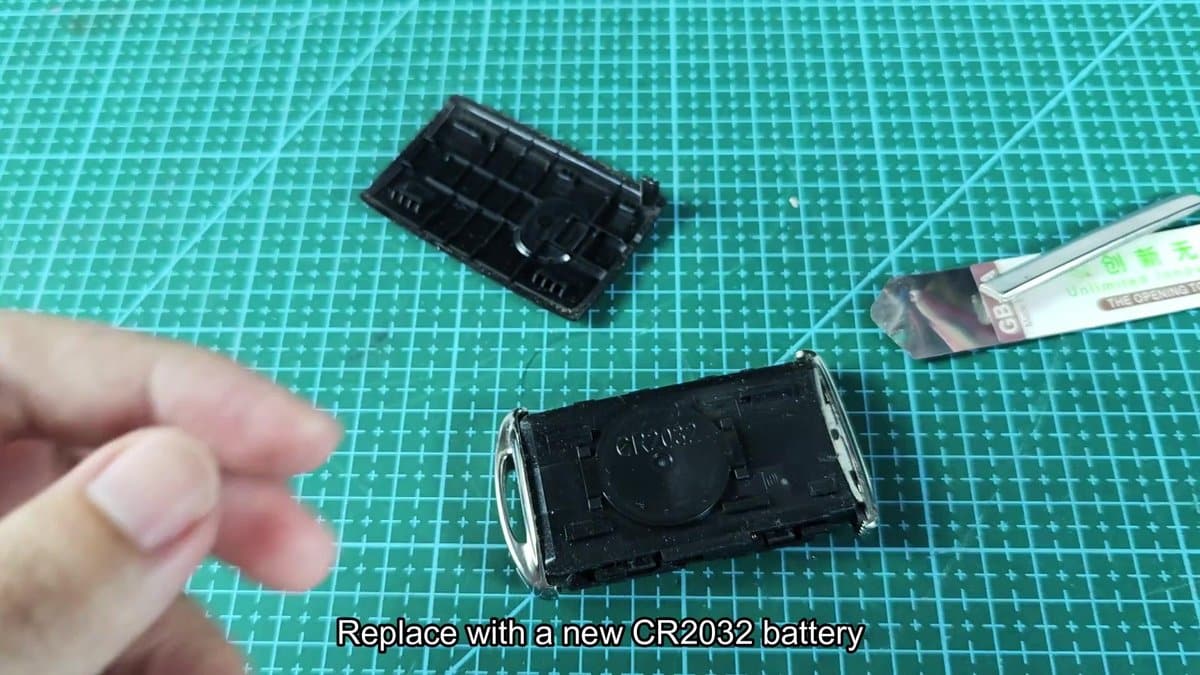
For the change, I chose an Energizer CR2032 coin battery cell. Those CR2032 are very common, so easily found in the local store. I simply opened it, to reach the fresh cell.
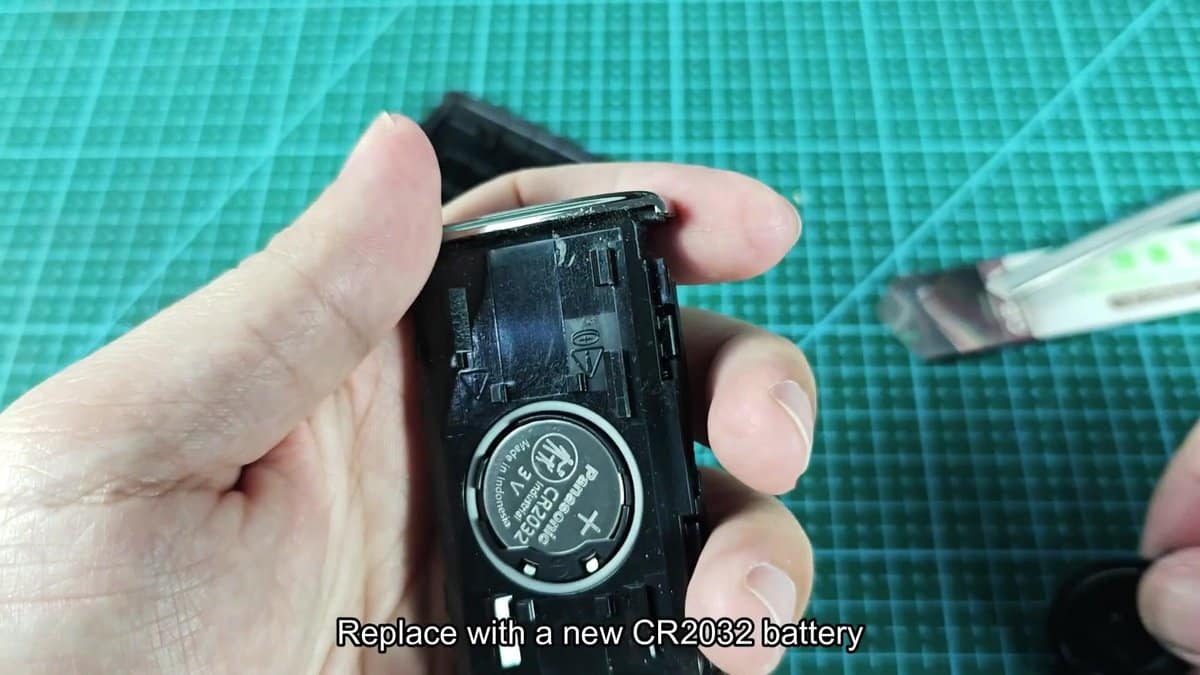
I carefully matched the positive side of the Energizer CR2032 3V battery with the marks, twice checking the signs on the surface, before pressing it in place. Getting the direction right matters, so double-check before seating it.
I think that the moment came to swap that old one for a worthy replacement.
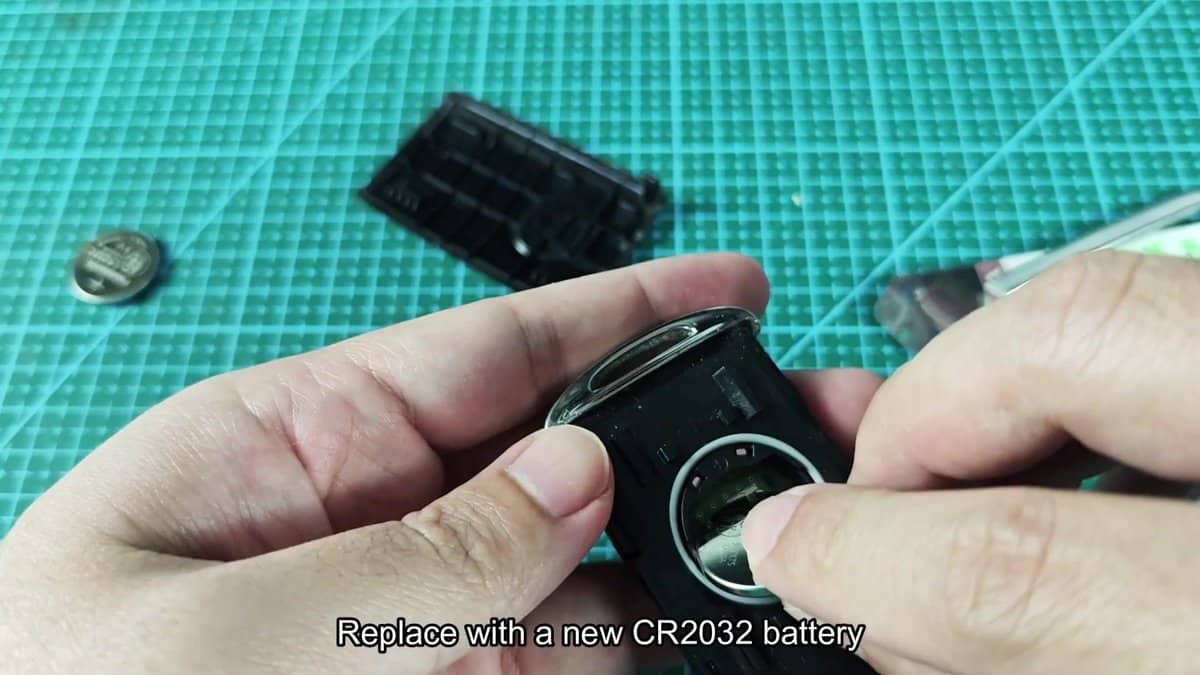
With a soft push, the battery entered exactly, clicking flat in the holder. That spring design truly holds the contacts (I felt it sit firmly in the slot). Only a quick check made sure that it sat fully and everything was ready.
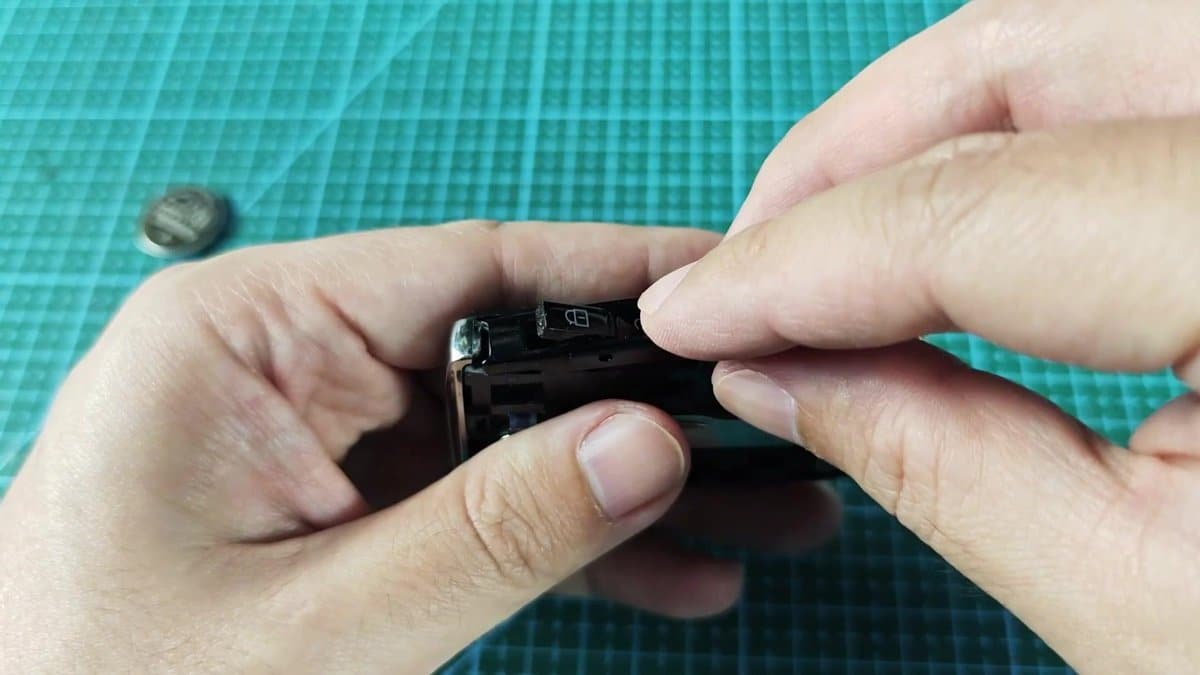
Before closing everything up, I did a quick check inside. The internal labels and parts all looked well… No wear or damage, which could cause problems later.
The needed info was printed fine on the internal side of the case, exactly where the little screwdriver keeps the backup key. Everything seemed in order.
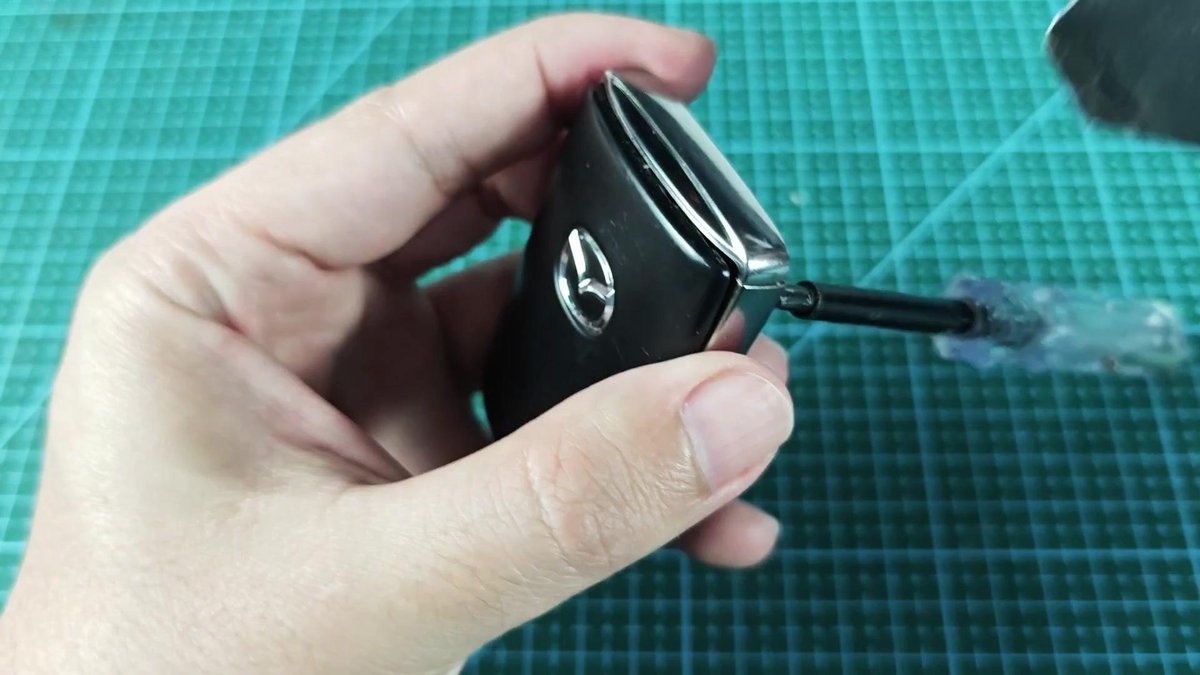
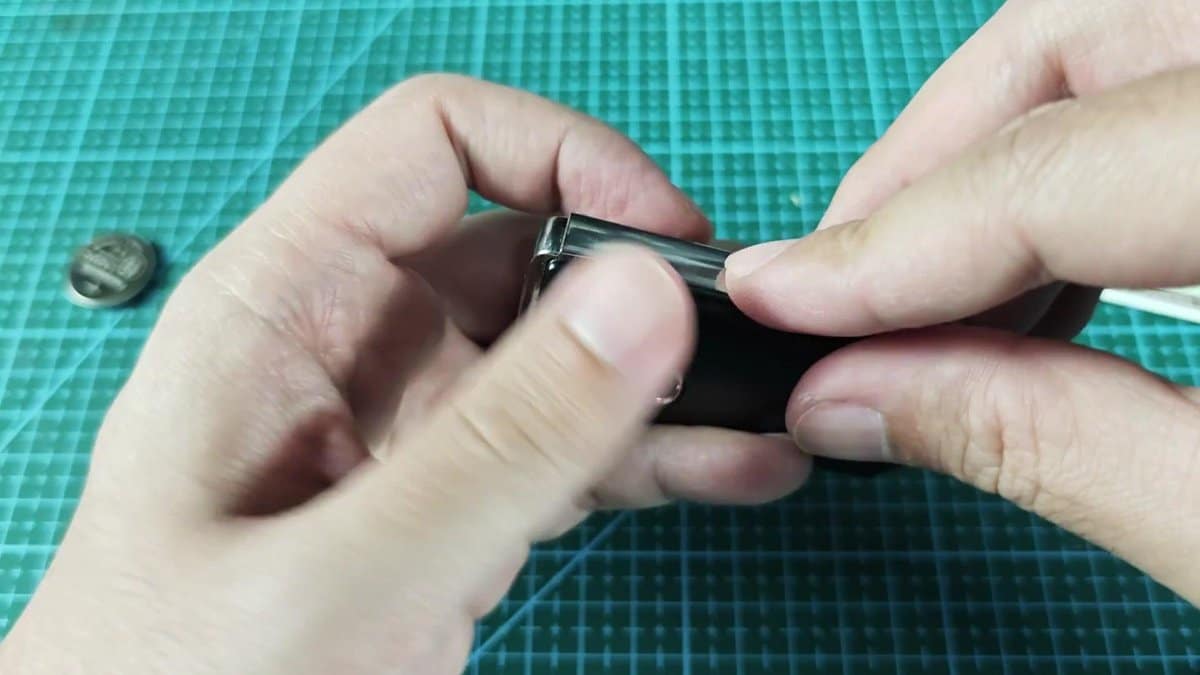
Putting the key back was a gentle task that required precise placing of the insides. It required a few tries, so that the metal clips and seals enter correctly.
Setting the case required a bit of force. I pressed the edges flat, applying pressure around, until I heard the nice tap of every internal seal in its spot. Because of the narrow chrome end, it was hard to reach the last tab to fully seat, but it was worth the effort to have everything tightly closed.
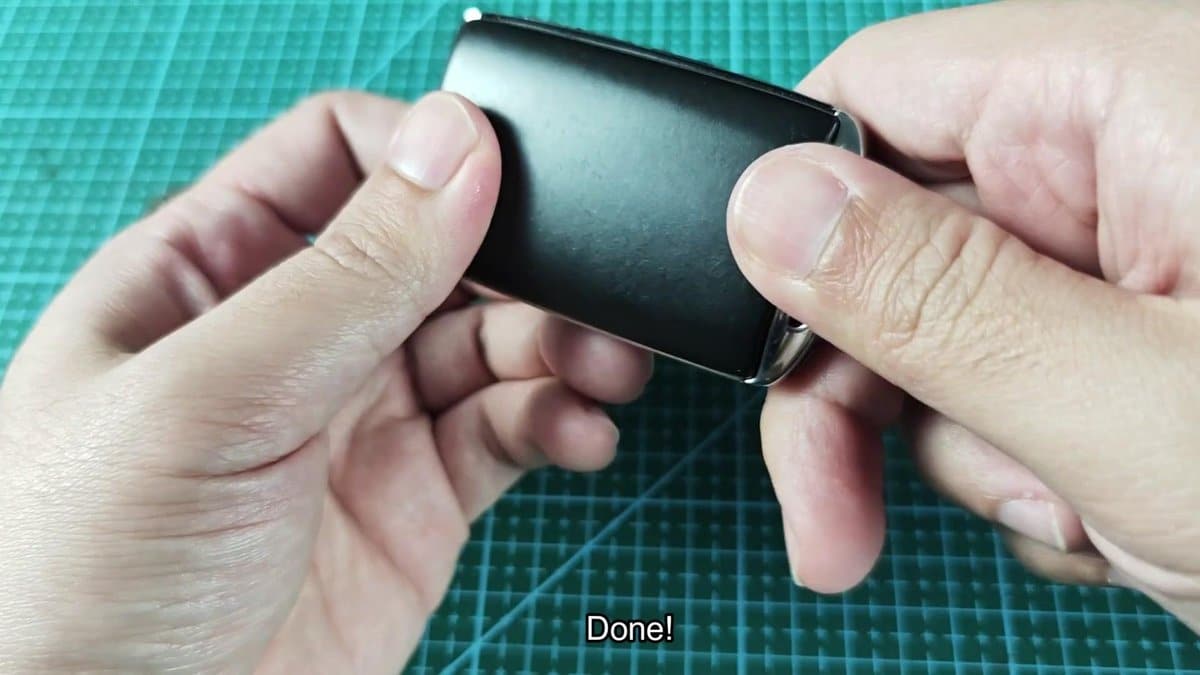
Putting the key back in its slot was the last bit. It clicked exactly, bringing the key to its prior state. Pressed the buttons and — there!
The keys work well again. Could not be simpler, truly.
