Rear Shock Spring Calculator
Estimate rear shock spring rate from rear axle weight, rider weight, motion ratio, shock angle, sag target, preload, linkage progression, and available travel.
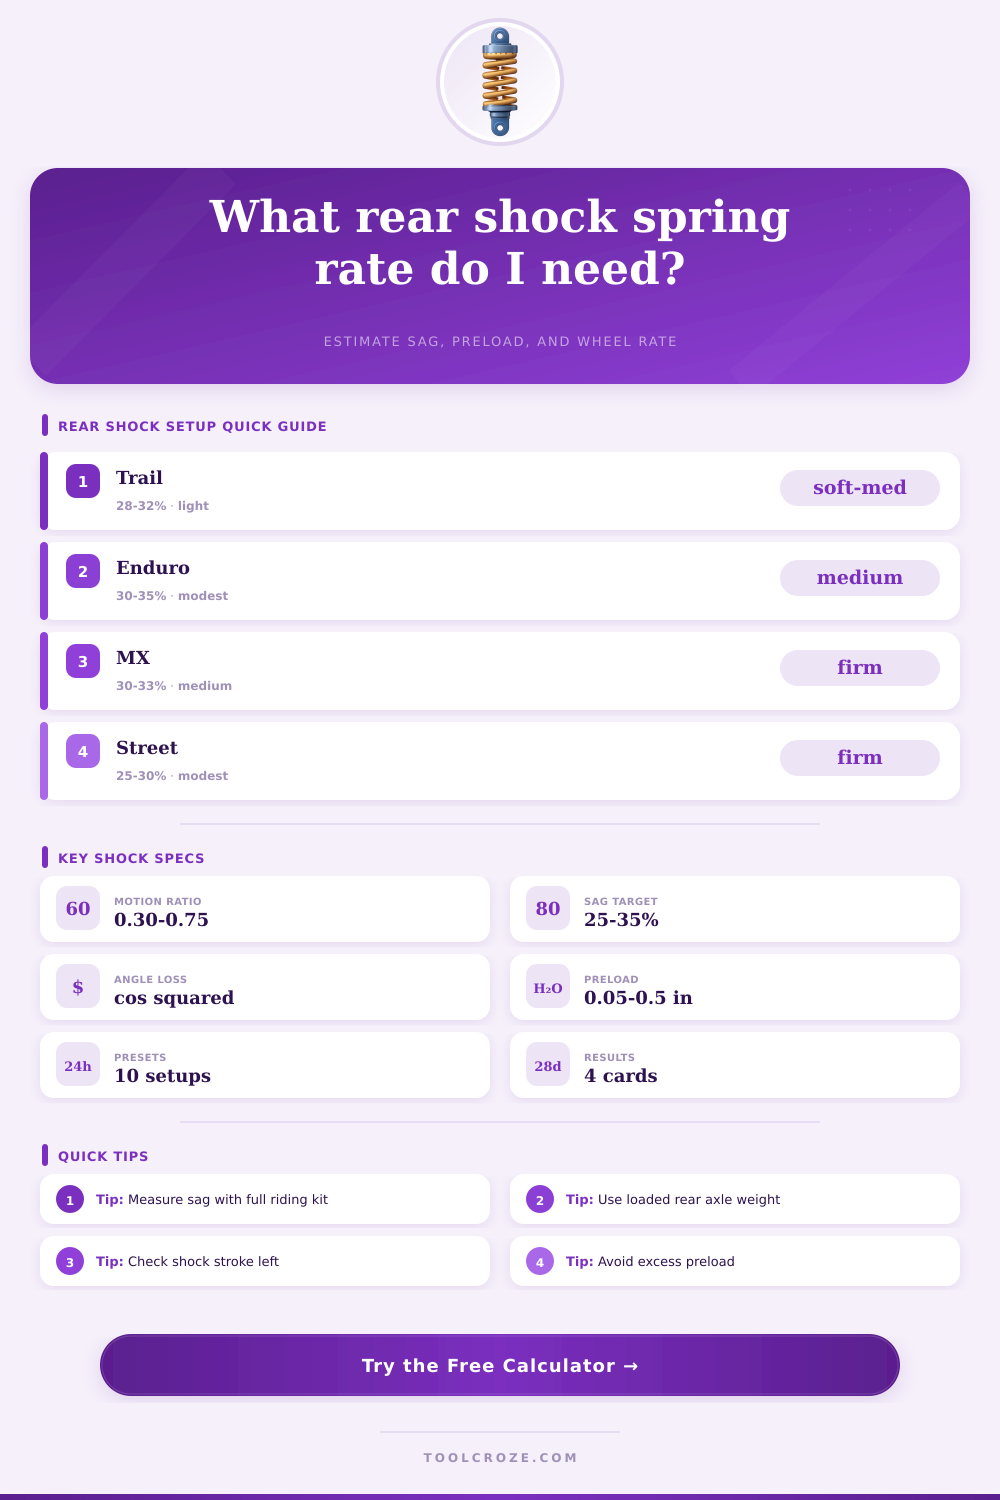
⚙Named Rear Shock Presets
Load a realistic baseline, then replace the values with measured rear axle load, rider weight, linkage ratio, shock angle, and sag target from your own setup.
🔧Rear Shock Inputs
Used for the setup note, sag band, and rate sanity check.
Static rear wheel load from scales before adding rider or cargo.
Include riding kit, pack, water, luggage, or passenger if carried.
Typical seated values are 55-70%; aggressive MTB climbing can be higher.
Wheel, tire, brake, axle, and a share of swingarm or suspension links.
Measure shock stroke change divided by vertical rear wheel movement.
Angle reduces vertical effectiveness through a cosine-squared correction.
Measured at the rear axle from topped-out extension to rider position.
Use usable travel before hard bottom-out, tire contact, or bumper stack-up.
Collar compression before rider sag; use the same axis as the spring.
Positive values mean the linkage gets firmer deeper in the travel.
Adds room for hard hits, luggage, passenger load, or platform preference.
Use the catalog step for your spring family, such as 25 lb/in or 0.5 kg/mm.
Enter zero if unknown; otherwise the calculator estimates current sag.
📊Shock Setup Grid
📐Reference Tables
Use these tables as setup context after the calculator gives the spring-rate estimate.
| Preset baseline | Rear load source | Motion ratio | Sag target | Spring family |
|---|---|---|---|---|
| Trail bike 150 mm coil | Rider plus rear axle scale | 0.35-0.42 | 28-32% | MTB coil, 25 lb/in steps |
| Downhill bike park | Full riding kit and pack | 0.30-0.38 | 30-35% | Long-stroke coil shock |
| Sportbike street rear | Bike scales plus geared rider | 0.28-0.35 | 25-30% | Single rear shock spring |
| 450 motocross shock | Race sag with rider standing | 0.28-0.36 | 30-33% | Progressive linkage coil |
| ATV / UTV rear | Axle scale plus passenger or cargo | 0.35-0.55 | 25-35% | Heavy coilover spring |
| Sag band | Feel | Typical use | Adjustment note |
|---|---|---|---|
| 20-25% | High ride height, firm support | Street, pump, jump, loaded utility | Check traction and rebound extension |
| 25-30% | Balanced support and travel | Sportbike, trail, dual-sport | Good starting point for mixed use |
| 30-35% | More grip and bump absorption | Enduro, downhill, motocross | Watch pedal, skid, or chassis clearance |
| Over 35% | Soft, low, bottom-prone | Only special low-speed grip setups | Usually needs more spring or preload |
| Motion ratio | Rate multiplier | Meaning | Common example |
|---|---|---|---|
| 0.75 | 1.78× | Shock moves a lot for wheel travel | Twin-shock or near-direct layout |
| 0.50 | 4.00× | Moderate linkage leverage | Compact ATV or utility link |
| 0.40 | 6.25× | High leverage needs more spring | Many MTB coil layouts |
| 0.33 | 9.18× | Long wheel travel per shock stroke | Moto or downhill linkage |
| Linkage progression | Ride-height effect | Bottom-out support | Setup note |
|---|---|---|---|
| 0% | Linear spring feel | Depends mostly on spring and bumper | Common direct or twin-shock layout |
| 10-20% | Small static correction | Noticeable mid-stroke support | Good all-around trail or street value |
| 25-35% | Firming deeper in travel | Strong hit support | Common enduro, DH, and MX range |
| Over 40% | Very rising rate | High ramp at bottom | Confirm with linkage curve data |
ℹSetup Tips and Safety
Selecting the correct rear shock spring is necesary for the proper functioning of the suspension system of a vehicle. The rear shock spring determine how a vehicle reacts to bumps in the road and how the vehicle handles it’s weight. If the spring is too soft, the chassis of the vehicle will move excessive and the vehicle will bottom out.
If the spring is too firm, the wheel will skip when encountering bumps in the road and the wheel will lose traction on loose surfaces. Due to the necessity of the spring for the stability of the vehicle, it is important to ensure that the spring selected for installation into a vehicle matches the weight of the vehicle and the style in which it will be ridden. The first step in selecting the proper rear shock spring is to determine the load that the spring will have to support.
How to choose the right rear shock spring
You must calculate the weight of the vehicle when without the rider, as well as the weight of the rider. The percentage of the total weight of the vehicle that is placed onto the rear wheel will determine the load that the spring must support. Additionally, the load does not have to support the unsprung weight of the vehicle, such as the weight of the wheels and axle.
Thus, the weight of the vehicle that the spring must support is the total weight minus the unsprung weight. The motion ratio and the shock angle will change the way that the load force the rear shock spring to move. A low motion ratio indicates that the movement of the rear shock spring will be less than the movement of the wheel.
A low motion ratio indicate the need for a stronger rear shock spring. Additionally, the angle at which the shock is mounted will affect the effectiveness of the spring. Only the vertical component of the force will support the vehicle.
Both of these value must be measured prior to installing the rear shock spring. Changes in either of these values will change the required rate of the rear shock spring. Another factor to consider when installing a rear shock spring is the sag of the suspension.
The sag is the measurement of the balance between the ride height of the vehicle and the travel of the suspension system. A lower sag will make the chassis of the vehicle sit higher and feel firm to the driver. A higher sag will allow the wheel to follow the ground more closely but will use up most of the travel of the suspension before any bump will occur in the road.
To calculate the required rate of the spring, a person can use a calculator that incorporate the values measured for the vehicle. The linkage that is incorporated into the suspension system will also affect the performance of the rear shock spring. If the linkage has a rising rate, the suspension system will become firmer the further the suspension travel from its resting position.
This type of linkage is beneficial for allowing the use of a softer rear shock spring at the sag point of the suspension while still providing support to the vehicle when the suspension experience full compression. A linear rate linkage will not change the firmness of the rear shock spring during suspension travel. Thus, the spring will need to be one that can handle both the sag point of the suspension as well as the heaviest impacts with the ground.
Another consideration in the installation of the rear shock spring is that of preload. The preload will allow the sag of the suspension to be fine-tuned to the specification set for the installation of the suspension. However, you should not use excessive preload.
Using too much preload will lead to a stiffer suspension system and affect the extension travel of the suspension. The rear shock spring should be selected such that the suspension reaches the required sag with only a small amount of preload. Calculated spring rates for the rear shock spring are only a starting point for the rate at which the spring should be set.
You can best determine the rate through actual installation of the spring and measurement of the sag of the suspension while wearing the riding gear. Such a measurement must be performed on level ground in order to provide accurate measurements of the sag of the suspension. If the sag is not as calculated for the vehicle, it will be necesary to select a different rate for the rear shock spring.
Most individuals will make mistake when calculating the correct rate for the rear shock spring. Most common errors include using the total weight of the vehicle rather than the weight of the rear axle; using the total weight will result in a rear spring that is too high in strength. Additionally, individuals may incorrectly calculate the motion ratio by using the travel of the wheel divided by the travel of the shock rather than dividing the travel of the shock by the travel of the wheel.
Finally, individuals may not consider the shock angle, but the angle does factor into the determination of the strength of the rear shock spring. By ensuring that the weight of the vehicle, the motion ratio, and the shock angle are correctly calculate, most errors will be avoided. By taking the time to calculate and install the correct rear shock spring, the vehicle will remain at the desired height with the ground and the suspension will utilize its travel to its full advantage.
Furthermore, the vehicle will exhibit consistent performance when performing other driving maneuvers. This consistent performance will require less effort from the driver. These same considerations can be applied to motorcycles as well as utility vehicle.