Garage Door Spring Turn Calculator
Estimate standard-lift torsion spring winding turns from door height, drum diameter, cable wrap per turn, preload allowance, spring hand, wire size, inside diameter, and door torque.
⚙Named Garage Door Presets
Load a common door setup, then replace the values with measured door height, drum pitch diameter, cable wrap, actual turn count, and spring dimensions.
📏Door Height, Cable Wrap, Spring Hand, Turns, and Torque
Garage door turn estimate
Calculation Breakdown
🧰Current Spring Snapshot
📋Standard-Lift Turn Reference
| Door setup | Typical height | Common drum | Planning turns |
|---|---|---|---|
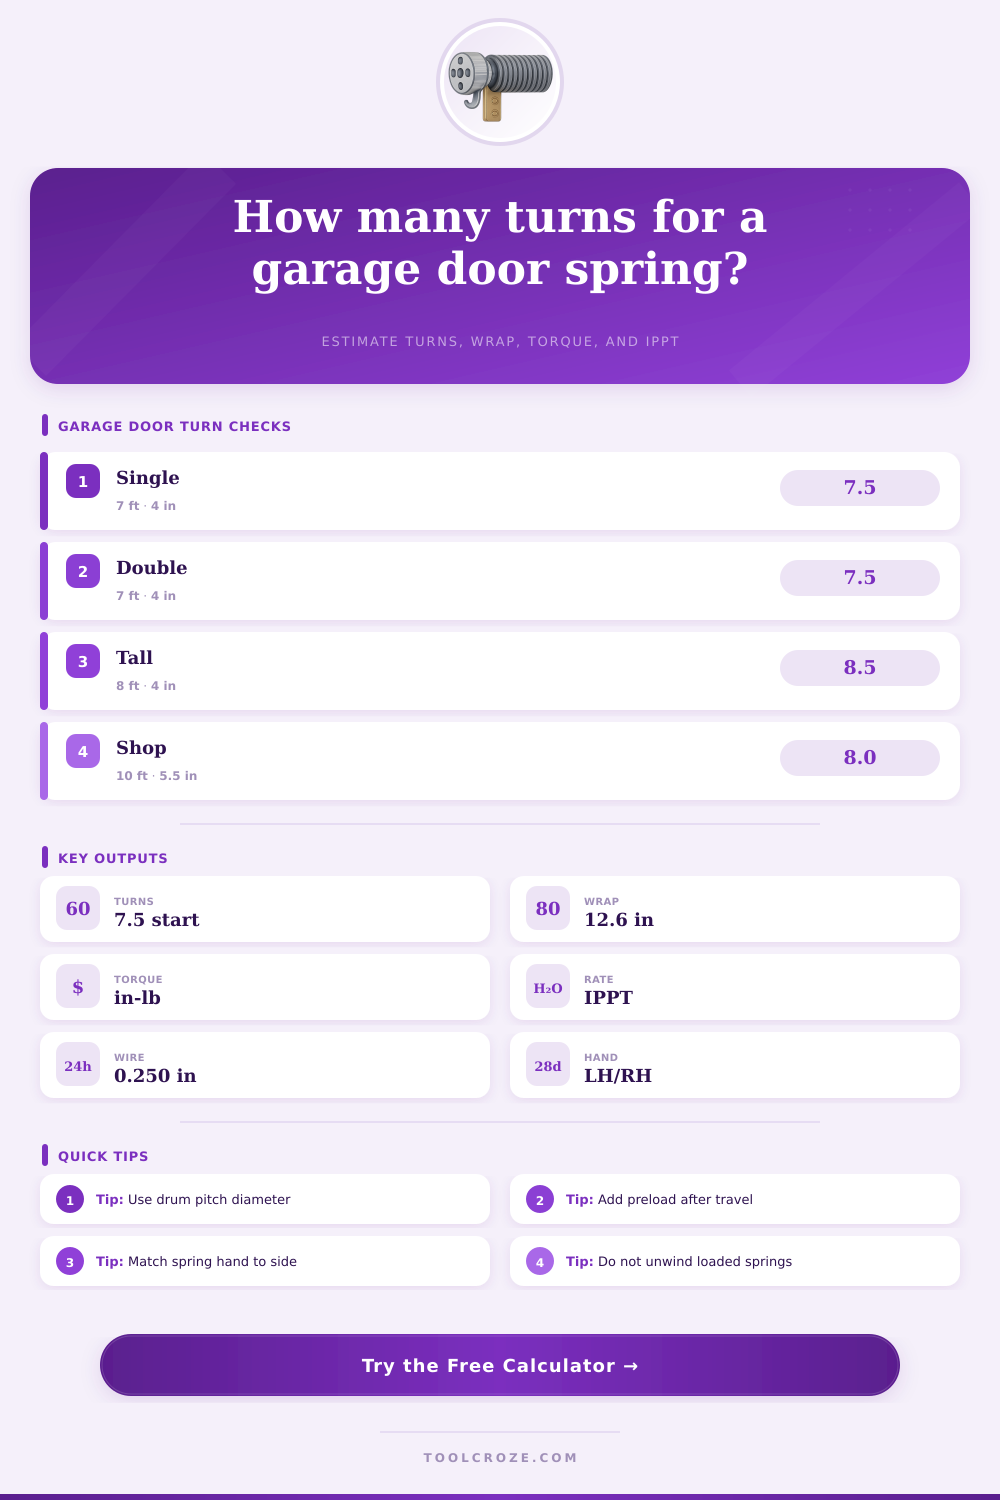
| Residential single-car steel | 7 ft | 4 in pitch diameter | About 7.25 to 7.75 turns |
| Residential double steel | 7 ft | 4 in pitch diameter | About 7.25 to 7.75 turns |
| Eight-foot insulated door | 8 ft | 4 in pitch diameter | About 8.25 to 8.75 turns |
| Tall shop standard-lift door | 10 ft | 5 to 5.5 in pitch diameter | Often 7.5 to 9.5 turns |
| Commercial sectional door | 12 ft | 5.5 to 6 in pitch diameter | Depends heavily on drum and lift |
📐Drum Diameter and Cable Wrap Table
| Pitch diameter | Wrap per turn | 7 ft travel turns | 8 ft travel turns |
|---|---|---|---|
| 3.75 in | 11.78 in | 7.13 before preload | 8.15 before preload |
| 4.00 in | 12.57 in | 6.68 before preload | 7.64 before preload |
| 4.25 in | 13.35 in | 6.29 before preload | 7.19 before preload |
| 5.00 in | 15.71 in | 5.35 before preload | 6.11 before preload |
| 5.50 in | 17.28 in | 4.86 before preload | 5.56 before preload |
🔧Wire, ID, and Spring Rate Reference
| Wire diameter | Common ID | Typical use | Rate sensitivity |
|---|---|---|---|
| 0.207 to 0.218 in | 1.75 in | Light single-car steel doors | Small wire changes rate sharply |
| 0.225 to 0.243 in | 1.75 or 2.00 in | One-car insulated or light double doors | Measure 20 coils, not one coil |
| 0.250 to 0.273 in | 2.00 in | Common double residential doors | Length changes IPPT and cycle life |
| 0.283 to 0.312 in | 2.00 or 2.625 in | Heavy overlay and tall doors | Check shaft, cone, and index fit |
| 0.331 in and larger | 2.625 in plus | Commercial or very heavy doors | Use engineered supplier data |
📘Formula Reference
| Output | Formula | Inputs | Purpose |
|---|---|---|---|
| Cable wrap | Pi x drum diameter x groove factor | Drum pitch diameter | Converts shaft rotation to cable travel |
| Travel turns | Door height in inches / wrap per turn | Height and cable wrap | Turns needed to lift the door height |
| Recommended turns | Travel turns + preload turns | Travel and preload | Starting target for standard-lift winding |
| Shaft torque | Door weight x drum radius | Door weight and drum diameter | Torque needed to balance the door |
| Required IPPT | Torque per spring / entered turns | Torque, springs, turns | Spring rate needed per winding turn |
| Spring rate screen | d^4 x G / (10.8 x D x N) | Wire, mean diameter, active coils | Compares measured spring to required IPPT |
💡Turn Measurement Tips
⚠Garage Door Spring Safety
Garage door springs stores energy that allows the garage door to move along a vertical path. The garage door contains a heavy door that the garage door springs must move hundreds of pound of steel and insulation. The number of turns that the garage door springs is wound into the door determines whether the garage door is balanced or unbalanced.
Thus, it is necessary to calculate the number of turns that should be provided to the garage door springs to ensure the door operates proper once it is installed into the garage door opening. To calculate the number of turns for the garage door springs, it is first necessary to determine the travel turns for the garage door. The installer calculates the travel turns by dividing the height of the garage door by the wrap distance of the drum; the drum is the component of the garage door spring that wind the lift cable.
How to Calculate Garage Door Spring Turns
The calculator provides the travel turns for the garage door when the user enter the height of the garage door and the size of the drum. In addition to calculating the number of turns that the garage door should be wound, it is also important to add a small amount of preload to the springs to maintain tension on the lift cable when the garage door is resting on the floor. Typical installers will add between half a turn and one full turn of preload after the garage reaches it’s top position.
Without this preload some garage door spring systems may allow the lift cable to become slack. Furthermore, the garage may creep upward by itself when it is not in use; however, if the springs is preloaded, the garage will remain in a fixed position. Another factor to consider in relation to garage door springs is the winding direction of the springs.
The winding direction is also referred to as the spring hand. For standard garage door systems, the spring that is wound to the left will be installed on the right side of the shaft, and the spring that is wound to the right will be installed on the left side of the shaft. Should both springs be installed to face the same direction, one spring will unwind from the shaft instead of winding into the door; this can create a dangerous situation in which the garage door becomes unbalanced.
The winding direction selector in the tool will alert the installer to any mismatch between the winding direction of the two springs. After determining the winding direction for the two springs, it is also necessary for the installer to provide the proper amount of torque to the springs. The total amount of torque that is provided is equal to the weight of the garage door multiplied by the radius of the drum.
This calculated figure is divided by the number of springs that are mounted to the garage door shaft. The calculator will display the amount of torque that should be provided to each spring; this calculated value can then be compared to the spring rate of the garage door. The spring rate is a value that is measured in inch-pound per turn.
The spring rate is calculated through a formula that takes into account the diameter of the wire of the garage door spring, the inside diameter of the spring, and the number of active coils of the spring. Small changes in the diameter of the wire can have a major effect upon the spring rate; thus, it is recommended that twenty coils are measured and divided by twenty to calculate the spring rate. The tool will calculate the spring rate once the user enters the size of the wire, the inside diameter of the spring, and the length of the spring.
The number that results from calculating the spring rate can then be compared to the amount of torque that the garage door spring will be provided; if these two numbers are within fifteen percent of one another, then the calculations entered into the tool are likely accurate. However, if the two numbers are outside of this range, the user will need to re-check the weight of the garage door and the number of active coils in the spring. Once the spring rate is determined, it is also important to calculate the total cycle life that the garage door springs will endure during the life of the garage door.
The cycle life of the spring will depend upon how close the stress of the garage door is to the limit of the metal that is used to create the spring. Two factors that will reduce the stress on the spring include the use of high-cycle wire for the garage door springs and the use of longer garage door springs. Both of these options will reduce the stress that is placed upon the spring with each cycle of the door.
The cycle life calculator will allow the user to enter the desired cycle life for the garage door springs, and the tool will calculate how many cycles the springs will last according to the number of cycles that is entered. The most important factor for the installer to consider when installing the garage door springs is safety. The springs contain a great deal of energy; if the winding bar should slip or the set screw that holds the spring to the garage door should become detached, the garage door could seriously injure an individual.
Thus, the installer should use the tools to plan the installation of the garage door springs. Additionally, the tool can be used to verify that the calculations are accurate; however the tool should never be used as a means of making adjustments to the garage door springs while they are in place and in operation. The reference tables located on this page can provide information regarding the sizes of drums and the wrap distances that they will produce, as well as the effect that different diameters of wire will have upon the garage door springs.
These spring tables can help to explain, for instance, why the shops garage door may be taller than the residential garage door; it likely has a larger drum that will require fewer turns of the spring to raise or lower the garage door. Fewer turns of the spring will place less stress upon each of the springs. In addition to using the calculators and reference tables, the installer should also ensure that the garage door functions in the proper manner once it is installed into the garage door opening.
The garage door should require minimal effort to open and close, and it should coast to a gentle stop at the top of the garage door opening.