Flooring Adhesive Calculator
Estimate adhesive packages, adjusted spread coverage, waste allowance, and open-time work zones for tile, vinyl, wood, rubber, cork, and carpet flooring.
✦Real Job Presets
📏Project Inputs
⚙Calculated Planning Metrics
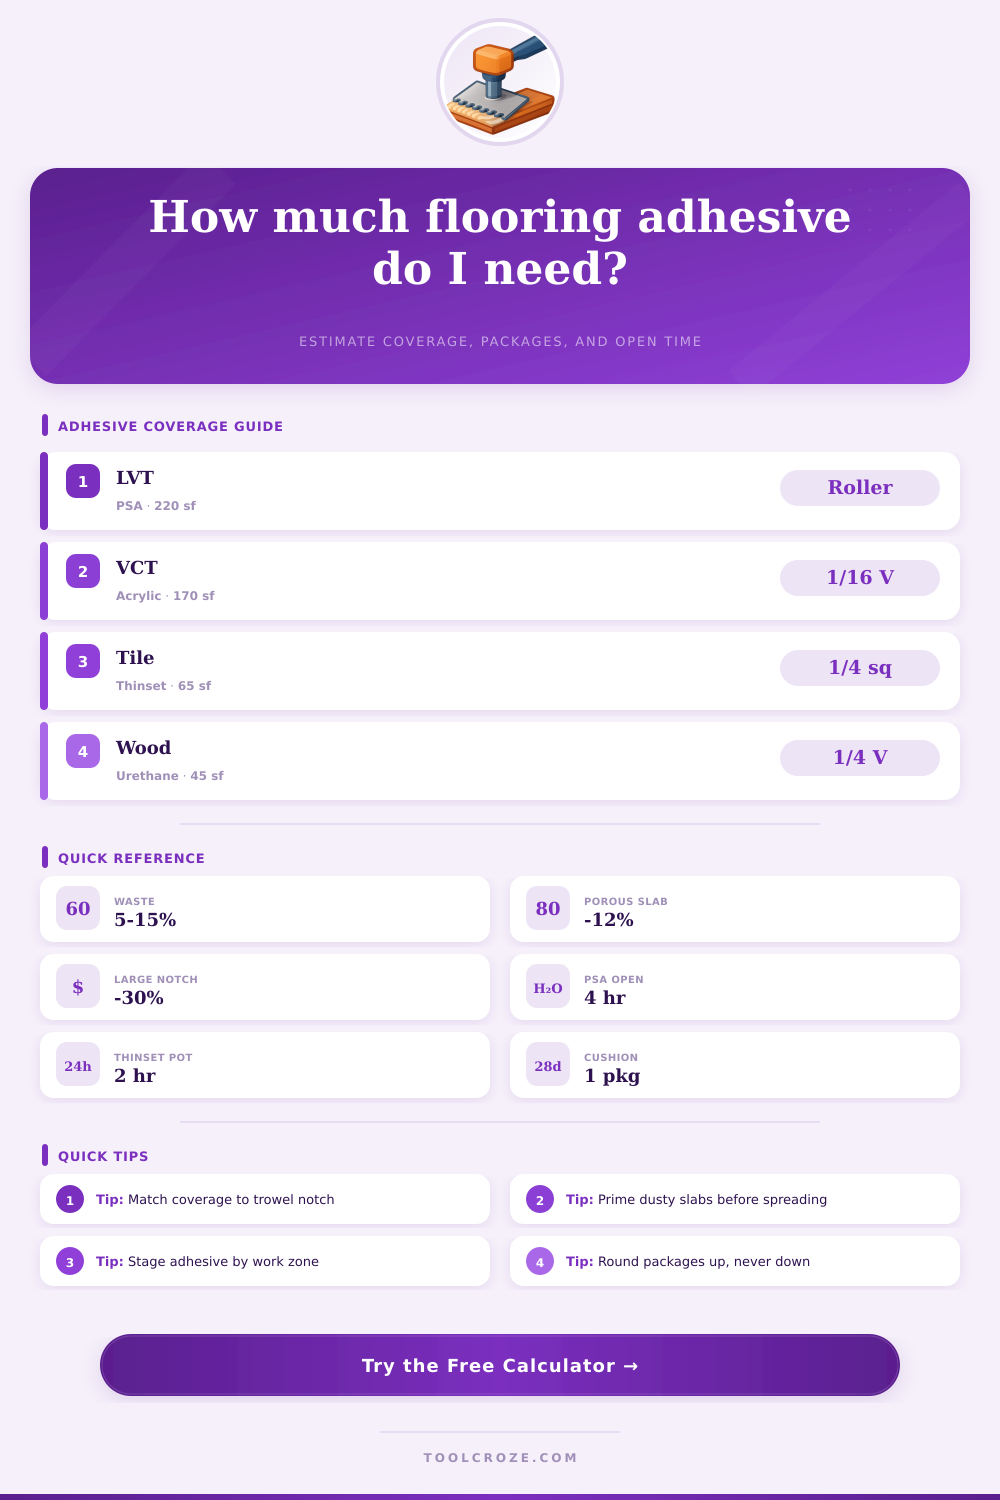
📋Adhesive Coverage Reference
| Flooring System | Typical Adhesive | Base Coverage | Package Basis | Typical Open Time |
|---|---|---|---|---|
| LVT or LVP | Pressure sensitive acrylic | 220 sq ft | per gallon | Up to 4 hours |
| VCT | Acrylic clear-spread adhesive | 170 sq ft | per gallon | 45 to 90 minutes |
| Sheet vinyl | Wet-set resilient adhesive | 150 sq ft | per gallon | 20 to 60 minutes |
| Carpet tile | Releasable pressure sensitive | 250 sq ft | per gallon | Several hours |
| Hardwood full spread | Urethane or MS polymer | 45 sq ft | per gallon | 30 to 60 minutes |
| Ceramic tile | Polymer-modified thinset | 65 sq ft | per 50 lb bag | About 2 hours pot life |
| Large porcelain | Large-format tile mortar | 38 sq ft | per 50 lb bag | About 2 hours pot life |
| Rubber flooring | Two-part urethane or epoxy | 90 sq ft | per gallon kit | 30 to 45 minutes |
▦Trowel And Substrate Factors
| Condition | Calculator Factor | Effect On Adhesive | Use When |
|---|---|---|---|
| Roller or smooth film | 1.00 | Base spread rate | Pressure sensitive adhesives |
| 1/16 in V-notch | 0.88 | Moderate coverage reduction | VCT, cork, resilient tile |
| 1/8 in V-notch | 0.74 | Heavier adhesive bed | Wood, rubber, textured backings |
| 1/4 in square notch | 0.58 | Deep ridges, lower coverage | Ceramic tile mortar |
| 1/2 in square notch | 0.36 | Very heavy mortar bed | Large tile or uneven backs |
| Porous concrete | 0.88 | More adhesive absorbed | Unsealed absorbent slab |
| Gypsum underlayment | 0.82 | High absorption risk | Only after approved primer |
🗂Preset Scenario Table
| Scenario | Typical Area | Adhesive Type | Default Tool | Field Cushion |
|---|---|---|---|---|
| Small bath LVT | 60 sq ft | LVT pressure sensitive | Roller film | 10% |
| VCT classroom | 900 sq ft | Acrylic VCT adhesive | 1/16 in V-notch | 10% |
| Office carpet tile | 1,200 sq ft | Releasable PSA | Roller film | 8% |
| Engineered wood | 480 sq ft | Urethane full spread | 1/8 in V-notch | 12% |
| Large porcelain | 300 sq ft | Large-format mortar | 1/2 in square notch | 15% |
🧪Adhesive System Comparison
Pressure Sensitive
Highest coverage per gallon, long working window, best for LVT, carpet tile, and releasable installations.
Wet-Set Resilient
Moderate coverage, shorter open time, and stronger transfer needs for sheet vinyl and backed goods.
Urethane Wood
Low coverage per gallon because the notch creates a thick bed under wood flooring.
Tile Mortar
Coverage is controlled mostly by notch size, tile back profile, substrate flatness, and back-buttering.
📐Work-Zone Planning Reference
| Open Time | Crew Rate | Safe Zone Size | Practical Use |
|---|---|---|---|
| 30 minutes | 120 sq ft/hr | About 48 sq ft | Two-part rubber adhesive |
| 60 minutes | 160 sq ft/hr | About 128 sq ft | Wet-set vinyl areas |
| 120 minutes | 180 sq ft/hr | About 288 sq ft | Thinset or wood areas |
| 240 minutes | 240 sq ft/hr | About 768 sq ft | Pressure sensitive tile |
ℹAdhesive Calculation Tips
Adhesive coverage are a variable amount of material, and adhesive coverage isnt a fixed number. Many people will look at the coverage number of the adhesive bucket and performs a division problem to calculate the amount of adhesive that is needed to complete the floor installation. However, this method of calculating the amount of adhesive to purchase is incorrect.
The amount of adhesive that is used to install the flooring isnt as same as the amount the manufacturer used during the manufacturing of the flooring. There is several factor that affect the amount of adhesive that will be used to install the flooring, such as the trowel notch used, the type of substrate on which the flooring will be installed, and the complexity of the layout of the flooring. The trowel notch that is used can impact the amount of adhesive that is used in the installation process.
How to Figure Out How Much Flooring Adhesive You Need
For example, if the installer uses a smooth trowel to apply the adhesive to the subflooring, the adhesive will form a thin films of adhesive that covers a large area. However, if a trowel with a V-notch or square-notch is used, the trowel will form ridges of adhesive that take up more adhesive than the thin film would. The notched trowel creates ridges that help the adhesive to bond with the heavy tile flooring.
Using a trowel with a notch will take up more adhesive but will reduce the number of square feet that one bucket of adhesive will cover. Another factor that will impact the amount of adhesive that will be used is the type of substrate on which the flooring will be installed. For example, if the substrate on which the flooring will be installed is sealed concrete, the substrate will not absorb the adhesive.
However, if the substrate is unsealed and porous concrete, it will absorb the adhesive. When the substrate absorbs the adhesive, the flooring will suck the adhesive into the concrete substrate. This will require the use of more adhesive to complete installation of the flooring.
In this case, the adhesive must account for the absorbency of the substrate on which the flooring will be installed. The complexity of the layout of the flooring will require the use to take up adhesive as well. For example, if the layout of the flooring is going to be laid out in straight lines, fewer adhesives will be used than if the layout is going to include diagonals and numerous corners.
If the flooring is trimmed to fit the corners of the area to be floored, the adhesive will be wasted on the off-cuts of flooring. Therefore, there must be a waste allowance in the calculation of the amount of adhesive that will be used for installation of the flooring. Open time is the length of time between when the adhesive is spread on the subflooring and when the flooring is placed on the adhesive.
If too much adhesive is spread, the adhesive may skin over and not adhere to the flooring. If too little adhesive is spread on the subfloor, it will take longer to install the flooring; the laborers will walk the area more than they will install flooring. Creating a work zone will allow for better control of the open time to ensure that the adhesive is of the right consistency when the flooring is placed on the adhesive.
Depending on the type of flooring to be installed, there will be different requirements for the amount of adhesive to be used. For instance, the amount of adhesive used for carpet tiles is different than the amount of adhesive that will be used on rubber flooring. The calculations for thinset mortar are not the same as the calculations for acrylic adhesive.
Each type of adhesive will require a different amount of adhesive application to adhere to the flooring; the requirements for each type of adhesive must be read and understood before placement of the flooring. Finally, more adhesive should of been purchased than calculated. The calculations for the amount of adhesive to be purchased should be rounded up, and there should be one extra package of adhesive purchased.
This extra package of adhesive can be used in the case of a spill of the adhesive, if the subflooring has a deep dip that will require extra adhesive to evenly fill that area, or if additional installation of flooring will occur in the future. By purchasing an extra package of adhesive, there will always be an extra bucket of adhesive to return to the store from which it was purchased. It is always better to have an extra bucket of adhesive than to find themselves in a situation where they dont have the adhesive that is required to complete the installation of the flooring.
By correctly calculating the amount of adhesive needed prior to beginning installation, the installation of the flooring will proceed without any interruption.