🧱 Box Joint Calculator | Finger Count and Layout Guide
Choose finger count, cutter width, and offsets for tight box joints
| Material | Density | Hardness | Note |
|---|
| Material | RPM | Feed | Chip load |
|---|
| Tool | Width | Max RPM | Best use |
|---|
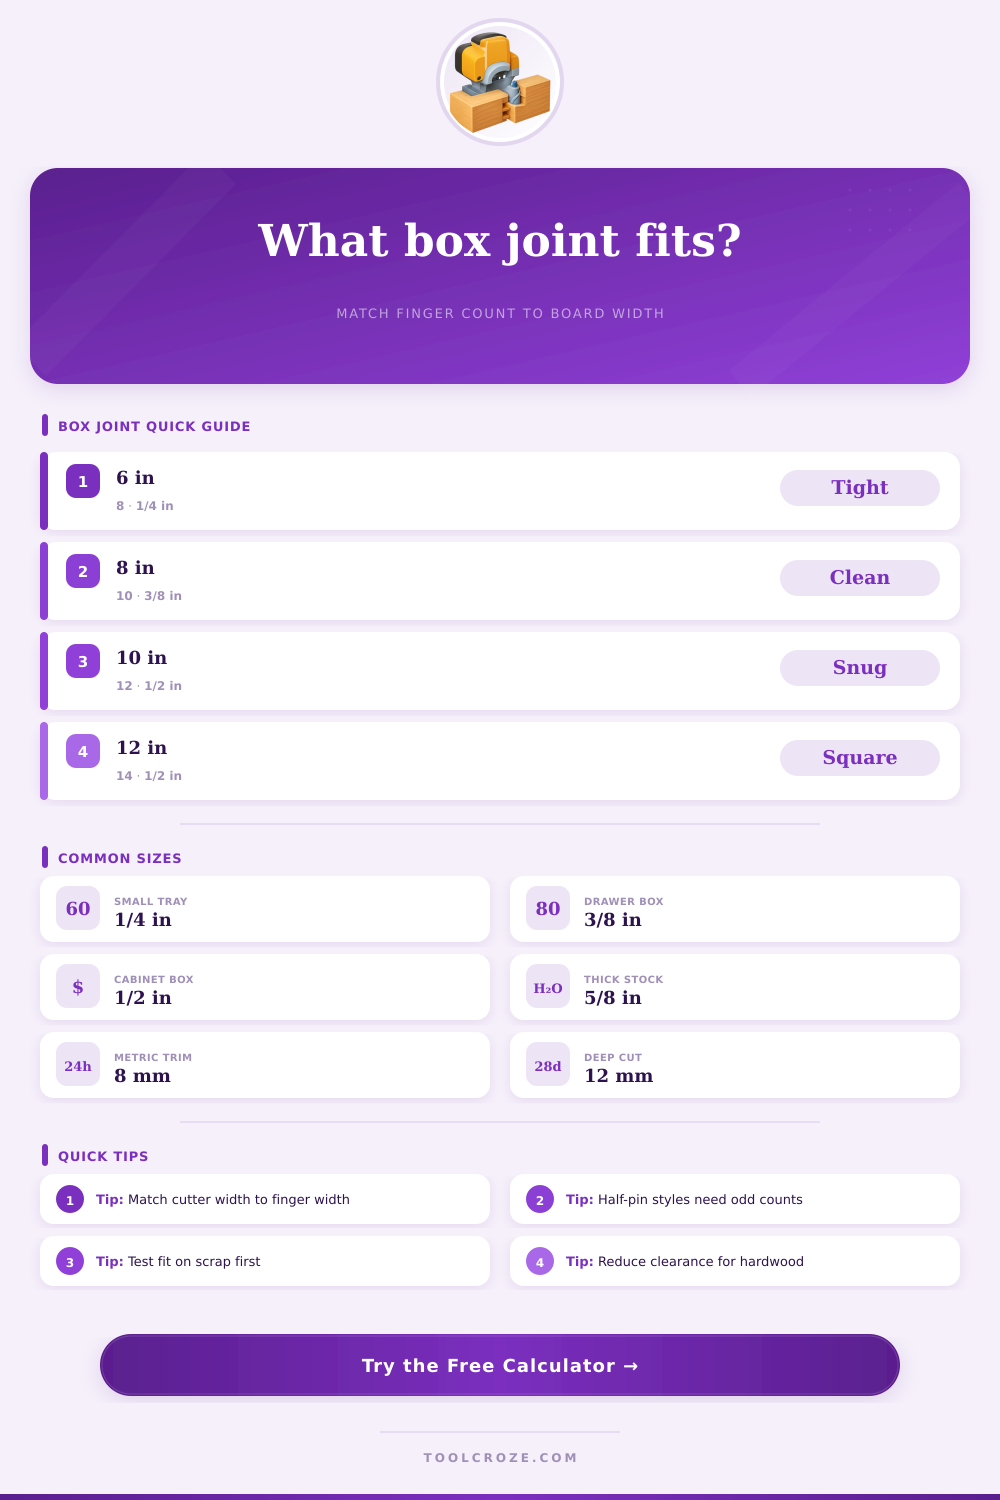
| Project | Width | Fingers | Note |
|---|
A box joints is a joint that features finger on each of the two pieces of wood that are being joined. Box joints are mainly used to form the corner of items like drawer, trays, and tool tote. People often find that making box joints can be difficult when the math for the width of the fingers of the joint are incorrect.
If the math is incorrect, the finger will not line up with the other piece of wood, the joint may have gap between the pieces, or the joint may be loose within the completed project. To avoid these issue, it is essential to balance the width of the board with the size of the cutter that will form the joint. The dimension of the fingers that you’ll cut into the wood are important.
How to Make Good Box Joints
If a person make the joint with too few fingers, each finger will be too wide for the joint. If a person makes the joint with too many fingers, each finger will be too narrow for the joint; the fingers may splinter or burn during the cutting process with the wood. It is essential that the width of the fingers correspond with the width of the tool that will cut the fingers into the boards; using the proper tool and the proper width for the joint will ensure that the joint form without any error.
The type of wood that you use within the project can also affect the success of the box joint. If the wood is a softwood, like pine or poplar, the wood will be easier to create the joint with due to the soft grain of the wood. Hardwoods, like maple or oak, will be more difficultly to form the joint with due to the hard grain of the wood.
Since hardwoods will not compress when the two parts of the joint are pushed together, the fit of the joint must be precise. A small amount of clearance can be allowed for the glue and for the movement of the wood within the joint, but any additional clearance can make the joint become more loose over time. Before using the final piece of wood for the project, it is important to test the fit of the box joint using test scrap of wood.
You can clamp the jig in the desired position and you can insert the test scraps into the jig to test the fit of the joint. If the joint is too tight with the test scraps, more clearance need to be provided for the joint to be properly formed. If the joint is too loose with the test scraps, the joint needs to be tightened.
If the joint is properly fitted with the test scraps, you should mark the joint onto the two final boards that will be used to create the item. Another factor that affect the creation of a box joint is the type of cutter that is used for the joint. The width of the cutter should be considered when forming the joint; for instance, the width of the router bit or dado stack will determine the width of the fingers for the joint.
For instance, a 1/2-inch bit is often used for creating box joints in cabinet work. A 1/4-inch bit is used for smaller box and trays. The speed of the machine and the feed rate at which the wood is moved through the cutter can also affect the success of the joint.
For hardwoods, such as oak, you should slow feed the wood through the cutter. For softwoods, such as pine, the wood can be moved at a faster rate through the cutter. Some of the mistake that people may make when creating box joints are not considering the style of the joint that will be created, or not accounting for the type of wood that will be used in the joint.
For instance, if a person is to create a half-pin joint, it is necessary to use an odd number of finger for the joint to be correctly formed. If the type of wood is not accounted for, the joint may be too loose with softwoods, or too tight with hardwoods. These mistakes can be avoided by using a jig to form the joint; using a jig will ensure that each joint is created in the same manner.
Using a jig will help ensure that the projects size is even throughout.